
本文將簡單示範如何使用 OpenCV 的 addWeighted 方法進行圖片的疊加。
addWeighted方法 如下: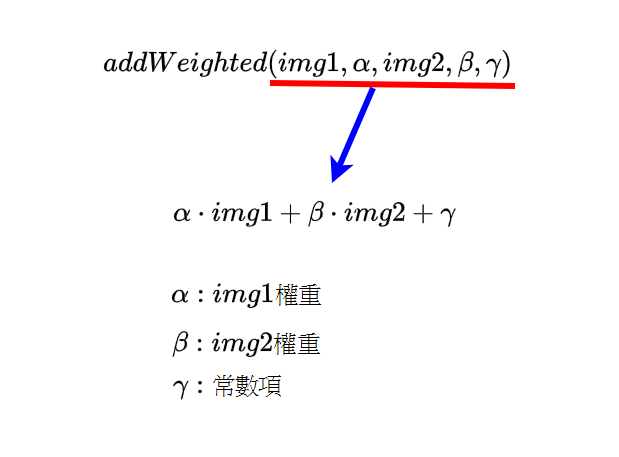
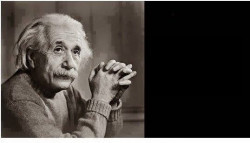
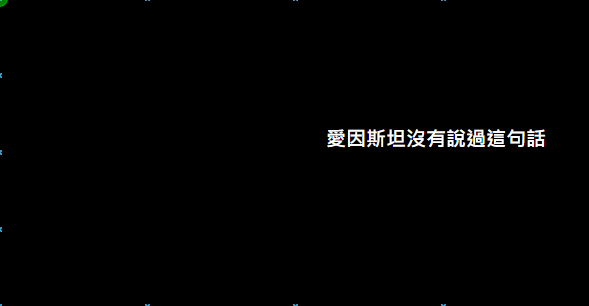
範例圖片:
範例程式(Python):
import cv2

einstein_pic_location = '../images/einstein.jpg' # 圖片位址
words_pic_location = '../images/words.png' # 圖片位址

try:

    einstein_img = cv2.imread(einstein_pic_location)
    words_img = cv2.imread(words_pic_location)

    print(f"shape of einstein_img: {einstein_img.shape}")
    print(f"shape of words_img: {words_img.shape}")

    # 使用 resize function 將兩張圖片轉成同樣 Shape 的圖片方便做 Image Blending,
    # 就像矩陣加法是定義在同樣 Size 的矩陣上,不同 Shape 的圖片不能做有權重的相加
    resized_einstein_img = cv2.resize(einstein_img, (words_img.shape[1], words_img.shape[0]))
    print(f"shape of resized_einstein_img: {resized_einstein_img.shape}")

    # 使用 addWeighted 方法,帶入權重參數將兩張圖片合成
    blending_img = cv2.addWeighted(resized_einstein_img, 1, words_img, 0.7, 0)

    # 將 img 分別展示在視窗上
    cv2.imshow('einstein_img', einstein_img)
    cv2.imshow('words_img', words_img)
    cv2.imshow('blending_img', blending_img)

    # 將混和好的圖片輸出到同一層的 images 資料夾目錄下
    cv2.imwrite("../images/blending_img.jpg", blending_img)

    # 等待用戶按下任意鍵 關閉視窗
    if cv2.waitKey(0):
        print(f'監聽到用戶按下按下鍵盤')

    cv2.destroyAllWindows() # 關閉所有 OpenCV 建立的視窗

except Exception as ex:
    print(f"An unexpected error occurred: {ex}")
運行結果如下: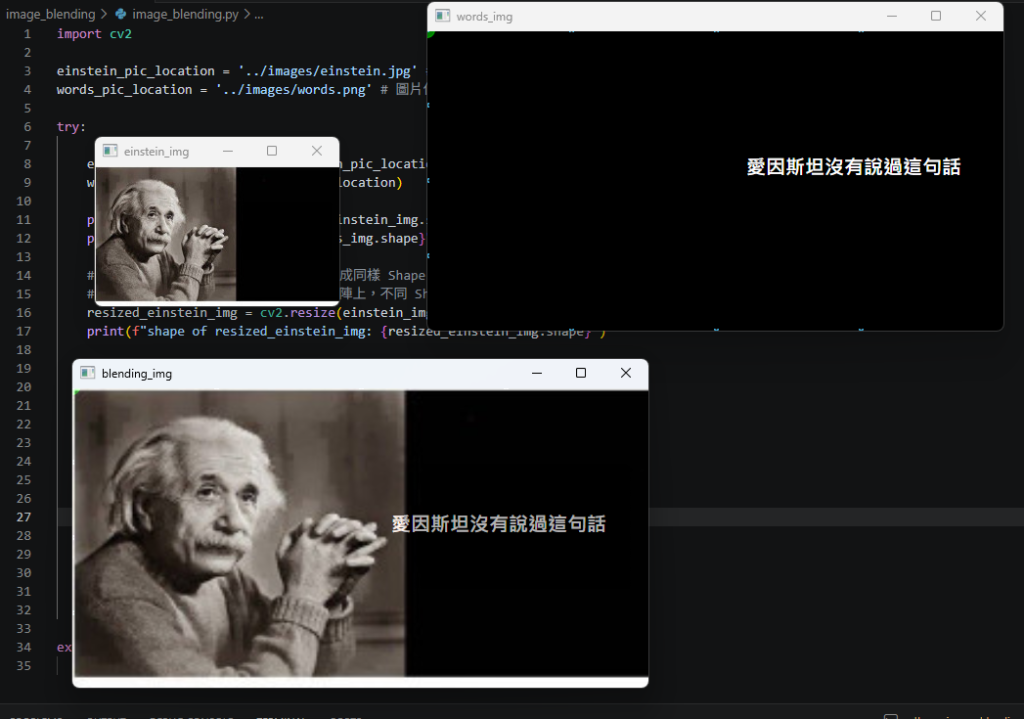
Note:
參考資料:
OpenCV:Arithmetic Operations on Images

 logohow1020

 iThome鐵人賽
 看影片追技術