
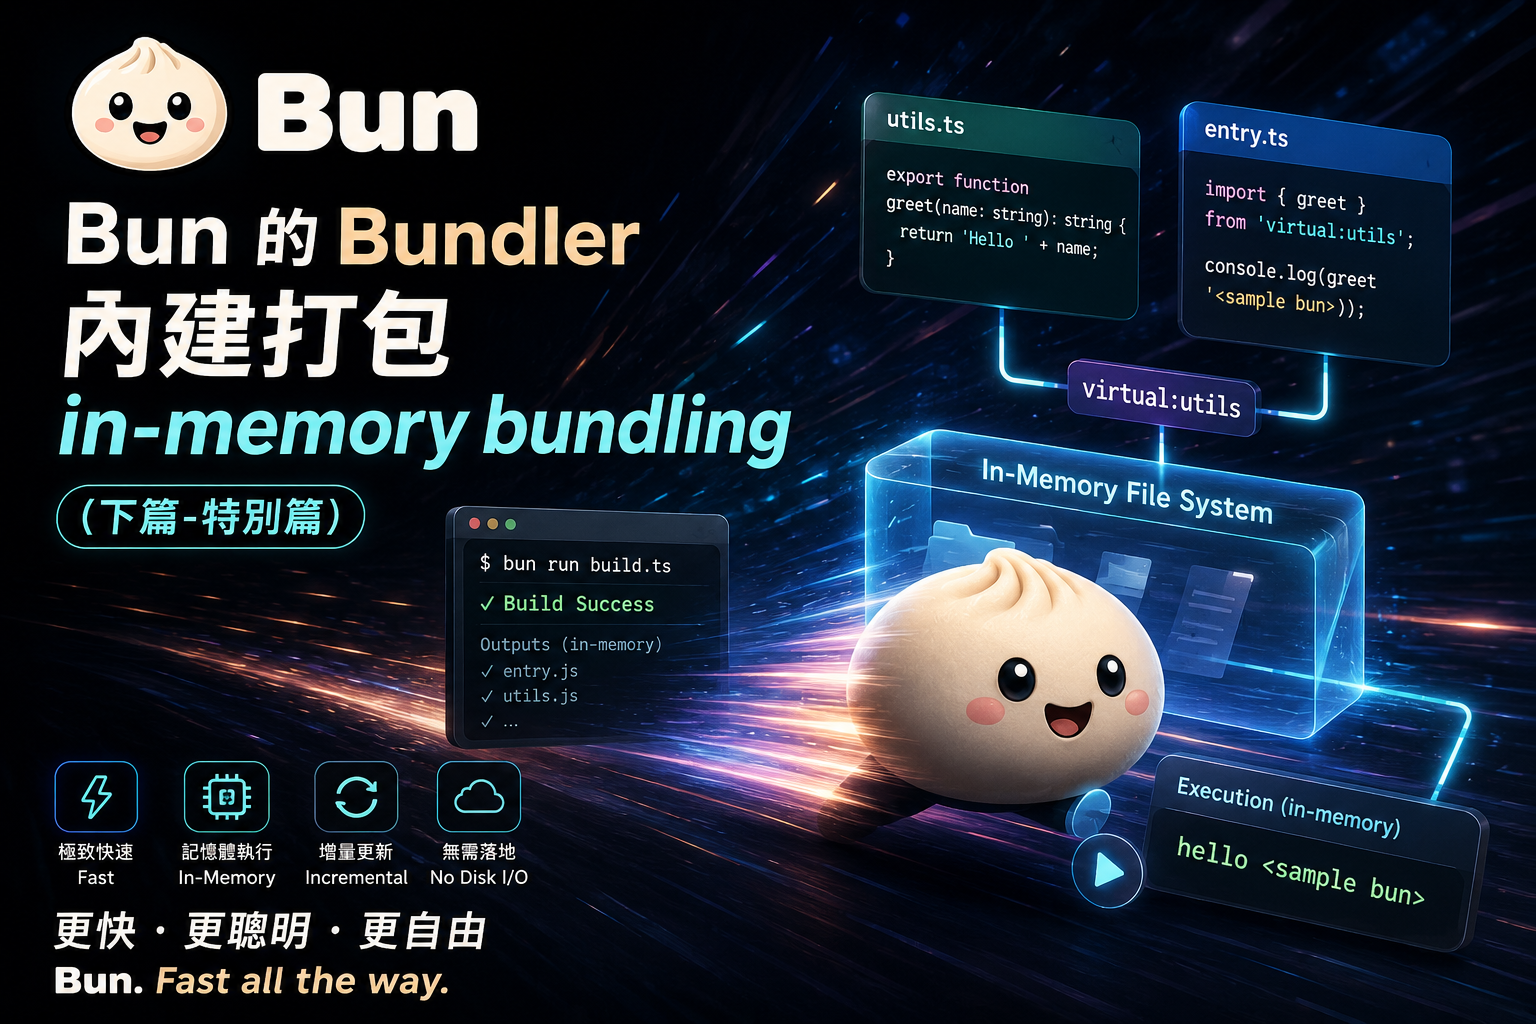
In-memory bundling(虛擬檔案),這算是比較冷門的部分,不過因為他可以跑在記憶體上面的特性,
因此主要普遍多用來進行測試,這樣反而低估它本身的價值,也因為這樣他有一些不錯的用途
這裡我們說一下幾點好處,
我們這裡做兩個簡單的範例,當然主要是在 in-memory 所以並不是創建實體的檔案
這裡先做簡單的輸出 utils.ts
    export function greet(name: string): string {
      return 'hello' + name;
    }
再來我們使用 greet 這個 function
import { greet } from 'virtual:utils';
console.log(greet('<sample bun>'));
我們把它串起來
build.ts
const result = await Bun.build({
  entrypoints: ['virtual:entry'],
  plugins: [
    {
      name: 'virtual-fs',
      setup(build) {
        const files: Record<string, string> = {
          'utils': `
            export function greet(name: string): string {
              return 'hello' + name;
            }
          `,
          'entry': `
            import { greet } from 'virtual:utils';
            console.log(greet('<sample bun>'));
          `
        }

        build.onResolve({ filter: /^virtual:/ }, (args) => {
          return { path: args.path.replace(/^virtual:/, ''), namespace: 'virtual' };
        })

        build.onLoad({ filter: /.*/, namespace: 'virtual' }, (args) => {
          const contents = files[args.path];
          if (!contents) {
            throw new Error('Virtual file not found : ${args.path}');
          }
          return { contents, loader: 'ts' };
        });
      }
    }
  ]
})
這時候如果跑
bun run build.ts
十之八九不會有任何輸出,那我們要怎麼驗證現在這樣寫的是否是正確的 ?
這裡的 result 有幾個東西可以用 判斷是否成功
console.group('是否成功 ==========');
console.log(result.success);
console.groupEnd();

可是我比較好奇是否能跑 自己寫出來的結果 ?
這裡可以用 output 還有 Blob 處理
if (result.success) {
  const output = result.outputs[0];
  if (!output) {
    throw new Error('no output here');
  }
  const code = await output.text();
  const blob = new Blob([code], { type: 'application/javascript' });
  const url = URL.createObjectURL(blob);
  await import(url);
}
這裡可以看結果

for (const output of result.outputs) {
  console.log('--- ', output.path, ' ---');
  const resultSample = await output.text();
  console.log(resultSample);
}
我們這裡可以看看結果如何
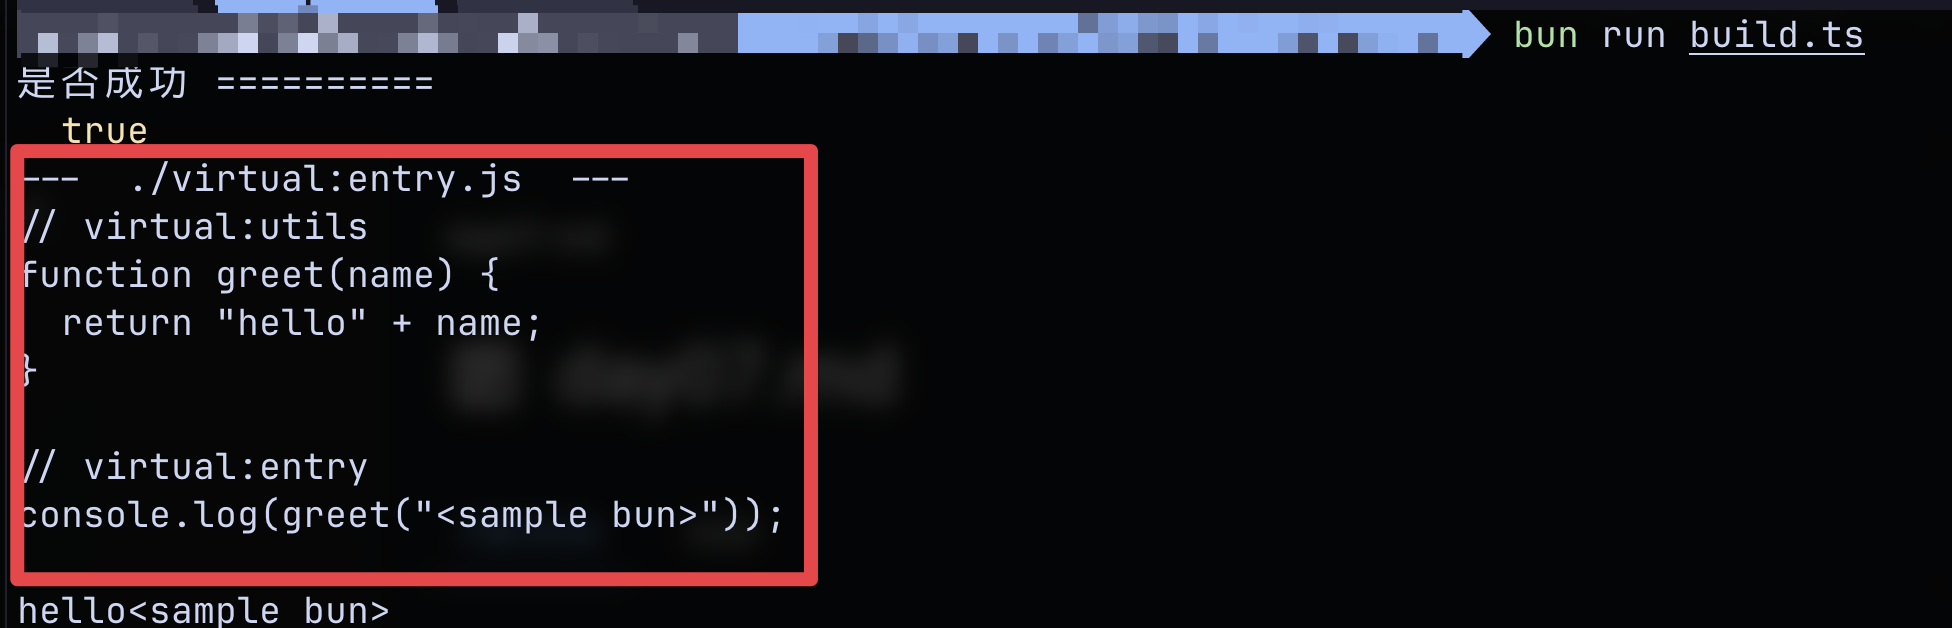
完整程式碼
const result = await Bun.build({
  entrypoints: ['virtual:entry'],
  plugins: [
    {
      name: 'virtual-fs',
      setup(build) {
        const files: Record<string, string> = {
          'utils': `
            export function greet(name: string): string {
              return 'hello' + name;
            }
          `,
          'entry': `
            import { greet } from 'virtual:utils';
            console.log(greet('<sample bun>'));
          `
        }

        build.onResolve({ filter: /^virtual:/ }, (args) => {
          return { path: args.path.replace(/^virtual:/, ''), namespace: 'virtual' };
        })

        build.onLoad({ filter: /.*/, namespace: 'virtual' }, (args) => {
          const contents = files[args.path];
          if (!contents) {
            throw new Error('Virtual file not found : ${args.path}');
          }
          return { contents, loader: 'ts' };
        });
      }
    }
  ]
})

console.group('是否成功 ==========');
console.log(result.success);
console.groupEnd();

for (const output of result.outputs) {
  console.log('--- ', output.path, ' ---');
  const resultSample = await output.text();
  console.log(resultSample);
}


// 因為這個在 in-memory 所以要這樣執行
if (result.success) {
  const output = result.outputs[0];
  if (!output) {
    throw new Error('no output here');
  }
  const code = await output.text();
  const blob = new Blob([code], { type: 'application/javascript' });
  const url = URL.createObjectURL(blob);
  await import(url);
}
透過這次的範例,
我們可以看到 in-memory bundling 的核心其實不複雜,
關鍵就在 onResolve 與 onLoad 這兩個 hook 的搭配:透過 onResolve 攔截特定的虛擬路徑(如 virtual: 開頭),
並指定 namespace 加以區隔
再透過 onLoad 針對該 namespace 讀取事先準備好的字串內容,回傳給 bundler 處理。
整個過程完全不需要落地磁碟,所有的模組內容都只存在於記憶體中的物件(files)裡。
而比較值得注意的是「如何驗證結果」這一步——因為沒有實體檔案可以直接執行,我們必須透過 output.text() 取出打包後的程式碼字串,
再包裝成 Blob,利用 URL.createObjectURL() 產生一個可以被 import() 動態載入的 URL,才能真正把這段 in-memory 的產出跑起來。這個手法其實也간接證明了 in-memory bundling 不只是「打包」,還能無縫串接「執行」與「驗證」這兩個環節。
回到最初的動機,in-memory bundling 雖然常被視為測試場景的邊角料,但從今天的實作可以看出,它在 dev server 的即時編譯、CI/CD 中不需落地的暫時性建置流程,
都有相當實際的應用空間。比起磁碟 I/O,記憶體讀寫的效能優勢在大量小檔案、頻繁重新編譯的情境下會更明顯地被放大,這也是這個技巧值得被重新認識的地方。



 iThome鐵人賽
 看影片追技術