
用 Docker,很方便:
# docker-compose.yml
services:
  redis:
    image: redis:7-alpine
    container_name: redis30days
    ports:
      - "6379:6379"
    command: redis-server --appendonly yes # AOF(Append-Only File) 持久化
    volumes:
      - redis-data:/data # docker 管理目錄掛載到容器內

  # 圖形化介面,非必要
  redisinsight:
    image: redis/redisinsight:latest
    ports:
      - "5540:5540"

volumes:
  redis-data: # 宣告
docker compose up -d (-d 背景運行)
docker exec -it redis30days redis-cli (-it 開啟互動式終端介面)
進去之後可以先試是看這四個指令:
127.0.0.1:6379> PING
PONG
127.0.0.1:6379> SET hello redis
OK
127.0.0.1:6379> GET hello
"redis"
127.0.0.1:6379> TTL hello
(integer) -1 (TTL -1 代表沒設過期時間,會一直留著)
http://localhost:5540 可以開啟圖形化頁面,看得比較舒服對新手來說很實用!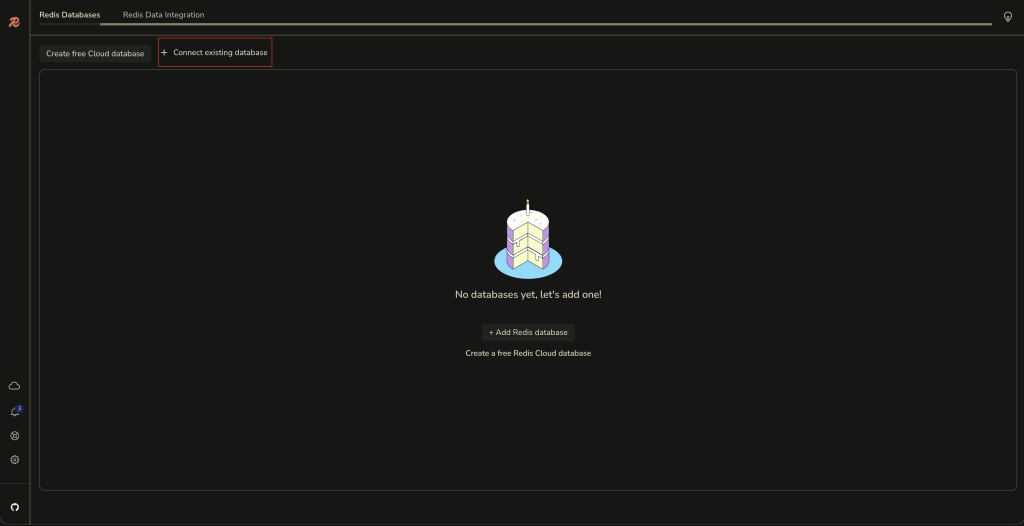
這邊要改成 redis(docker-compose 內的名稱)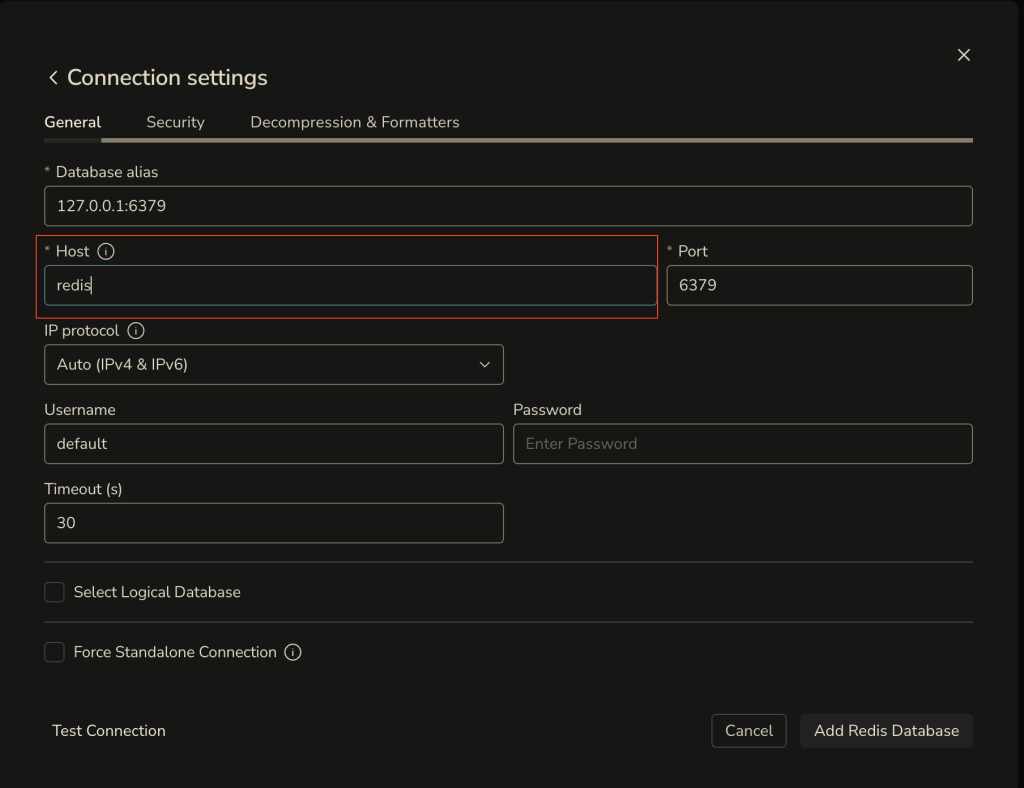
成功連線就可以看到剛剛使用終端機建立的資料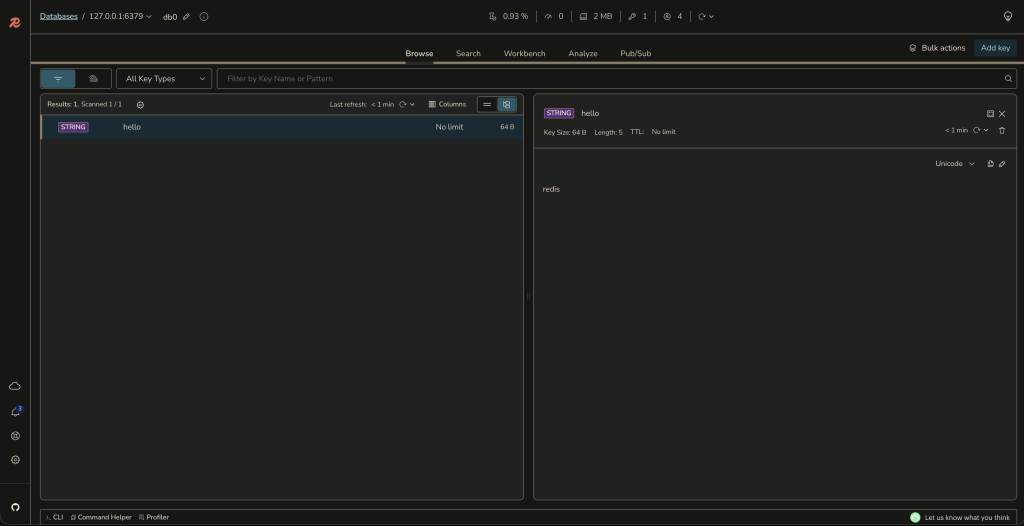
因為工作上是用 Java + Spring Boot,之後實作跟範例都會同步使用這個組合
先加入兩個 dependency:
<dependency>
    <groupId>org.springframework.boot</groupId>
    <artifactId>spring-boot-starter-web</artifactId>
</dependency>
<dependency>
    <groupId>org.springframework.boot</groupId>
    <artifactId>spring-boot-starter-data-redis</artifactId>
</dependency>
spring:
  data:
    redis:
      host: localhost
      port: 6379
Spring Boot 3.x 是 spring.data.redis.*,2.x 才是 spring.redis.*。
@RestController
public class HelloController {

    private final StringRedisTemplate redis;

    public HelloController(StringRedisTemplate redis) {
        this.redis = redis;
    }

    @GetMapping("/hello/set")
    public Map<String, Object> set(@RequestParam String key, @RequestParam String value) {
        redis.opsForValue().set(key, value);
        return Map.of("ok", true, "key", key, "value", value);
    }

    @GetMapping("/hello/get")
    public Map<String, Object> get(@RequestParam String key) {
        String value = redis.opsForValue().get(key);
        return Map.of("key", key, "value", value == null ? "(nil)" : value);
    }
}
curl "http://localhost:8080/hello/set?key=day02&value=hello-redis"
# {"ok":true,"key":"day02","value":"hello-redis"}
docker exec redis30days redis-cli GET day02
# "hello-redis"
在 redis-cli 裡看得到人話,是因為這裡用的是 StringRedisTemplate。如果換成 RedisTemplate,同樣一段程式碼存進去,你會看到 \xac\xed\x00\x05t\x00... 這種東西,這個坑之後再來處理。
壓測工具我打算用 k6,之前在工作中是使用 JMeter,打算趁這個機會嘗試新的壓測工具:
brew install k6
// k6/hello.js
import http from 'k6/http';

export const options = { vus: 10, duration: '10s' };   // 10 個虛擬使用者,打 10 秒

export default function () {
  http.get('http://localhost:8080/hello/get?key=day02');
}
k6 run k6/hello.js
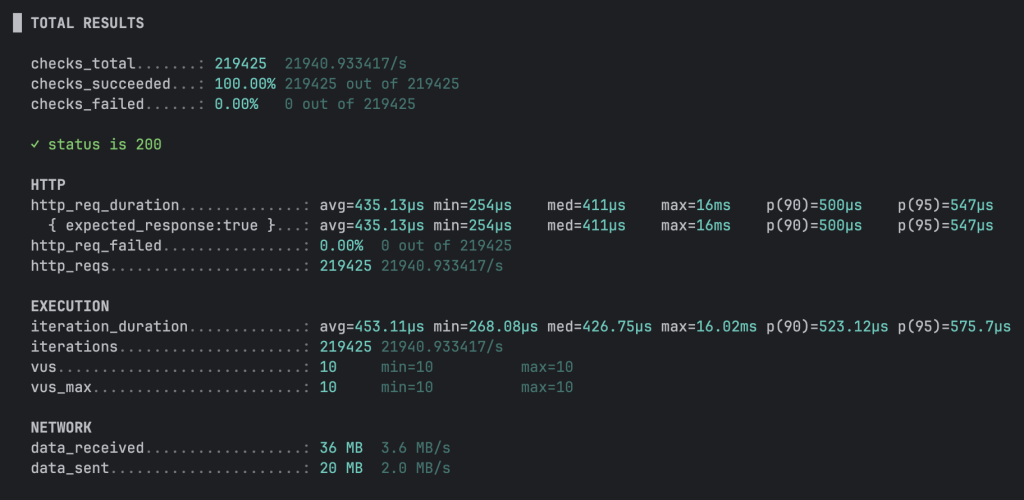
看起來結果很漂亮,畢竟這只是簡單測試 k6,以後加上複雜的邏輯可能就不會這麼好看了 
相關範例程式碼可以參考 https://github.com/gary880306/redis-30days/tree/dev
環境準備好了。可以來細品 Redis 憑什麼這麼快 



 iThome鐵人賽
 看影片追技術