如果希望在自己的機器裡,建立靜態網頁的blog,Jekyll是快速又功能強大的選擇。
![]()
安裝及最簡單的使用
相較於前幾篇所介紹的,
因為功能強大,安裝時所要的套件也多:
$ gem install jekyll
Fetching: liquid-2.5.2.gem (100%)
Successfully installed liquid-2.5.2
Fetching: fast-stemmer-1.0.2.gem (100%)
Building native extensions.  This could take a while...
Successfully installed fast-stemmer-1.0.2
Fetching: classifier-1.3.3.gem (100%)
Successfully installed classifier-1.3.3
Fetching: directory_watcher-1.4.1.gem (100%)
Successfully installed directory_watcher-1.4.1
Fetching: maruku-0.7.0.gem (100%)
Successfully installed maruku-0.7.0
Fetching: yajl-ruby-1.1.0.gem (100%)
Building native extensions.  This could take a while...
Successfully installed yajl-ruby-1.1.0
Fetching: posix-spawn-0.3.6.gem (100%)
Building native extensions.  This could take a while...
Successfully installed posix-spawn-0.3.6
Fetching: pygments.rb-0.5.2.gem (100%)
Successfully installed pygments.rb-0.5.2
Fetching: highline-1.6.19.gem (100%)
Successfully installed highline-1.6.19
Fetching: commander-4.1.5.gem (100%)
Successfully installed commander-4.1.5
Fetching: safe_yaml-0.7.1.gem (100%)
Successfully installed safe_yaml-0.7.1
Fetching: colorator-0.1.gem (100%)
Successfully installed colorator-0.1
Fetching: redcarpet-2.3.0.gem (100%)
Building native extensions.  This could take a while...
Successfully installed redcarpet-2.3.0
Fetching: jekyll-1.2.1.gem (100%)
Successfully installed jekyll-1.2.1
14 gems installed
建立新的網站立即產生一個新的blog的架構,
只要做輸出的動作即可使用:
$ jekyll new site4
New jekyll site installed in /home/SITES/Jekyll/site4.
$ tree
.
├── _config.yml
├── _layouts
│   ├── default.html
│   └── post.html
├── _posts
│   └── 2013-10-04-welcome-to-jekyll.markdown
├── css
│   ├── main.css
│   └── syntax.css
└── index.html

3 directories, 7 files
檢視輸出的內容
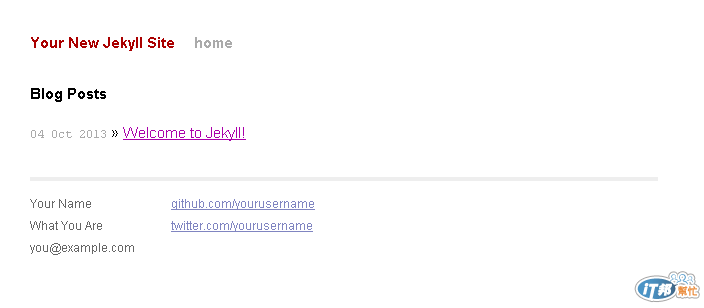
新增文章
在 _post 的目錄裡編輯 markdown 格式的文章, _posts/2013-10-04-day19-use-jekyll.md 內容為:
---
layout: post
title: "第19日使用Jekyll"
date: 2013-10-04 16:47:35
---
這是在 http://jekyllrb.com 寫的文章!
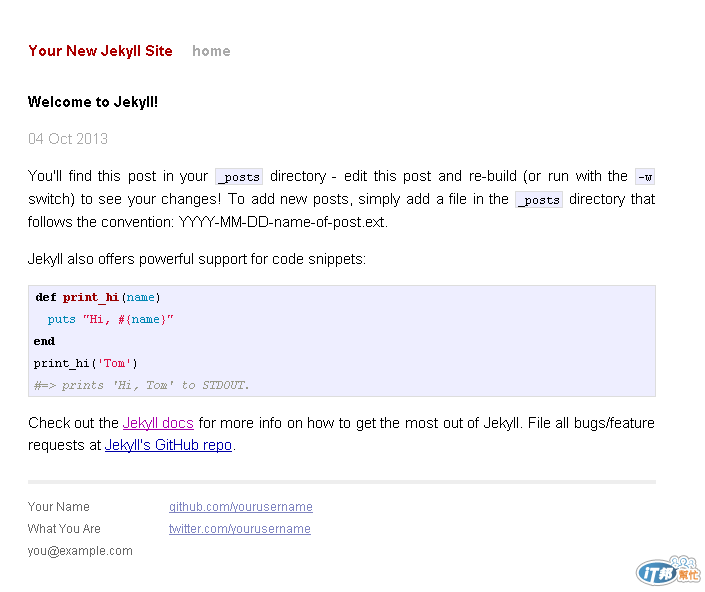
看看結果!
然後執行
$ jekyll build
Configuration file: /home/Jekyll/site4/_config.yml
            Source: /home/Jekyll/site4
       Destination: /home/Jekyll/site4/_site
      Generating... done.
就產生了這樣的檔案及目錄結構
$ tree
.
├── _config.yml
├── _layouts
│ ├── default.html
│ └── post.html
├── _posts
│ ├── 2013-10-01-welcome-to-jekyll.md
│ └── 2013-10-04-day19-use-jekyll.md
├── _site
│ ├── 2013
│ │ └── 10
│ │ ├── 01
│ │ │ └── welcome-to-jekyll.html
│ │ └── 05
│ │ └── day19-use-jekyll.html
│ ├── css
│ │ ├── main.css
│ │ └── syntax.css
│ └── index.html
├── css
│ ├── main.css
│ └── syntax.css
└── index.html
9 directories, 13 files
而首頁 也把最新一篇的文章連結產生在最新的位置。
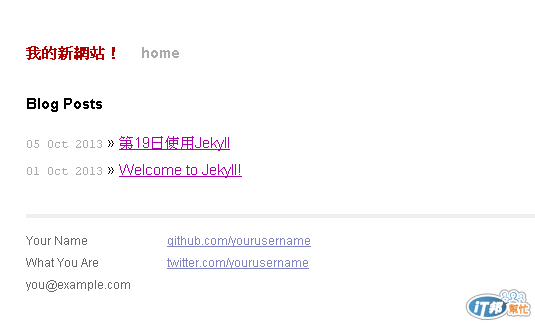
在沒有什麼特別的設定情況下,
就已有基本的 blog 的結構可用。
參考網站:
Jekyll的相關資源連結:功能很多,但可藉著這些具體的實作例子,較容易入手。
使用 Jekyll 的網站:大多也附有原始檔,可參考看看 Jekyll 是怎麼設定的。