過去個人工作經驗,在多數專案中,測試、開發機(如:dev, qa, staging)通常會位於公司網域內,由 IT人員進行管理,但正式機(production)幾乎位於客戶的機房(若您的公司是自己開發產品可能例外),由客戶方的IT人員進行管理。因為安全性的關係,客戶方的 IT管理人員很少開放資料夾存取權限讓您隨意使用。故多數情況下,我們需要透過 WebDeploy serices 協助進行佈署動作。接下來在本章節,我們將介紹如何使用 WebDeploy,若有錯誤或任何建議,請各位先進不吝提出,謝謝!
註:因.Net Core與.Net Framework皆可使用此方式佈署,故本篇文章為參考個人部落格案例撰寫
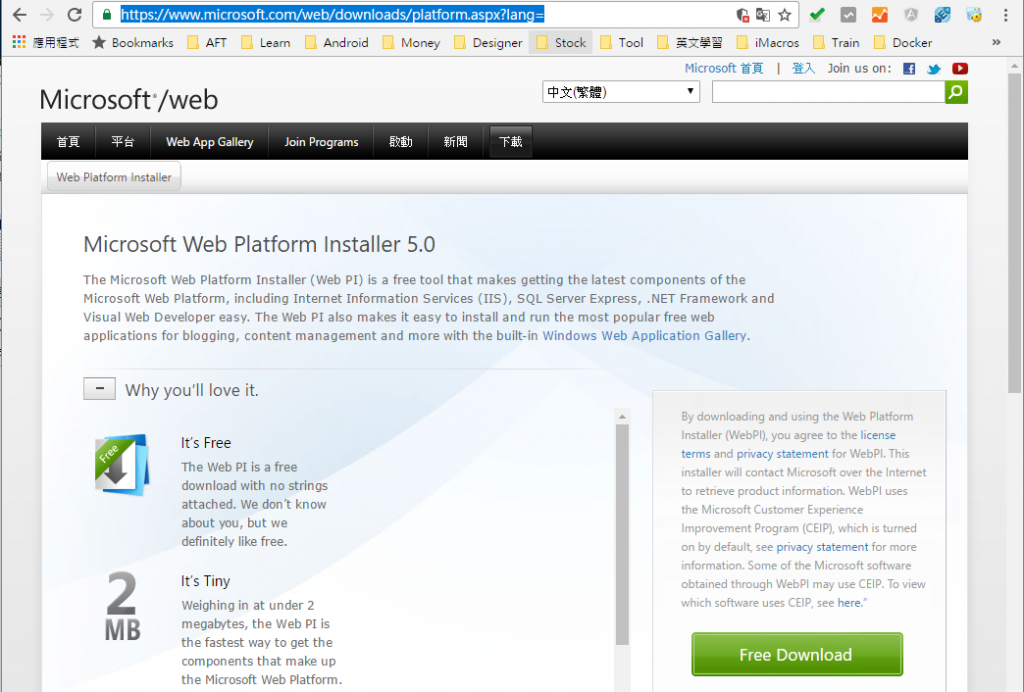
Step 1.前往 Microsoft /web 下載 Microsoft web platform installer
Step 2.開啟安裝程式
Step 3.搜尋 Web Deploy,勾選 Web Deploy 3.6 , 點選 install 按鈕
Step 4. 安裝完成後,開啟服務確認 webdeploy service有啟動。
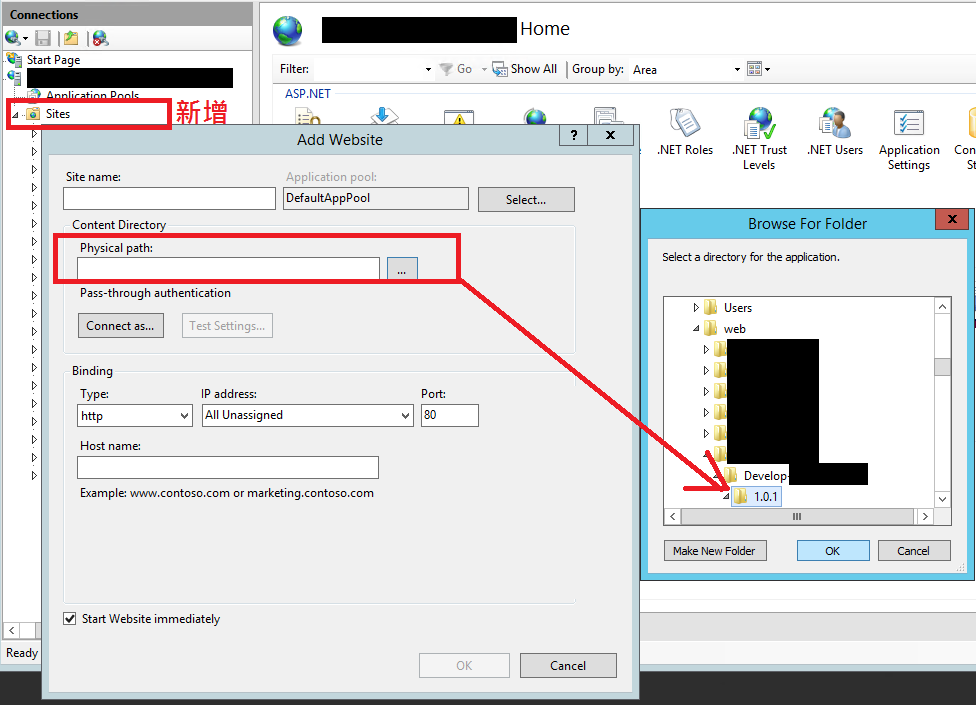
同上篇方式,建立 網站資料夾/版本資料夾

`
我們這次使用方式為透過 gulp 執行 powershell指令,請參考下列指令:
註1:請確認您的使用者權限(有IIS使用權限)
註2:可依需求更改參數
msdeploy.exe
'-verb:sync'
'-source:contentPath=C:\SourceFolder'
'-dest:contentPath="C:\DestFolder", ComputerName="http://domain_or_ip/MSDeployAgentService" ,UserName="user", Password="passwrod",AuthType="NTLM"'
'-allowUntrusted'
Step 1. gulpfile.js 內使用 程式碼如下:
註1:__dirname 為 gulp 語法,取得目前所在檔案路徑(指取得agnet folder)
註2:DestFolder 為 IIS 所設定的實體路徑
註3:WebDeploy服務安裝後,預設網址為http://Your_Domain/MSDeployAgentService
var gulp = require('gulp'),
    args = require('yargs').argv;

gulp.task('webDeploy', function() {
    var siteName = "SiteName";
    var webDeployUrl ="http://Domain/MSDeployAgentService";
    var sourcePath = "SourcePath";
    var spawn = require("child_process").spawn,child;

        child = spawn("powershell.exe",['msdeploy.exe \'-verb:sync\' \'-source:contentPath=' + __dirname + '\\' + sourcePath +'\' \'-dest:contentPath="C:\\web\\ProjectName\\' + siteName + '\\' + args.buildVersion + '",ComputerName="'+ webDeployUrl +'",UserName="duran.hsieh",Password="123456",AuthType="NTLM"\' \'-allowUntrusted\'']);
        child.stdout.on("data",function(data){
            console.log("Powershell Data: " + data);

        });
        child.stderr.on("data",function(data){
            console.log("Powershell Errors: " + data);

        });
        child.on("exit",function(){
            console.log("Powershell Script finished");
        });
        child.stdin.end();
});
Step 2. 輸入指令進行測試
gulp webDeploy --project-name Aft.Project --build-version 2.0.0


`
Q1. Connecting to remote server failed with the following error message : The WinRM client
cannot process the request. Default authentication may be used with an IP address under the following conditions: the transport is HTTPS or the destination is in the TrustedHosts list, and explicit credentials are provided. Use winrm.cmd to configure TrustedHosts. Note that computers in the TrustedHosts list might not be authenticated. For more information on how to set TrustedHosts run the following command: winrm help config. For more information, see the about_Remote_Troubleshooting Help topic.
A:使用以下指令增加信任清單
winrm set winrm/config/client '@{TrustedHosts="machineA,machineB"}'
Q2. Connecting to remote server 10.72.102.155 failed with the following error message :
WinRM cannot complete the operation. Verify that the specified computer name is valid, that the computer is accessible over the network, and that a firewall exception for the WinRM service is enabled and allows access from this computer. By default, the WinRM firewall exception for public profiles limits access to remote computers within the same local subnet. For more information, see the about_Remote_Troubleshooting Help topic.
A.輸入指令 Enable-PSRemoting
參考下面這篇部落格進行設定:
https://blogs.technet.microsoft.com/heyscriptingguy/2012/12/30/understanding-powershell-remote-management/
上一篇:Deploy : Robocopy
下一篇:Deploy : FTP
返回目錄
自己的部落格 : http://dog0416.blogspot.tw/2016/09/gulpnet-web-applicationci-gulp-ci_21.html
註:本系列文章將於2016 IT邦幫忙鐵人賽進行同時,一併發佈於個人blogger與dotblog。

注意: Microsoft web platform installer (WebPI) 將於 2022 年 7 月 1 日停用。有關詳細信息,請參閱此博客文章:https://blogs.iis.net/iisteam/web-platform-installer-end-of-support-feed