
利用Day12建立好的ASP.NET CORE環境來測試, 首先新增一個View的資料夾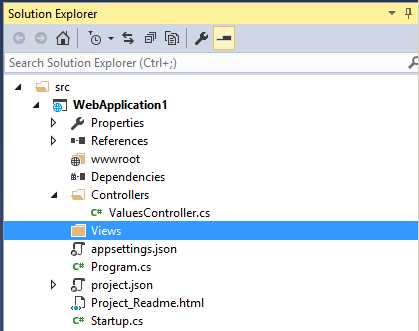
在Views目錄下, 新增一個MVC View Start Page, 檔名採預設如下所示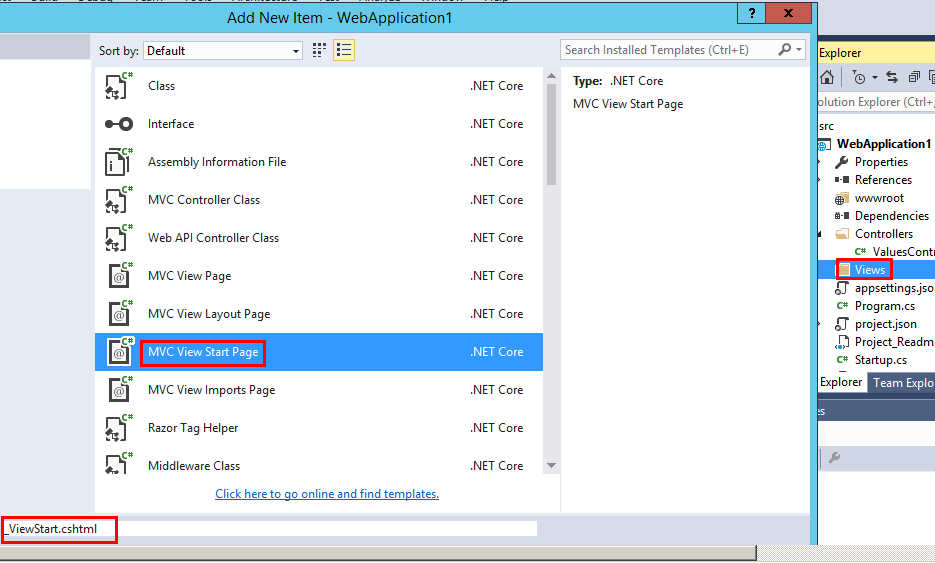
一樣在Views目錄下, 新增一個MVC View Import Page, 檔名採預設如下所示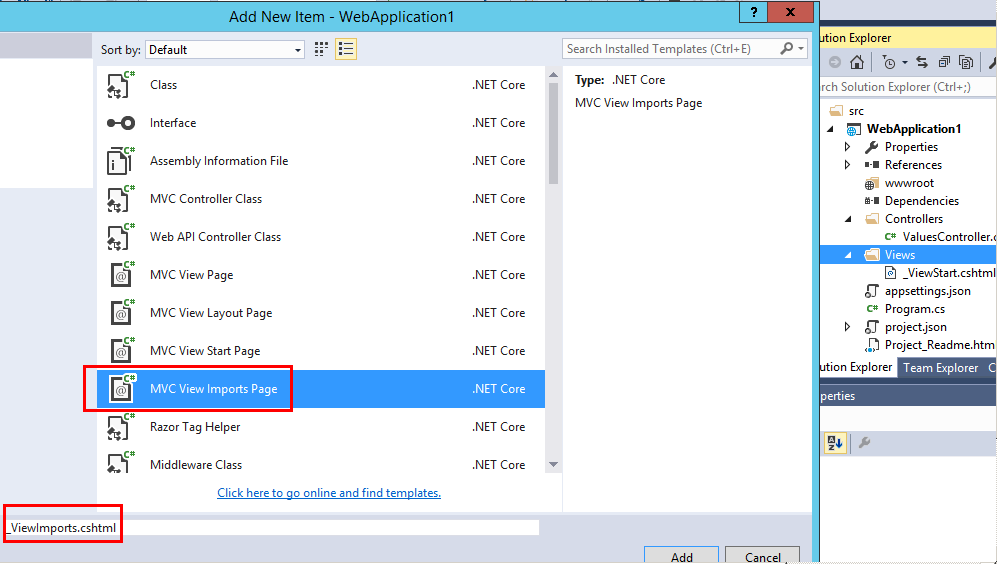
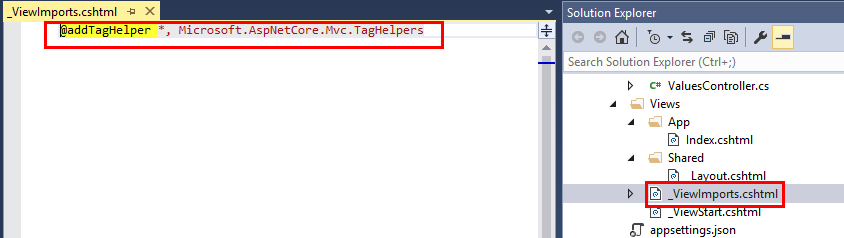
在_ViewImports.cshtml加入底下程式碼,
...
@addTagHelper *, Microsoft.AspNetCore.Mvc.TagHelpers
...
接下來在View的資料夾下載新增一個Shared資料夾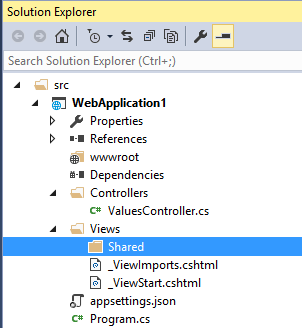
新增一個_Layout.cshtml檔案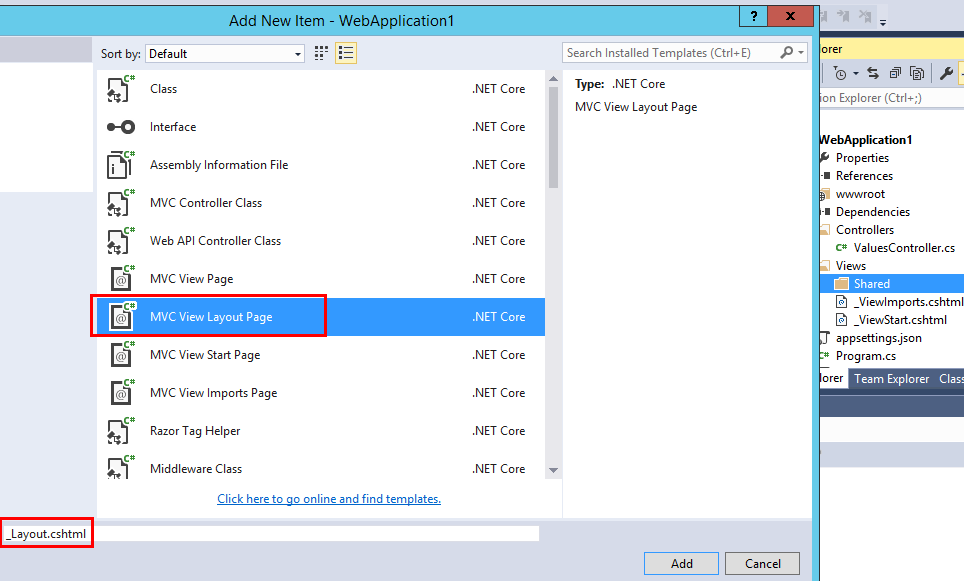
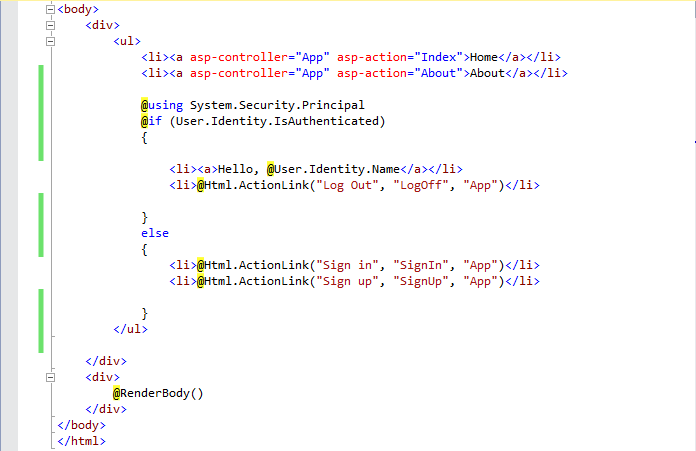
在_Layout.cshtml加入底下程式碼, 而_Layout.cshtml可以視作樣板, 每一個View都會套用這個設定, 類似WEB FORM的MaterPage, 而@RenderBody(), 就是可以拿來客製的內容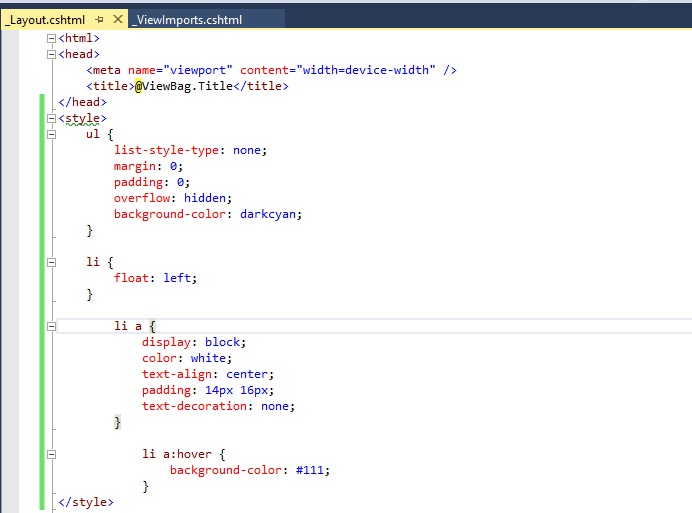
View設定完成後, 接著設定Controller, 在Controllers的目錄下, 新增一個AppController.cs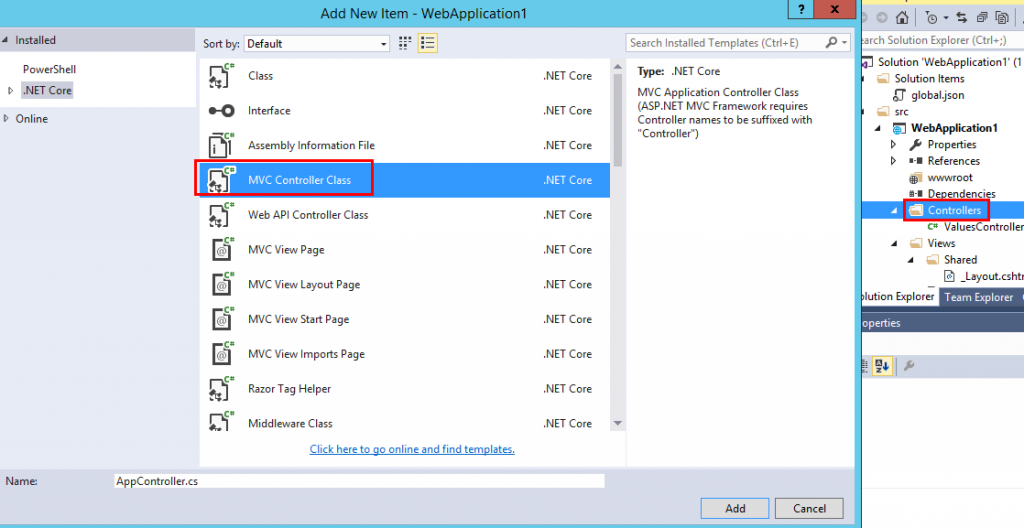
打開AppController.cs如下, 在預設Index()會回傳一個View到前端, 接下就是要建Index的View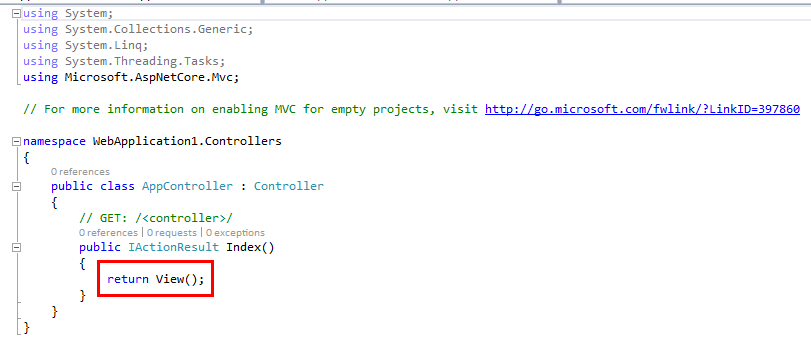
回到View的資料夾, 再新增一個App的資料夾, 並新增Index.cshtml如下圖所示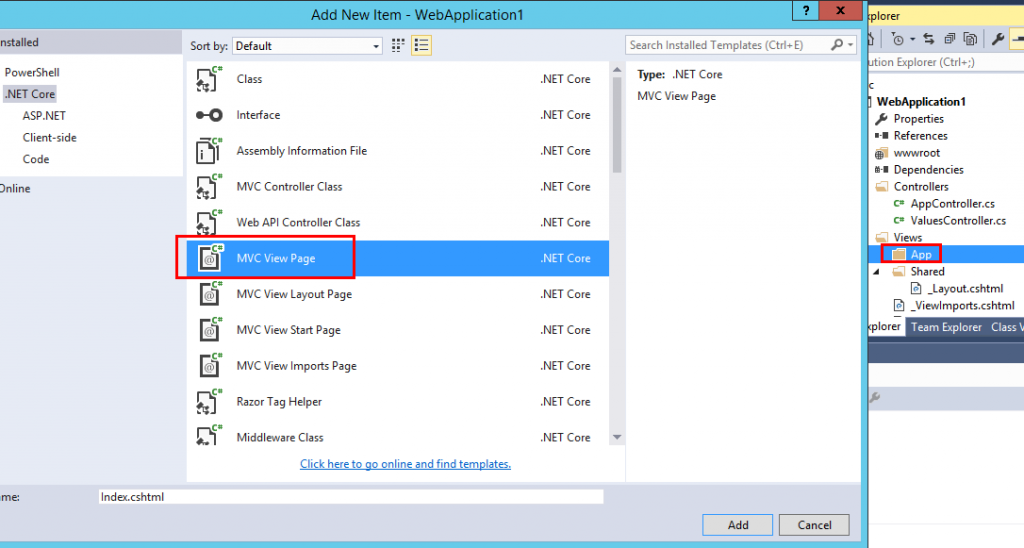
打開Index.cshtml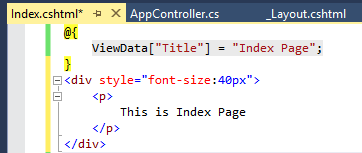
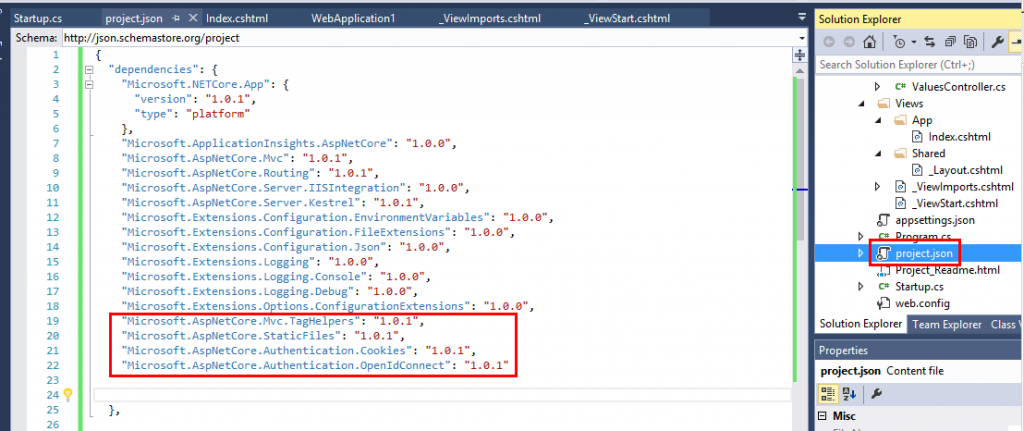
再來就是試跑看看Index Page是否能正常執行? 到根目錄下找到project.json, 並打開來, 加入底下紅框的參考
...
"Microsoft.AspNetCore.Mvc.TagHelpers": "1.0.1",
"Microsoft.AspNetCore.StaticFiles": "1.0.1",
"Microsoft.AspNetCore.Authentication.Cookies": "1.0.1",
"Microsoft.AspNetCore.Authentication.OpenIdConnect": "1.0.1"
...
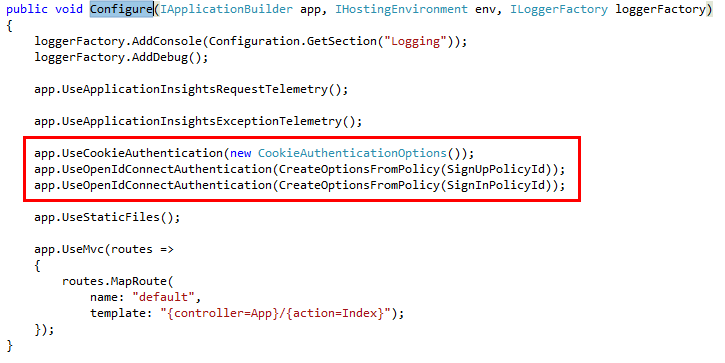
到根目錄下找到Startup.cs, 找到Configure函式修改如下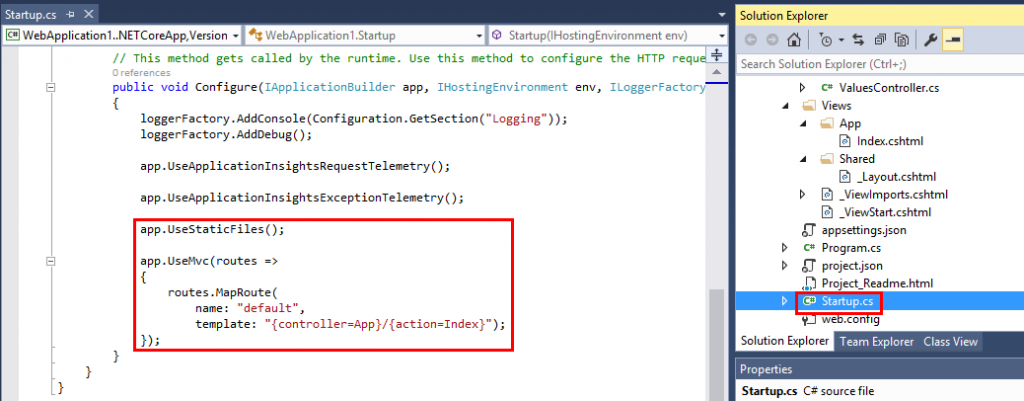
接著到專案屬性的Debug頁籤, 設定起始位置, 如下圖所示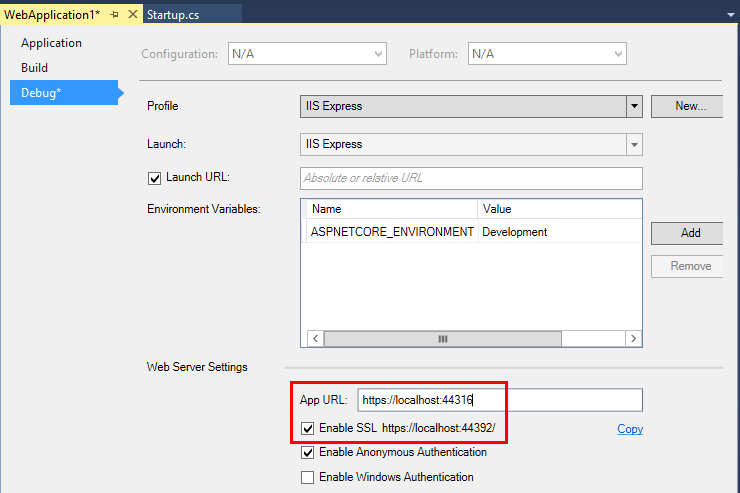
測試成功如下圖,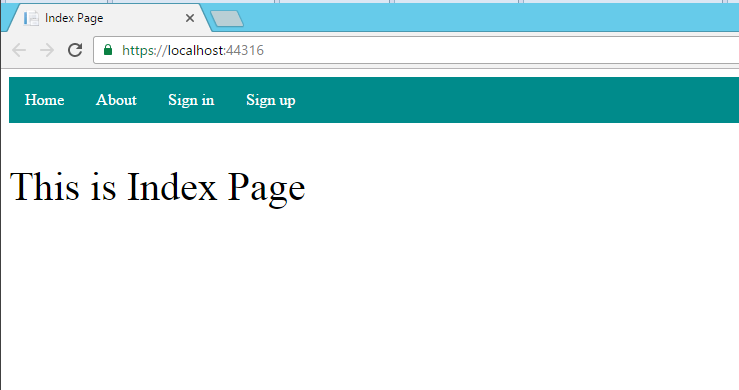
接著到App目錄下新增一個About.cshtml的MVC View Page, 用來測試頁面授權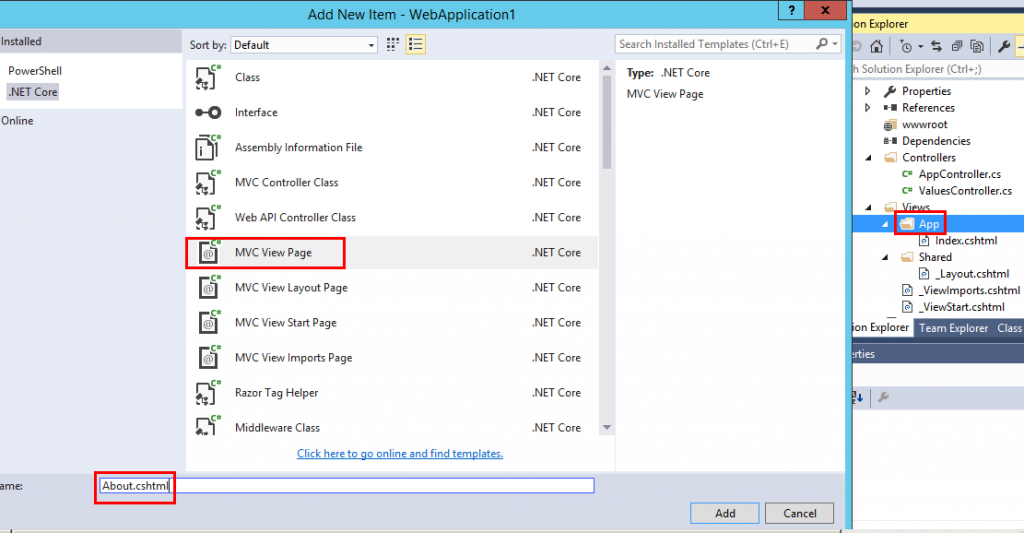
打開About.cshtml, 輸入底下程式碼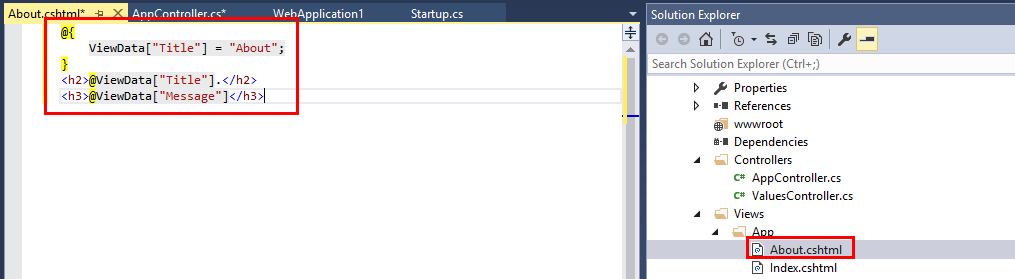
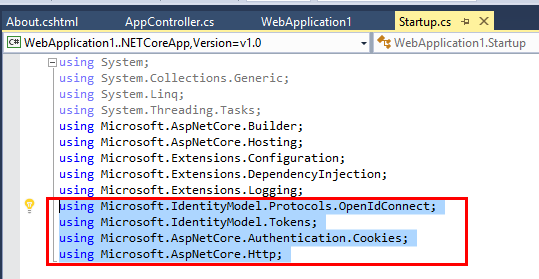
再來回到Startup.cs, 設定Azure Active Directory B2C 相關配置, 先加入底下Namespace
...
using Microsoft.IdentityModel.Protocols.OpenIdConnect;
using Microsoft.IdentityModel.Tokens;
using Microsoft.AspNetCore.Authentication.Cookies;
using Microsoft.AspNetCore.Http;
...
接著設定靜態字串的連接參數
到ConfigureServices注入認證服務, 如下所示
...
services.AddAuthentication(sharedOptions => sharedOptions.SignInScheme = CookieAuthenticationDefaults.AuthenticationScheme);
...
新增一個CreateOptionsFromPolicy函式如下, 等等在Configure函式裡叫用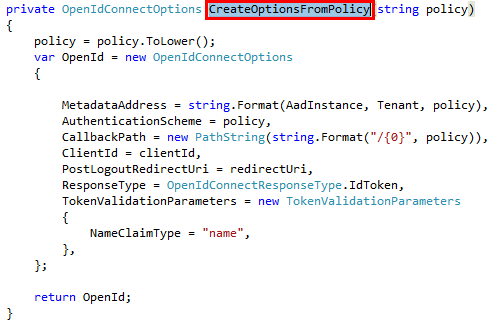
到Configure函式新增底下程式碼
...
app.UseCookieAuthentication(new CookieAuthenticationOptions());
app.UseOpenIdConnectAuthentication(CreateOptionsFromPolicy(SignUpPolicyId));
app.UseOpenIdConnectAuthentication(CreateOptionsFromPolicy(SignInPolicyId));
...
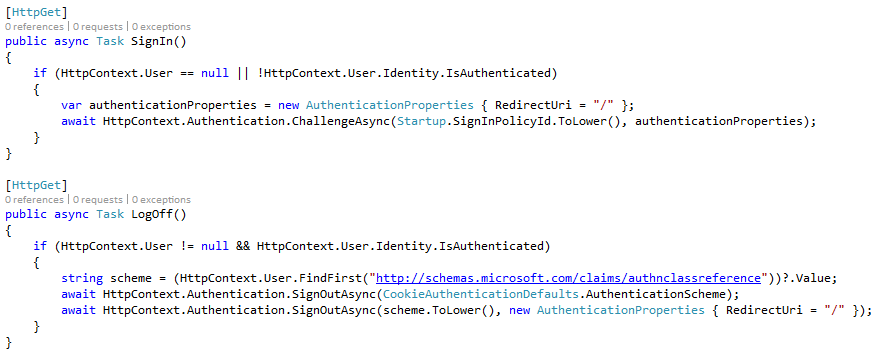
最後到AppController.cs, 新增底下程式碼, 完成之後編譯一下專案看有無任何錯誤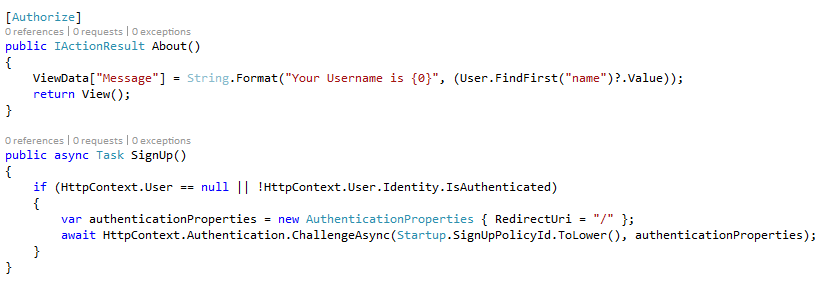
按下Debug, 點選About, 測試是否會因設定了[Authorize]的宣告進入驗證畫面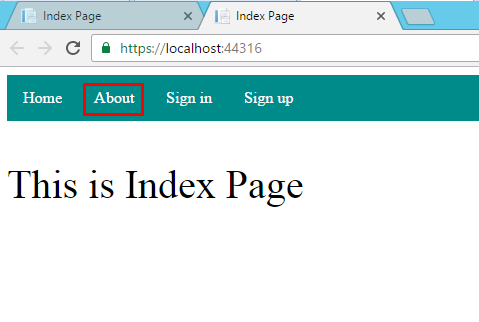
進入驗證畫面如下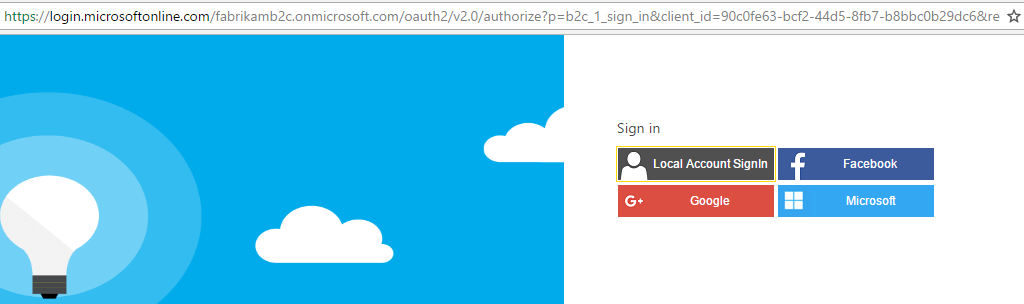
一旦驗證便會導回About頁面如下, 此時就可以看到名字有被抓到, 然後Log Out也出現, 到這邊應該算是大功告成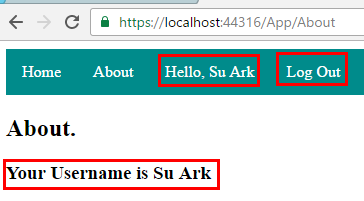
等等好像漏測了甚麼? 應該拿自己建的Azure Active Directory B2C來試一下,
回到Startup.cs將Tenant與clientId, 換成自己的版本, 立馬測試一下
結果按下About, Sign in, Sign out都是畫面閃一下, 有連到驗證網址如下, 但是沒有驗證畫面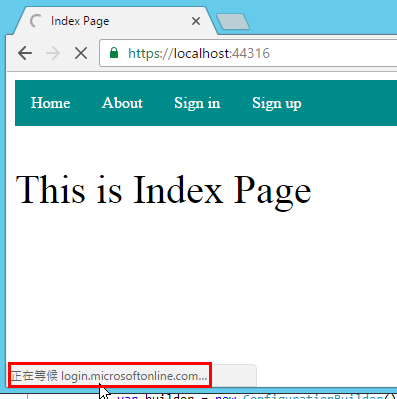
當下覺得被玩了 , 又要打怪, 這隻怪花了我足足三天, 然後是因為自己英文太爛沒注意到, 英文真的很重要, 很重要, 很重要對程式猿或是攻城獅來說
 , 解法在底下網站
https://azure.microsoft.com/zh-tw/resources/samples/active-directory-dotnet-webapp-openidconnect-aspnetcore-b2c/
最關鍵的一段話, 真是有看沒有懂系列之一
後來靜下心想, 不會是在Azure Portal做設定吧, 回到Application設定如下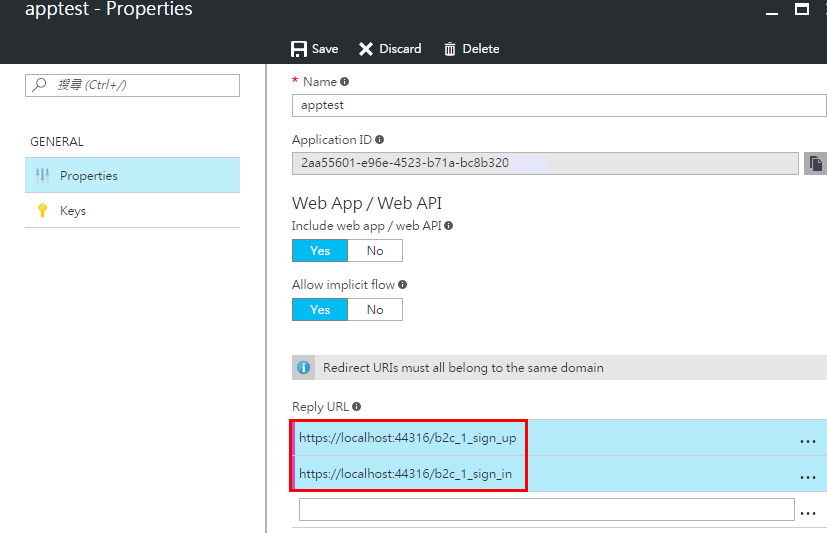
之後再跑一次站台, 成功畫面如下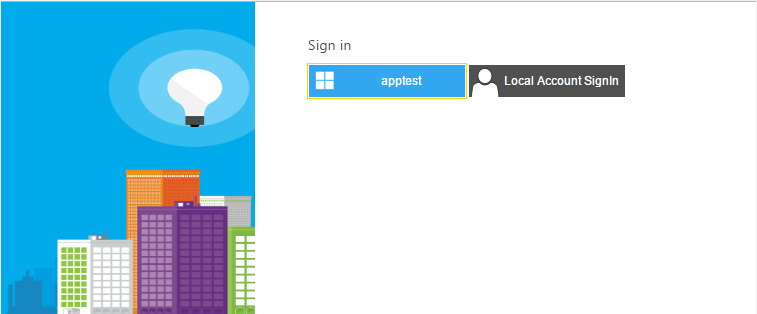
本文與Source Code主要參考
https://docs.microsoft.com/en-us/aspnet/core/tutorials/
https://github.com/Azure-Samples/active-directory-dotnet-webapp-openidconnect-aspnetcore-b2c
後記: 透過這個實測, 大概對ASP.NET Core開發方式有點概念了, 跟WEB FORM真的是大相逕庭, 而且沒想到最後還被ASP.NET Core出了個暗招

