還記得前天我們已經把LINEBot的provider寫完了嗎?
今天就來實作推送通知看看吧!
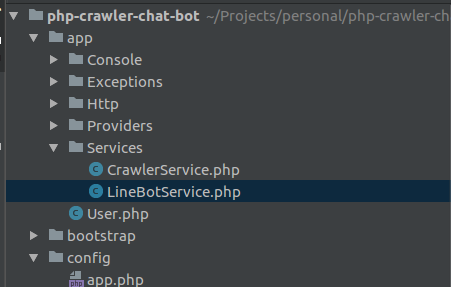
首先,在你的專案底下新增LineBotService.php,裡面先長這樣
<?php
namespace App\Services;

class LineBotService
{
    /** @var LINEBot */
    private $lineBot;
    private $lineUserId;

    public function __construct($lineUserId)
    {
        $this->lineUserId = $lineUserId;
        $this->lineBot = app(LINEBot::class);
    }

    public function fake()
    {
    }

    /**
     * @param TemplateMessageBuilder|string $content
     * @return Response
     */
    public function pushMessage($content): Response
    {
        if (is_string($content)) {
            $content = new TextMessageBuilder($content);
        }
        return $this->lineBot->pushMessage($this->lineUserId, $content);
    }
}
這時候會發現我一開始就要拿這物件時,就要先給他$lineUserId。
這樣有熟悉的感覺嗎?
沒錯,你的AppServiceProvider.php要再多加入這個! 參考
    /**
     * Register any application services.
     *
     * @return void
     */
    public function register()
    {
        $this->lineBotRegister();
        $this->lineBotServiceRegister();
    }

    (...略)
    private function lineBotServiceRegister()
    {
        $this->app->singleton(LineBotService::class, function () {
            return new LineBotService(env('LINE_USER_ID'));
        });
    }
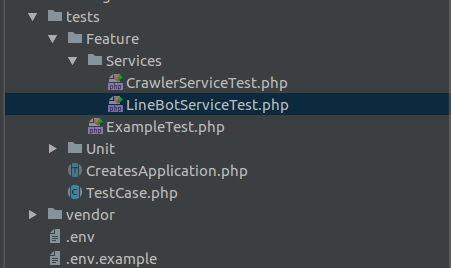
現在,你最基本的推送訊息已經做好了!試著寫些測試看看吧! 參考
<?php
namespace Tests\Feature\Services;

use App\Services\LineBotService;
use Tests\TestCase;

class LineBotServiceTest extends TestCase
{
    /** @var  LineBotService */
    private $lineBotService;

    public function setUp()
    {
        parent::setUp(); // TODO: Change the autogenerated stub
        $this->lineBotService = app(LineBotService::class);
    }

    public function tearDown()
    {
        parent::tearDown(); // TODO: Change the autogenerated stub
    }

    public function testPushMessage()
    {
        $response = $this->lineBotService->pushMessage('Test from laravel.');

        $this->assertEquals(200, $response->getHTTPStatus());
    }
}
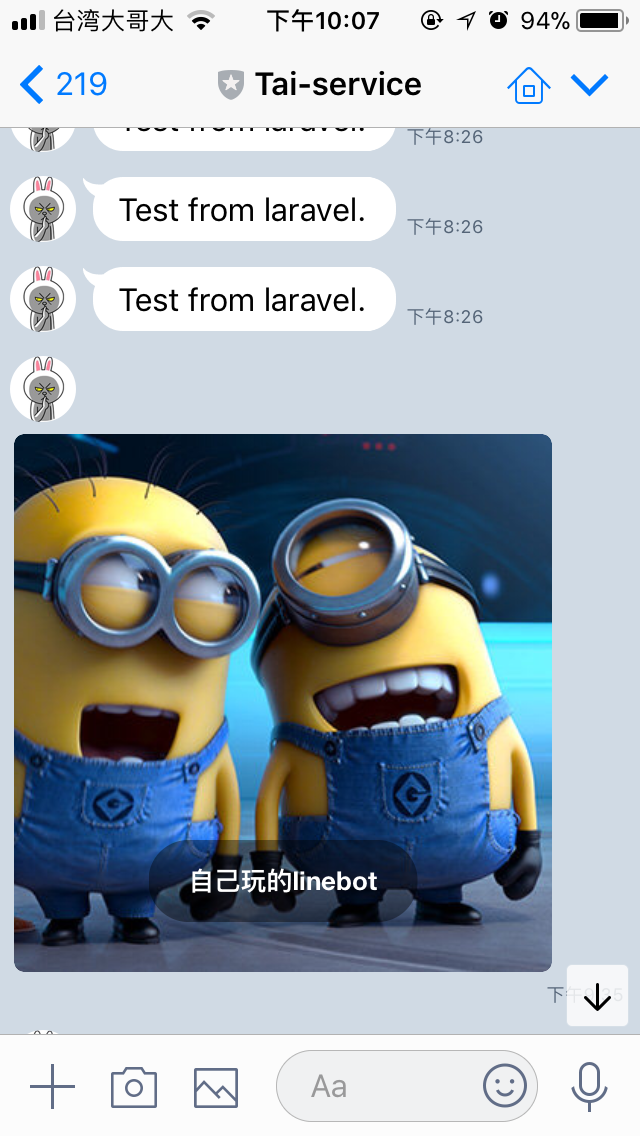
接著執行下面這串指令,你的手機應該就會收到Line的訊息了!記得要先把你的機器人加入自己賴的連絡人清單嘿!
php vendor/bin/phpunit tests/Feature/Services/LineBotServiceTest.php
如果確定沒問題可以收到,可以加入以下這行!
    public function testPushMessage()
    {
        $this->markTestSkipped('OK!');
        (...略)
    }
先把他Skip起來,我們只要知道這功能可以實作就好~ 參考

接下來你一定會想推送比較酷炫的樣板格式,最好是還能夾帶圖片的,這樣比較潮!
明天我們就來談談傳送樣板上遇到的雷吧!
