config.yml作一些設定首先安裝自動發佈到github的npm套件hexo-deployer-git$ npm install hexo-deployer-git --save
接著設定hexo中的config.yml檔
先找到以下程式碼
# Deployment
## Docs: http://hexo.io/docs/deployment.html
deploy:
  type:
接著修改成
# Deployment
## Docs: http://hexo.io/docs/deployment.html
deploy:
  type: git
  repository:  git@github.com:github帳號/github帳號.github.io.git
  branch: master
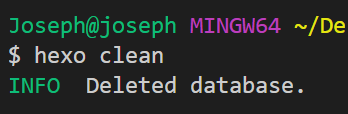
$ hexo clean //刪除已經建立的靜態網頁
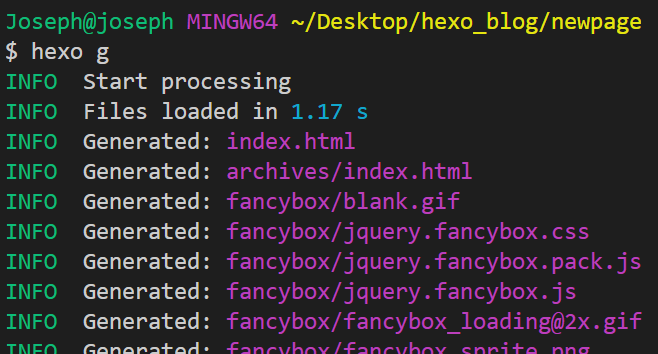
$ hexo g //產生新的靜態檔案
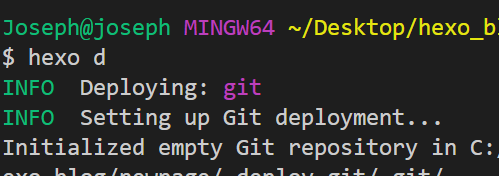
$ hexo d //發佈到git


 iThome鐵人賽