 event.waitUntil(
      caches.open('static')
        .then(function(cache){
            cache.add('/index.html');
            cache.add('/src/js/app.js');
            cache.add('/src/css/app.css');
        })
    );
昨日,我們快取了三個基本的檔案,包含網頁、js和css檔案,照正常情況下,
我們在離線(Offline)的情形下,應該一樣能讀取網站,
因此,當我們執行的時候,一樣先「Application/Service Workers」將新的service worker點選skipWaiting,
在註冊新的Service Worker後,就會幫我們快取上面三個檔案,接著將「Offline」打勾,或到「Network」也可以找到該選項,打勾代表模擬現在沒有網路的情況下,網站會呈現的狀況,接著重整(F5)畫面。
會發現奇怪,網站應該有快取「index.html」,可是在網頁上卻沒有顯示。
那是因為,我們在fetch時候發出的request是/而不是index/html,因此在fetch時候抓到的request會對不到key所以在cache終會找不到資源,而我們將網址改成
http://localhost:8080/index.html
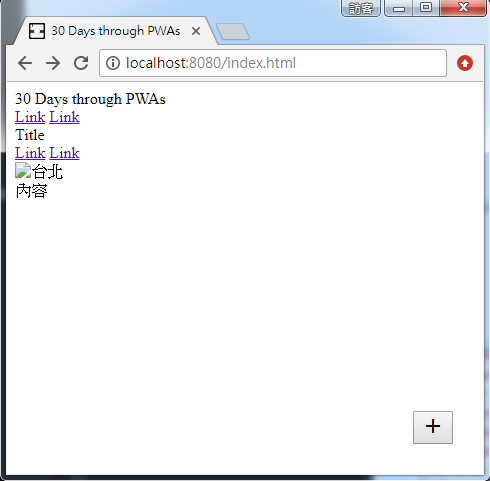
這時候網頁就出現了!
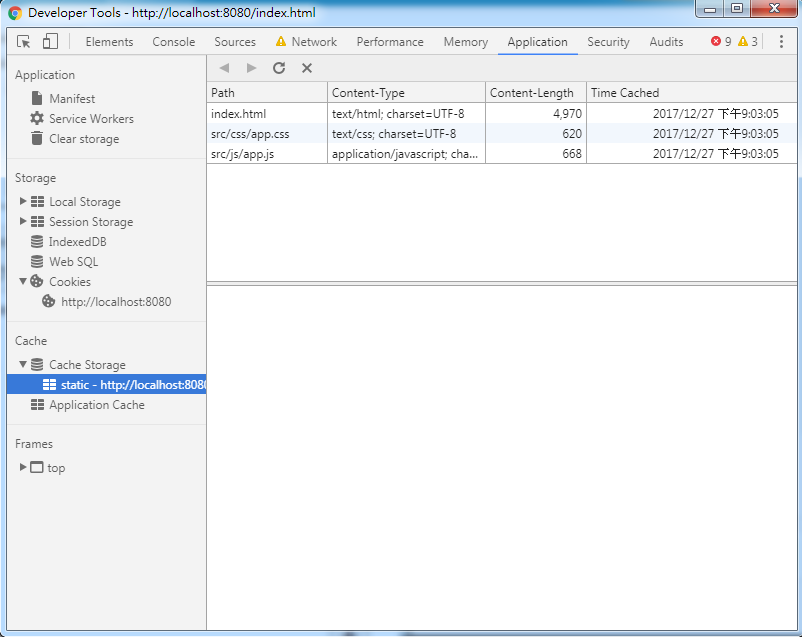
打開Console視窗到「Application/Cache Storage」,也可以查看成功快取的資源路徑。
cache.add('/');
要解決預設網站使用根目錄沒有抓到檔案,我們只需要在快取的時候,將根目錄的也快取起來,這樣再fetch的時候就能對應到request。
接著很快的會發現,我需要快取多個檔案,不就要寫很多個add看起來很攏長?
addAll可以讓我們放一個陣列進去,這樣就能簡單將多個url一次快取起來。
 caches.open('static')
        .then(function(cache){
            cache.addAll([
                '/',
                '/index.html',
                '/src/js/app.js',
                '/src/js/post.js',
                '/src/js/material.min.js',
                '/src/css/material.blue-red.min.css',
                '/src/css/app.css',
                '/src/images/demo.jpg',
                'https://fonts.googleapis.com/css?family=Roboto:400,700',
                'https://fonts.googleapis.com/icon?family=Material+Icons'
            ]);
        })
delete只要要砍掉的key,快取中找到對應的資源,就能直接刪除快取記錄
//template
cache.delete(request,{options}).then(function(true) {
});
//舉例
caches.open('static').then(function(cache) {
  cache.delete('/src/js/app.js').then(function(response) {
  });
})
如上,我們再快取叫static的資源找有沒有/src/js/app.js的快取資源,找到就把他移除。
透過put可以將新資源放入現在已存在的快取資源中。
//template
cache.put(request, response).then(function() {
});
//舉例
var response;
var cachedResponse = caches.match(event.request).catch(function() {
  return fetch(event.request);
}).then(function(r) {
  response = r;
  caches.open('static').then(function(cache) {
    cache.put(event.request, response);
  });
  return response.clone();
}).catch(function() {
  return caches.match('/images/dog.png');
});
match)對應的資源,就直接回傳,如果沒有就像伺服器發需求response)後,將新的資源透過put放進已經存在的static快取,並clone()原本拿到的資源並回傳/images/dog.png的資源。從名稱上的意思就是,可以一次將快取的資源全部撈出來。
//template
cache.keys(request,{options}).then(function(keys) {
  //對拿到的key做事情
});
//將static快取中的key全部刪除
caches.open('static').then(function(cache) {
  cache.keys().then(function(keys) {
    keys.forEach(function(request, index, array) {
      cache.delete(request);
    });
  });
})
將符合url規則的資源抓出來
//template
cache.matchAll(request,{options}).then(function(response) {
  //對比對出來的資源做處理
});

caches.open('static').then(function(cache) {
  cache.matchAll('/js/').then(function(response) {
    response.forEach(function(element, index, array) {
      cache.delete(element);
    });
  });
})
如上,我們將static快取資源中的js檔案全部抓出來,並透過delete,將它刪除。
今天快速的瀏覽了,Cache API的使用規則,接下來就要繼續將cache應用在我們專案中囉!