// 省略
import { UserModule } from './user/user.module';

@NgModule({
// ...
    imports: [
        // ...
        UserModule
    ]
// ...
angular-cli 產生一個新的元件 (component)ng generate component login
修改 app/app-routing.module.ts 的 routes,加入 user path
const routes: Routes = [{
    path: '', children: [
        { path: 'home', component: HomeComponent },
        { path: 'user', redirectTo: '/user', pathMatch: 'full' },
        { path: '', redirectTo: '/home', pathMatch: 'full' }
    ]
}];
import { NgModule } from '@angular/core';
import { Routes, RouterModule } from '@angular/router';
import { LoginComponent } from './login/login.component';
const routes: Routes = [
    {
        path: 'user',
        children: [
            { path: 'login', component: LoginComponent }
        ]
    }
];
@NgModule({
    imports: [RouterModule.forChild(routes)],
    exports: [RouterModule]
})
export class UserRoutingModule { }
share 模組加入 user 模組// ... 省略
import { ShareModule } from '../share/share.module';
@NgModule({
imports: [
CommonModule,
UserRoutingModule,
ShareModule
],
declarations: [LoginComponent]
})
export class UserModule { }
這時候點擊首頁的會員登入,應該會出現以下畫面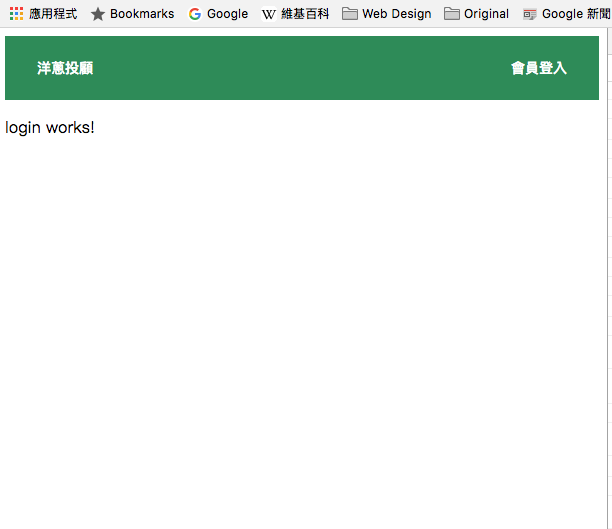
如果選路 (routing) 有問題,不妨打開 app-routing.module.ts 的 enableTracing 如下
@NgModule({
    imports: [RouterModule.forRoot(
        routes,
        { enableTracing: true }
    )],
    exports: [RouterModule]
})
share Module, 我們會用到 mat-card, mat-checkbox, matInput, mat-form-field 以及 ReactiveForms,// ... 省略
import { MatToolbarModule, MatButtonModule, MatCardModule, MatFormFieldModule, MatCheckboxModule } from '@angular/material';
import { MatInputModule } from '@angular/material';
import { ReactiveFormsModule } from '@angular/forms';
@NgModule({
imports: [
CommonModule,
MatToolbarModule,
MatButtonModule,
MatCardModule,
MatFormFieldModule,
MatCheckboxModule,
MatInputModule,
ReactiveFormsModule
],
exports: [
MatToolbarModule,
MatButtonModule,
MatCardModule,
MatFormFieldModule,
MatCheckboxModule,
MatInputModule,
ReactiveFormsModule
],
declarations: []
})
export class ShareModule { }
<div class="container">
  <mat-card fxFlex class="login-card">
    <mat-card-title class="title">登入</mat-card-title>
    <form [formGroup]="form" (ngSubmit)="login()" novalidate>
      <mat-card-content>
        <mat-form-field>
          <input matInput placeholder="使用者名稱" formControlName="username" required>
          <div *ngIf="username.invalid && (username.dirty && username.touched)">
            <mat-error *ngIf="username.errors.required">請輸入使用者名稱</mat-error>
            <mat-error *ngIf="username.errors.pattern">請輸入至少五個字母,數字</mat-error>
          </div>
        </mat-form-field>

        <mat-form-field>
          <input matInput type="password" placeholder="密碼" formControlName="password" required>
          <div *ngIf="password.invalid && (password.dirty && password.touched)">
            <mat-error *ngIf="password.errors.required">請輸入密碼</mat-error>
            <mat-error *ngIf="password.errors.pattern">請輸入至少五個字母,數字</mat-error>
          </div>
        </mat-form-field>

        <div>
          <mat-checkbox formControlName="rememberMe" class="chk">記得我</mat-checkbox>
        </div>
      </mat-card-content>
      <mat-card-actions class="btn-center">
        <button mat-raised-button type="submit" [disabled]="!form.valid">登入</button>
        <button mat-raised-button type="cancel">取消</button>
      </mat-card-actions>
    </form>
  </mat-card>
</div>
基本上是用一個 mat-card 包含一個 ReactiveForm 的 FormGroup,三個欄位 formControlName: username, password, rememberMe,再加入一些驗證以及錯誤提示,關於 ReactiveForm 請參考官方文件
.container {
  height: 400px;
  background: url(https://images.pexels.com/photos/731658/pexels-photo-731658.jpeg?w=940&h=650&auto=compress&cs=tinysrgb) no-repeat center bottom;
  background-position: cover;
  background-size: cover;
  position: relative;
  overflow: hidden;
}

.container:before {
    content: "";
    display: block;
    width: 100%;
    background-color: rgba(0, 0, 0, .5);
    height: 100vh;
}

.login-card {
  max-width: 350px;
  position: absolute;
  top: 10%;
  left: 50%;
  transform: translateX(-50%);
}
.title {
  text-align: center;
}

.btn-center {
  display: flex;
  justify-content: center;
}
跟首頁一樣,壓一個圖形,將 mat-card 設在畫面中間,寬度為 350px。
修改後的畫面如下: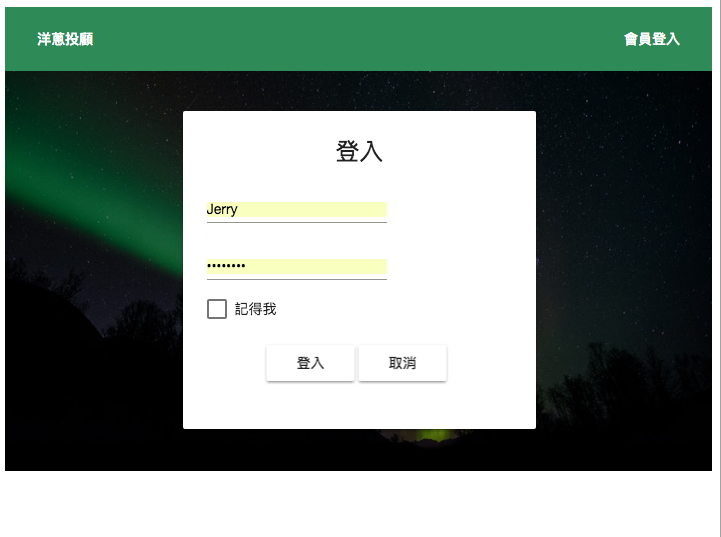
典型的方式來建立一個 ReactiveForm
import { Component, OnInit } from '@angular/core';
import { FormBuilder, FormGroup, FormControl, Validators } from '@angular/forms';
@Component({
    selector: 'app-login',
    templateUrl: './login.component.html',
    styleUrls: ['./login.component.css']
})
export class LoginComponent implements OnInit {

    public form: FormGroup;
    constructor(
        private fb: FormBuilder
    ) { }

    ngOnInit() {
        this.form = this.fb.group({
            username: ['', Validators.pattern('^[a-zA-Z0-9-_]{5,20}')],
            password: ['', Validators.pattern('^[a-zA-Z0-9-_]{5,20}')],
            rememberMe: [true]
        })
    }
    get username() { return this.form.get('username'); }
    get password() { return this.form.get('password'); }
    get rememberMe() { return this.form.get('rememberMe') }

    login() {
    }
}
FormBuilder 來建立這個表格username 跟 password 兩個驗證,required 跟 pattern,pattern 使用正規表示式 (Regular Expression) 來做驗證getter 給 mat-error 使用(ngSubmit) = "login()",我們預留 login() method,當使用者送出(submit)表格後,接下來要到後端做驗證接下來我們來做一個簡單的後端