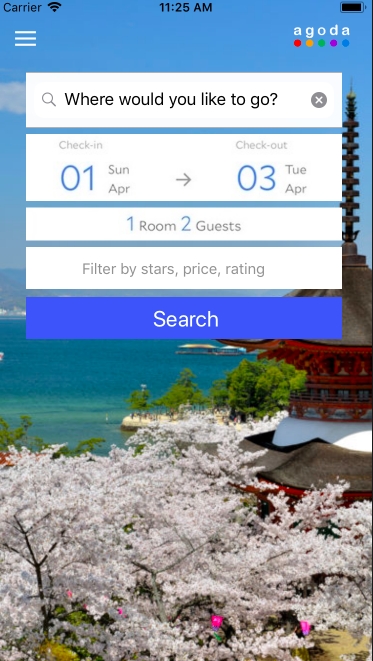
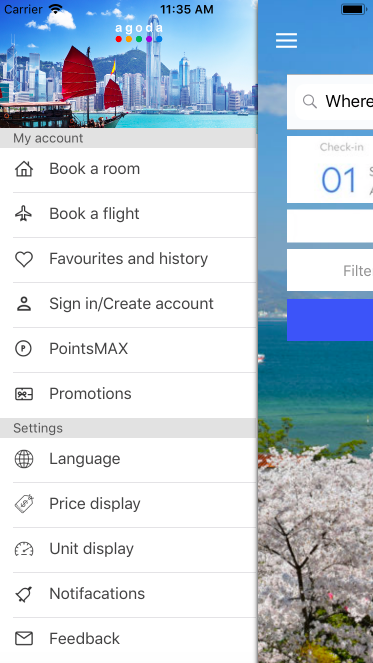
今天要來繼續實作 Side Menu 表格部分,由於昨天的方式失敗了,因此決定將原本的表格單獨拉出來做,原本後置控制器拉進 table view 的部分,改成拉進一個 container view,而 container view 自帶的 view controller 我們將它刪除改為 table view controller。
視圖如下: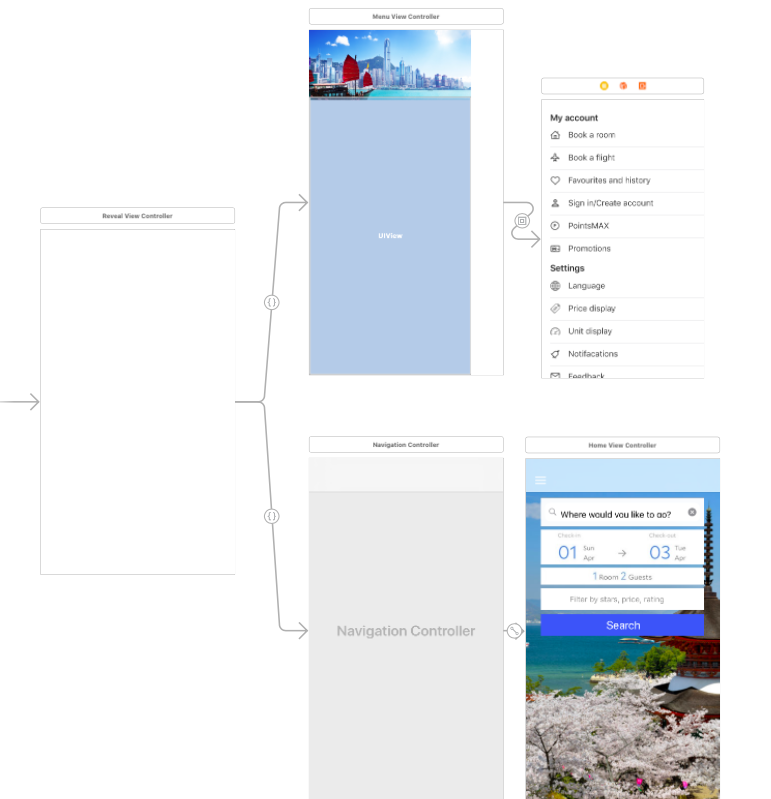
由於 Side Menu 的選項幾乎是固定的,因此剛好藉由這個 table view controller 做靜態表格的設定,直接給上 headers 和 rows,透過 storyboard 這個方式反而更為直覺簡單。
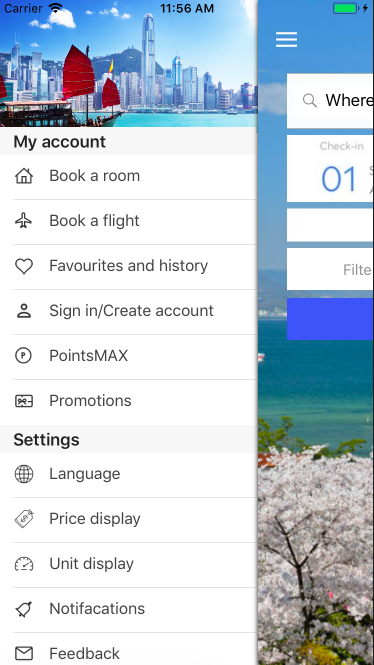
接下來要微調一下 section 的背景顏色、高度以及標題文字大小、顏色,因此在這裡新增一個 cocoa touch class 且設定為 UITableViewController 的子類。再將 table view controller 的class 指定為它。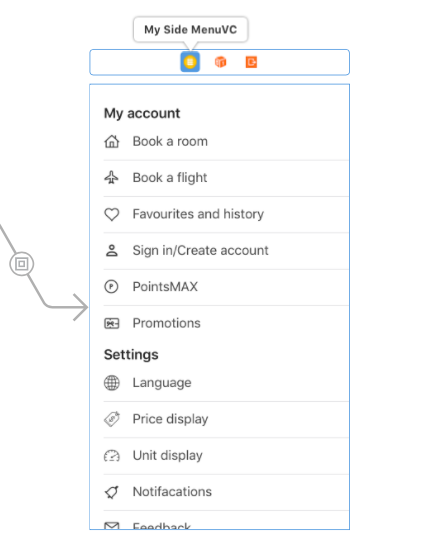
修改 section 高度以及背景色:
override func viewDidLoad() {
        super.viewDidLoad()

        tableView.sectionHeaderHeight = 20
        tableView.backgroundColor = #colorLiteral(red: 0.9177976907, green: 0.9177976907, blue: 0.9177976907, alpha: 1)
}
在選擇顏色時,輸入 Color Literal 可以透過色塊做更為仔細的顏色調整。
修改文字大小、顏色:
override func tableView(_ tableView: UITableView, willDisplayHeaderView view: UIView, forSection section: Int) {
        let header = view as! UITableViewHeaderFooterView
        header.textLabel!.textColor = .darkGray
        header.textLabel!.font = UIFont.systemFont(ofSize: 13)
}
