
上一篇Userdefault 我要存進去
沒辦法直接存進去
Userdefault只能存取 部分類別
我的Model list太特殊必須轉檔在存
網路上教學是轉NSData
存進去 是可以的
但也可以在包一層Array
在包進去也是可以
但也是太麻煩了
所以來試一下Sqite吧
試試看導入SQLite.swift
這所有都在mac cmd執行
也就是終端機
首先cd到你要安裝的專案
cd ~/Desktop/git/Chuhuo/Chuhuo
也可以直接拉進去資料夾
自動幫您設定好路徑
mac真是太神奇了
新增 Podfile 檔案
pod init
基本上使用以下程式碼就可以打開Podfile
並且編輯
vim Podfile
按下Esc 輸入:wq 就可以跳出
當然可以直接點擊Podfile 兩下編輯
也可以使用下面程式開啟
open -a Xcode Podfile
SQLite.swift 網址
https://github.com/stephencelis/SQLite.swift
裡面有
use_frameworks!

target 'YourAppTargetName' do
    pod 'SQLite.swift', '~> 0.11.5'
end
你的Podfile 應該是如下面的
# Uncomment the next line to define a global platform for your project
# platform :ios, '9.0'
target 'SwiftTest' do
  # Comment the next line if you're not using Swift and don't want to use dynamic frameworks
  use_frameworks!
  # Pods for SwiftTest
  target 'SwiftTestTests' do
    inherit! :search_paths
    # Pods for testing
  end
  target 'SwiftTestUITests' do
    inherit! :search_paths
    # Pods for testing
  end
  # 把pod 放在這裡 <<<<<
end
把pod 'SQLite.swift', '~> 0.11.5'
放在上放著解就可以了
接下來執行
pod install
接下來會跑一些下載
與安裝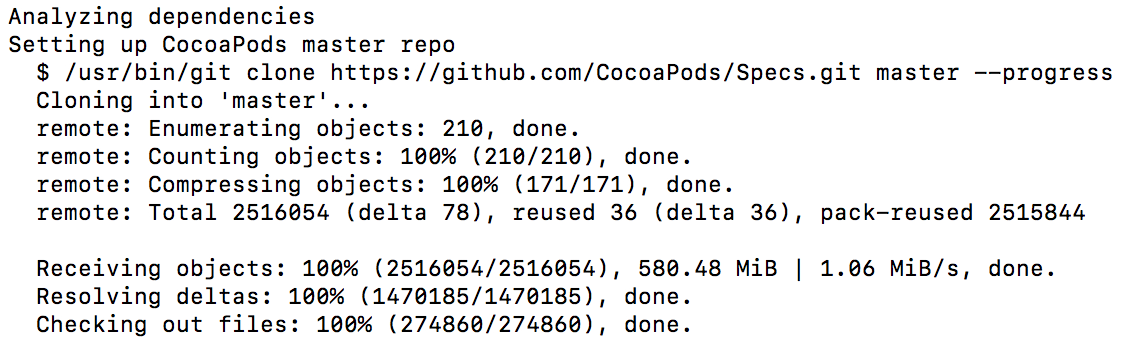
完成以後會在專案資料夾
多了一個 xcworkspace 資料夾
之後開啟xcworkspace 就算完成了

 iThome鐵人賽