昨天,已經貼上完整的程式碼。今天,要討論重點的程式部份,以及實體執行的畫面。
此範列,重點的程式碼如下:
//按上傳檔案的按鈕,要處理時,會用Thread 來處理 Http Post的動作。
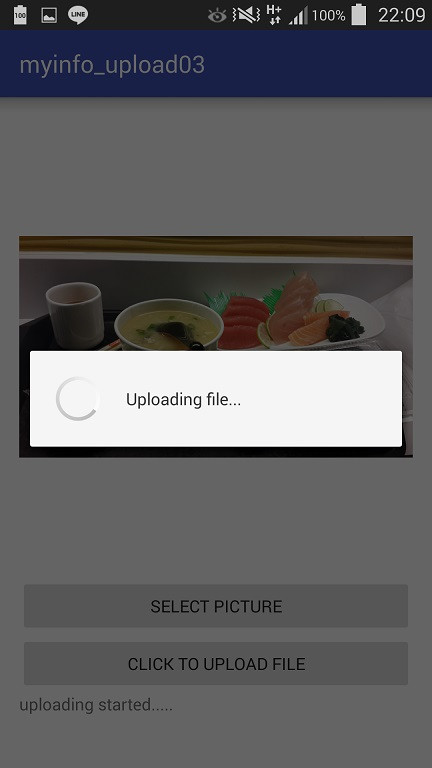
dialog = ProgressDialog.show(MainActivity.this, "", "Uploading file...", true);
messageText.setText("uploading started.....");
new Thread(new Runnable() {
    public void run() {
        uploadFile(imagepath);
    }
}).start();
//使用HttpURLConnection,連到Server瑞的網頁
FileInputStream fileInputStream = new FileInputStream(sourceFile);
URL url = new URL(upLoadServerUri);

//打開 HTTP 連到 URL物件上的網頁,再設定要以多媒體的方式,POST資料到Server端。
conn = (HttpURLConnection) url.openConnection();
conn.setDoInput(true); // Allow Inputs
conn.setDoOutput(true); // Allow Outputs
conn.setUseCaches(false); // Don't use a Cached Copy
conn.setRequestMethod("POST");
conn.setRequestProperty("Connection", "Keep-Alive");
conn.setRequestProperty("ENCTYPE", "multipart/form-data");
conn.setRequestProperty("Content-Type", "multipart/form-data;boundary=" + boundary);
conn.setRequestProperty("uploaded_file", fileName);

dos = new DataOutputStream(conn.getOutputStream());

dos.writeBytes(twoHyphens + boundary + lineEnd);
dos.writeBytes("Content-Disposition: form-data; name=\"uploaded_file\";filename=\""
        + fileName + "\"" + lineEnd);

dos.writeBytes(lineEnd);

//上傳檔案,不是一次就可以傳送上去。要一部份一部份的上傳。
//所以,要先設定一個buffer,將檔案的內容分次上傳。
bytesAvailable = fileInputStream.available();

bufferSize = Math.min(bytesAvailable, maxBufferSize);
buffer = new byte[bufferSize];

bytesRead = fileInputStream.read(buffer, 0, bufferSize);

while (bytesRead > 0) {

    dos.write(buffer, 0, bufferSize);
    bytesAvailable = fileInputStream.available();
    bufferSize = Math.min(bytesAvailable, maxBufferSize);
    bytesRead = fileInputStream.read(buffer, 0, bufferSize);

}
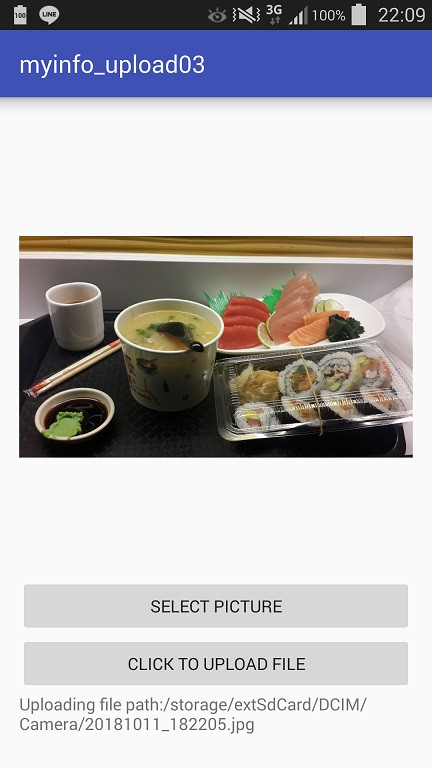
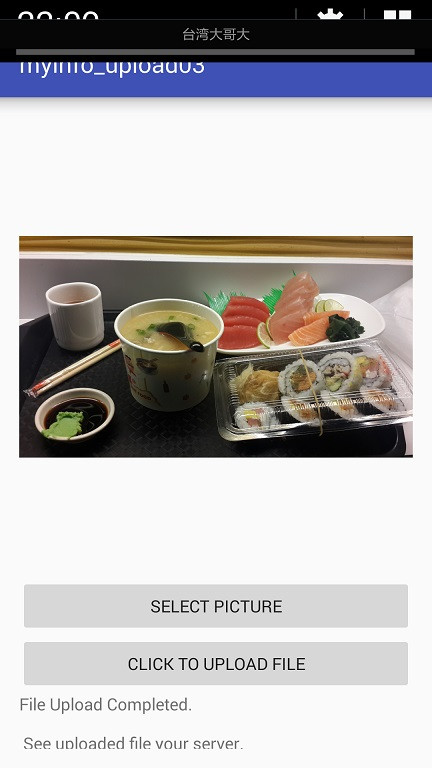
實體執行的畫面(實體版的按鈕文字,我改成英文,是因為我用的手機的Android 4.4版,而android studio 3.2版,無法安裝到舊的Android,而找不到解決方式。只好,用舊版的android studio來重新安裝。不過,程式碼都是一樣的的):


