前面做的GCP服務慢慢越來越多,越來越難管理...都不知道每個服務到底是生是死的..有沒有個好工具最好是All-in-One統一介面可以監看全部搞定的呢?
有有有,Google在兩年前GCP NEXT 2016就發佈了一個Stackdriver,號稱監控,警告,log紀錄分析,追蹤,錯誤回報及環境除錯六大類的超強工具....重點除了自家雲之外連AWS都一起管了,看起來這麼厲害的東西當然是要拿來用嘍!
不過這服務也不是吃素了..這幾類個別有不同單位的計價可以先評估一下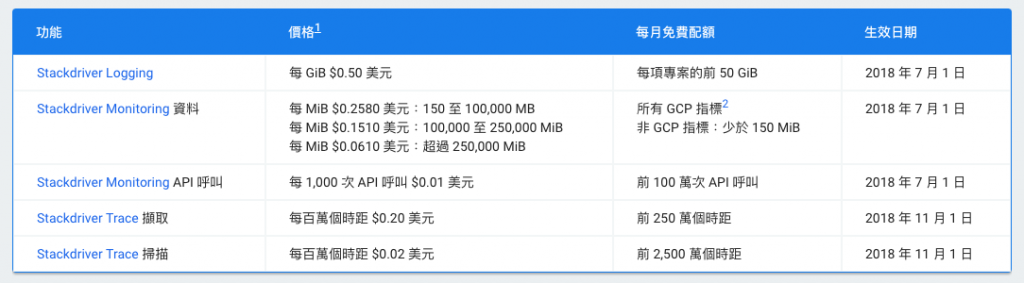
找到StackDriver選擇監控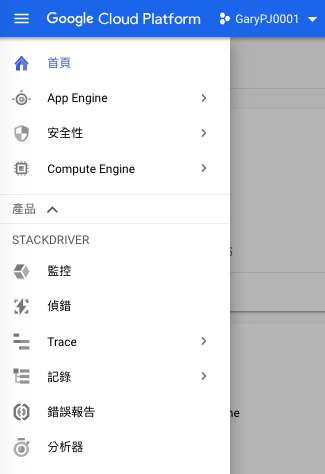
點選後會轉跳新的網頁選擇你要監控的專案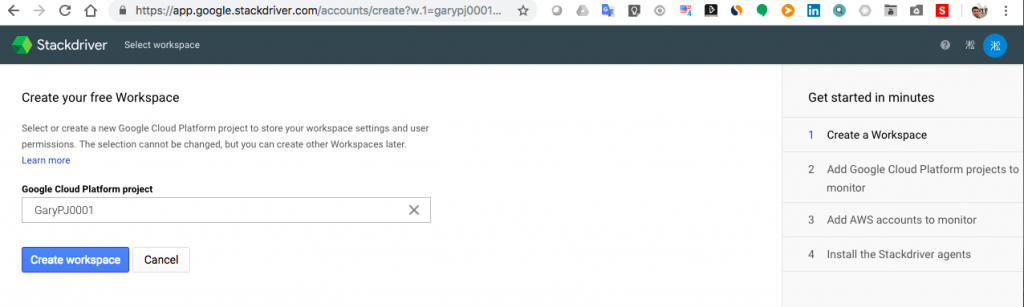
如果要更多一同納入監視就視需求勾選,我是只有一個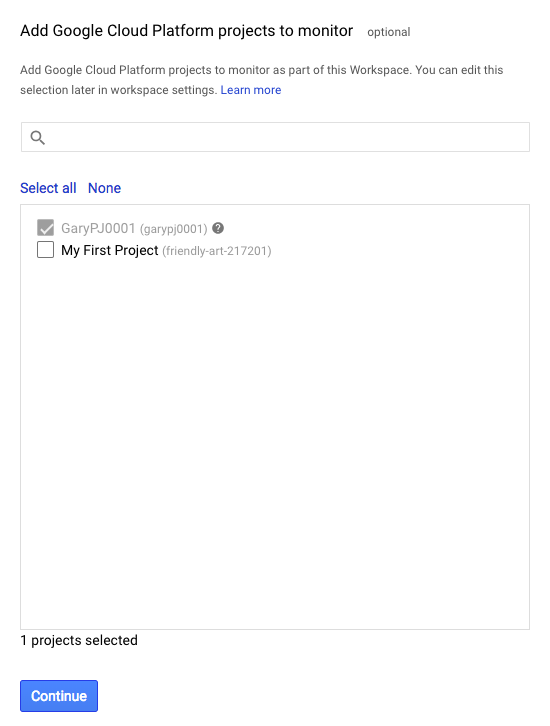
下一步後會問是否要把AWS也一同納入管理,不過有它特定的ID需要AWS上設置,先確認自己的管理帳號ID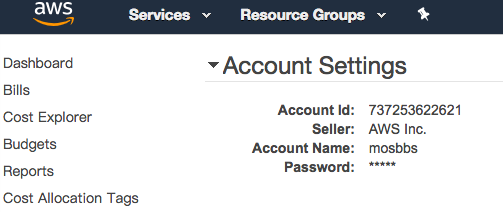
來新增Roles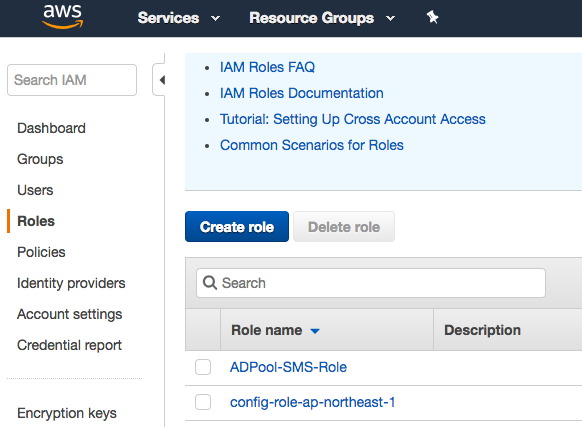
模式選擇其他AWS帳戶類型並把剛剛的ID輸入進來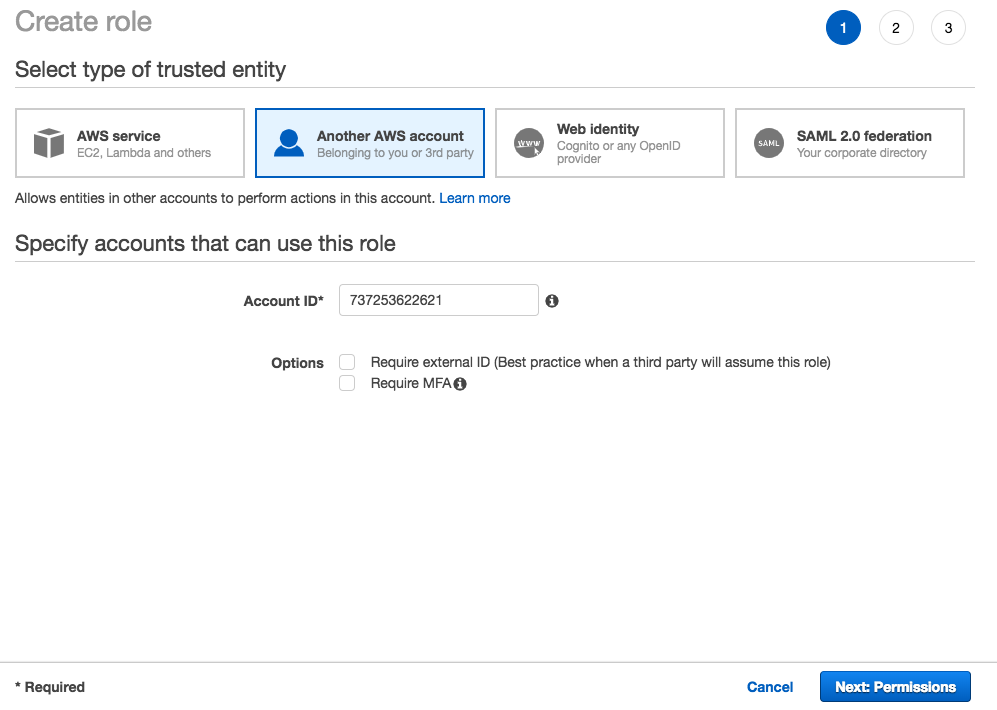
選擇唯讀存取權限範本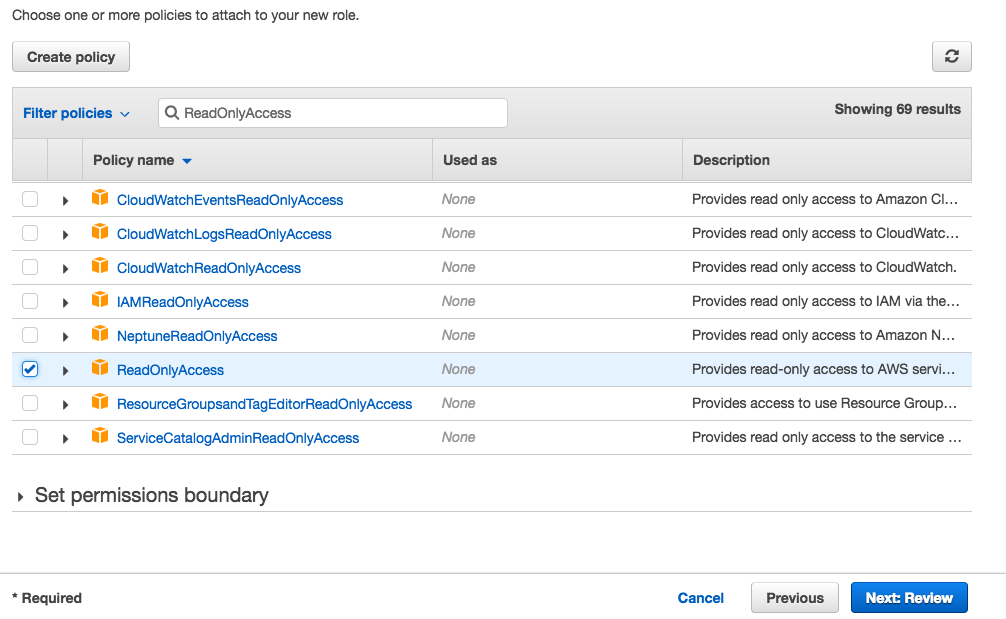
自訂Roles名稱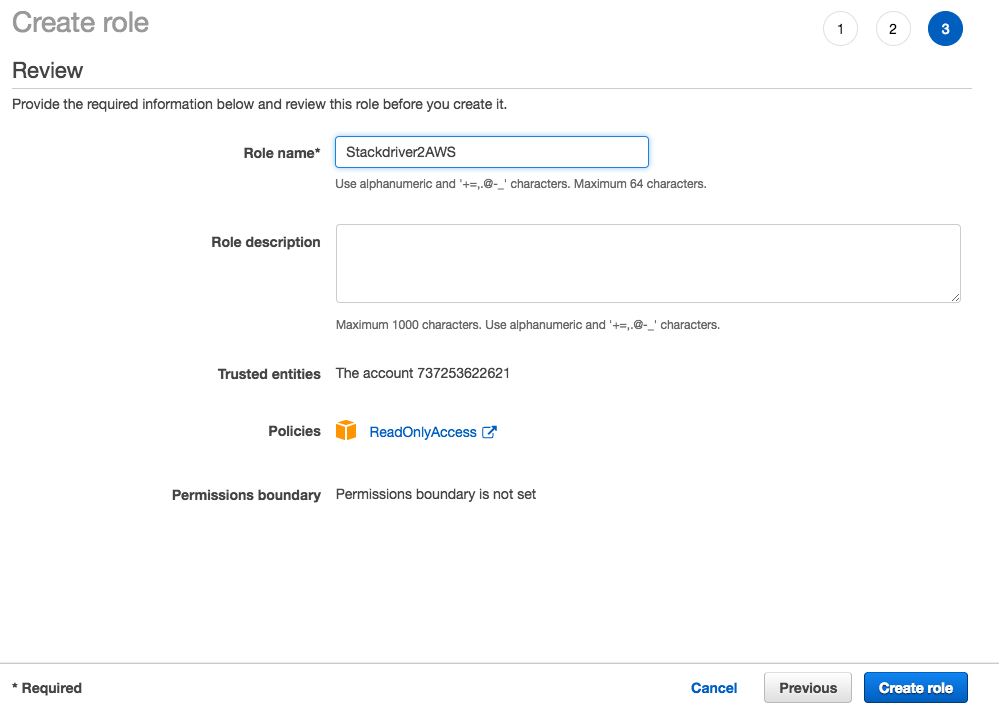
Roles建立完成,在最後一筆要再點選進去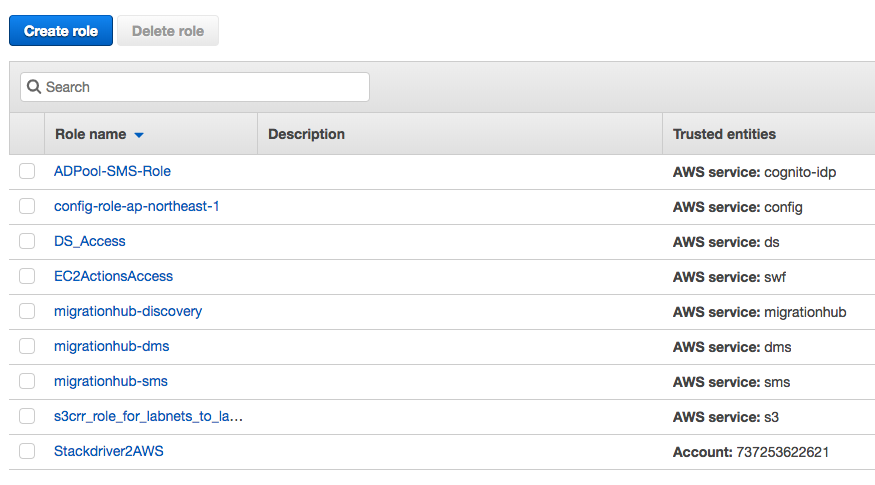
沒錯,就是它啦!Roles ARN ID,把他Copy下來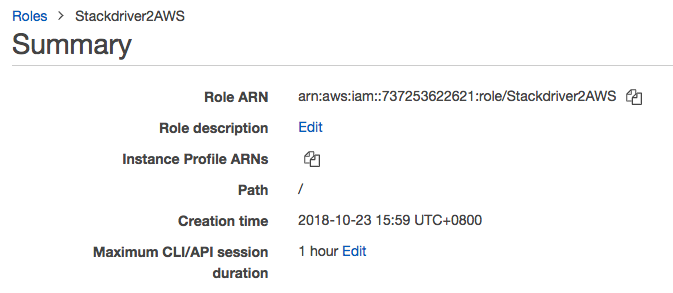
在回到StackDriver就可以把此ID貼上後沒有錯誤就可以新增帳戶進來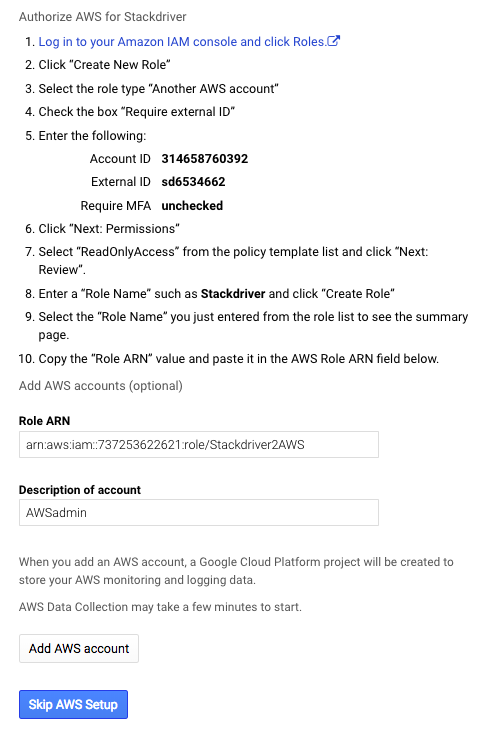
已經建立好與AWS帳戶的關聯
接下來是在展示StackDriver監控所需要安裝的Agent步驟,不過直接下一步就完成,後面都是自動背景執行安裝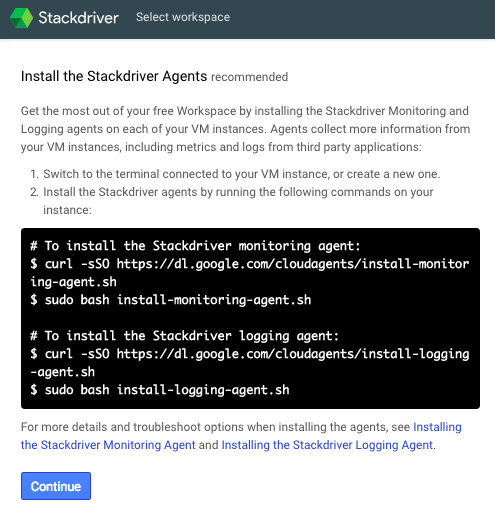
預設郵件發送每日/週的監控報告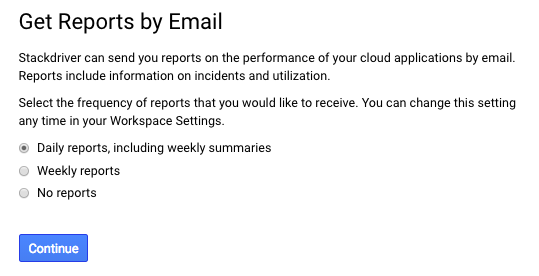
設定完成就可以執行StackDriver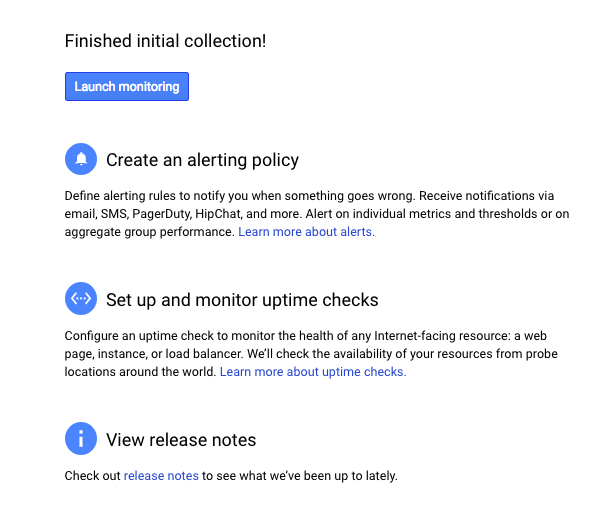
這就是StackDriver一開始的儀表板統一監看呈現預設頁面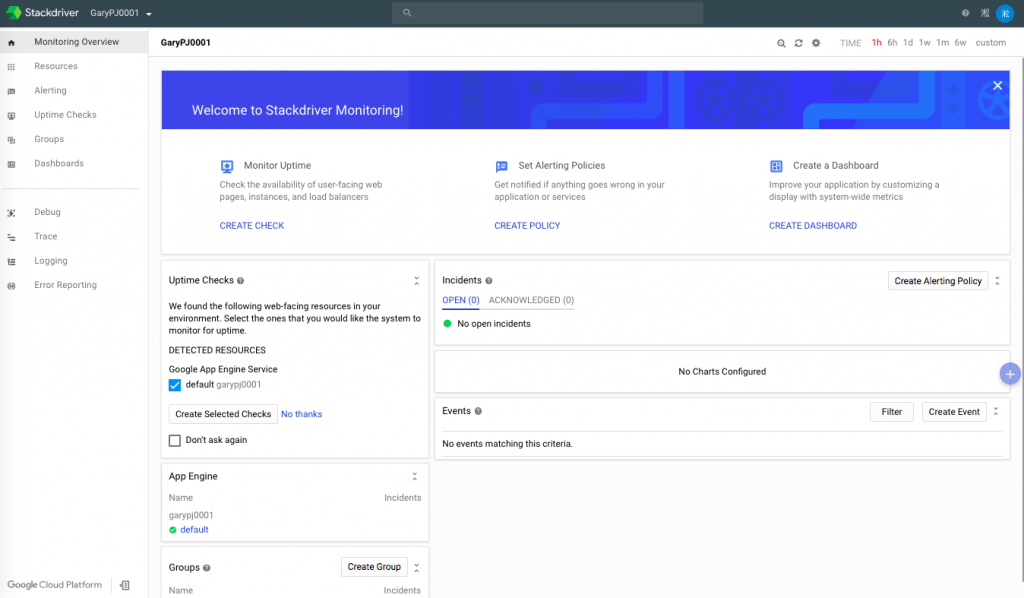
目前其實顯示都是沒有資料的需要不少時間....先來做個uptime監視設定
我先拿監看GAE的URL作為示範(選擇哪種協定,網站FQDN,Check時間都請依需求自訂)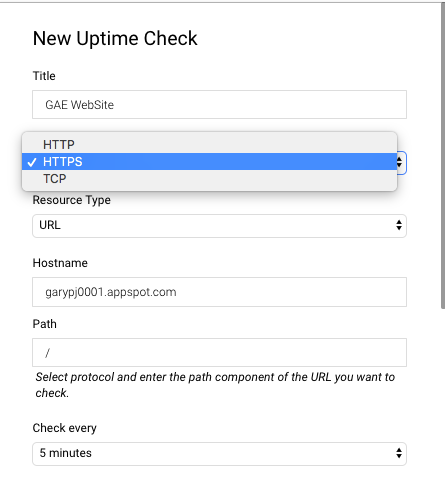
進階就是對各區的監視以及網站標頭(請填完整FQDN),另外我是走https故為443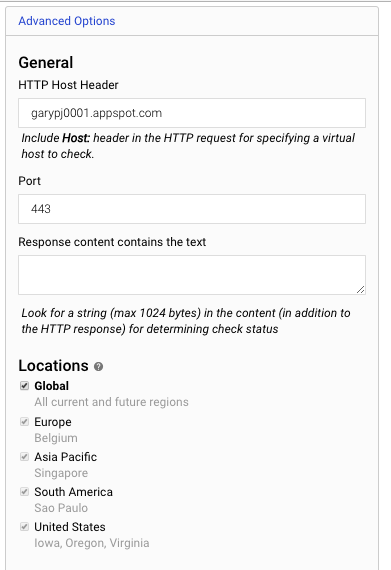
健康狀態監視我設定每60秒確認一次,另外驗證帳密直接預設,下面有個TEST可以來自測一下回應200 OK就是正常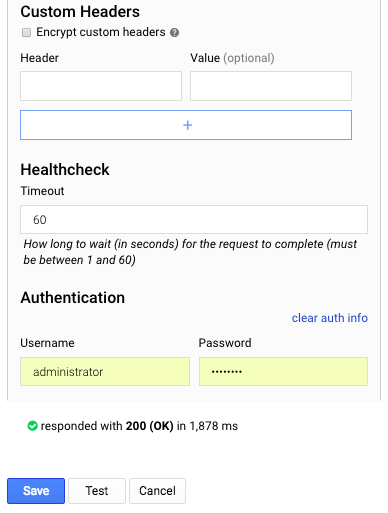
接著對這一條GAE的uptime check Policy設立主動警示郵件回報機制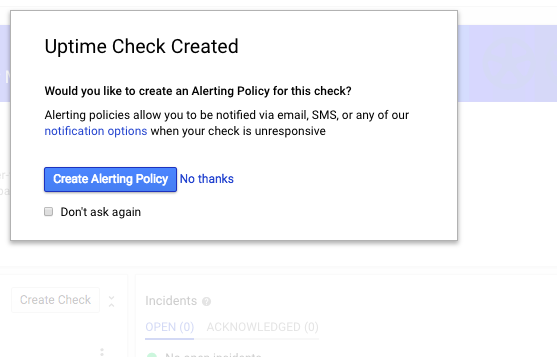
上面就是預設的對比條件,下面設定自己要接收Alert的E-Mail信箱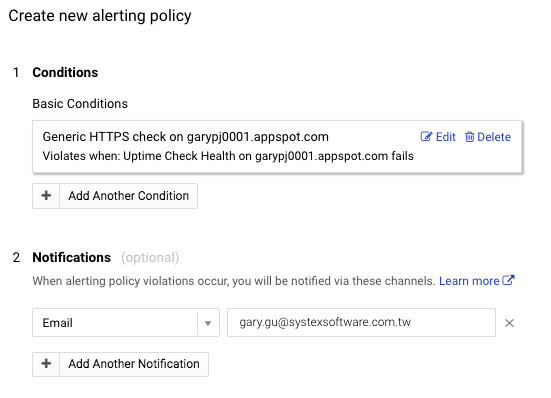
這文件的意思其實就是註解啦!可以當作公告或文件連結可以方便檢視管理並自訂Policy名稱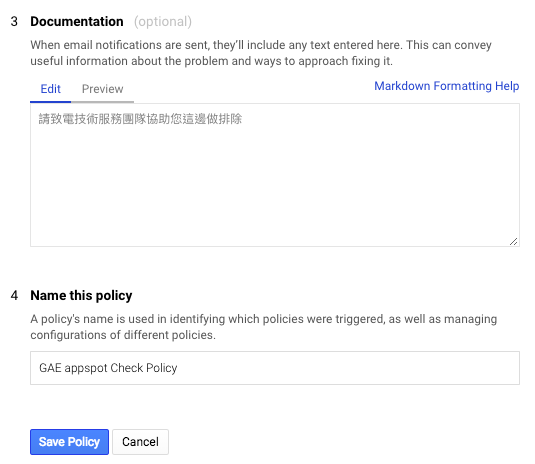
設定完成後可以從Alert檢視一下Policy List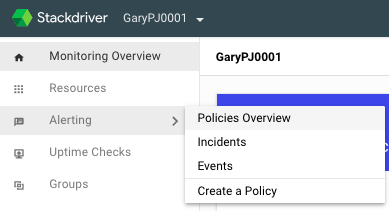
確實是剛剛設立的Policy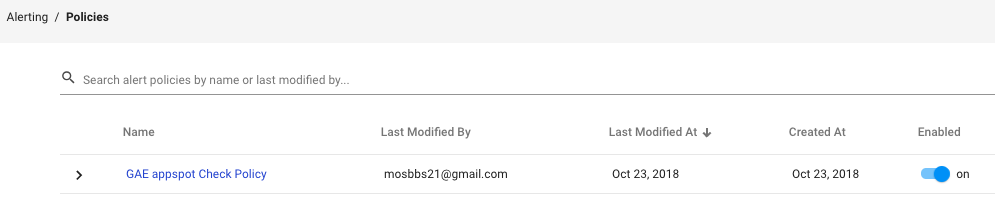
已經綠燈生效,另外剛剛設定的技術支援提醒公告顯示也能方便讓人管理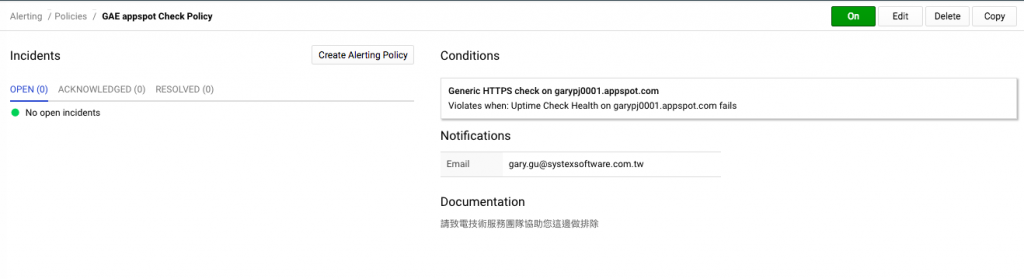
最後來看一下uptime check檢視剛剛設定的GAE WebSite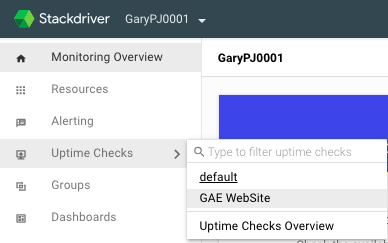
經過十幾分鐘的時間對個區域的狀態已經Ready顯示綠燈
已經可以針對這監控的GAE標的開始產生對應的資訊可以方便做近一步的判讀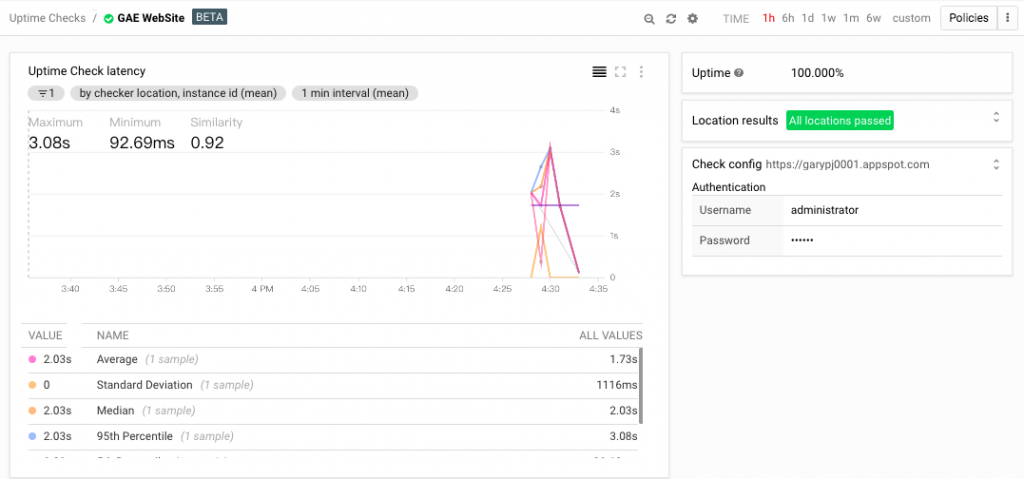
因為資訊量還不多,今天多半是一開始如何入手的示範後續還要更多進階的展示.
今天就先這樣嘍!大家81.....

