首先要先安裝vim文字編輯器。
step 1
sudo apt-get install vim
取得root權限利用apt-get指令install vim 文字編輯器。
ps 可能要輸入密碼,記得他不會顯示字符,所以要一次輸入正確
step 2
ls
cd ./XXX/XXX
.由現在的路徑為起點的相對路徑step 3
vim hello.py
利用文字編輯器開啟hello.py
step 4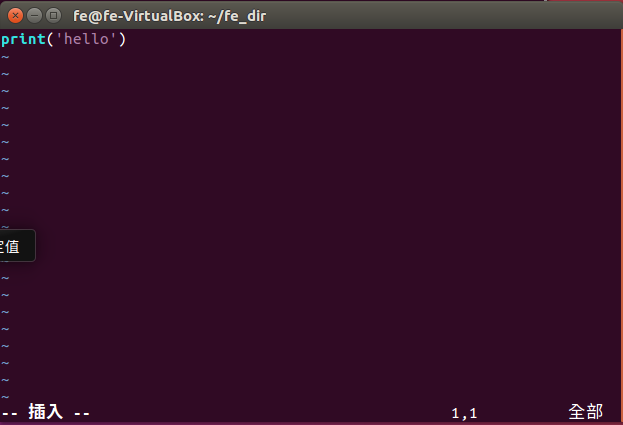
step 5
i a o r
以上指令可以進入編輯模式,有一個插入字樣
輸入你要的內容
print('hello')
note:print('字串')
step 6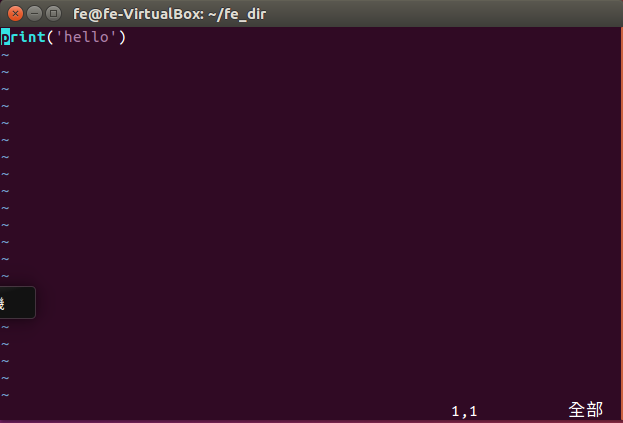
esc
跳出編輯模式,進入一般模式(只能讀)
step 7
:
進入指令模式
step 8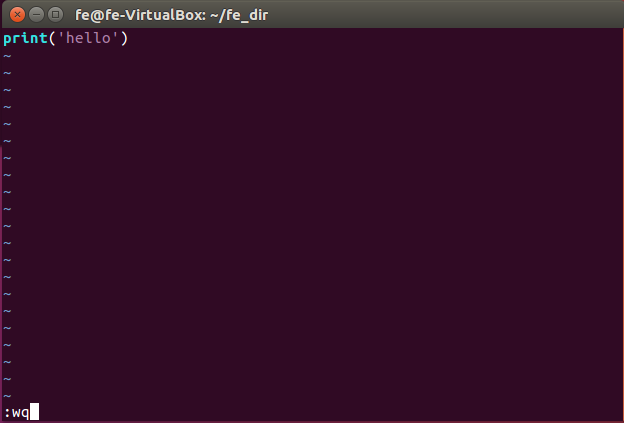
wq
q
wq為儲存後離開
q為離開
step 9
python hello.py
再次執行hello.py


 iThome鐵人賽