使用 UISegmentControl 來切換我們 Cell 的檢視模式吧。
在我們這個 App 中,要做到切換兩種 Cell 的檢視模式其實很容易實現,因為我們只有兩種 Style,我們可以透過 UIButton 來做一個簡單樣式的切換或是使用 UISwitch 來開關。但是在 iOS 中有一個元件,不僅能夠做到切換兩種模式,甚至可以做到兩種以上的選擇,那就是我們的 UISegmentControl,這次教學我們會用UISegmentControl 來取代原先使用 BarButtonItem 的方式。
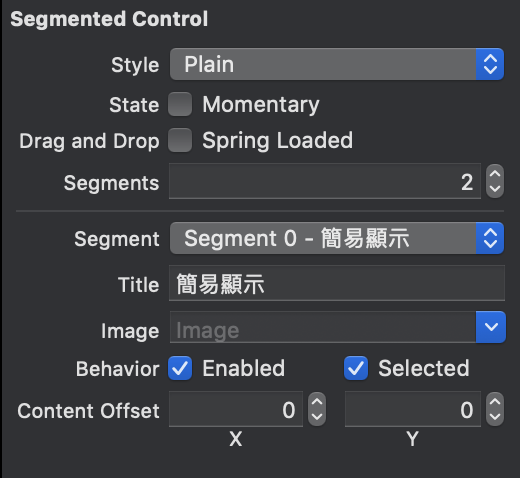
並且我們可以在 StoryBoard 這邊設置每個 Segment 的內容:
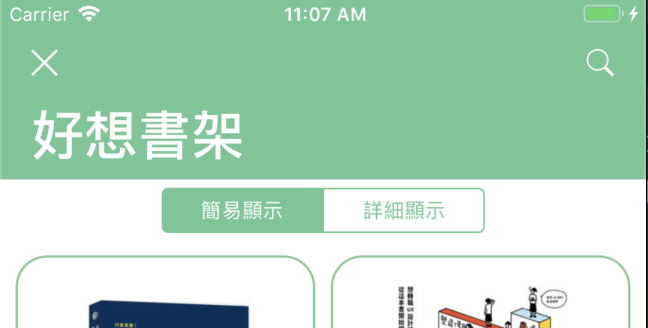
設置完之後,我們可以看到畫面上我們的 SegmentControl 的 UI 就完成了,並且我們將它放在我們 bookshelfCollectionView 上:

接下來我們會先到我們的 BookshlefViewController 設置一個 Enum 叫做 BookCellStyle:
enum BookCellStyle: Int {
  case simple
  case detail
}
接下來我們還需要新增一個 UISegmentControl 的 Action,並且 Event 選擇 Value Change ,接著我們配合 BookCellStyle 這個 Enum 來處理:
@IBAction func changeSegment(_ sender: UISegmentedControl) {
    // 判斷選中的 selectedSegmentIndex,是否成初始化成我們的 BookCellStyle 的 case
    // 若是無法則 return
    guard let bookCellStyle = BookCellStyle(rawValue: sender.selectedSegmentIndex) else { return }
    // 這時我們的 selectedSegmentIndex 若為 0,那麼我們的 cellStyle 就等於 BookCellStyle.simple
    // 如果為 1,那麼我們的 cellStyle 就等於 BookCellStyle.detail
    cellStyle = bookCellStyle
    // 重整我們的 bookshelfCollectionView
    bookshelfCollectionView.reloadData()
}
接著我們只要在 cellForItemAt 新增一個判斷是來判斷我們的 CellStyle 是哪一種 BookCellStyle 即可:
switch cellStyle {
  case .simple:
  // 生成簡易檢視的 CollectionViewCell
  case .detail:
  // 生成詳細檢視的 CollectionViewCell
}
如此一來我們就能透過 UISegmentControl 來切換我們 Cell 的檢視模式啦~
這次教學就到這邊結束了,使用 UISegmentControl 在執行切換的操作比起 UIButton 還是 UISwitch 的擴充性好很多,也很容易對每個 Segment 執行額外的操作,加上它還有 selectedSegmentIndex 讓我們很容易地知道被點選的選項是哪個,如果再配合 enum 使用那更是強大。