今天來介紹一下如何在AlertViewController上加一個TableView。
首先先新增一個TableViewController,TableViewCell並利用xib自訂cell的樣式。
import UIKit

class TableViewControllerInAlertView:UITableViewController{
    var cells:[Int] = []

    override func viewDidLoad() {
        super.viewDidLoad()
        var size:CGSize?
        cells = [1,2,3,4,5,6,7,8,9,10,11,12,13]
        if (cells.count < 4) {
            size = CGSize(width: 272, height: 100)
        }else if (cells.count < 6){
            size = CGSize(width: 272, height: 150)
        }else if (cells.count < 8){
            size = CGSize(width: 272, height: 200)
        }else{
            size = CGSize(width: 272, height: 250)
        }
        self.preferredContentSize = size!

        self.tableView.register(UINib(nibName: "AlertViewTableViewCell", bundle: nil), forCellReuseIdentifier: "Cell")

    }
    override func tableView(_ tableView: UITableView, heightForRowAt indexPath: IndexPath) -> CGFloat {
        return 45
    }
    override func tableView(_ tableView: UITableView, numberOfRowsInSection section: Int) -> Int {
        return cells.count
    }
    override func tableView(_ tableView: UITableView, cellForRowAt indexPath: IndexPath) -> UITableViewCell {
        let cell:AlertViewTableViewCell = tableView.dequeueReusableCell(withIdentifier: "Cell", for: indexPath) as! AlertViewTableViewCell
        cell.label.text = "item\(cells[indexPath.row])"
        return cell
    }
    override func tableView(_ tableView: UITableView, didSelectRowAt indexPath: IndexPath) {
        self.dismiss(animated: true, completion: nil)
    }
}
在viewdidload中利用cell的數量先設定這個tableviewcontroller的大小,
並註冊cell。
最後就是覆寫tableivewDelegate跟tableviewDatasource了!
設定完tableviewcontroller之後,接著就是viewcontroller了!
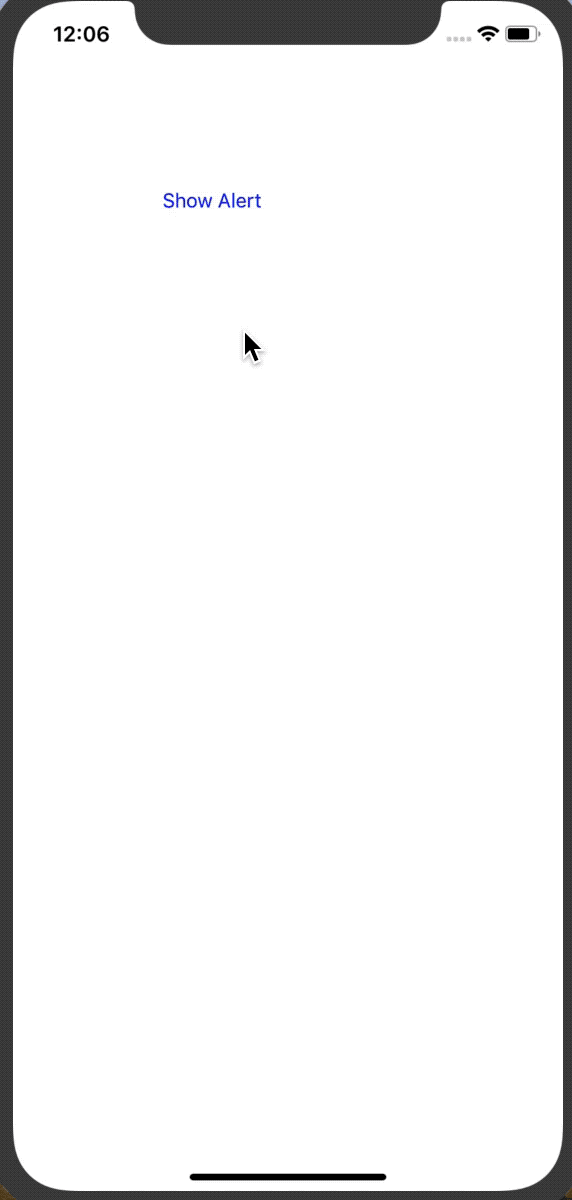
先在viewdidload中新增一個按鈕再點選之後跳出alertView。
override func viewDidLoad() {
        super.viewDidLoad()
        let btn = UIButton.init(type: .system)
        btn.frame = CGRect(x: 100, y: 100, width: 100, height: 100)
        btn.setTitle("Show Alert", for: .normal)
        btn.setTitleColor(UIColor.blue, for: .normal)
        btn.addTarget(self, action: #selector(showAlertAction), for: .touchUpInside)
        self.view.addSubview(btn)
    }
接下來在btn的action中建立alertvie並設定
@objc func showAlertAction(){
        let tableViewController = TableViewControllerInAlertView()
        let alertController = UIAlertController(title: "Title", message: "Message", preferredStyle: .alert)
        alertController.setValue(tableViewController, forKey: "contentViewController")
        let cancelAction = UIAlertAction(title: "Cancel", style: .cancel, handler:nil)
        alertController.addAction(cancelAction)
        self.present(alertController, animated: true, completion: nil)
    }
先建立一個剛剛自訂好的tableviewcontroller及alertController。
要將自訂好的viewcontroller加進alertcontroller中,必須使用setValue,並將key設為"contentViewController"。
alertController.setValue(tableViewController, forKey: "contentViewController")
接著present這個alertcontroller就完成了!