Hello~ 今天來介紹一下時常在APP中登入時出現的提示框,AlertController。
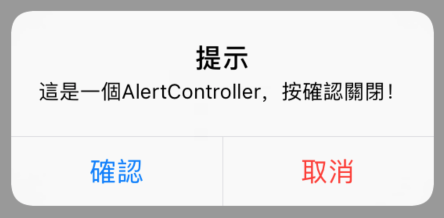
先來看看一般的AlertController顯示出來的樣子吧!
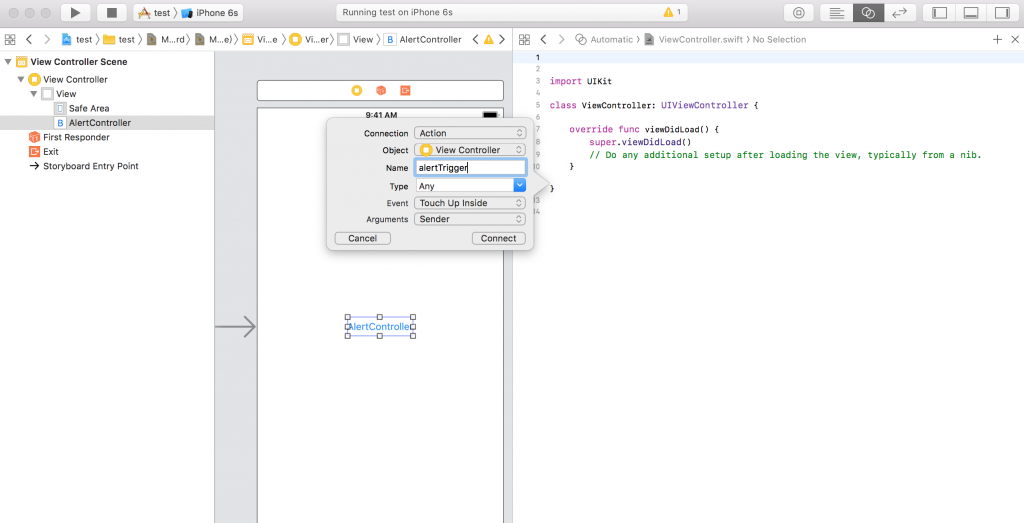
首先先在畫面中拉一個Button並拉Action連結至程式碼中,以利觸發AlertController。
接著在AlertTrigger()中加入以下程式碼。
let alertController = UIAlertController(title: "提示", message: "這是一個AlertController,按確認關閉!", preferredStyle: .alert)
let confirmAction = UIAlertAction(title: "確認", style: .default, handler: nil)
alertController.addAction(confirmAction)
self.present(alertController, animated: true, completion: nil)
首先先看第一行,這裡就是先初始化一個AlertController:
.alert、.actionsheet,這邊先選擇.alert,actionsheet則是另外一種顯示方式,待會會提到。初始化完AlertController後,接下來就換下面的Button了
.default、.cancel、.destructive三種可選擇,default為一般、cancel則是稍微粗體的字型、destructive則是紅色字體用來警告使用者可能會改變或刪除資料。nil。接著alertController.addAction(confirmAction)是將AlertAction加入AlertController中。
再來執行present(),將AlertController顯示出來,參數如下:
true。nil。接下來,如果想要有取消和確定的作法也相同,只要多新增一個AlertAction並add到AlertController即可,如下圖
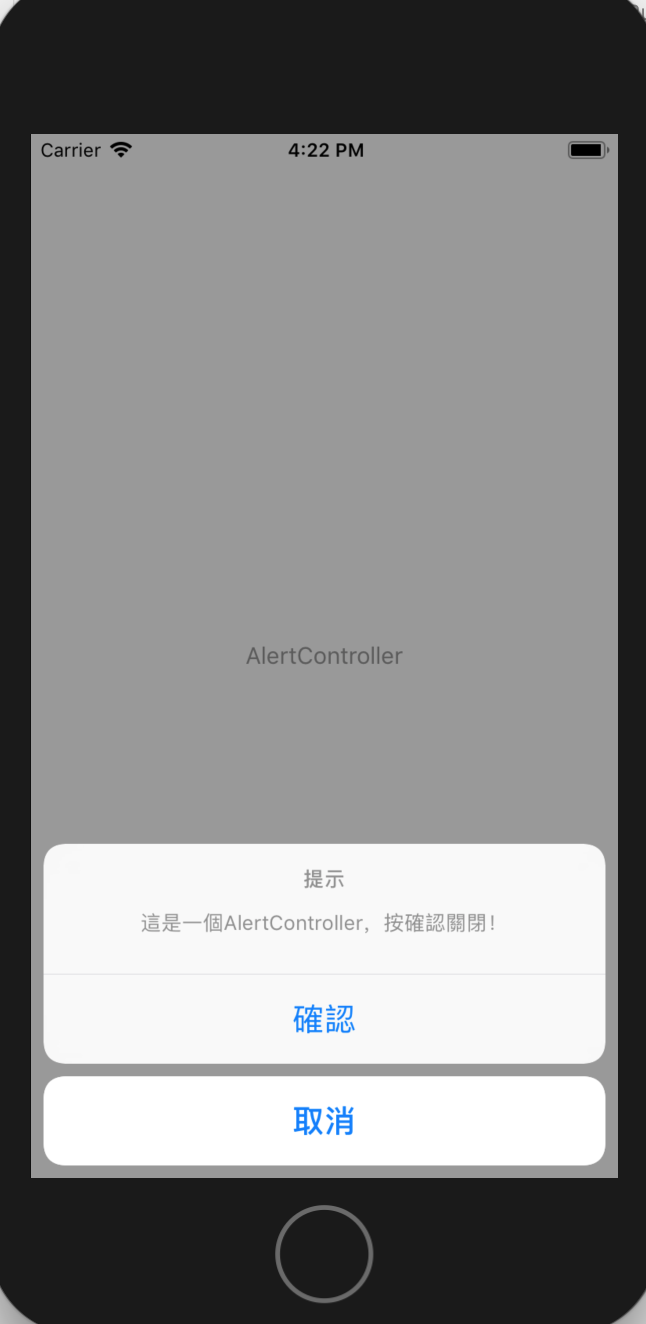
Actiosheet是AlertController的另外一種顯示方法,如下圖
如果想要讓AlertController從下方顯示,只要將preferredStyle參數改為.actionsheet即可!
