透過地圖上的使用者當前位置以及目標位置,開啟 Apple 原生地圖來導航吧!
前幾次教學我們學會了如何加入一個地圖、如何標示地圖以及如何客製化標記元件,這次教學我們將來實作地圖中非常強大也經常使用的功能,那就是「 導航 」,在這次教學我們會透過上次標記點上的 Callout 面板上的按鈕跳出的 Action Sheet ,藉由原生的地圖來開啟導航功能。
If you implement a routing app, Maps provides you with two MKMapItem objects representing the start and end points. Use the information in those two objects to plot the route and generate directions.
我們可以從 App 的官方文件看到裡面有提到了如何創兩個區域之間的導航路線,我們只需要告訴他這個路線間的起點以及終點,之後我們透過下列方法,就能將 [MKMapItem] 這個 Array 中的項目顯示在地圖上,並且透過 launchOptions 執行我們想要執行的操作:
我們的 MapItem 需要透過 MKPlacemark 初始化,所以我們現在需要將我們的座標轉換成一個 MKPlacemark ,之後再轉換成 MapItem :
// 終點座標
let targetCoordinate = self.targetLocation.coordinate
// 初始化 MKPlacemark
let targetPlacemark = MKPlacemark(coordinate: targetCoordinate)
// 透過 targetPlacemark 初始化一個 MKMapItem
let targetItem = MKMapItem(placemark: targetPlacemark)
// 使用當前使用者當前座標初始化 MKMapItem
let userMapItem = MKMapItem.forCurrentLocation()
// 建立導航路線的起點及終點 MKMapItem
let routes = [userMapItem,targetItem]
// 我們可以透過 launchOptions 選擇我們的導航模式,例如:開車、走路等等...
MKMapItem.openMaps(with: routes, launchOptions: [MKLaunchOptionsDirectionsModeKey:MKLaunchOptionsDirectionsModeDriving])
如果這邊我們透過
MKMapItem.forCurrentLocation()來初始化MapItem,如此一來我們就不需要在 App 中獲取使用者的座標也能夠導航。
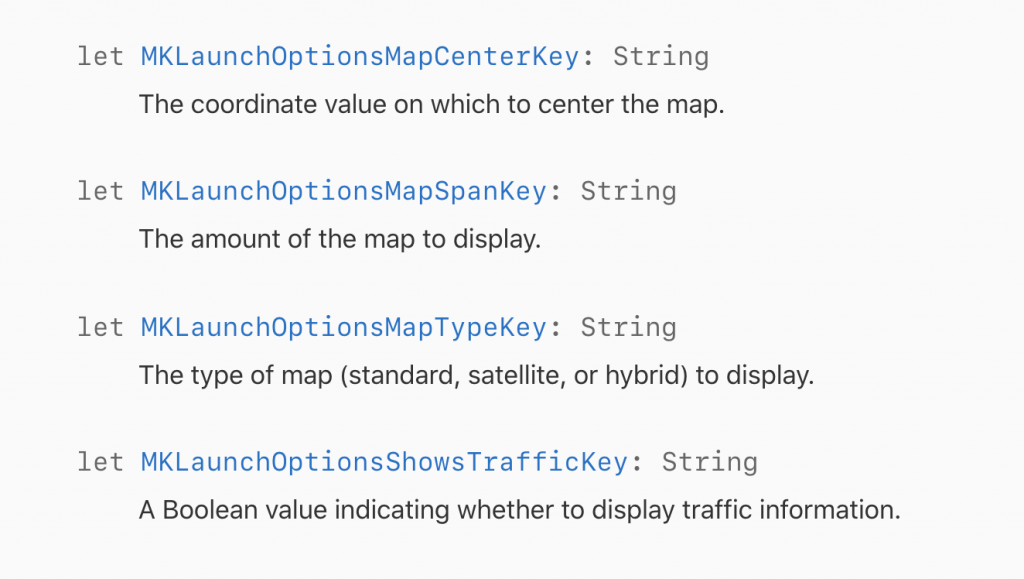
你也可能透過新增 launchOptions 在地圖開啟時,增加更多的功能或是標示,像是顯示交通標誌等等:

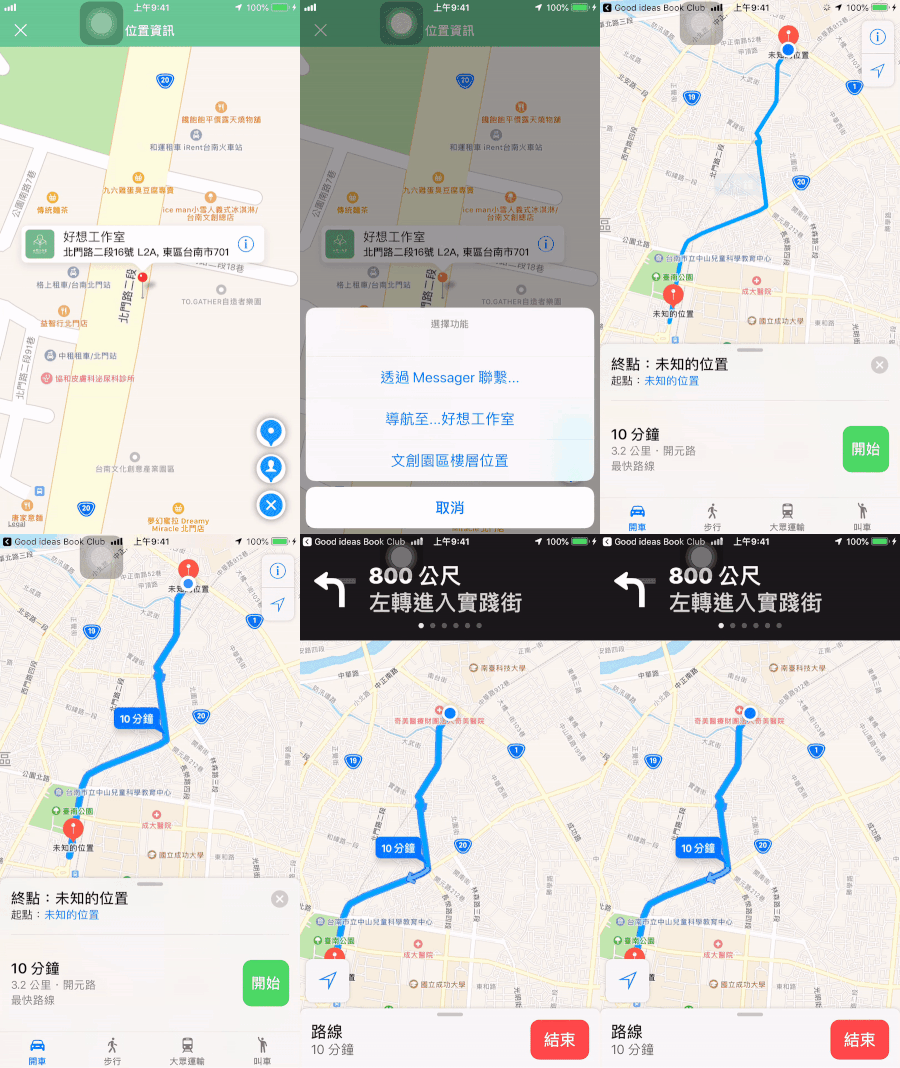
接著讓我們來試試看能不能在點選我們 Action Sheet 選單的導航時,能不能跳出 Apple 原生的地圖來進行導航吧!

透過 Apple Map 導航
那麼這次導航的教學就到這邊結束,可以看見我們很簡單的就實現了跳出地圖進行導航的功能,當然我們也可以在 App 中顯示我們的路線。除此之外,我們也可透過 Google Map 來進行相同的事情,跟 Apple 原生的地圖功能比起來,或許 Google Map 帶來的功能或是更加豐富的。
Launch Google Maps | Maps SDK for iOS | Google Developers
