今天來入門Google Vision AI的API,文件部分可以看這裡。練功嘛!語言部分我就來順便玩一下一直想入門的Golang。
跟著Quickstarts裡的Using client libraries走先。
打開或選擇專案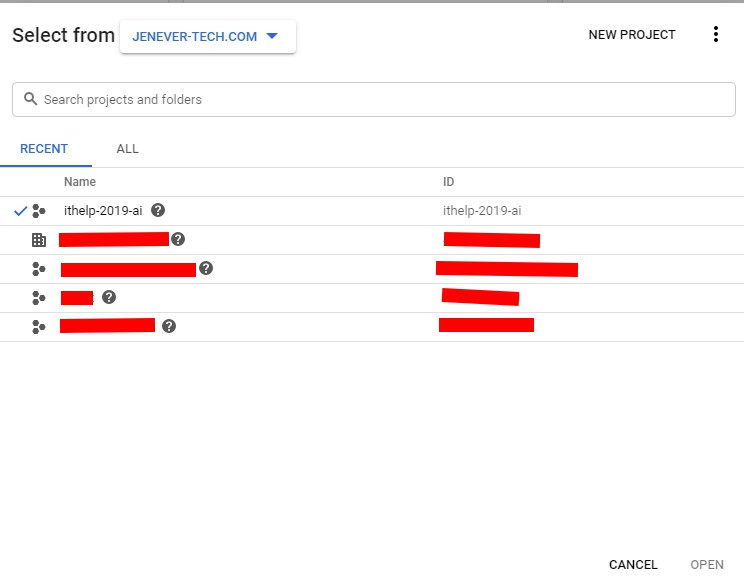
這邊要注意你的ProjectName跟ProjectID不見得會一樣,每個地方會用到不同的資訊。
連結帳單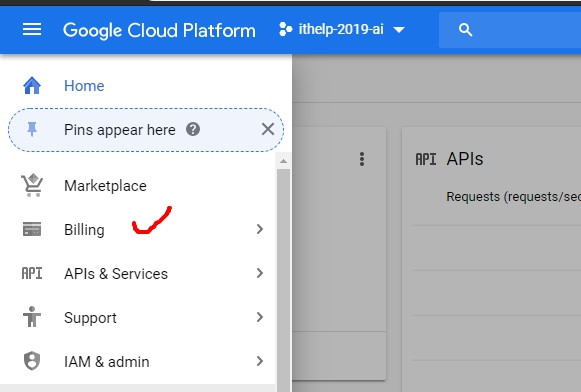
如果初次連結的人,會需要填一些信用卡資訊,不過也會有三百塊的免費試用。
啟用API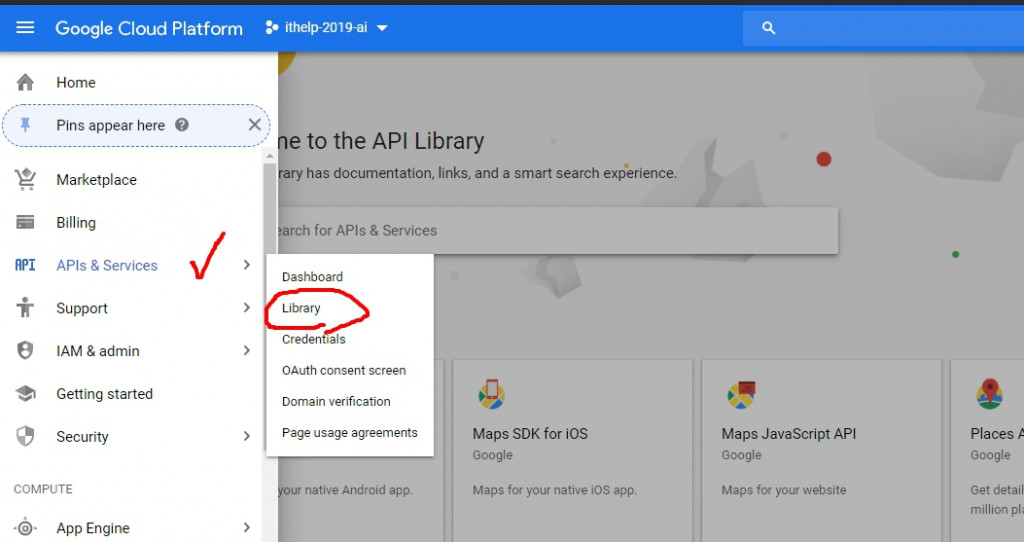
透過搜尋Library裡的Vision AI可以enable他。
下載認證JSON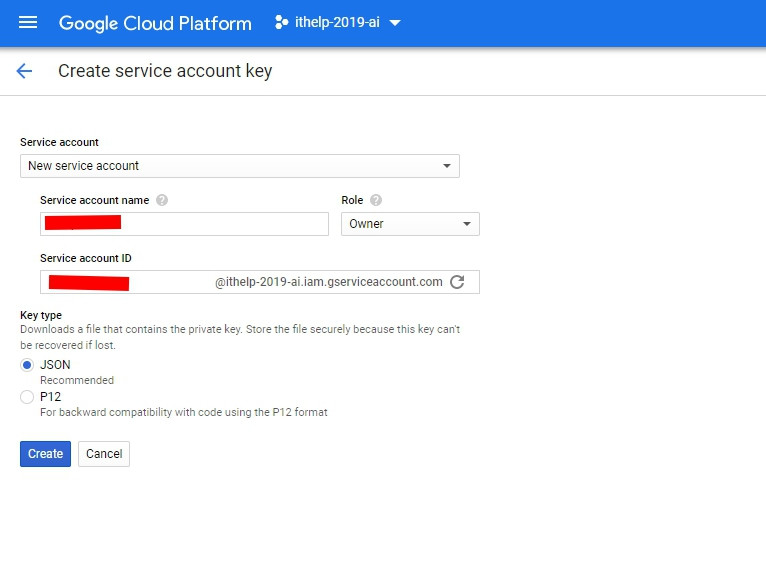
這邊建立完就得到一個含有private key的JSON了。
加入環境變數
我本身是Linux環境,所以我選擇export的方式引入。
到這邊應該以後都一樣,以後要啟用我都會毅然決然地跳過!
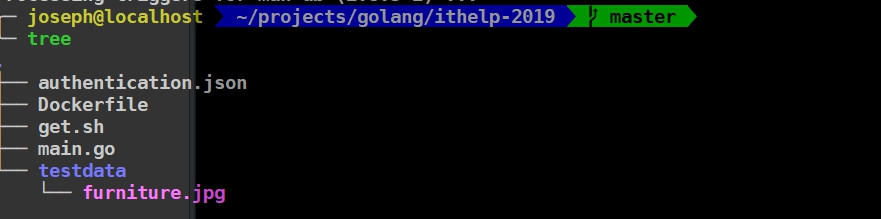
把furniture.jpg搬道專案底下以後,先複製了範例上的code來跑看看。
這是透過30天文章介紹Google Machine Learning Products的關係,原諒我無法逐行講解指令。
// Sample vision-quickstart uses the Google Cloud Vision API to label an image.
package main
import (
        "context"
        "fmt"
        "log"
        "os"
        vision "cloud.google.com/go/vision/apiv1"
)

func main() {
        ctx := context.Background()

        // Creates a client.
        client, err := vision.NewImageAnnotatorClient(ctx)
        if err != nil {
                log.Fatalf("Failed to create client: %v", err)
        }
        defer client.Close()

        // Sets the name of the image file to annotate.
        filename := "./testdata/furniture.jpg"
        file, err := os.Open(filename)
        if err != nil {
                log.Fatalf("Failed to read file: %v", err)
        }
        defer file.Close()
        image, err := vision.NewImageFromReader(file)
        if err != nil {
                log.Fatalf("Failed to create image: %v", err)
        }
        labels, err := client.DetectLabels(ctx, image, nil, 10) //只顯示10個
        if err != nil {
                log.Fatalf("Failed to detect labels: %v", err)
        }
        fmt.Println("Labels:")
        for _, label := range labels {
                fmt.Println(label.Description)
        }
}
我放在docker裡面,所以會透過docker run執行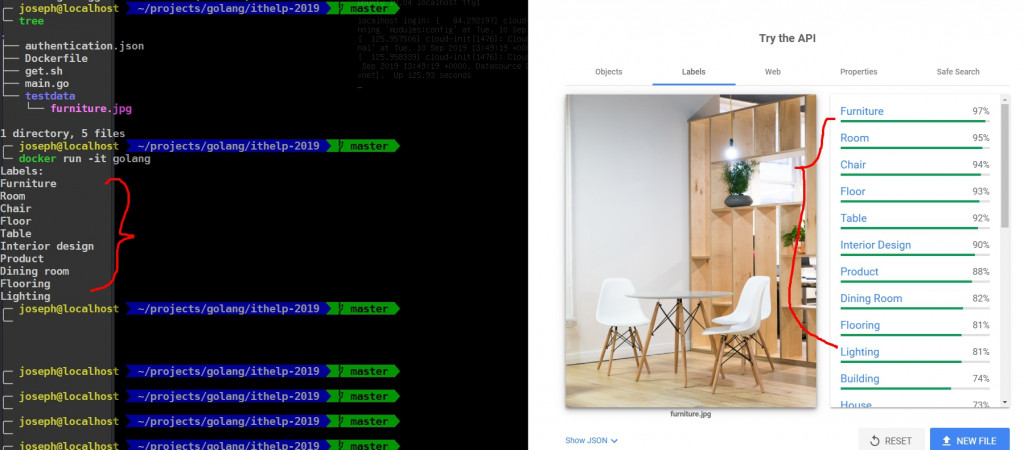
恩,物件的Label確實有前10個Label。改改看上面 labels, err := client.DetectLabels(ctx, image, nil, 10)的10,看看出來的Label數量會不會跟著變吧。
踩入Vision API的第一步完成,可以看看我的Github: https://github.com/josephMG/ithelp-2019 取得所有的code。
今天就到這邊,話說我其實也不太知道明天是該繼續寫Vision API裡其他的detect好,還是該進入到下一個Topic好。沒關係,明天再看看。

 iThome鐵人賽