本篇依舊參考 Red Hat Developer 網站上的三篇「快速安裝」文章:
昨天完成產品註冊以及軟體更新,今天計畫示範啟用我認為是 RHEL 8 的重要特色:Cockpit Web console。有了它,不用安裝第三方軟體 Webmin,一樣有 Web 管理畫面了。
啟用 Cockpit Web console
$ sudo systemctl enable --now cockpit.socket
Created symlink /etc/systemd/system/sockets.target.wants/cockpit.socket → /usr/lib/systemd/system/cockpit.socket.
$ sudo systemctl status cockpit.socket
● cockpit.socket - Cockpit Web Service Socket
   Loaded: loaded (/usr/lib/systemd/system/cockpit.socket; enabled; vendor preset: disabled)
   Active: active (listening) since Sun 2019-09-22 11:19:56 CST; 1min 54s ago
     Docs: man:cockpit-ws(8)
   Listen: [::]:9090 (Stream)
  Process: 2380 ExecStartPost=/bin/ln -snf active.motd /run/cockpit/motd (code=exited, status=0/SUCCESS)
  Process: 2372 ExecStartPost=/usr/share/cockpit/motd/update-motd  localhost (code=exited, status=0/SUCCESS)
    Tasks: 0 (limit: 24894)
   Memory: 1.2M
   CGroup: /system.slice/cockpit.socket

Sep 22 11:19:56 rhel8-gui.lab.example.com systemd[1]: Starting Cockpit Web Service Socket.
Sep 22 11:19:56 rhel8-gui.lab.example.com systemd[1]: Listening on Cockpit Web Service Socket.
說明:systemctl enable --now cockpit.socket 此指令相當於先做 systemctl start cockpit.socket 再做 systemctl enable cockpit.socket。
開通本機防火牆 TCP 9000 Port
$ sudo firewall-cmd --permanent --add-port=9090/tcp
success
$ sudo firewall-cmd --reload
success
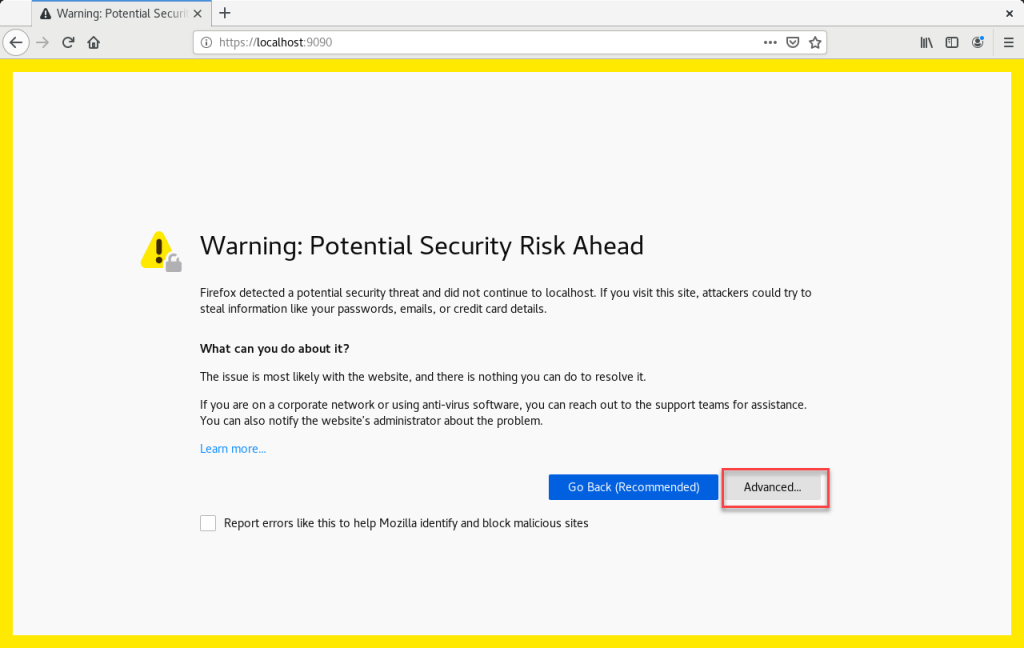
登入 CentOS GUI Console,開啟 Firefox 瀏覽器,網址列輸入 (https://localhost:9030 ),即可看見 Cockpit Web console 了。按下 Advanced ... 進階。
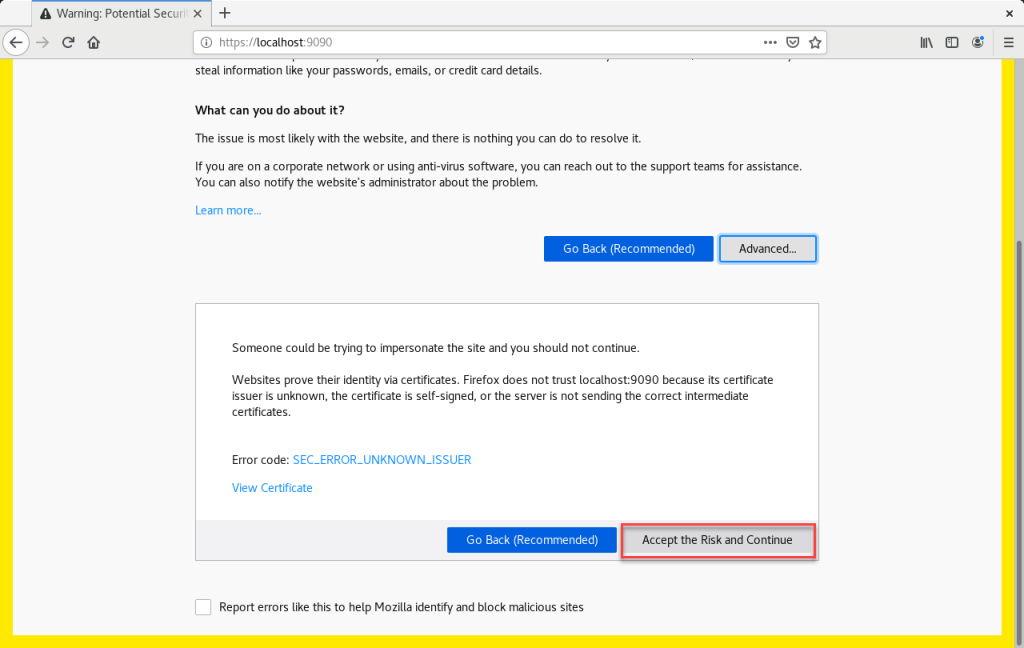
按下 Accept the Risk and Continue 接受風險並且繼續。
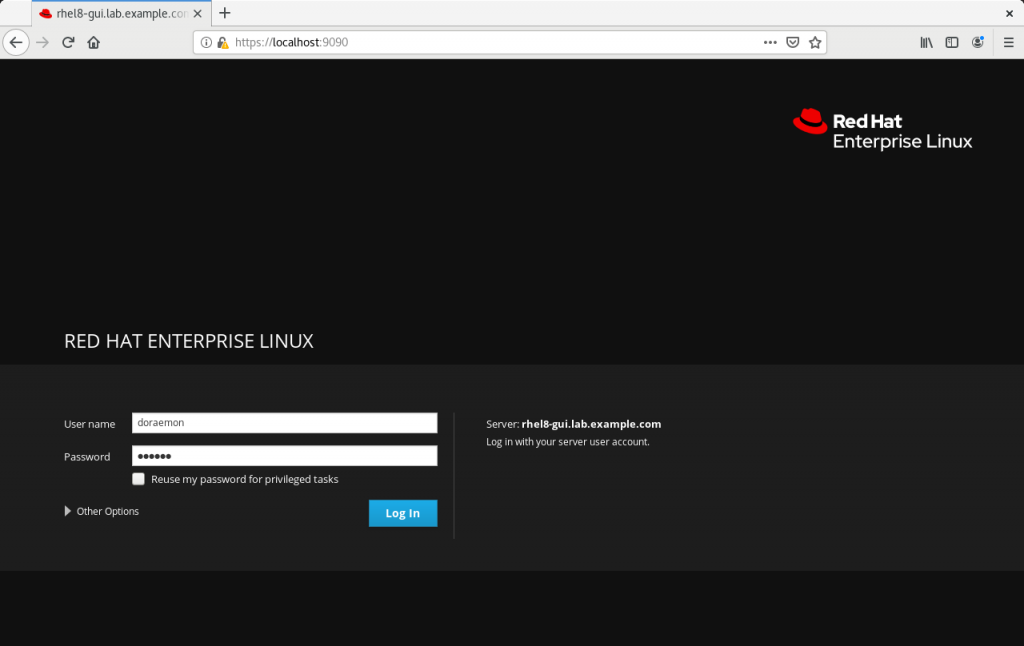
出現登入畫面了,輸入作業系統的使用者名稱以及密碼,按下 Log in 登入。
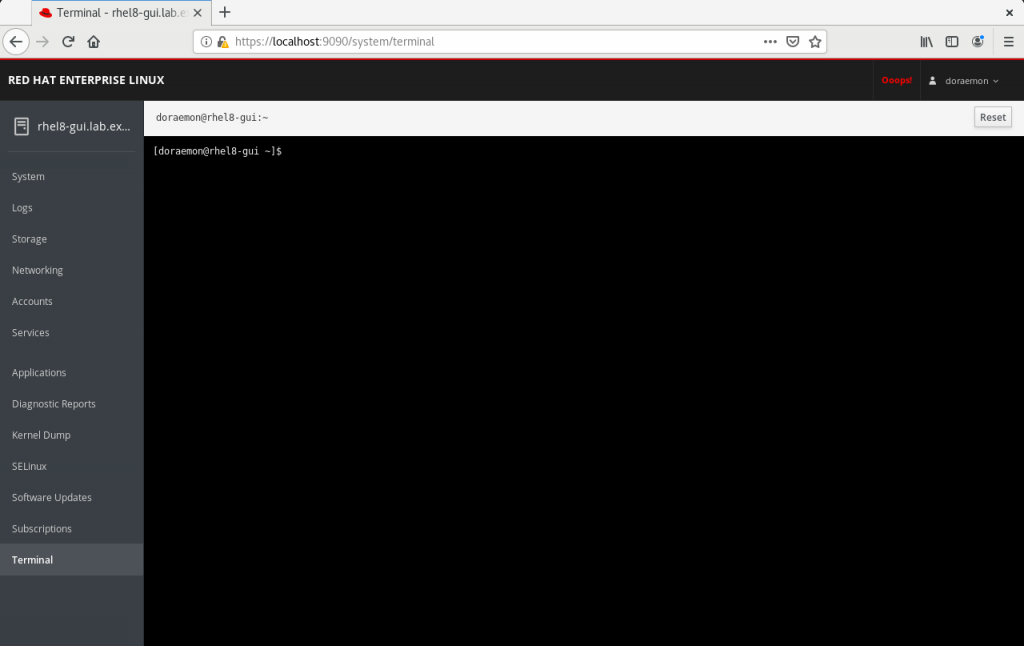
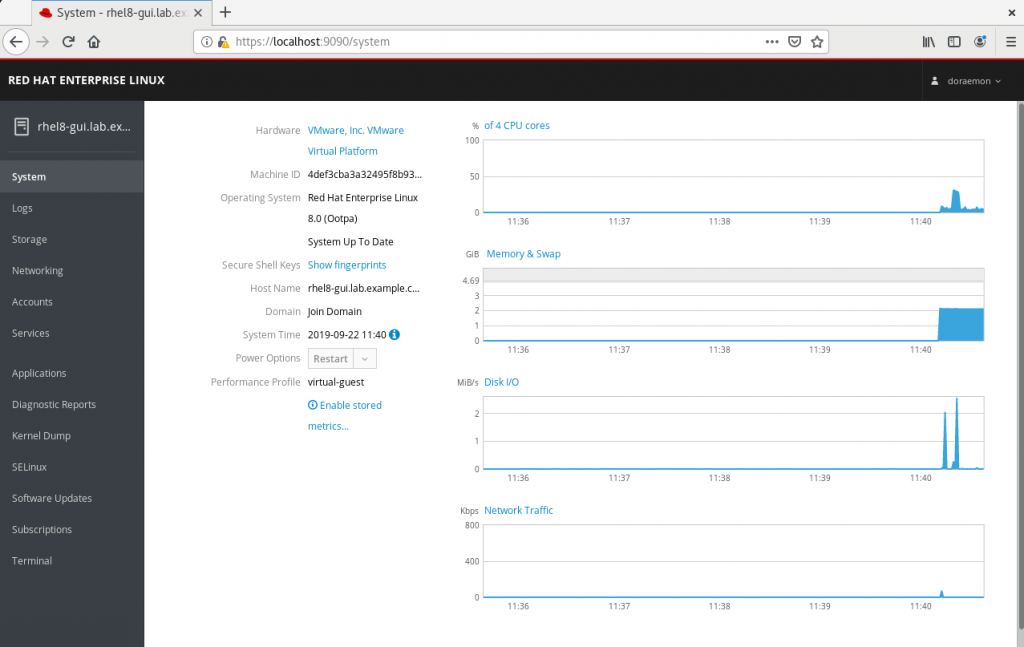
登入後,首先出現的是 System 系統。
Logs 記錄

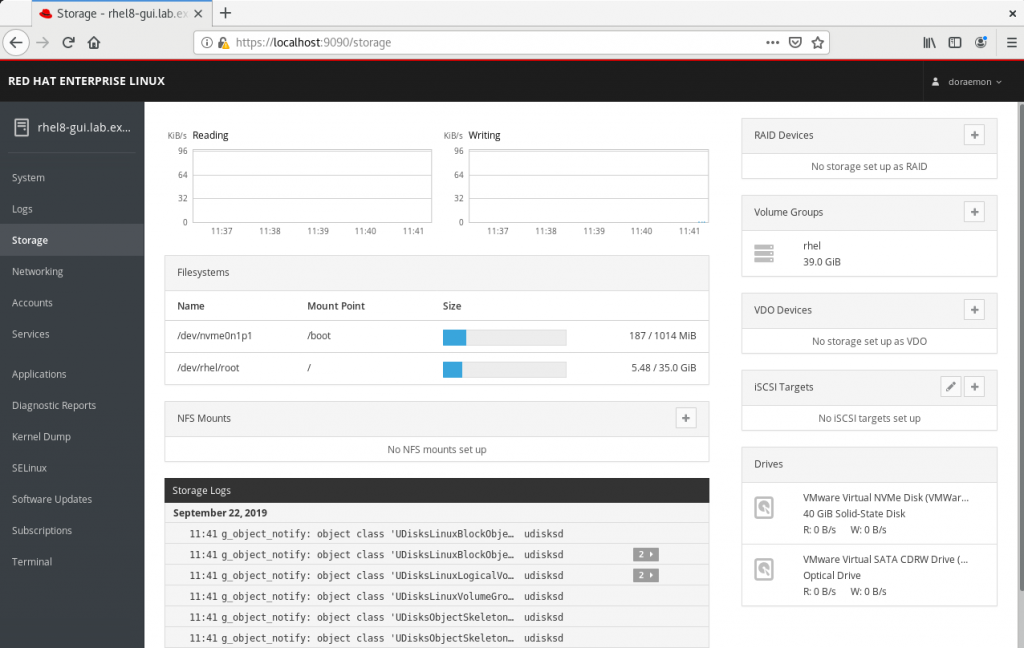
Storage 儲存
Networking 網路

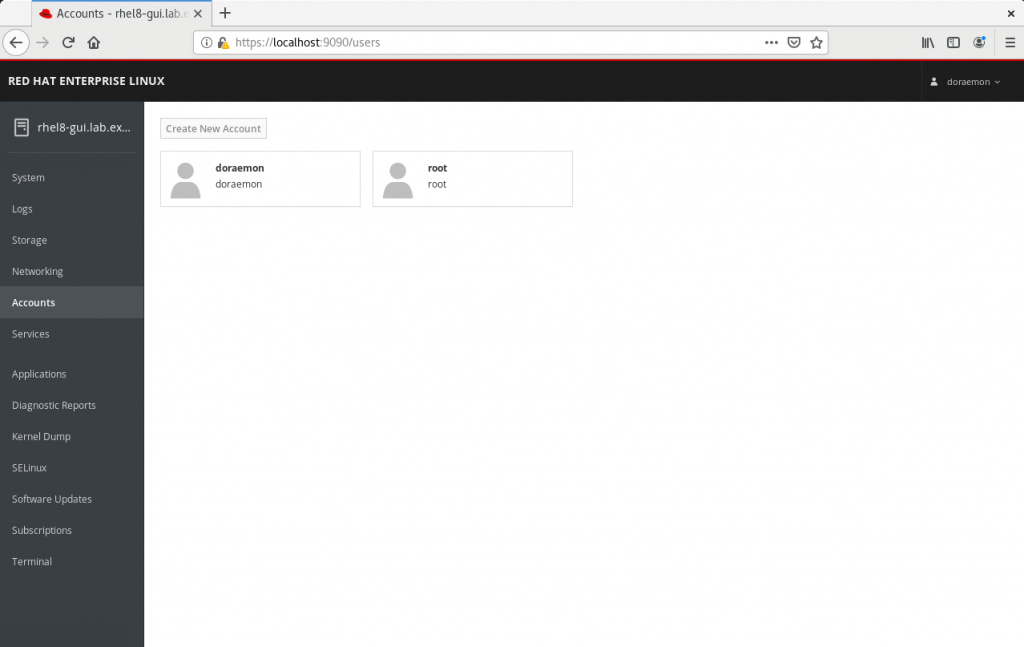
Accounts 帳戶
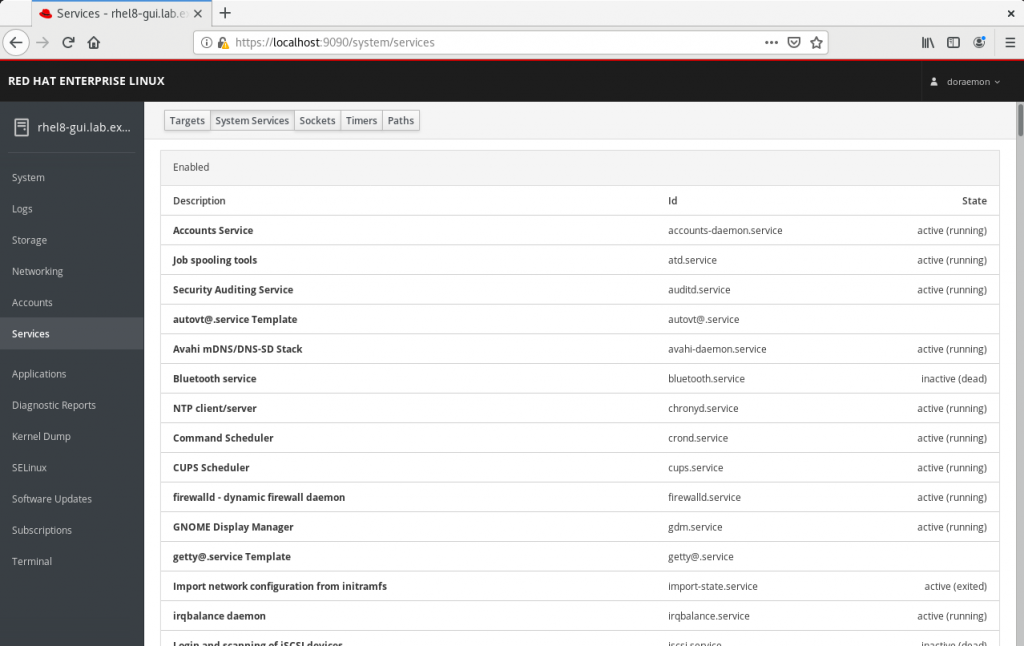
Services 服務
Applications 應用程式

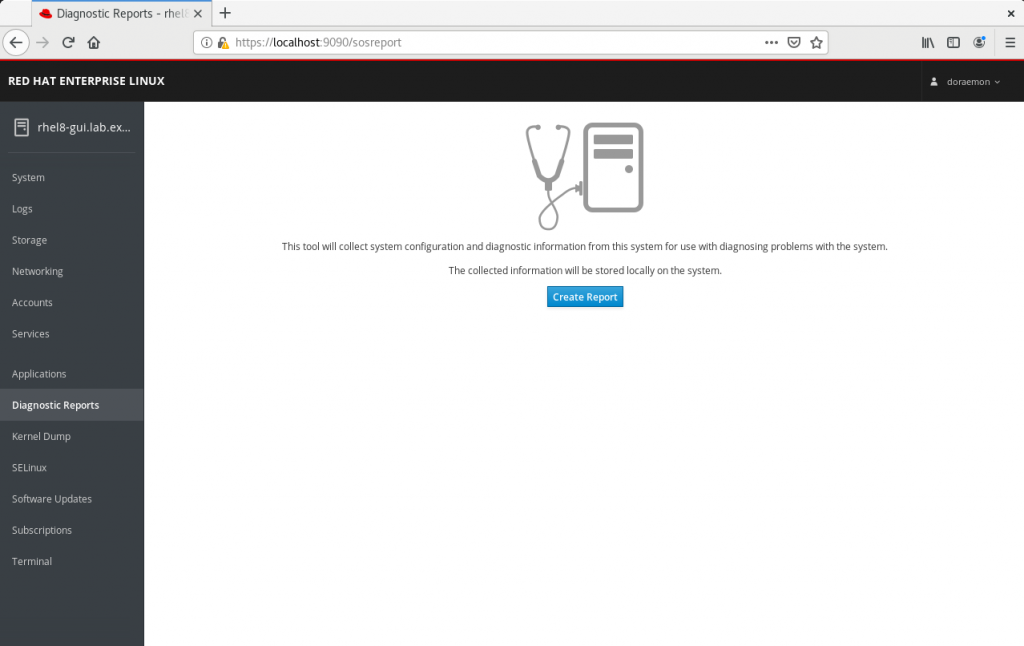
Diagnostics Report 診斷報告
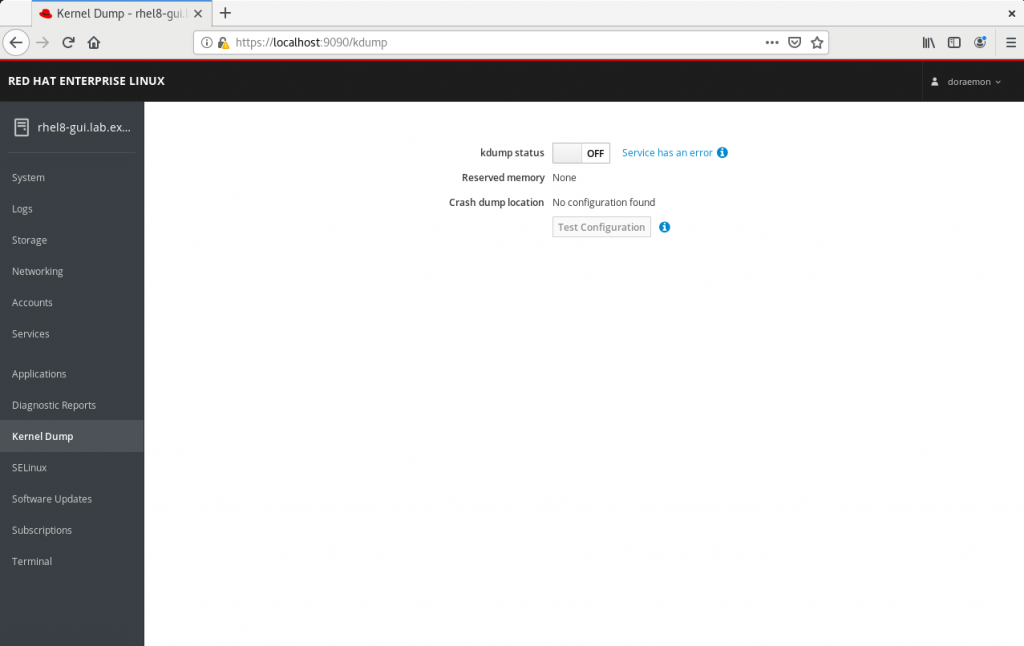
Kernel Dump
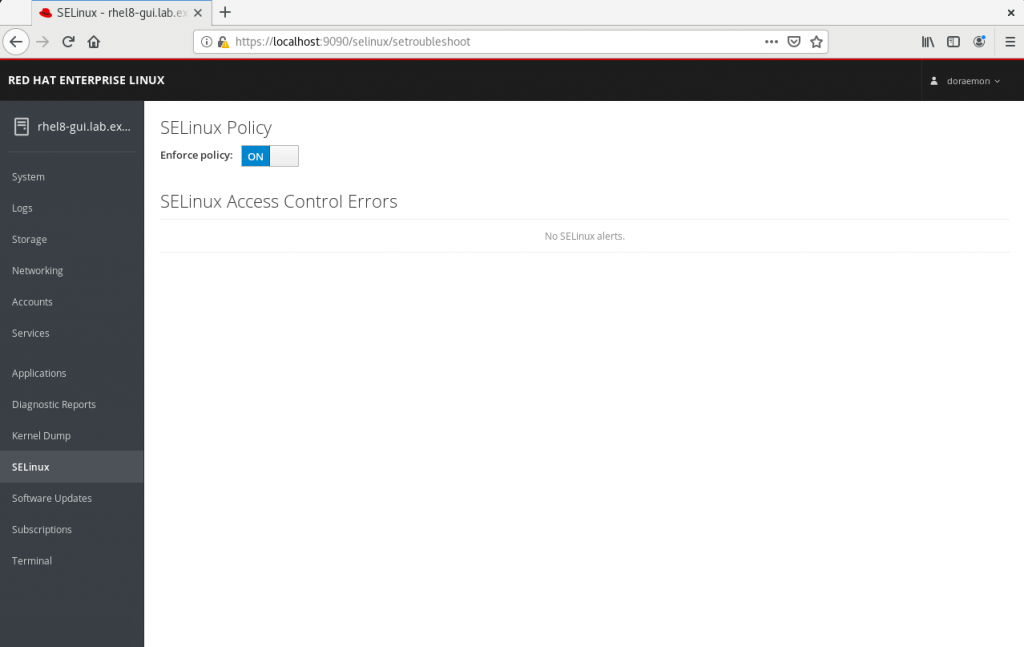
SELinux
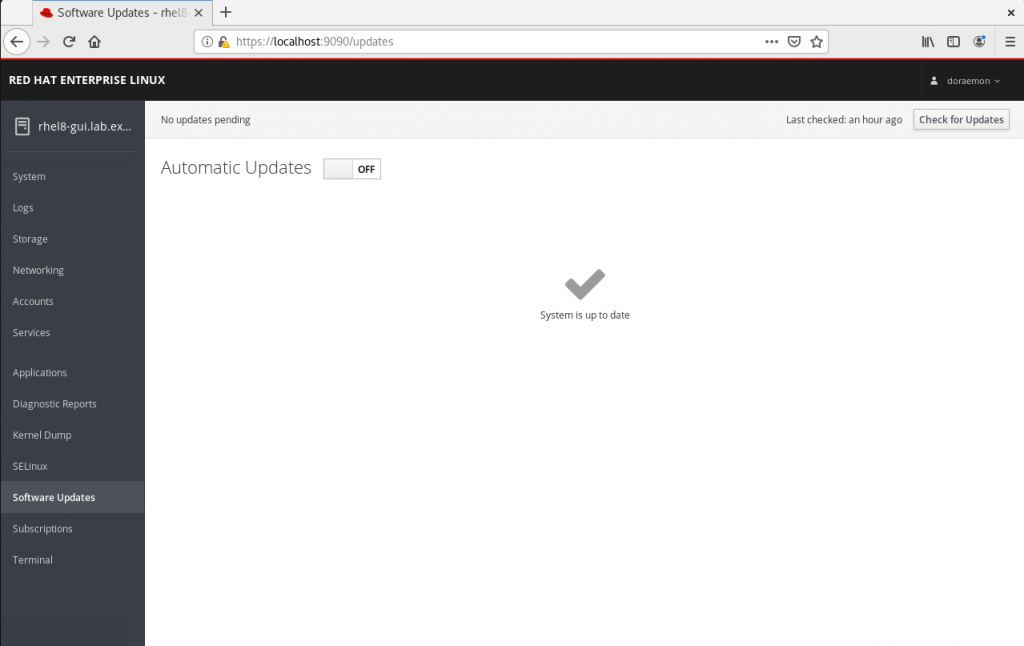
Software Updates 軟體更新
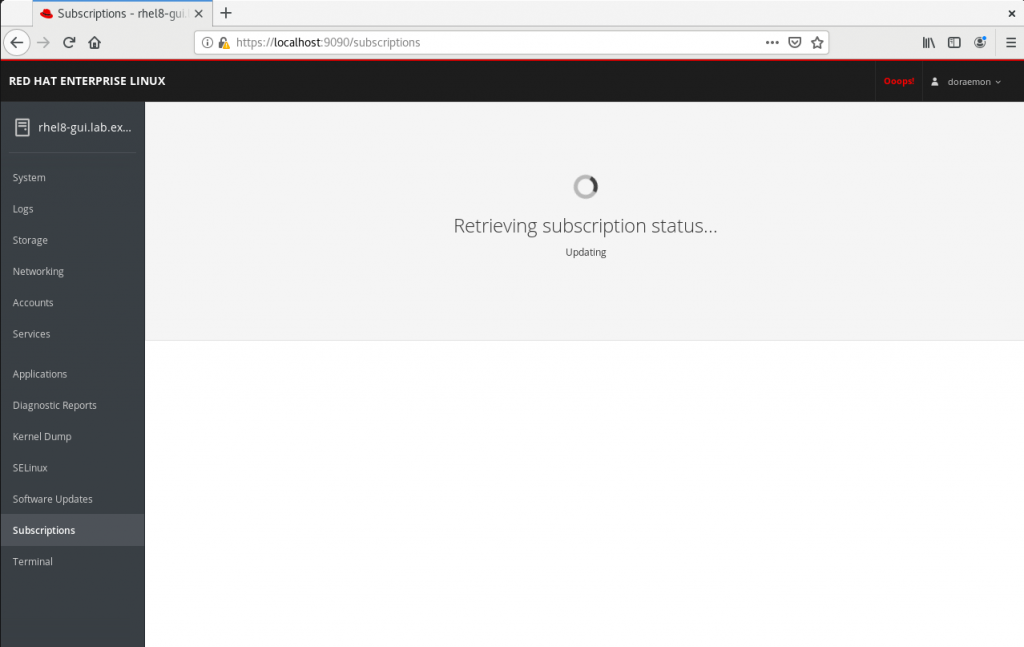
Subscriptions 訂閱
Terminal 終端機