
之前已經兩個主頁功能
廣告Banner
推薦清單
這篇主要把這兩個功能都裝回去tableView
並且用tableView section 同時用多個cell
去實作這次的目標
我把上次的廣告Banner輪播器
塞到Cell裡面ViewDidLoad部分改為awakeFromNib實作
其餘與之前的文章相同設置
[Day 9] Swift 廣告 Banner 輪播器 照片播放器
override func awakeFromNib() {
    super.awakeFromNib()
    imageArray = ["banner1","banner2","banner3","banner4","banner5","banner6","banner7"]
    self.contentView.addSubview(self.scrollView)
    self.contentView.addSubview(self.pageControl)
    reloadImage()
}
Demo
推薦清單部分也是跟之前文章一樣
創兩個Cell
collectionView環境的Cell
collectionView cell
與首頁餐廳cell不同的是多了折扣顯示
以及費用顯示的排數不同
後將tableView 加入 collectionView環境的Cell
就可以實現可以上下左右的tableView
詳細可以參考我之前的文章
[Day 10] Swift 新增 tableview+collectionView Cell 實現上下左右都可以滑
Demo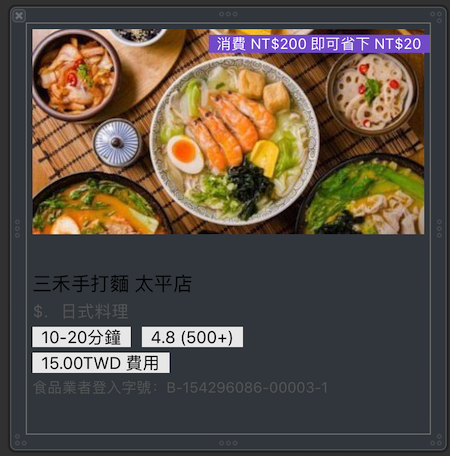
tableView需要運用到兩個來完成合併多個cell
numberOfRowsInSection
numberOfSections
numberOfRowsInSection 可以針對不同Section
來控制裡面要顯示幾個cell
也可以寫個switch case 比較好控制
// MARK: - tableview
func tableView(_ tableView: UITableView, numberOfRowsInSection section: Int) -> Int {
    switch section {
    case 0: //Banner
        return 1
    case 1: //推薦餐廳
        return 1
    case 2: //熱門餐停
        return 1
    case 3: //其他普通餐廳
        return 3
    default:
        return 4
    }
}
numberOfSections 可以限制目前Sections數量
比如設置 return 3
就代表只有 3個Sections群組
func numberOfSections(in tableView: UITableView) -> Int {
    return 4
}
目前有三個Cell需要註冊
首頁普通餐廳Cell
廣告Banner Cell
推薦餐廳 Cell
需要註冊到tableView
我有試過沒註冊是沒辦法使用
所以這邊也要設置一下
//普通餐廳
tableView.register(UINib(nibName:"CoverCell", bundle:nil),
                   forCellReuseIdentifier:"CoverCell")
//推薦餐廳
tableView.register(UINib(nibName:"CollectionViewCell", bundle:nil),
forCellReuseIdentifier:"CollectionViewCell")
//Banner
tableView.register(UINib(nibName:"BannerCell", bundle:nil),
forCellReuseIdentifier:"BannerCell")
Cell顯示部份也要加入Section判斷
分別return才能顯示不同
如果有if判斷是
需要有else來接所有不符合的條件才不會出錯
func tableView(_ tableView: UITableView, cellForRowAt indexPath: IndexPath) -> UITableViewCell {
    if indexPath.section == 0 {
        let cell:BannerCell = tableView.dequeueReusableCell(withIdentifier: "BannerCell")
            as! BannerCell
        return cell
    }else if indexPath.section == 1 || indexPath.section == 2{
        let cell:CollectionViewCell = tableView.dequeueReusableCell(withIdentifier: "CollectionViewCell")
            as! CollectionViewCell
        return cell
    }else{
        let cell:CoverCell = tableView.dequeueReusableCell(withIdentifier: "CoverCell")
            as! CoverCell
        return cell
    }
}
到這裡全部都設置好了
Demo
