今天介紹 MQTT 使用與連結實際操作部分,前一篇有介紹了 MQTT 各種特性與特點。
MQTT Borker 先介紹一下因為沒有他我們也沒得用。
下表提到的軟體都是市面上較常見的軟體,大家可以挑一些開源的來使用。
我個人偏好 找使用C或者 Erlang 開發的軟體,一方面因為C的較輕量化而 Erlang 也是很輕量並且可以做到 Cluster 集群的功能。
| Implementation(名稱) | 開發來源(Developed by) | 開源(Open source) | 軟體授權)Software license) | 版權所有者(Copyright owner) | 開發語言(Written in) | 類別(Type) | 最新版本(Latest stable release, release date) | 起源國(Origin) |
|---|---|---|---|---|---|---|---|---|
| Adafruit IO | Adafruit | Yes | MIT License | Adafruit | Ruby on Rails, Node.js, Python | Client | 2.0.0, | US |
| EMQ X | EMQ | Yes | Apache License version 2.0 | EMQ Enterprise, Inc. | Erlang | Broker | V3.0, 2019-04-03 | China |
| flespi | Gurtam | No | Commercial license | Gurtam | C | Broker | 2018-04-05 | Belarus |
| HiveMQ | MQTT Client dc-square GmbH | Yes Apache License version 2.0 | dc-square | GmbH | Java | Client | 1.1.0, 2019-06-07 | Germany |
| HiveMQ Community Edition | dc-square GmbH | Yes | Apache License version 2.0 | dc-square GmbH | Java | Broker | 2019.1, 2019-04-16 | Germany |
| HiveMQ | dc-square GmbH | No | Commercial license | dc-square GmbH | Java | Broker | 4.1.1, 2019-06-03 | Germany |
| IBM WIoTP Message Gateway | IBM | No | Commercial license | IBM | C | Broker | 5.0.0.1 2019-02-29 | -- |
| JoramMQ | ScalAgent D.T. | No, based on OW2/Joram 5.15, open-source broker (LGPL) | Commercial license | ScalAgent D.T. | Java | Broker | 1.11 2018-04-26 | France |
| M2Mqtt | Eclipse | Yes | Eclipse Public License 1.0 | Eclipse | C# | Client | 4.3.0.0, 2017-05-20 | Canada |
| Machine Head | ClojureWerkz | Yes | Creative Commons Attribution 3.0 Unported License | Alexander Petrov, Michael Klishin, ClojureWerkz Team | Clojure | Client | 1.0.0, 2017-03-05 | |
| moquette | Andrea Selva | Yes | Apache License version 2.0 | Andrea Selva | Java | Broker | 0.12.1, 2019-03-03 | Italy |
| Mosquitto | Eclipse | Yes | Eclipse Public License 1.0, Eclipse Distribution License 1.0 (BSD) | Eclipse | C | Client and Broker | 1.6.3, 2019-06-18 | UK |
| MQTT-C | Liam Bindle | Yes | MIT License | Liam Bindle | C | Client | v1.0.3, 2019-08-26 Canada | |
| net-mqtt | Dustin Sallings | Yes | BSD 3 | Dustin Sallings | Haskell | Client | 0.5.0.2, 2019-09-15 | US |
| Paho MQTT | Eclipse | Yes | Eclipse Public License 1.0, Eclipse Distribution License 1.0 (BSD) | Eclipse | C, C++, Java, JavaScript, Python, Go | Client | 1.4.0 (Photon), 2018-06-27 | UK |
| PubSub+ | Solace | No | Commercial license, free version | Solace | C, C++ | Broker | 8.13 2018-09-28 | Canada |
| Thingstream | Thingstream | No | Commercial licence | Thingstream | C, C++, Java, JavaScript, Python, Go | Client and broker | 3.3.02019-03-14 | UK |
| VerneMQ | VerneMQ/Erlio | Yes | Apache License version 2.0 | VerneMQ/Erlio | Erlang/OTP | Broker | 1.9.1 2019-08-12 | Switzerland |
| wolfMQTT | wolfSSL | Yes | GNU Public License, version 2, Commercial License | wolfSSL | C | Client | 1.2 2018-11-07 | US |
| Bevywise MQTTBroker | Bevywise Networks | No | Commercial license | Bevywise Networks | C, Python | Broker | v1.1, 2018-10-20 | India |
這邊我們將使用Raspberry Pi 3 Model B作為使用的硬體,當然你也可以用很好的 PC 或者伺服器來使用。
不過會挑選這個作為硬體裝置是有原因因為該裝置已內建無線網路與 Bluetooth 且價格低好入手。
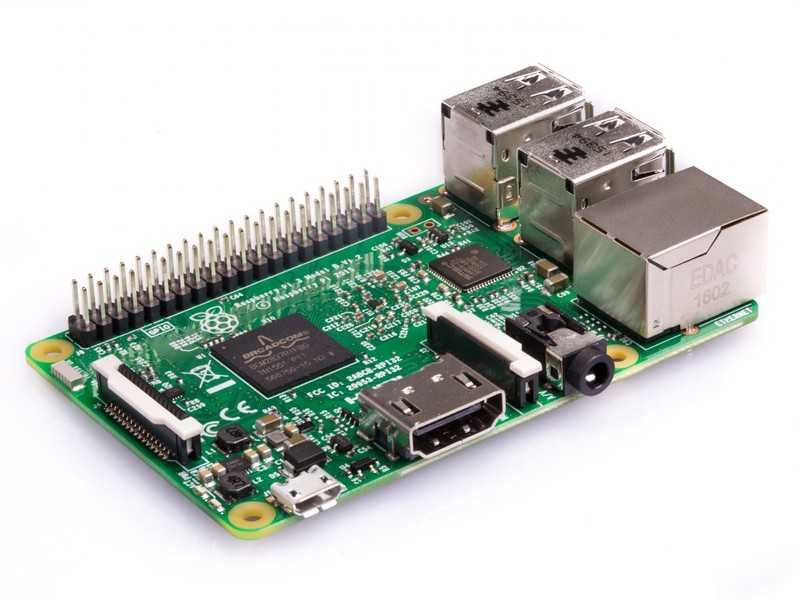
Raspberry Pi 3 Model B
規格
一般來說因為硬體關係勢必不能挑選太吃重的軟體,大部分會推薦Mosquitto使用。那我這邊介紹另一套軟體EMQ X來作為今天使用的 Broker。
這邊請先幫你硬體裝好 Docker。
a. 更新安裝軟體需求套件庫。
sudo apt-get install apt-transport-https ca-certificates software-properties-common -y
b. 下載安裝 Docker.
curl -fsSL get.docker.com -o get-docker.sh && sh get-docker.sh
c. 設定使用者 ‘pi’ 執行 Docker 命令.
sudo usermod -aG docker pi
d. 匯入 Docker CPG key.
sudo curl https://download.docker.com/linux/raspbian/gpg
e. 增加 Docker Repo.
vim /etc/apt/sources.list
加入下面內容
deb https://download.docker.com/linux/raspbian/ stretch stable
f. 更新你的 Pi 系統.
sudo apt-get update
sudo apt-get upgrade
g. 重新登入系統 檢查資訊
pi@ras2:~ $ docker info
Client:
 Debug Mode: false

Server:
 Containers: 0
  Running: 0
  Paused: 0
  Stopped: 0
 Images: 0
 Server Version: 19.03.2
 Storage Driver: overlay2
  Backing Filesystem: extfs
  Supports d_type: true
  Native Overlay Diff: true
 Logging Driver: json-file
 Cgroup Driver: cgroupfs
 Plugins:
  Volume: local
  Network: bridge host ipvlan macvlan null overlay
  Log: awslogs fluentd gcplogs gelf journald json-file local logentries splunk syslog
 Swarm: inactive
 Runtimes: runc
 Default Runtime: runc
 Init Binary: docker-init
 containerd version: 894b81a4b802e4eb2a91d1ce216b8817763c29fb
 runc version: 425e105d5a03fabd737a126ad93d62a9eeede87f
 init version: fec3683
 Security Options:
  seccomp
   Profile: default
 Kernel Version: 4.9.59-v7+
 Operating System: Raspbian GNU/Linux 9 (stretch)
 OSType: linux
 Architecture: armv7l
 CPUs: 4
 Total Memory: 875.8MiB
 Name: ras2
 ID: ZEA6:XS2N:GZZG:W2QU:3CSC:T2CN:YKMC:SDGA:FL6H:YMFG:5YYM:N4TR
 Docker Root Dir: /var/lib/docker
 Debug Mode: false
 Registry: https://index.docker.io/v1/
 Labels:
 Experimental: false
 Insecure Registries:
  127.0.0.0/8
 Live Restore Enabled: false

WARNING: No memory limit support
WARNING: No swap limit support
WARNING: No kernel memory limit support
WARNING: No kernel memory TCP limit support
WARNING: No oom kill disable support
WARNING: No cpu cfs quota support
WARNING: No cpu cfs period support
這邊將以 docker 來直接使用 EMQ X。
EMQ X 官方很貼心的有特別提供 arm32v7 版本正是我們要的。
pi@ras2:~ $ docker run -d --name emqx -p 18083:18083 -p 1883:1883 emqx/emqx:v3.2.3-alpine3.9-arm32v7
Unable to find image 'emqx/emqx:v3.2.3-alpine3.9-arm32v7' locally
v3.2.3-alpine3.9-arm32v7: Pulling from emqx/emqx
856f4240f8db: Pull complete
fb2a25685f00: Pull complete
e740ed46f780: Pull complete
88ea9aa400a1: Pull complete
d4bd4e91ba24: Pull complete
e3f75bba18eb: Pull complete
26b711eb4d74: Pull complete
Digest: sha256:4db689fa5b821625274adbda3b51e66808a01993a3640561c1b3538fc884f420
Status: Downloaded newer image for emqx/emqx:v3.2.3-alpine3.9-arm32v7
479698322a6d71133e2fd3235aa710bae83df8d4726f4f68d85a245516980e0d
pi@ras2:~ $ docker ps
CONTAINER ID        IMAGE                                COMMAND                  CREATED             STATUS              PORTS                                                                                                                          NAMES
479698322a6d        emqx/emqx:v3.2.3-alpine3.9-arm32v7   "/usr/bin/docker-ent…"   58 seconds ago      Up 18 seconds       4369/tcp, 5369/tcp, 6369/tcp, 8080/tcp, 8083-8084/tcp, 8883/tcp, 0.0.0.0:1883->1883/tcp, 0.0.0.0:18083->18083/tcp, 11883/tcp   emqx
pi@ras2:~ $
如果見到上面資訊表示已經在執行了。
EMQX 特點還有提供管理介面可以使用那我們現在就登入系統。
http://你的pi IP:18083/
輸入預設帳密 admin / public
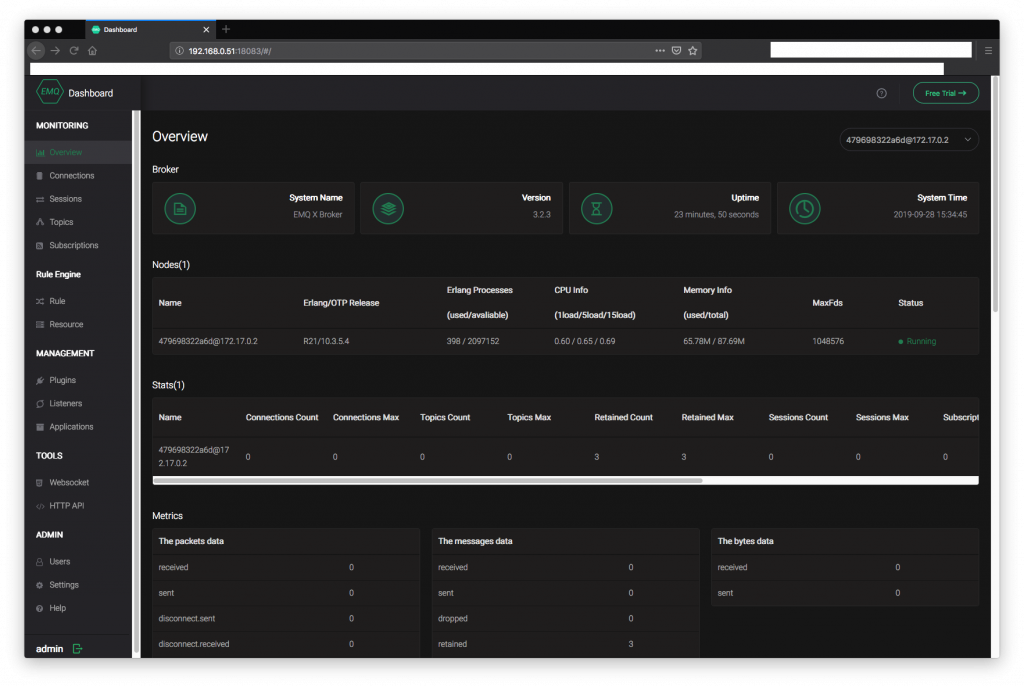
EMQ X 控制面板 看到這個是不是覺得很厲害應有盡有資訊。
這邊我們用MQTT.fx來做為測試用的 MQTT Client 連線軟體。
MQTT.fx 1.7.1

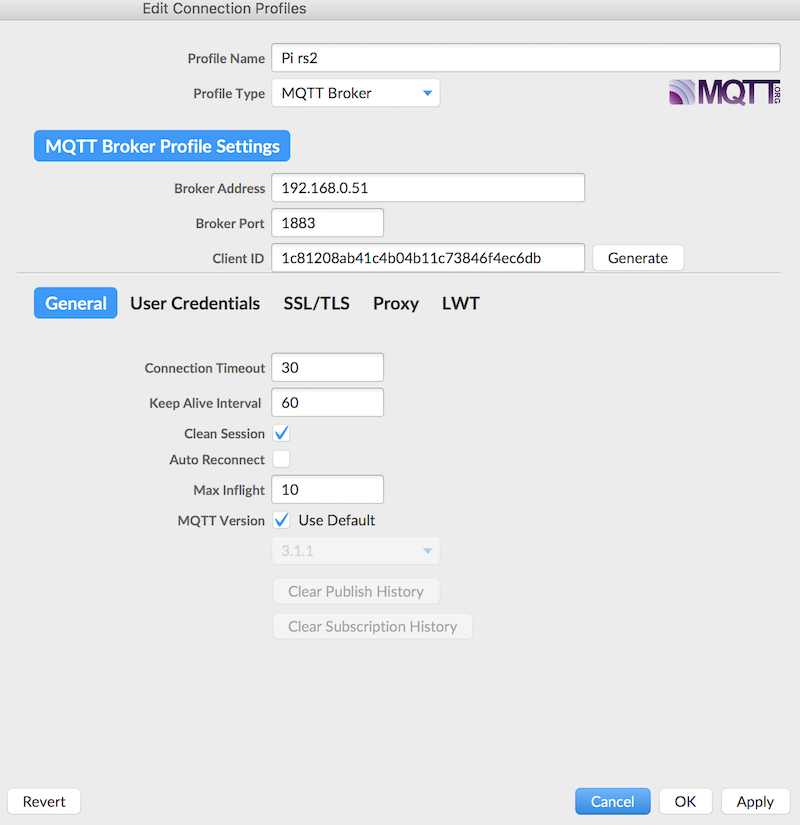
設定連線 IP 請改成你的 Pi IP。
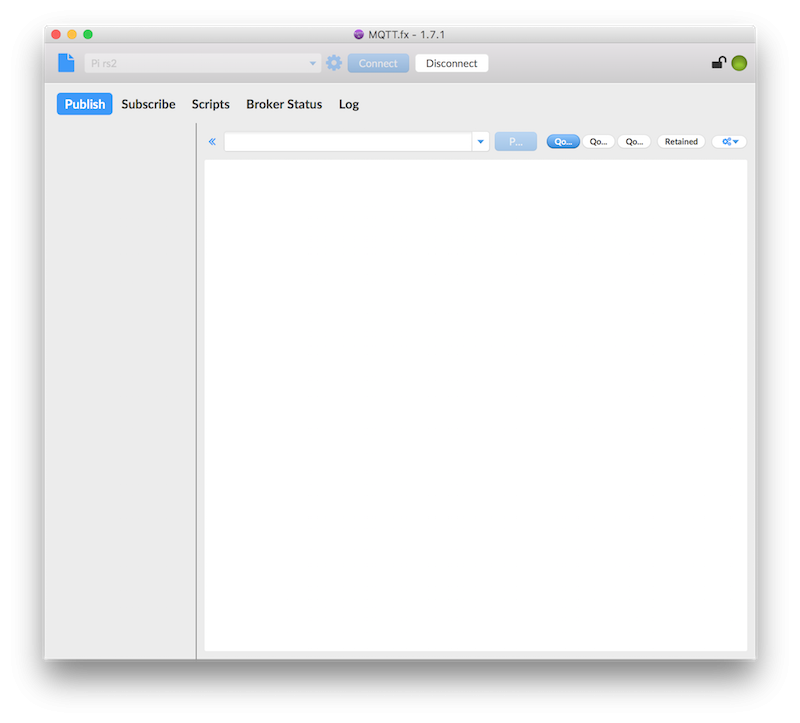
連線成功
今天介紹MQTT 相關軟體實際使用與介紹,相信很快的大家都可以成為大師。


 iThome鐵人賽