今天來試著把我們從列表頁開始,一路抓到的文章內容和資訊都存到資料庫中!
突然想到還沒整理過完整流程的原始碼,先來整理一下唄~
import requests
from bs4 import BeautifulSoup
from datetime import datetime
import re

def crawl_list():
    """爬取文章列表頁
    """
    # 抓取 1~10 頁
    for page in range(1, 11):
        html_doc = requests.get(f'https://ithelp.ithome.com.tw/articles?tab=tech&page={page}').text
        soup = BeautifulSoup(html_doc, 'lxml')

        # 先找到文章區塊
        article_tags = soup.find_all('div', class_='qa-list')

        # 沒有文章
        if len(article_tags) == 0:
            # 跳出換頁迴圈或離開程式
            print('沒有文章了!')
            break

        for article_tag in article_tags:
            # 再由每個區塊去找文章連結
            title_tag = article_tag.find('a', class_='qa-list__title-link')
            article_url = title_tag['href']

            crawl_content(article_url)

def crawl_content(url):
    """爬取文章內容

    :param url: 文章連結
    """
    html_doc = requests.get(url).text
    soup = BeautifulSoup(html_doc, 'lxml')

    leftside = soup.find('div', class_='leftside')
    original_post = leftside.find('div', class_='qa-panel')

    article_header = original_post.find('div', class_='qa-header')
    article_info = article_header.find('div', class_='ir-article-info__content')

    # 標題
    title = article_header.find('h2', class_='qa-header__title').get_text(strip=True)

    # 作者
    author = article_info.find('a', class_='ir-article-info__name').get_text(strip=True)

    # 發文時間
    published_time_str = article_info.find('a', class_='ir-article-info__time').get_text(strip=True)
    published_time = datetime.strptime(published_time_str, '%Y-%m-%d %H:%M:%S')

    # 文章標籤
    tag_group = article_header.find('div', class_='qa-header__tagGroup')
    tags_element = tag_group.find_all('a', class_='tag')
    tags = [tag_element.get_text(strip=True) for tag_element in tags_element]

    # 內文
    content = original_post.find('div', class_='markdown__style').get_text(strip=True)

    # 瀏覽數
    view_count_str = article_info.find('div', class_='ir-article-info__view').get_text(strip=True)
    view_count = int(re.search('(\d+).*', view_count_str).group(1))

    article = {
        'url': url,
        'title': title,
        'author': author,
        'publish_time': published_time,
        'tags': tags,
        'content': content,
        'view_count': view_count
    }
    print(article)

if __name__ == '__main__':
    crawl_list()
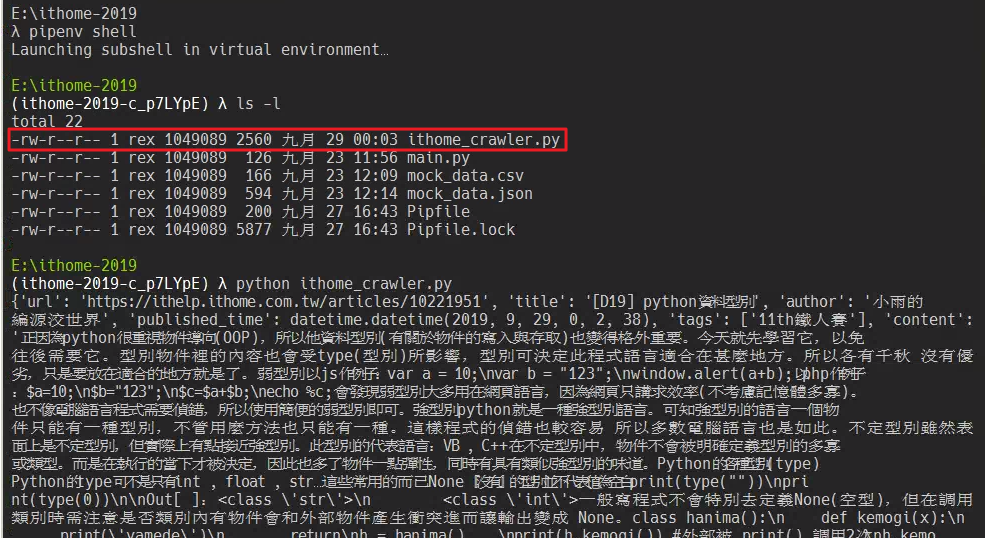
把上面這段程式碼存成 ithome_crawler.py 檔案後,進入虛擬環境執行。
因為程式碼越來越長,決定之後都存成
.py檔案後再執行了
在 crawl_content(url) 方法的最後,直接把每篇文章都 print 出來,如果要把資料存進資料庫,就從這邊開始做修改吧!
因為目的地資料庫可能會有不同環境,例如從 PostgreSQL 變成 MySQL,或者變成後面幾天會提到的 MongoDB,所以這邊可以把與資料庫有關的邏輯獨立成一個方法,跟原本爬取的邏輯分開來,未來比較好維護。
import psycopg2
host = 'localhost'
user = 'postgres'
dbname = 'ithome2019'
password = '<server_admin_password>'
conn_string = f'host={host} user={user} dbname={dbname} password={password}'
conn = psycopg2.connect(conn_string)
print('資料庫連線成功!')
cursor = conn.cursor()
def crawl_content(url):
"""爬取文章內容
:param url: 文章連結
"""
# ...略
insert_db(article)
def insert_db(article):
"""把文章插入到資料庫中
:param article: 文章資料
"""
cursor.execute('''
INSERT INTO public.ithome_article(title, url, author, publish_time, tags, content)
VALUES (%(title)s,%(url)s,%(author)s,%(publish_time)s,%(tags)s,%(content)s);
''',
article)
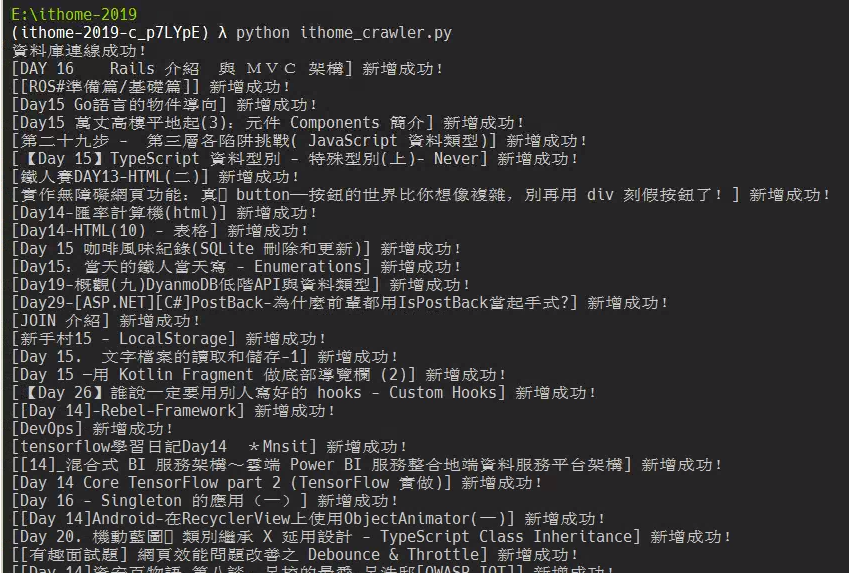
print(f'[{article["title"]}] 新增成功!')
conn.commit()
cursor.close()
conn.close()
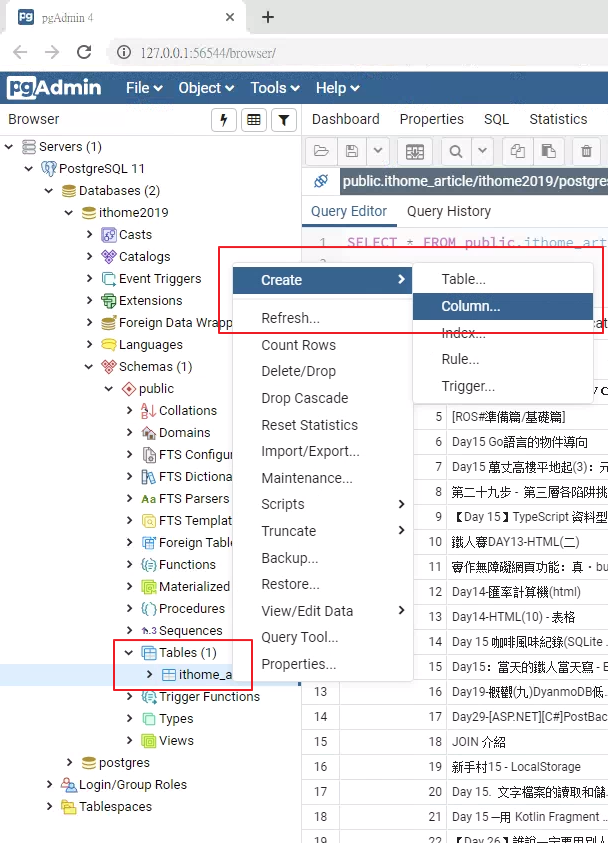
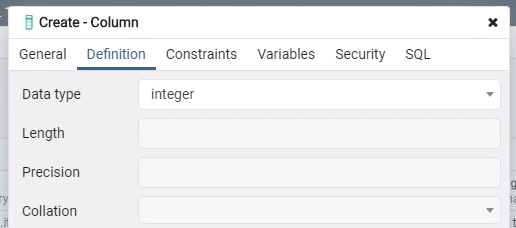
突然發現少開一個瀏覽數的欄位,趕快補上去吧!
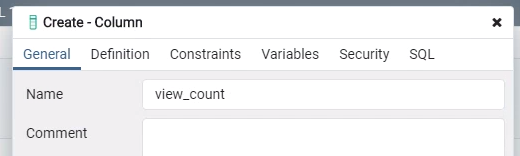
在要加欄位的資料表上按「右鍵 > Create > Column」,填入對應的資訊後按「Save」。
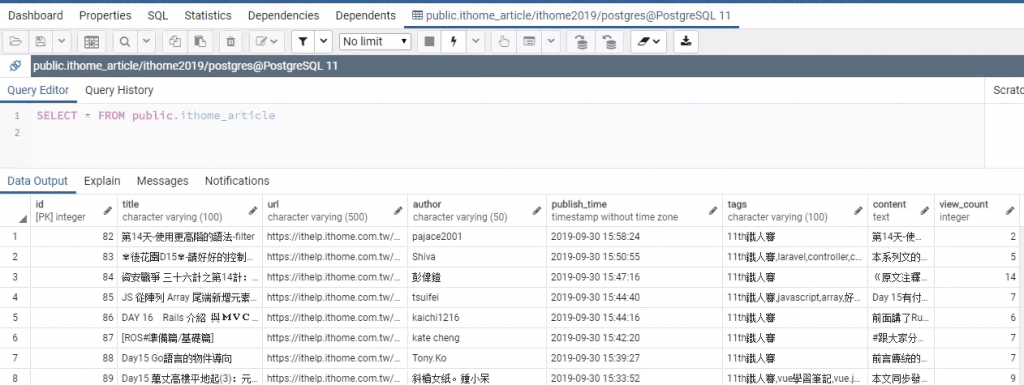
修改原本的 insert 語法後再執行,就可以看到剛剛抓下來的這些資料囉!
def insert_db(article):
    """把文章插入到資料庫中

    :param article: 文章資料
    """
    cursor.execute('''
    INSERT INTO public.ithome_article(title, url, author, publish_time, tags, content, view_count)
    VALUES (%(title)s,%(url)s,%(author)s,%(publish_time)s,%(tags)s,%(content)s,%(view_count)s);
    ''',
    article)

    print(f'[{article["title"]}] 新增成功!')

    conn.commit()
今天的完整程式碼有放在 gist 上了,有興趣的讀者可以上去看看。
明天會接著把回文的資料也存到資料庫中~


 iThome鐵人賽