寫完蒐集資料的程式後,接著要選擇儲存資料的方式,通常會選擇關聯式資料庫(RDBMS)或非關聯式資料庫(NoSQL) ,應該比較少人會存成本地檔案吧。這個系列會分別選擇 PostgreSQL 和 MongoDB 來做說明。今天就先介紹怎麼使用關聯式資料庫 PostgreSQL 吧!。
可以選擇要在本機安裝獨立的資料庫實體或者使用 Docker 容器。
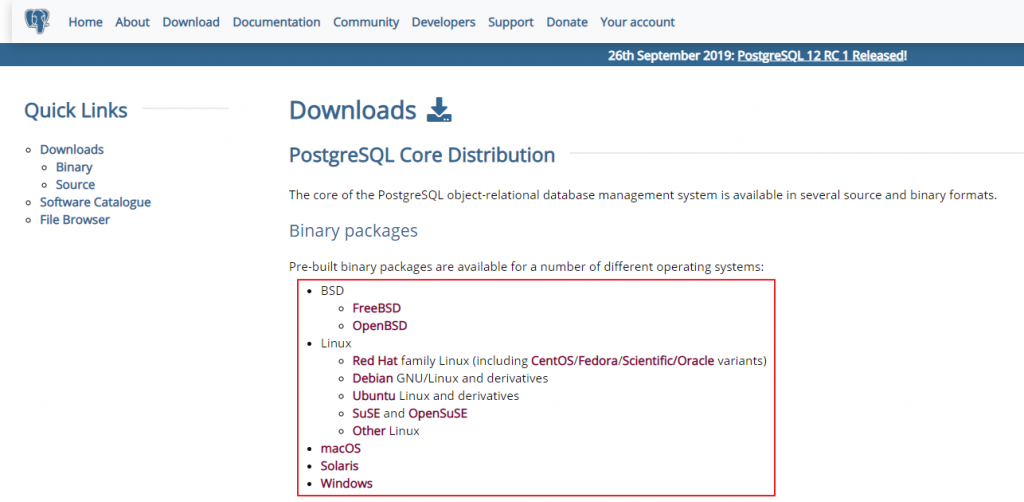
到官網下載對應作業系統版本的安裝檔,下載完成後執行,下一步到底就可以了。
直接使用官方的 PostgreSQL image。
docker pull postgres
docker run --name ithome-postgres -e POSTGRES_PASSWORD=mysecretpassword -v E:\ithome-2019\postgres:/var/lib/postgresql/data -d postgres
可以使用官方的 pgAdmin 來作為 PostgreSQL 的管理工具。如果是用本機安裝的,預設就會包含了;如果是用 Docker 容器就需要到網站上下載。
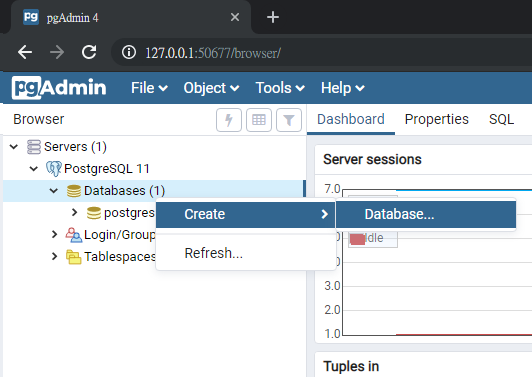
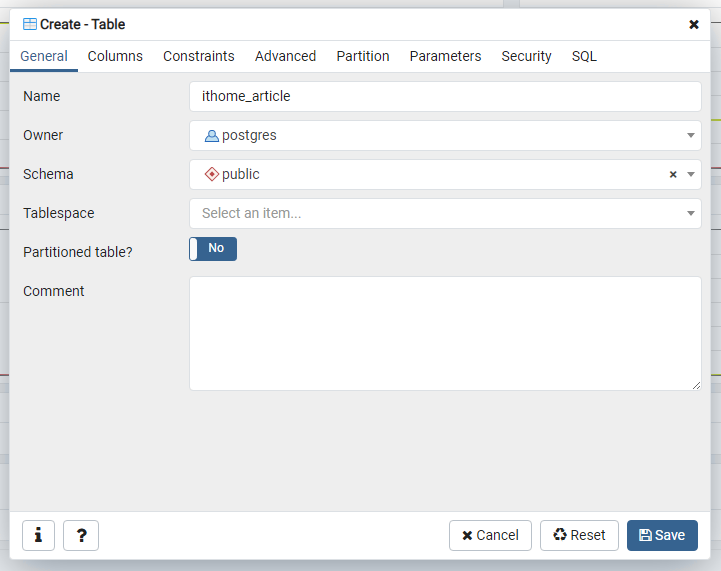
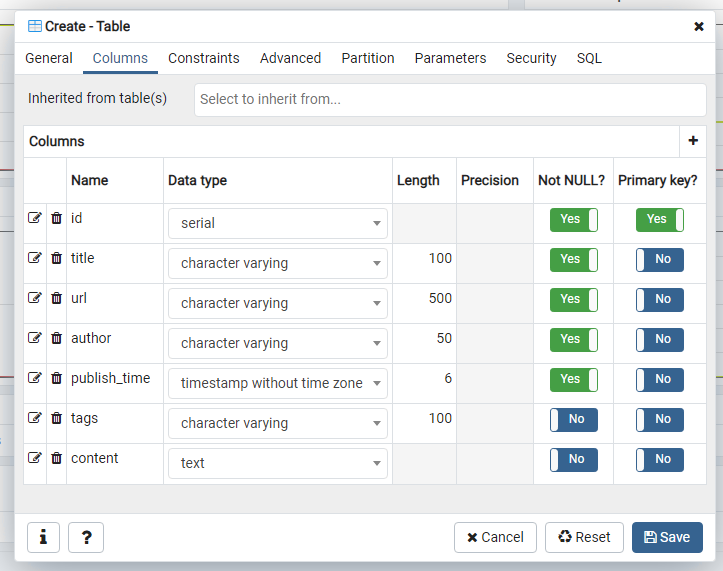
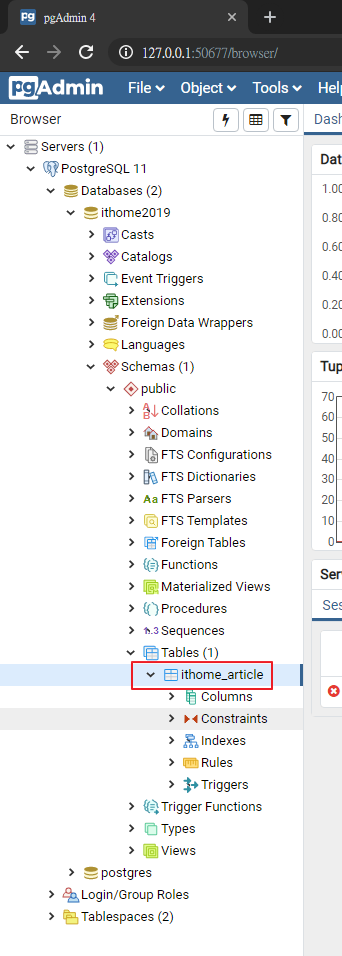
public schema 下,建立新的 Table
pipenv shell
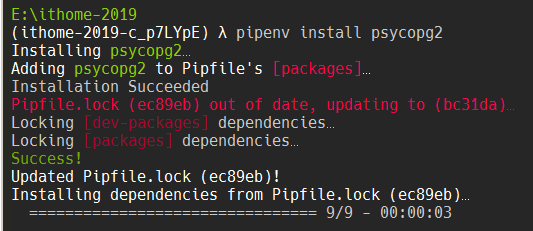
pipenv install psycopg2
import psycopg2
from datetime import datetime

host = "localhost"
user = "postgres"
dbname = "ithome2019"
password = "<server_admin_password>"

conn_string = f'host={host} user={user} dbname={dbname} password={password}'
conn = psycopg2.connect(conn_string)
print('資料庫連線成功!')

cursor = conn.cursor()

article = {
    'title': '【Day 0】前言',
    'url': 'https://ithelp.ithome.com.tw/articles/10215484',
    'author': 'Rex Chien',
    'publish_time': datetime(2019, 9, 15, 15, 50, 0),
    'tags': '11th鐵人賽,python,crawler,webscraping,scrapy',
    'content': '從簡單的商品到價提醒,到複雜的輿情警示、圖形辨識,「資料來源」都是基礎中的基礎。但網路上的資料龐大而且更新很快,總不可能都靠人工來蒐集資料。'
}
cursor.execute('''
    INSERT INTO public.ithome_article(title, url, author, publish_time, tags, content)
    VALUES (%(title)s,%(url)s,%(author)s,%(publish_time)s,%(tags)s,%(content)s);
    ''',
    article)

print('資料新增成功!')

conn.commit()
cursor.close()
conn.close()
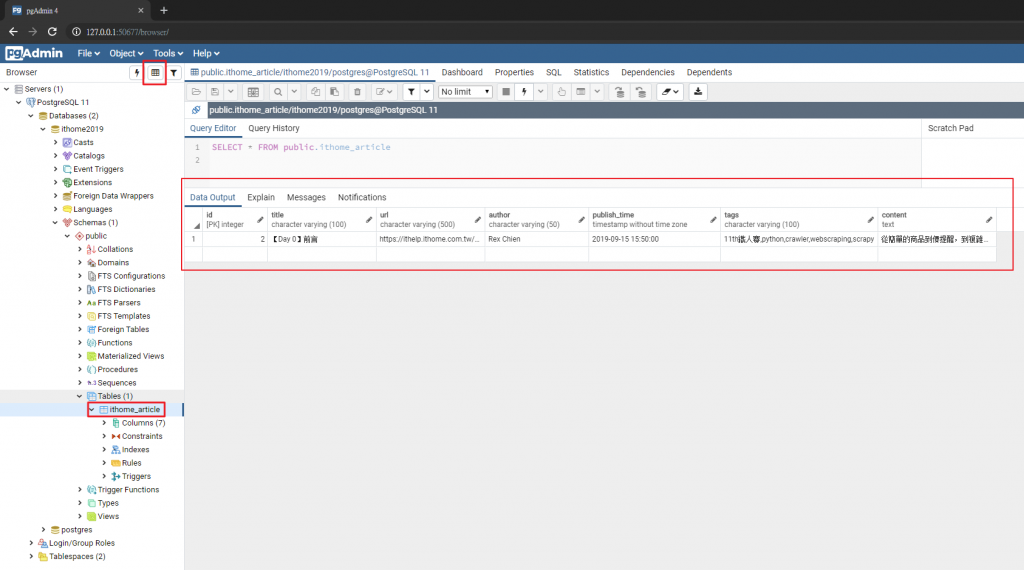
執行上面這段程式碼後,在管理程式中選擇剛剛建立的 Table ithome_article,再點選上方的 View Data 按鈕,就可以在右邊的 Data Output 頁籤中看到我們剛剛新增的資料了!
今天初步了解怎麼安裝資料庫環境,並用程式來寫入資料。明天開始會修改前幾天寫的爬蟲程式,把文章存到資料庫中,敬請期待~


 iThome鐵人賽