
餐廳詳細資訊個頁面只差TableView Header控制問題
因為比較特殊的設計
上方有一個View在浮動
造成有部分View擋到下面的TableView
來看看原生的APP

這個上面有一半的View高度擋住下面TableView
一開始先想到使用 Section == 0 設置一個客製化View' 利用heightForHeaderInSection設定被擋住的高度+下面文字高度 然後再使用viewForHeaderInSection 把下方一些餐單或是地點 使用Label一起add進去 headerView`
示意圖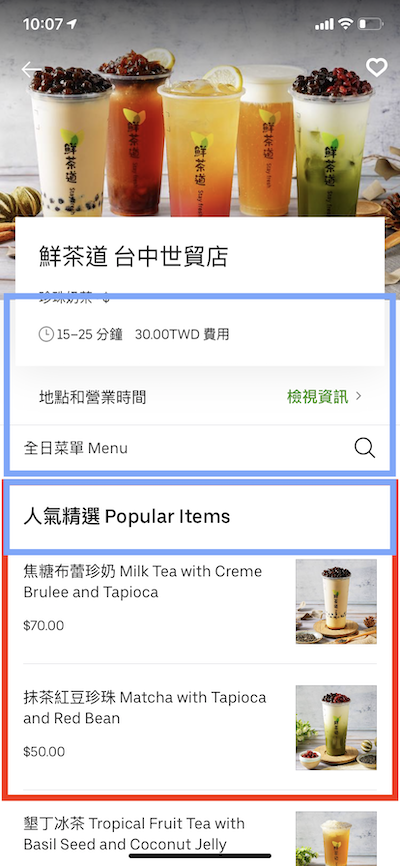
上方View 我設置的是200
露出一半在下面
所以下方是100
將section == 0 header高度設置為100
func tableView(_ tableView: UITableView, heightForHeaderInSection section: Int) -> CGFloat {
    if section == 0 {
        return 100
    }else{
        return 50
    }
}
Demo
接下來新增headerView
結果發現奇怪他的地點與菜單裡面有一條線
這條線有點像tableView cell的間隔線
該不會上面其實也是tableView吧

我去
白做工了立刻重寫
真正的應該是這樣吧
示意圖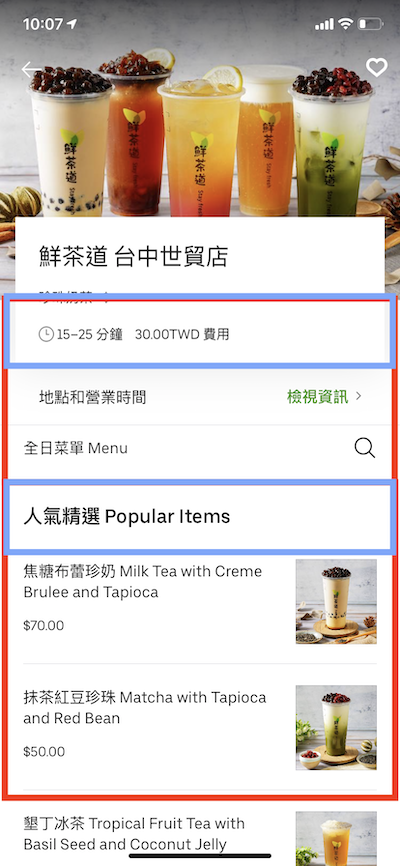
只要設置heightForHeaderInSection設定被擋住的高度就可以了
下方在設置兩個cellcell的高度也會與下方的菜單cell不同
會比較小一點 所以要先來設置heightForRowAt
func tableView(_ tableView: UITableView, heightForRowAt indexPath: IndexPath) -> CGFloat {
    if indexPath.section == 0 {
        return 50
    }else{
        return 100
    }
}
cell數量要配合 標題
section == 0 2個func tableView(_ tableView: UITableView, numberOfRowsInSection section: Int) -> Int {
if section == 0 {
return 2
}else{
return 7
}
}
Sections有兩個別忘記設定
func numberOfSections(in tableView: UITableView) -> Int {
    return 2
}
cell顯示部分 cellForRowAt
這裡有tableView原生小箭頭
可以用accessoryType 來讓他出現

cell.accessoryType = .disclosureIndicator
但他的cell我希望我自己能控制全部
所以另外做了一個cell給他呼叫
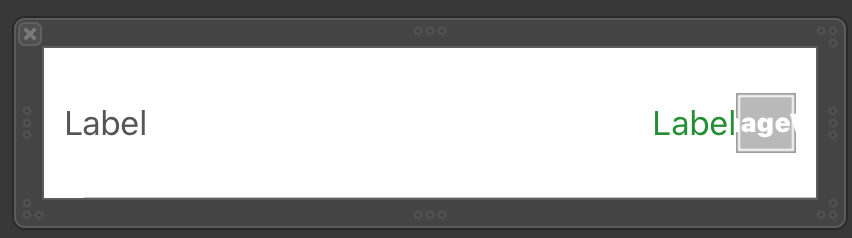
cellForRowAt 部分負責隱藏或是顯示
並且根據section不同回傳不同cell
func tableView(_ tableView: UITableView, cellForRowAt indexPath: IndexPath) -> UITableViewCell {
    if indexPath.section == 0 {
	    //----本篇討論缺----
        let cell:TitleCell = tableView.dequeueReusableCell(withIdentifier: "TitleCell")
            as! TitleCell

        if indexPath.row == 0 {
            cell.accessoryType = .disclosureIndicator
            cell.lightLabel.text = "地點與營業時間"
            cell.rightLabel.text = "檢視資訊"
            cell.rightLabel.isHidden = false
            cell.iconImage.isHidden = true
        }else{
            cell.lightLabel.text = "全日菜單"
            cell.iconImage.image = UIImage.init(named: "search")
            cell.rightLabel.isHidden = true
            cell.iconImage.isHidden = false
        }
        return cell
        //----本篇討論缺----
    }else{
        let cell:DetailCell = tableView.dequeueReusableCell(withIdentifier: "DetailCell")
            as! DetailCell

        cell.accessoryType = .disclosureIndicator
        return cell
    }
}
Demo
好像怪怪的 兩個地方
section header 會隨著滑動置頂 要另外設置跟著滑動
section header title 沒設置section header 滑動問題
一開始tableView創建時沒設置style
所以是以預設的方式呈現
只要將style設置為grouped
就會隨著滑動而改變y
var tableView = UITableView.init(frame: CGRect(x: 0, y: 0, width: KScreenWidth, height: KScreenHeight), style: .grouped)
剩餘標題文字部分
使用titleForHeaderInSection應該就可以了吧
func tableView(_ tableView: UITableView, titleForHeaderInSection section: Int) -> String? {
    switch section {
    case 0:
        return "空白就可以"
    default:
        return "人氣精選 Popular Items"
    }
}
Demo
滑動問題解決了
怎麼感覺header 背景顏色怪怪的
使用tableView 去控制 header背景顏色也無法實驗
所以試試看使用 viewForHeaderInSection
func tableView(_ tableView: UITableView, viewForHeaderInSection section: Int) -> UIView? {
    if section == 0
    {
        let headerView = UIView.init(frame: CGRect.init(x: 20, y: 0, width: self.tableView.bounds.size.width, height: 100))
        return headerView
    }
    else
    {
        let headerView = UIView.init(frame: CGRect.init(x: 20, y: 0, width: tableView.bounds.size.width, height: 100))
        let titleLabel = UILabel.init(frame: CGRect.init(x: 10, y: 0, width: tableView.bounds.size.width - 10, height: 50))
        titleLabel.text = "人氣精選 Popular Items"
        titleLabel.font = UIFont.systemFont(ofSize: 20)
        titleLabel.backgroundColor = UIColor.white
        headerView.addSubview(titleLabel)
        return headerView
    }
}
來看看結果
Demo
完成

