
接續上一篇,這篇我們來應用AlarmManage所提供的方法,並且實作BroadcastReceiver類別,結合兩者,實現定時功能的目標吧!
本篇專案將透過Calendar類別物件設定時間,提供AlarmManage明確的提醒時間服務,又藉由PendingIntent取得調用Context.sendBroadcast()的方法,AlarmManage物件到達Calendar物件設定的時間下,PendingIntent物件(執行Action)發出廣播,廣播傳送至BroadcastReceiver類別onReceiver()方法,onReceiver()方法在接收廣播後,執行通知程序。
public class TimeAlarmActivity extends AppCompatActivity {
    private TextInputEditText edtDay,edtHour,edtMin;
    private long currentsystemtime;
    private long settime;
    private Calendar calendar;
    //    取得日、時、分三種時間輸入
    private String day;
    private String hour;
    private String min;
    ......
    }
edtDay,edtHour,edtMin提供日、時、分三種時間輸入currentsystemtime存取目前時間settime存取設定時間day,hour,min取得日、時、分三種時間輸入 @Override
protected void onCreate(Bundle savedInstanceState) {
super.onCreate(savedInstanceState);
setContentView(R.layout.timealarm);
setTitle("時間設定");
findViews();
}
setTitleAppbar上建立標題 private void findViews() {
edtDay=(TextInputEditText)findViewById(R.id.edtDay);
edtHour=(TextInputEditText)findViewById(R.id.edtHour);
edtMin=(TextInputEditText)findViewById(R.id.edtMin);
}
findViews()取得個元件ID private void currentTime() {
calendar = Calendar.getInstance();
calendar.setTimeInMillis(System.currentTimeMillis());
calendar.setTimeZone(TimeZone.getTimeZone("GMT+8"));
currentsystemtime=System.currentTimeMillis();
}
currentTime()取得目前時間Calendar.getInstance()calendar實例化,取得預設時間、預設時區setTimeInMillis與setTimeZone分別設定時間與時區System.currentTimeMillis()獲得系統目前時間 private boolean isEmptyText(){
day = edtDay.getText().toString();
hour = edtHour.getText().toString();
min = edtMin.getText().toString();
if(day.isEmpty()|| hour.isEmpty()|| min.isEmpty()){
return true;
}
else {
return false;
}
}
isEmptyText()判斷EditText是否是空的並回傳True or False private void setTime(Calendar calendar) {
calendar.set(Calendar.DAY_OF_MONTH,Integer.parseInt(day));
calendar.set(Calendar.HOUR_OF_DAY, Integer.parseInt(hour));
calendar.set(Calendar.MINUTE, Integer.parseInt(min));
calendar.set(Calendar.SECOND, 0);
calendar.set(Calendar.MILLISECOND, 0);
settime = calendar.getTimeInMillis();
if (currentsystemtime > settime) {
calendar.add(Calendar.MONTH, 1);
settime = calendar.getTimeInMillis();
}
}
setTime(Calendar calendar)設定定時calendar.getTimeInMillis()獲得定時時間currentsystemtime > settime和calendar.add(Calendar.MONTH, 1)若定時時間(日、時、分)比目前小自動設定為下個月的時間(日、時、分) private void setAlarm() {
Intent intent = new Intent(TimeAlarmActivity.this, alarmReceiver.class);
PendingIntent pendingIntent =
PendingIntent.getBroadcast(TimeAlarmActivity.this, 0, intent, 0);
AlarmManager alarmManager = (AlarmManager) getSystemService(ALARM_SERVICE);
alarmManager.set(AlarmManager.RTC_WAKEUP, calendar.getTimeInMillis(), pendingIntent);
}
setAlarm()設定鬧鈴PendingIntent.getBroadcast調用廣播alarmManager.set設定單次提醒 private void showtime() {
String text =(calendar.get(Calendar.MONTH)+1)+"月"
+calendar.get(Calendar.DAY_OF_MONTH)+"日\n"
+calendar.get(Calendar.HOUR_OF_DAY)+":"
+ calendar.get(Calendar.MINUTE);
Toast.makeText(this,"設定成功\n"
+ "設定時間為\n"+text,Toast.LENGTH_LONG)
.show();
}
showtime()顯示已完成設定的時間 public void btnNotify(View view) {
if(isEmptyText()){
Toast.makeText(TimeAlarmActivity.this,"輸入不正確",Toast.LENGTH_SHORT).show();
}
else{
currentTime();
setTime(calendar);
setAlarm();
showtime();
finish();
}
}
btnNotify(View view)按鈕觸發後流程=>判斷EditText是否有完整輸入,"否"則顯示輸入不正確,"是"則=>取得目前時間=>設定輸入時間=>設定鬧鈴=>顯示使用者設定時間=>關閉輸入頁面=>完成完整程式碼
public class TimeAlarmActivity extends AppCompatActivity {
// 提供日、時、分三種時間輸入
private TextInputEditText edtDay,edtHour,edtMin;
// 存取目前時間
private long currentsystemtime;
// 存取設定時間
private long settime;
// 建立Calendar 物件
private Calendar calendar;
// 取得日、時、分三種時間輸入
private String day;
private String hour;
private String min;
@Override
protected void onCreate(Bundle savedInstanceState) {
super.onCreate(savedInstanceState);
setContentView(R.layout.timealarm);
// Appbar建立標題
setTitle("時間設定");
findViews();
}
private void findViews() {
// 取得個元件ID
edtDay=(TextInputEditText)findViewById(R.id.edtDay);
edtHour=(TextInputEditText)findViewById(R.id.edtHour);
edtMin=(TextInputEditText)findViewById(R.id.edtMin);
}
// 取得目前時間
private void currentTime() {
// calendar實例化,取得預設時間、預設時區
calendar = Calendar.getInstance();
// 設定系統目前時間、目前時區(GMT+8)
calendar.setTimeInMillis(System.currentTimeMillis());
calendar.setTimeZone(TimeZone.getTimeZone("GMT+8"));
// 獲得系統目前時間
currentsystemtime=System.currentTimeMillis();
}
// 使用者輸入情況判斷
    private boolean isEmptyText(){
        day = edtDay.getText().toString();
        hour = edtHour.getText().toString();
        min = edtMin.getText().toString();
        if(day.isEmpty()|| hour.isEmpty()|| min.isEmpty()){
            return true;
        }
        else {
            return false;
        }
    }
// 設定定時
private void setTime(Calendar calendar) {
calendar.set(Calendar.DAY_OF_MONTH,Integer.parseInt(day));
calendar.set(Calendar.HOUR_OF_DAY, Integer.parseInt(hour));
calendar.set(Calendar.MINUTE, Integer.parseInt(min));
calendar.set(Calendar.SECOND, 0);
calendar.set(Calendar.MILLISECOND, 0);
// 獲得定時時間
settime = calendar.getTimeInMillis();
// 若定時時間(日、時、分)比目前小自動設定為下個月的時間(日、時、分)
if (currentsystemtime > settime) {
// 增加一個月
calendar.add(Calendar.MONTH, 1);
// 重新獲得定時時間
settime = calendar.getTimeInMillis();
}
}
// 設定alarm
private void setAlarm() {
Intent intent = new Intent(TimeAlarmActivity.this, alarmReceiver.class);
// PendingIntent.getBroadcast調用廣播
PendingIntent pendingIntent = PendingIntent.getBroadcast(TimeAlarmActivity.this, 0, intent, 0);
// 獲得AlarmManager物件
AlarmManager alarmManager = (AlarmManager) getSystemService(ALARM_SERVICE);
// 設定單次提醒
alarmManager.set(AlarmManager.RTC_WAKEUP, calendar.getTimeInMillis(), pendingIntent);
}
// 顯示已完成設定的時間
    private void showtime() {

        String text =(calendar.get(Calendar.MONTH)+1)+"月"
                +calendar.get(Calendar.DAY_OF_MONTH)+"日\n"
                +calendar.get(Calendar.HOUR_OF_DAY)+":"
                + calendar.get(Calendar.MINUTE);

        Toast.makeText(this,"設定成功\n"
                + "設定時間為\n"+text,Toast.LENGTH_LONG)
                .show();
    }
public void btnNotify(View view) {
// 使用者輸入情況判斷
if(isEmptyText()){
Toast.makeText(TimeAlarmActivity.this,"輸入不正確",Toast.LENGTH_SHORT).show();
}
else{
// 取得目前時間
currentTime();
// 設定定時
setTime(calendar);
// 設定alarm
setAlarm();
// 顯示已完成設定的時間
showtime();
// 結束此頁面
finish();
}
}
}
public class alarmReceiver extends BroadcastReceiver {
    private NotificationManager notificationManager;
    private Notification notification;
    private final static int NOTIFICATION_ID=0;
    ......
    }
notificationManager與notification建立notificationManager與notification物件NOTIFICATION_ID建立能辨識通知差別的ID @Override
public void onReceive(Context context, Intent intent) {
Intent notifyIntent=new Intent(context,MainActivity.class);
PendingIntent pendingIntent=PendingIntent.getActivity(context,0,notifyIntent,0);
broadcastNotify(context, pendingIntent);
PendingIntent.getActivity實作觸發通知訊息,開啟首頁動作broadcastNotify執行通知 private void broadcastNotify(Context context, PendingIntent pendingIntent) {
notificationManager=
(NotificationManager)context.getSystemService(Context.NOTIFICATION_SERVICE);
notification = new Notification.Builder(context)
.setWhen(System.currentTimeMillis())
.setSmallIcon(R.drawable.baseline_alarm_black_18dp)
.setContentTitle("訊息")
.setContentText("要量血壓囉!")
.setContentIntent(pendingIntent)
.setVibrate(new long[]{0,100,200,300,400,500})
.build();
notificationManager.notify(NOTIFICATION_ID, notification);
}
broadcastNotify建立通知方法new Notification.Builder 建立通知物件內容setVibrate通知發送時產生震動notificationManager.notify 發送通知通知內容參見(Android學習-類別介紹-Notification||Android Developers Notification)完整程式碼
public class alarmReceiver extends BroadcastReceiver {

    //    建立notificationManager與notification物件
    private NotificationManager notificationManager;
    private Notification notification;

    //    建立能辨識通知差別的ID
    private final static int NOTIFICATION_ID=0;

    @Override
    public void onReceive(Context context, Intent intent) {

        //        實作觸發通知訊息,開啟首頁動作
        Intent notifyIntent=new Intent(context,MainActivity.class);
        PendingIntent pendingIntent=PendingIntent.getActivity(context,0,notifyIntent,0);

        //        執行通知
        broadcastNotify(context, pendingIntent);
    }

    //     建立通知方法
    private void broadcastNotify(Context context, PendingIntent pendingIntent) {
        notificationManager=
                (NotificationManager)context.getSystemService(Context.NOTIFICATION_SERVICE);

        //        建立通知物件內容
        notification = new Notification.Builder(context)
                .setWhen(System.currentTimeMillis())
                .setSmallIcon(R.drawable.baseline_alarm_black_18dp)
                .setContentTitle("訊息")
                .setContentText("要量血壓囉!")
                .setContentIntent(pendingIntent)
                .setVibrate(new long[]{0,100,200,300,400,500})
                .build();

        //        發送通知
        notificationManager.notify(NOTIFICATION_ID, notification);
    }
}
輸入時間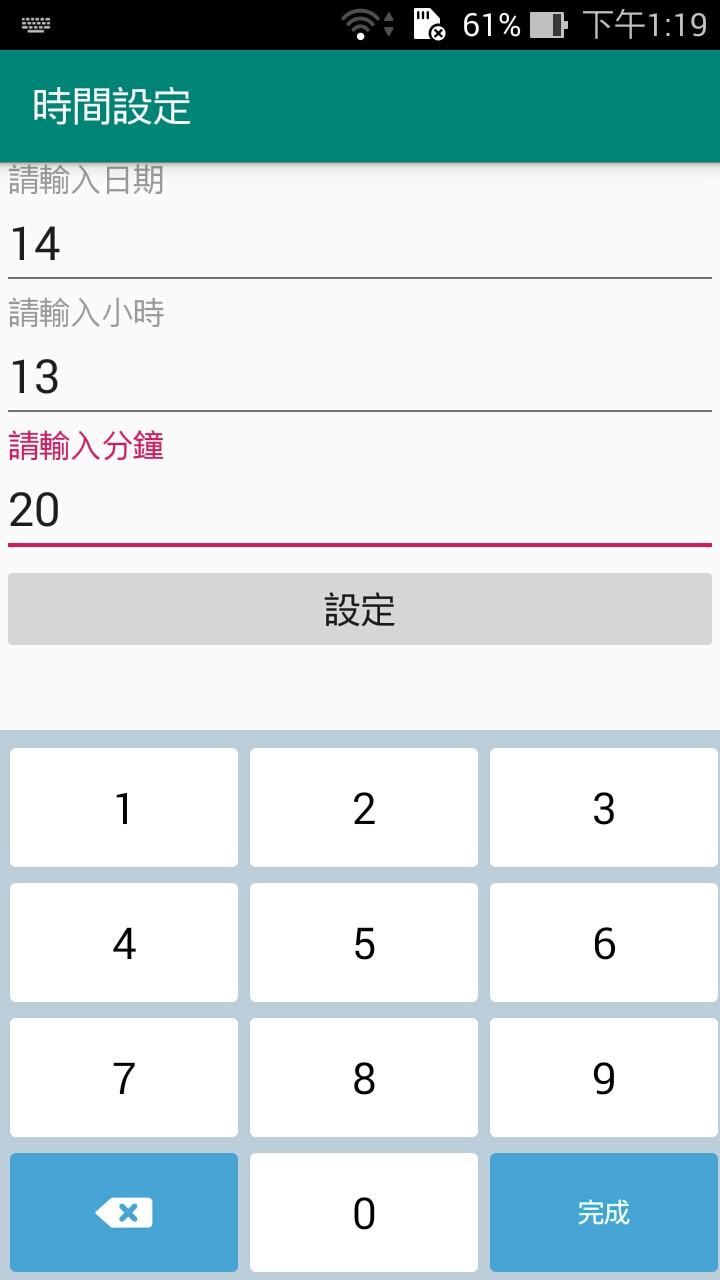
顯示設定時間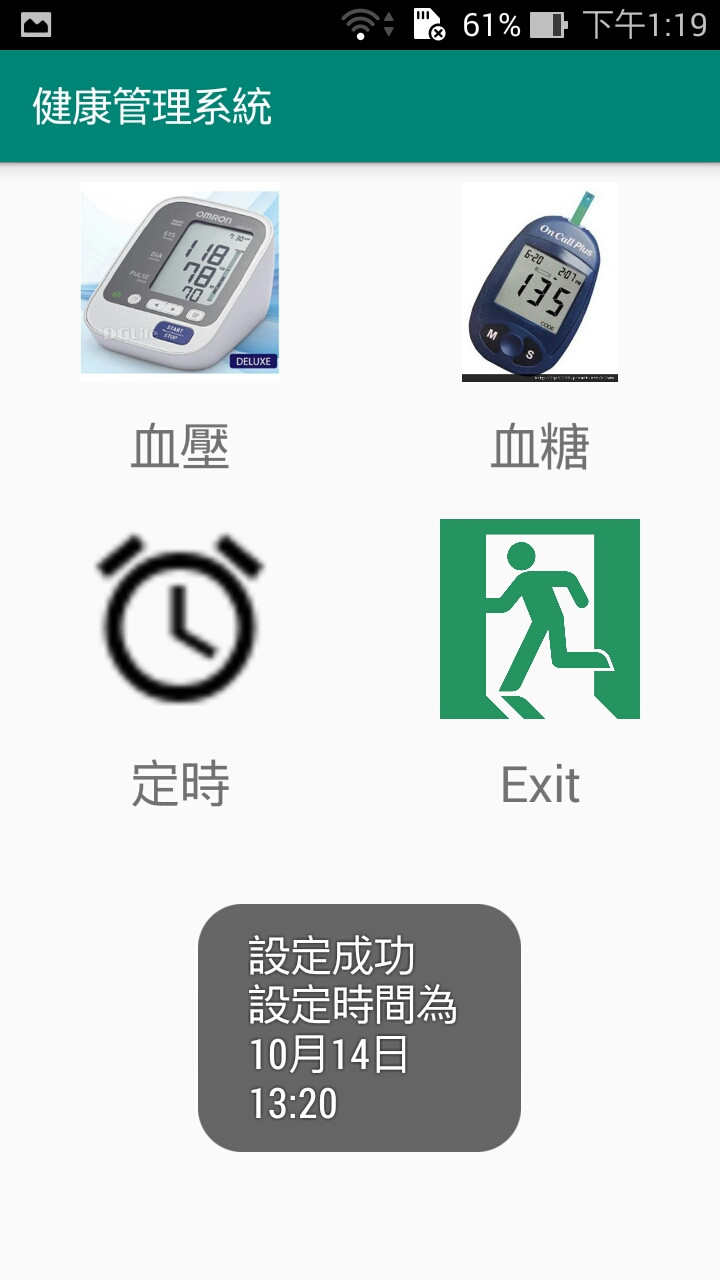
通知時間與設定時間符合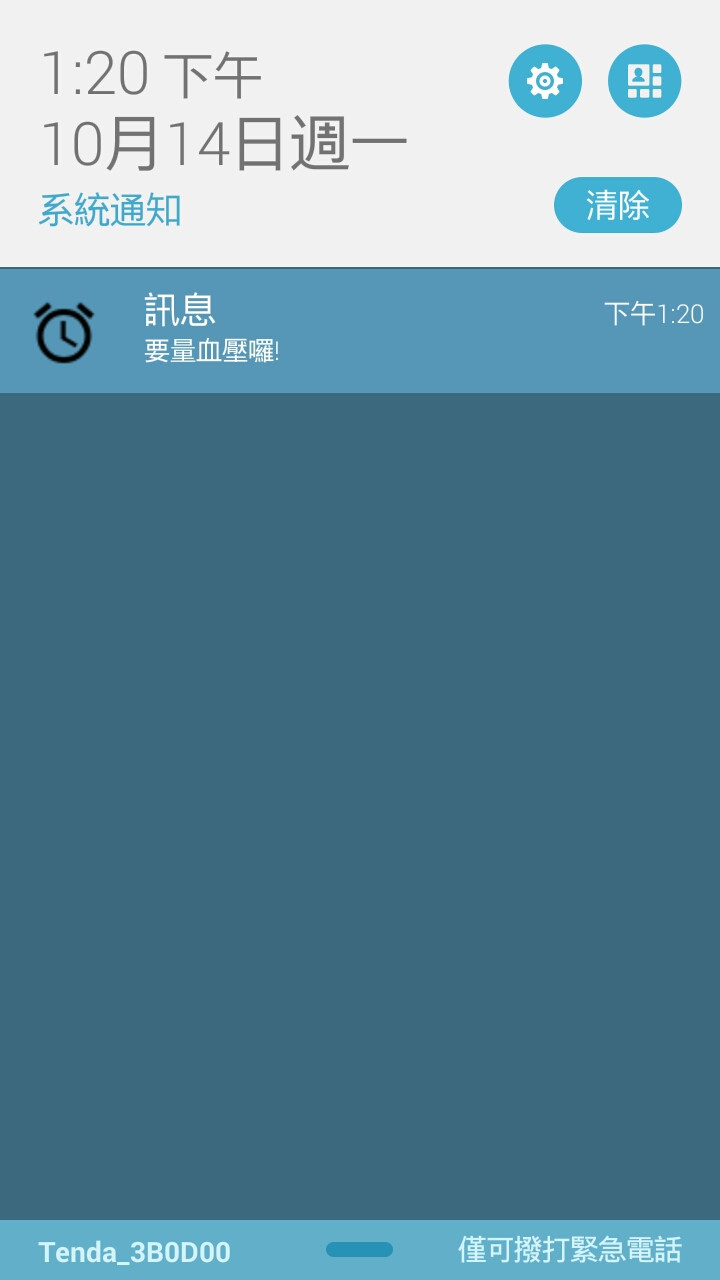
震動的功能沒辦法展示喔!哈哈哈~
若文章有誤,歡迎大家提出建議。
Thank you for your time.


 iThome鐵人賽