1.新增檔案Procfile,並利用gunicorn開啟伺服器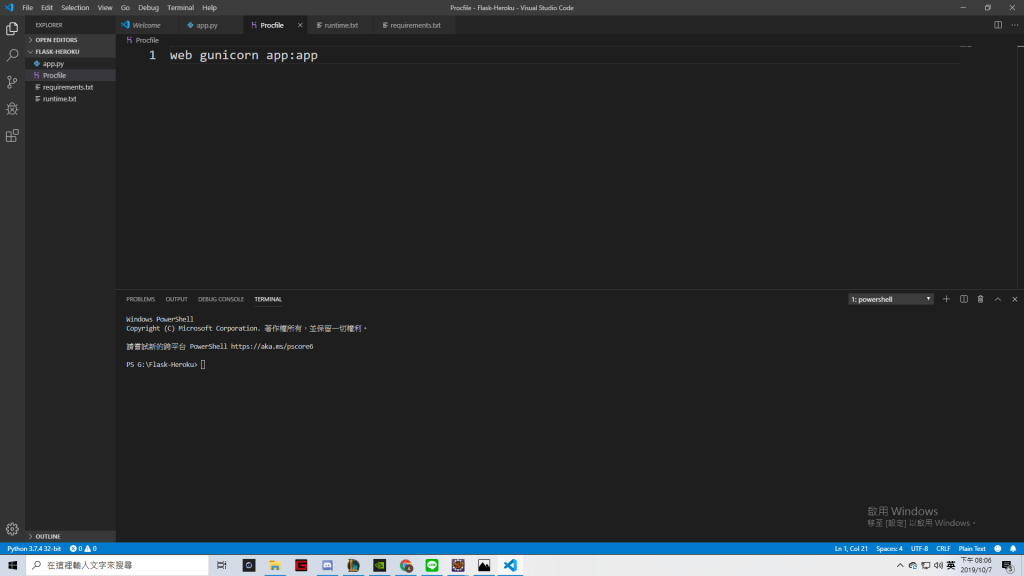
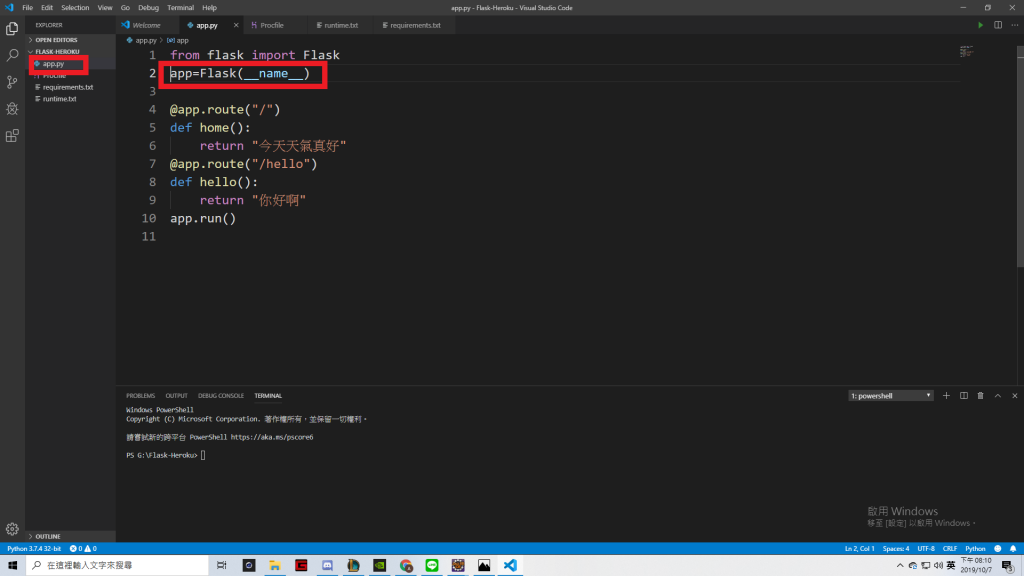
↑上一張圖的app:app分別對應的是左邊的app.py以及程式碼內建立的Flask物件app
2.建立requirements.txt檔並輸入開啟網頁所使用的套件
3.建立runtime.txt並輸入所使用的python版本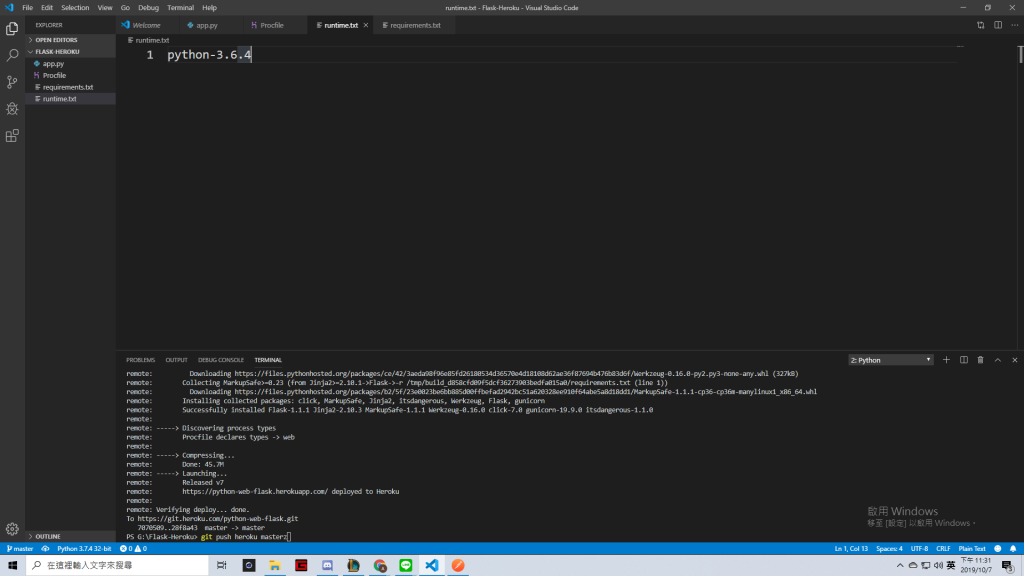
4.在heroku建立專案 create new app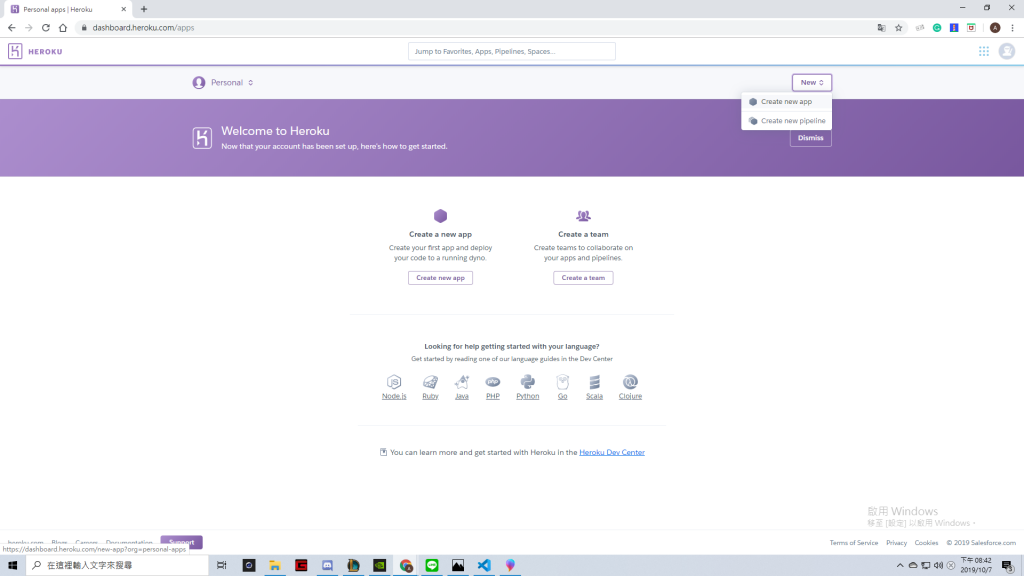
5.下載heroku CLI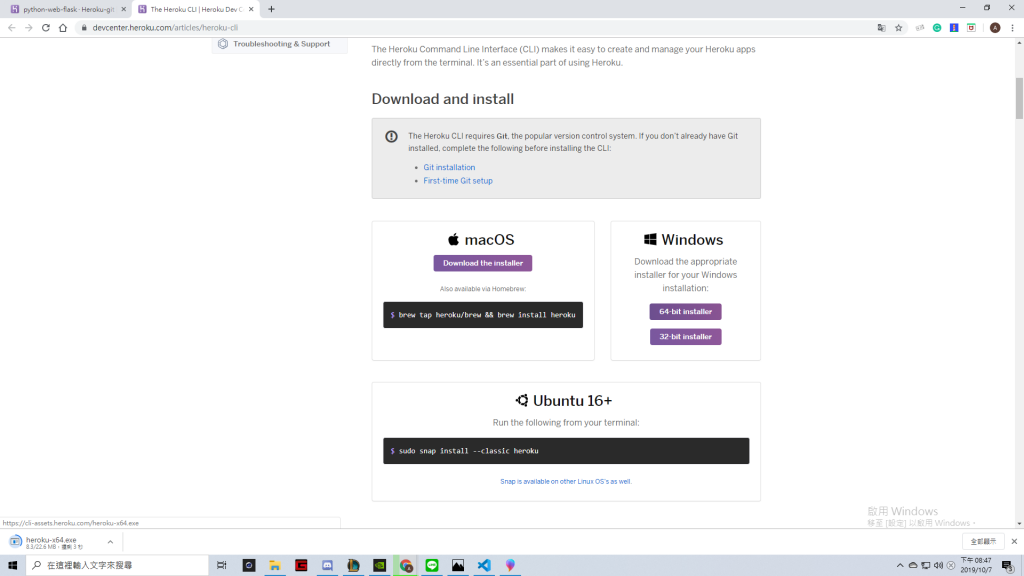
6.初始化專案:
這裡需要在Terminal內執行動作,每打一行指令就要enter一次
heroku login #登入heroku
git init #初始化專案
heroku git:remote -a python-web-flask #將電腦上的專案綁定到heroku上的專案
7.上傳專案:
git add .#將專案內容加入監控
git commit -m "first commit" #
git push heroku master #上傳到heroku
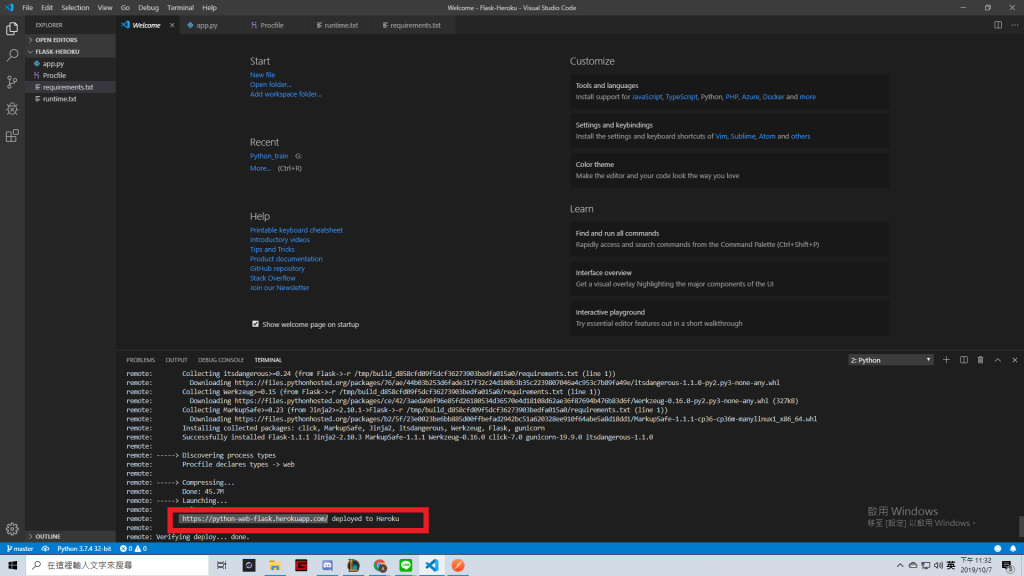
↑在terminal內跟著上面的指示輸入指令,執行後就可以得到一個網址,該網址就是你的網頁的網址,這樣一來其他人也可以連線到你的網頁了