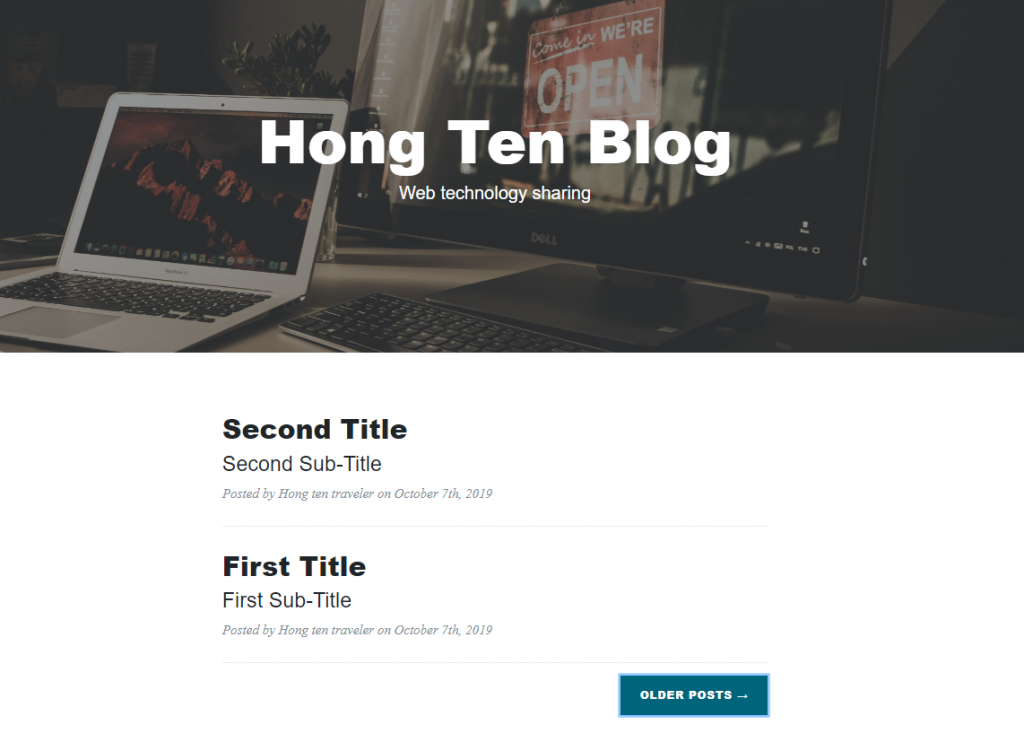
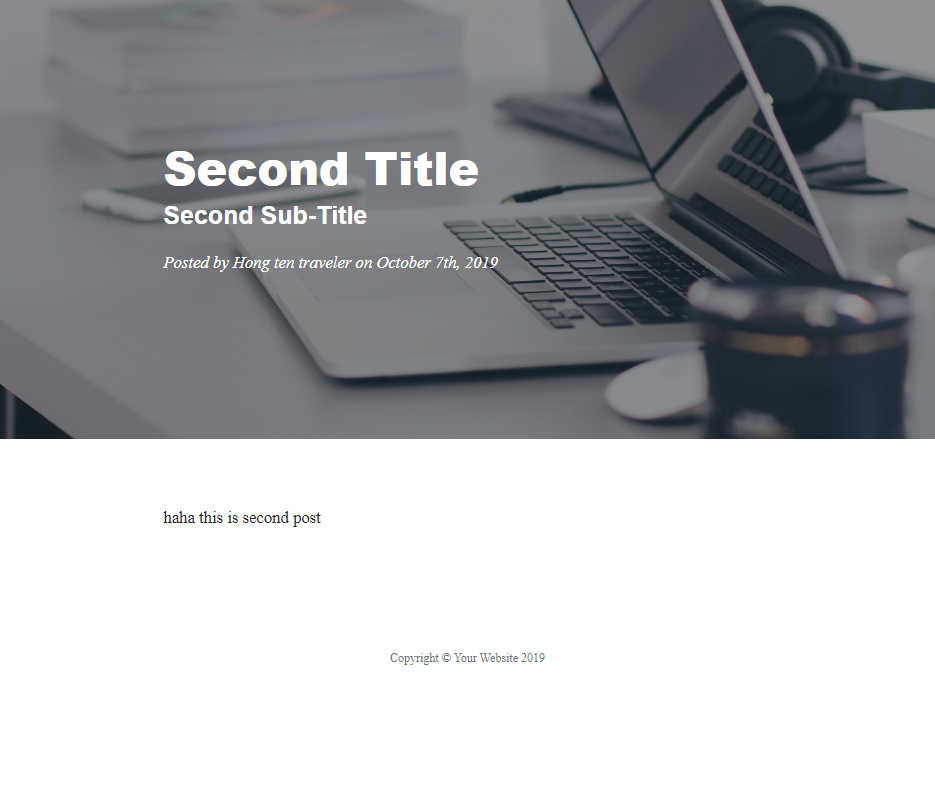
延續上一篇,今天來完成index頁面。
query indexQuery {
  allContentfulHead {
    edges {
      node {
        image {
          file {
            url
          }
        }
        title
        subTitle
      }
    }
  }
  allContentfulPost {
    edges {
      node {
        slug
        title
        subTitle
        publishDate(formatString: "MMMM Do, YYYY")
        author {
          name
        }
        body {
          childMarkdownRemark {
            excerpt
          }
        }
      }
    }
  }
}
值得注意的一點是childMarkdownRemark內的excerpt這個field是它提供的可以顯示資料部分內容的一個field。
畢竟首頁不會顯示所有文章的所有內容嘛,所以正符合它的使用場景。
<PostPreview key={post.node.slug} data={post.node}/>的陣列,渲染到畫面中。PostPreview傳入了data這個props為該文章的資料,key則是以陣列渲染時必須要有的屬性,需是每篇文章獨一無二的值(slug因為是文章的路由,所以不應重複,因此使用它,但你也可以用其他的不重複的值)
src/index.js
import React from "react"
import Layout from "../components/layout"
import PostPreview from "../components/post-preview"

const IndexPage = (props) => {

  const head = props.data.allContentfulHead.edges[0].node
  const posts = props.data.allContentfulPost.edges
  const postBoby = posts.map((post)=><PostPreview key={post.node.slug} data={post.node}/>)

  return (
  <Layout>
    <header className="masthead" style={{backgroundImage: `url('${head.image.file.url}')`}}>
      <div className="overlay"></div>
      <div className="container">
        <div className="row">
          <div className="col-lg-8 col-md-10 mx-auto">
            <div className="site-heading">
              <h1>{head.title}</h1>
              <span className="subheading">{head.subTitle}</span>
            </div>
          </div>
        </div>
      </div>
    </header>
    <div className="container">
      <div className="row">
        <div className="col-lg-8 col-md-10 mx-auto">
          {postBoby}
          <div className="clearfix">
            <a className="btn btn-primary float-right" href="#">Older Posts →</a>
          </div>
        </div>
      </div>
    </div>

    <hr/>
  </Layout>
)}

export default IndexPage

export const indexQuery = graphql`
query indexQuery {
  allContentfulHead {
    edges {
      node {
        image {
          file {
            url
          }
        }
        title
        subTitle
      }
    }
  }
  allContentfulPost {
    edges {
      node {
        slug
        title
        subTitle
        publishDate(formatString: "MMMM Do, YYYY")
        author {
          name
        }
        body {
          childMarkdownRemark {
            excerpt
          }
        }
      }
    }
  }
}
`
<Link>組件,它的用法跟react-router的<Link>是差不多的功能,只是gatsby的Link組件是實作gatsby內建的page路由的切換,react-router則是要自訂需要藉由路由切換的組件內容:src/components/post-preview
import React from "react"
import { Link } from "gatsby"
const PostPreview = (props) => {
  const post = props.data
  return (
  <>
    <div className="post-preview">
      <Link to={`/blog/${post.slug}`}>
        <h2 className="post-title">
        {post.title}
        </h2>
        <h3 className="post-subtitle">
        {post.subTitle}
        </h3>
      </Link>
      <p className="post-meta">Posted by {post.author.name} on {post.publishDate}</p>
    </div>
    <hr/>
  </>
)}
export default PostPreview


至此,我們的部落格網頁,已經完成了最基本的功能了(已經算是完成文章標題的主旨了XDD),就是上傳文章。但還有一兩個我們想完成的功能尚未完成,接著我會試著依序完成這兩者。
完成後如果還有時間,可能再補充一下關於Gatsby裡面,因為我沒使用到,所以講得不夠完善的地方。
OLDER POSTS按鈕