看來是時候進入專案了...
不然被斷頭就糟了(!?)
來來來 先附個專案開啟圖唄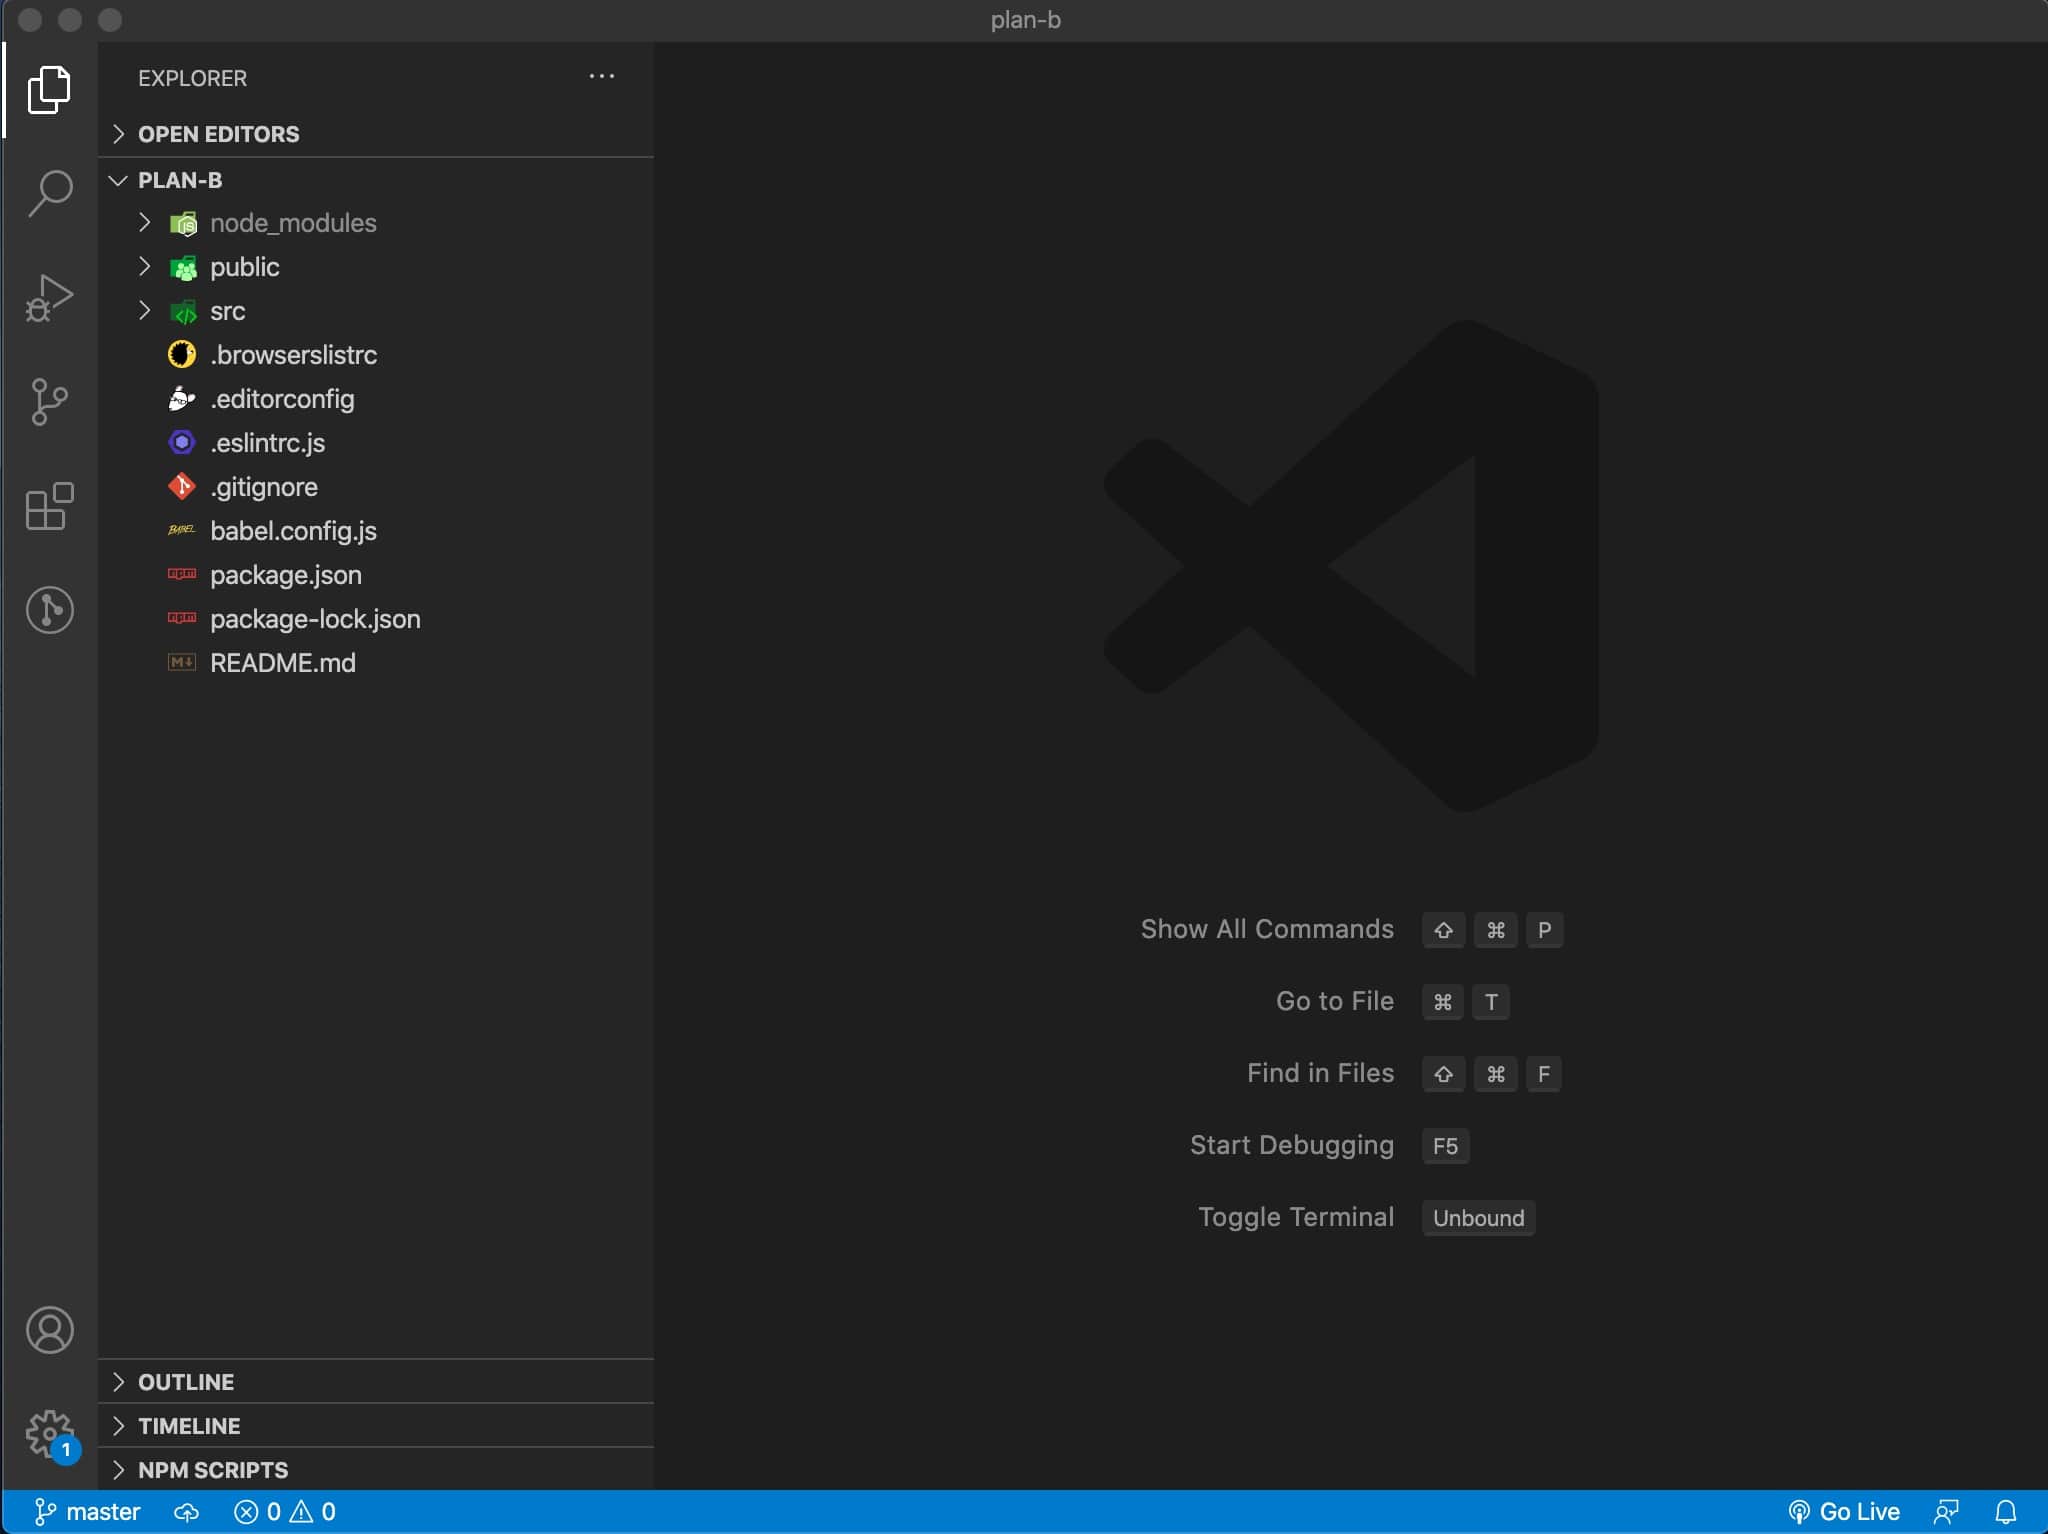
不錯不錯
再來做一下前置作業吧(!?又來!?)
不急不急
幫你好開發咩
望向VSCode的左邊Sidebar(側邊欄)
按下倒數第二個那個icon,那是Extensions(擴充套件)
擴展你的VSCode工具
好的
我啦 我在寫Vue前會來裝裝下「 Vetur 」這個套件
幫助你快速開發不好嗎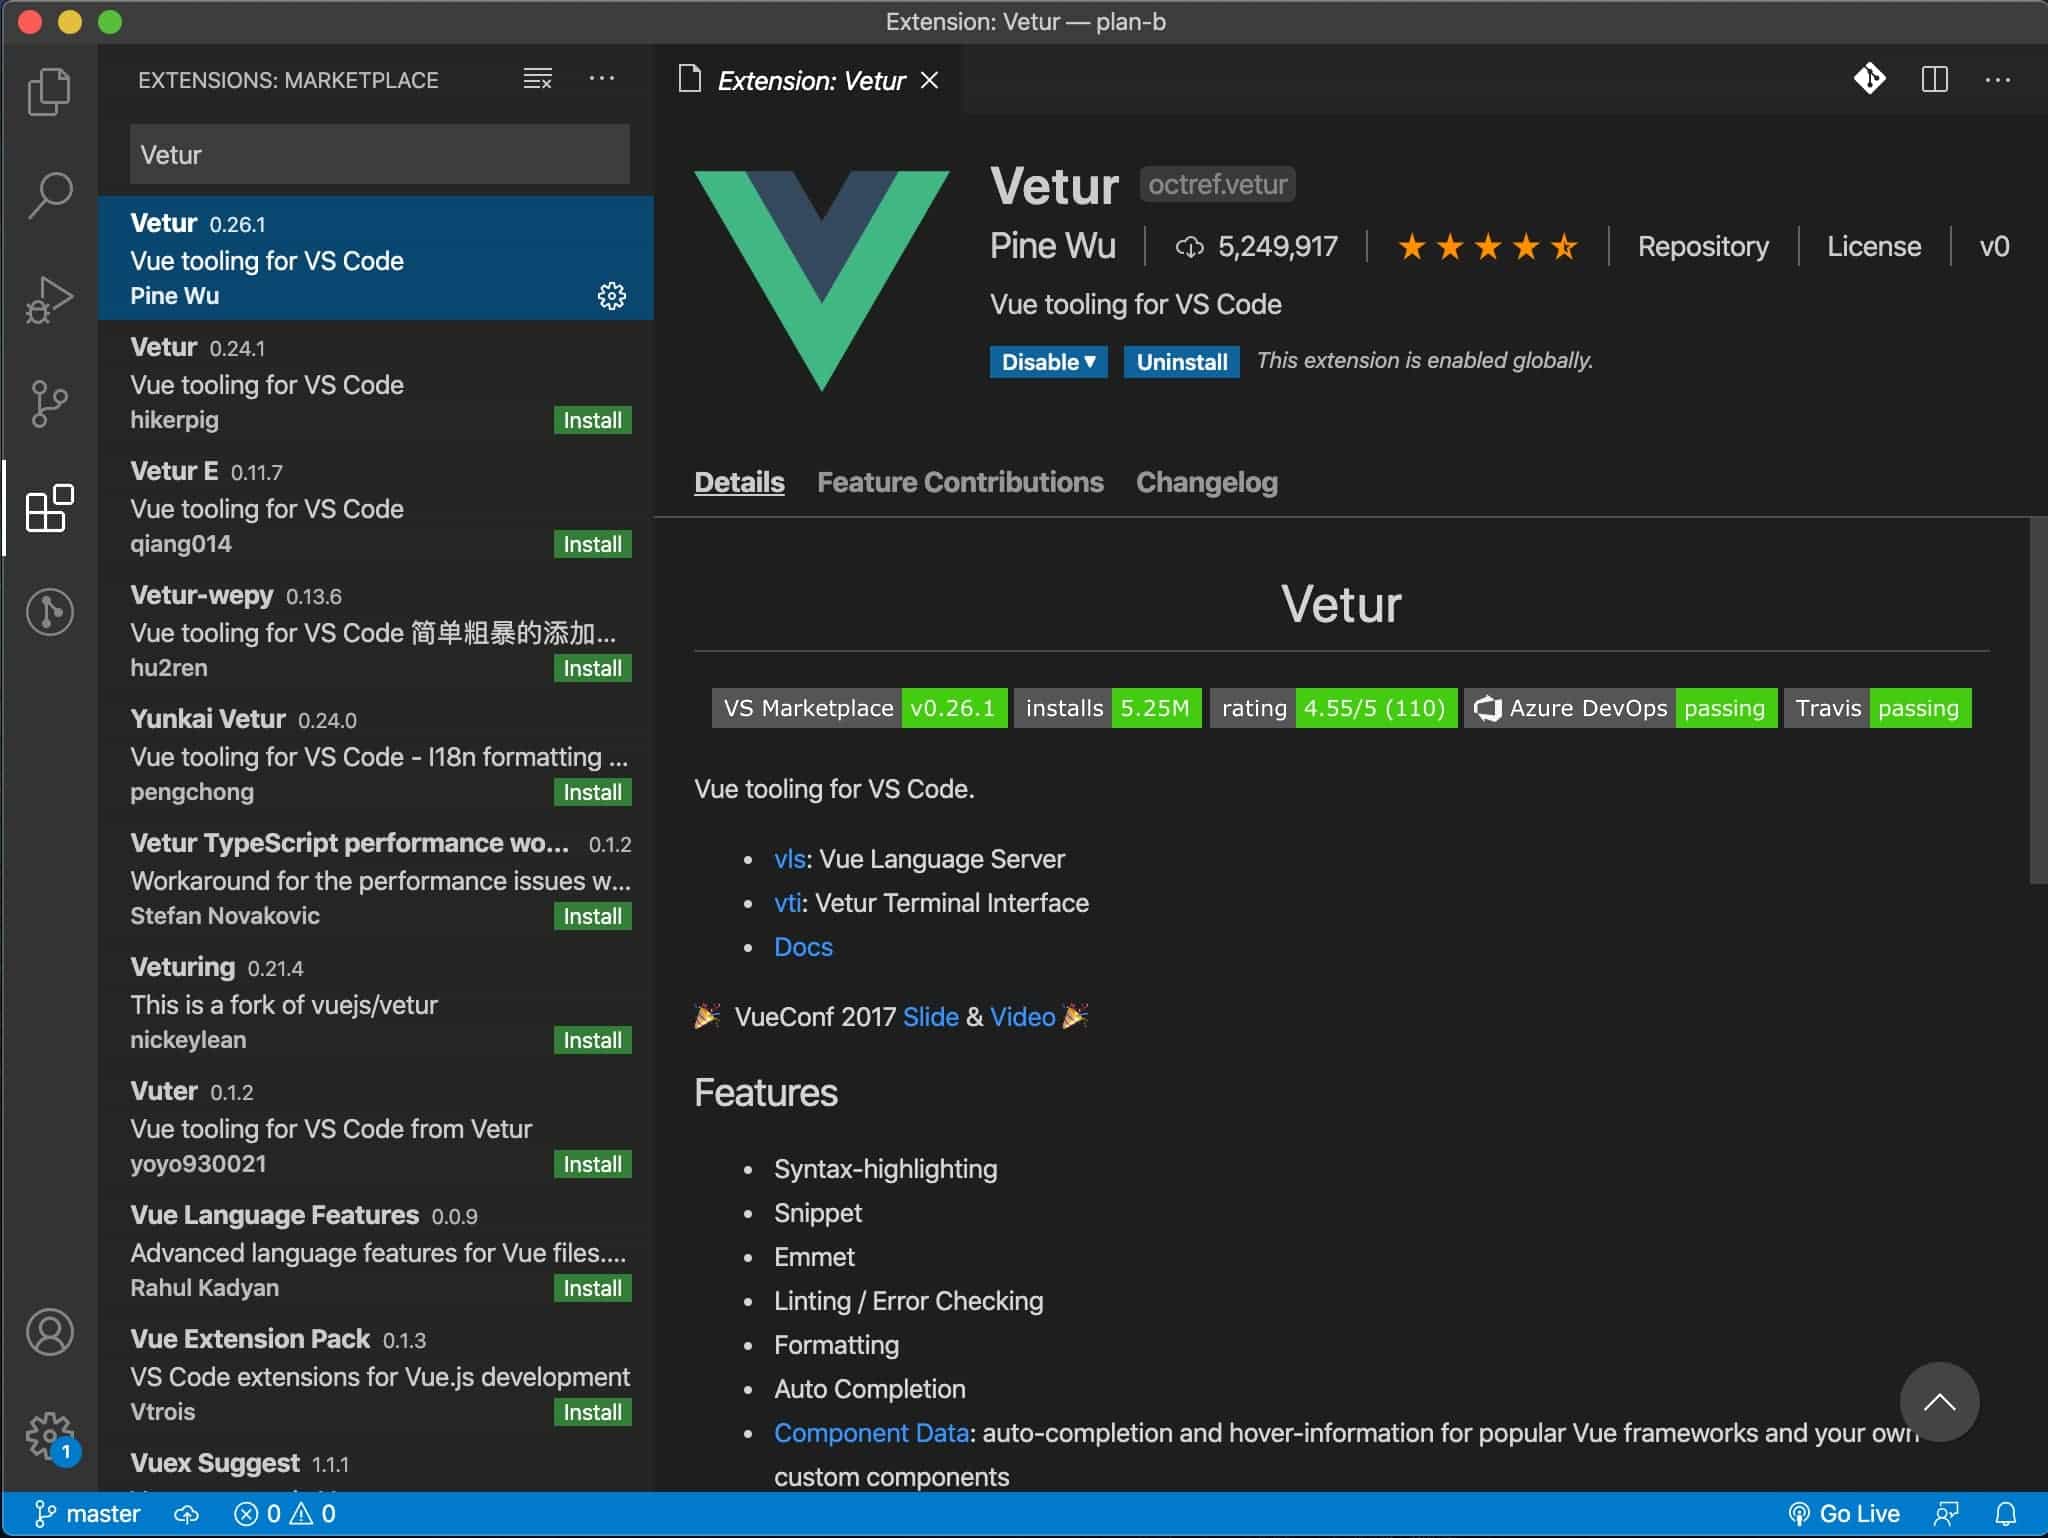
下一個我是沒裝啦,我Rookie咩~
不過有的大神推薦
「 Vue 2 Snippets 」
快快速開發你的專案(!?)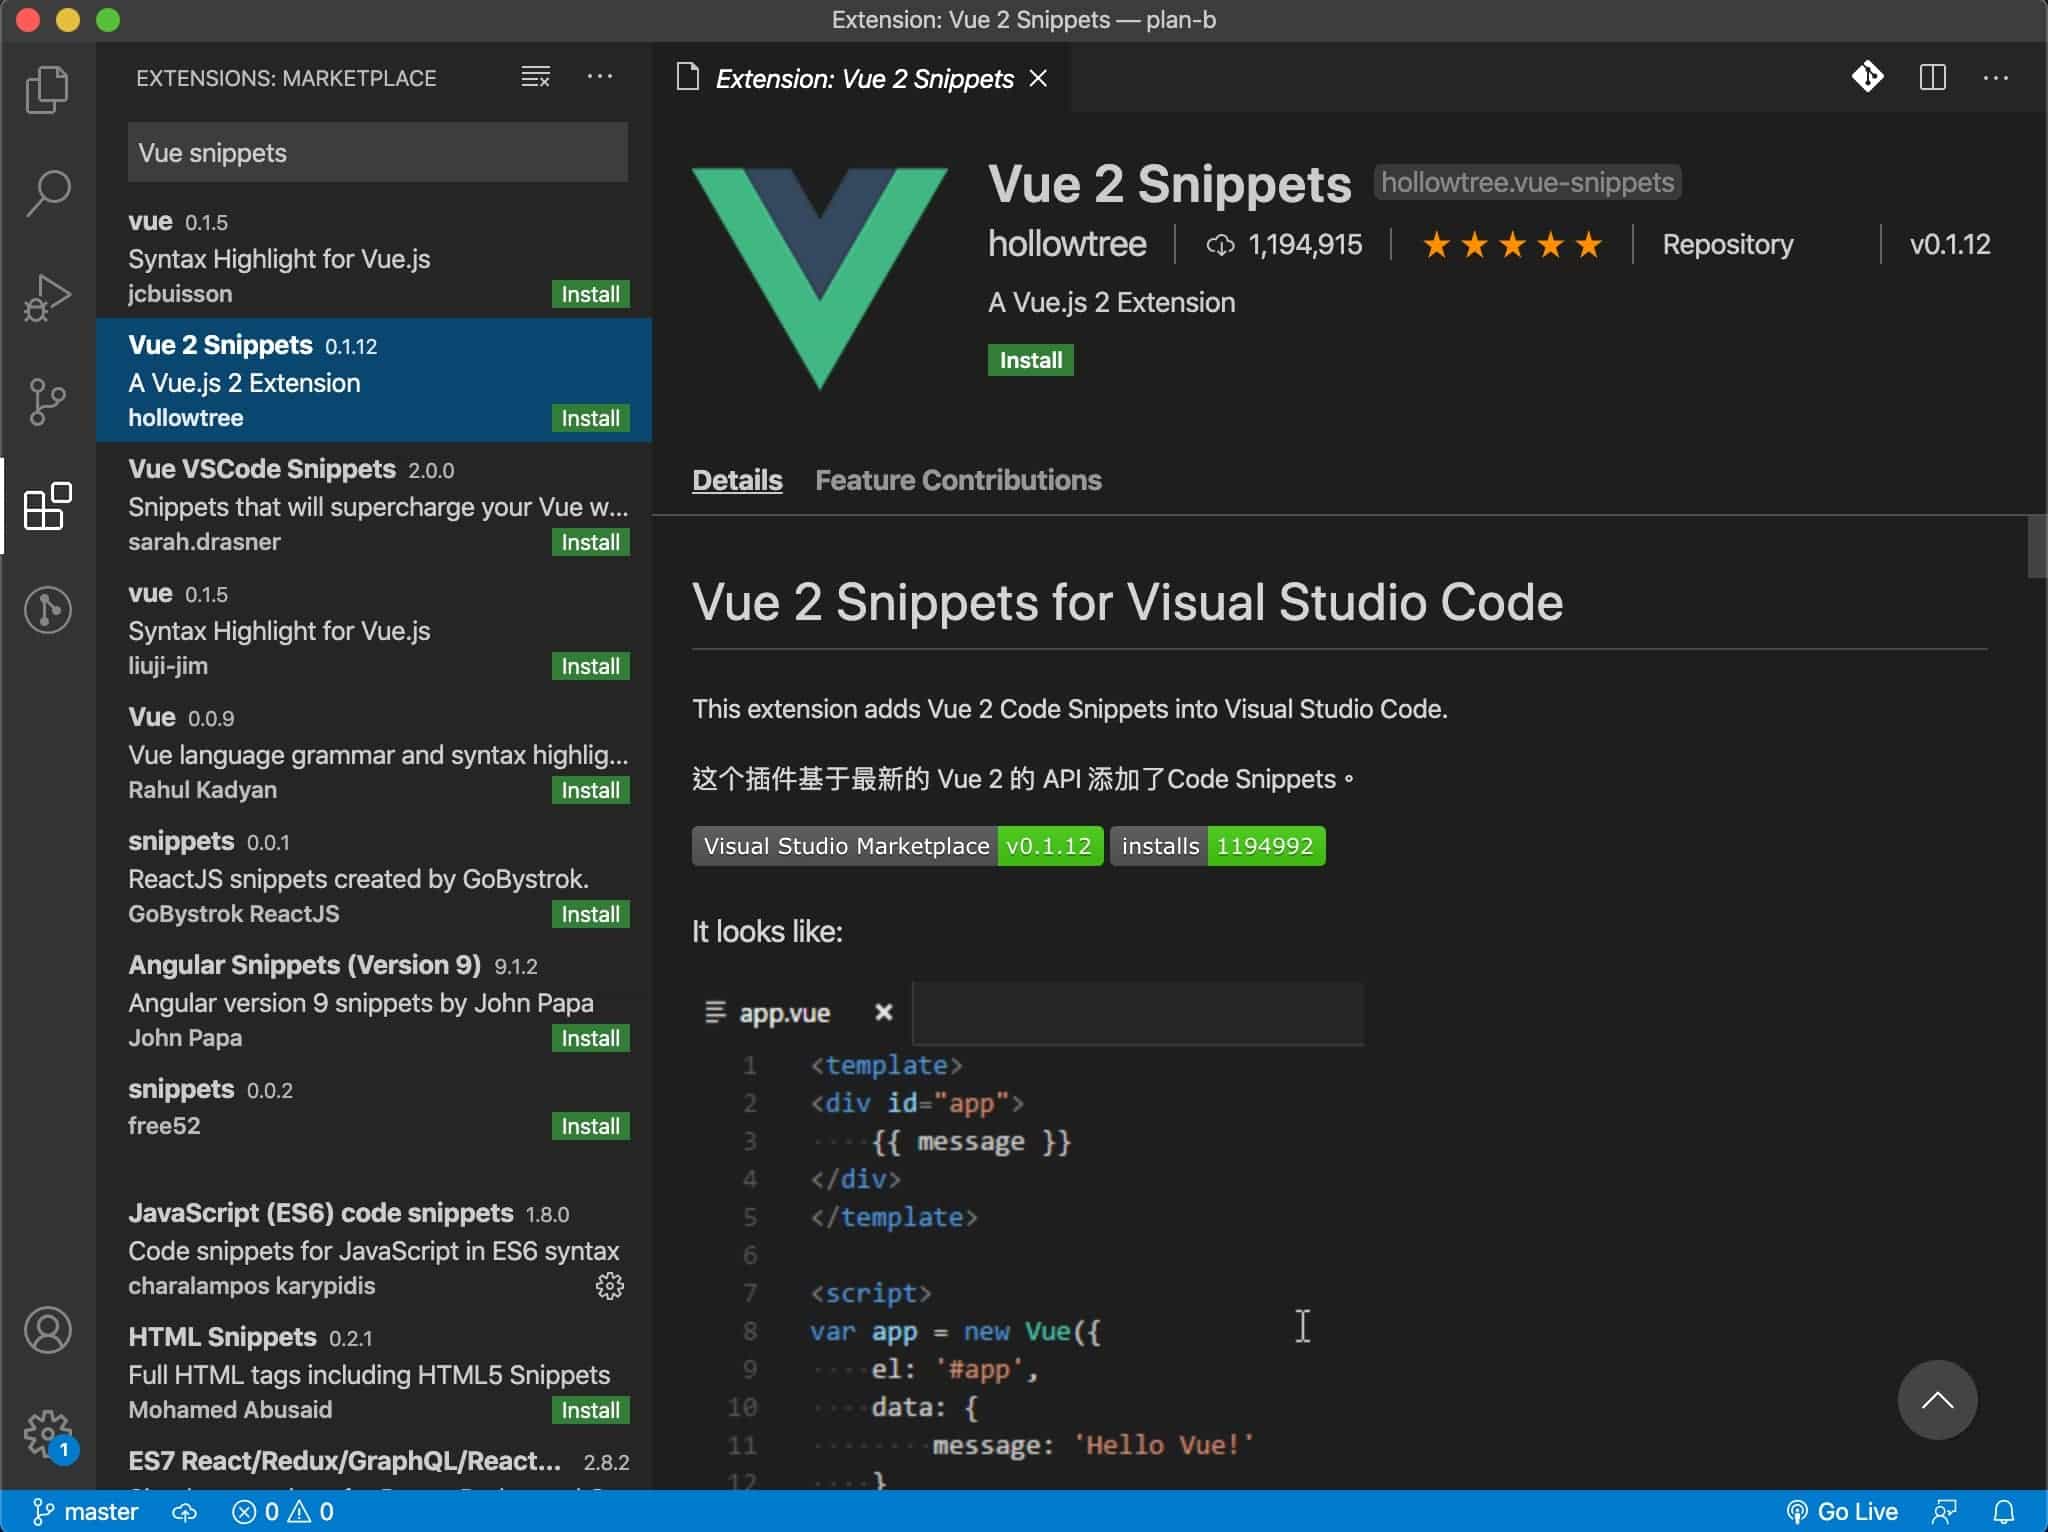
來來 再下一個想裝的裝唄~
它可以讓你的專案結構美美的
「 vscode-icons 」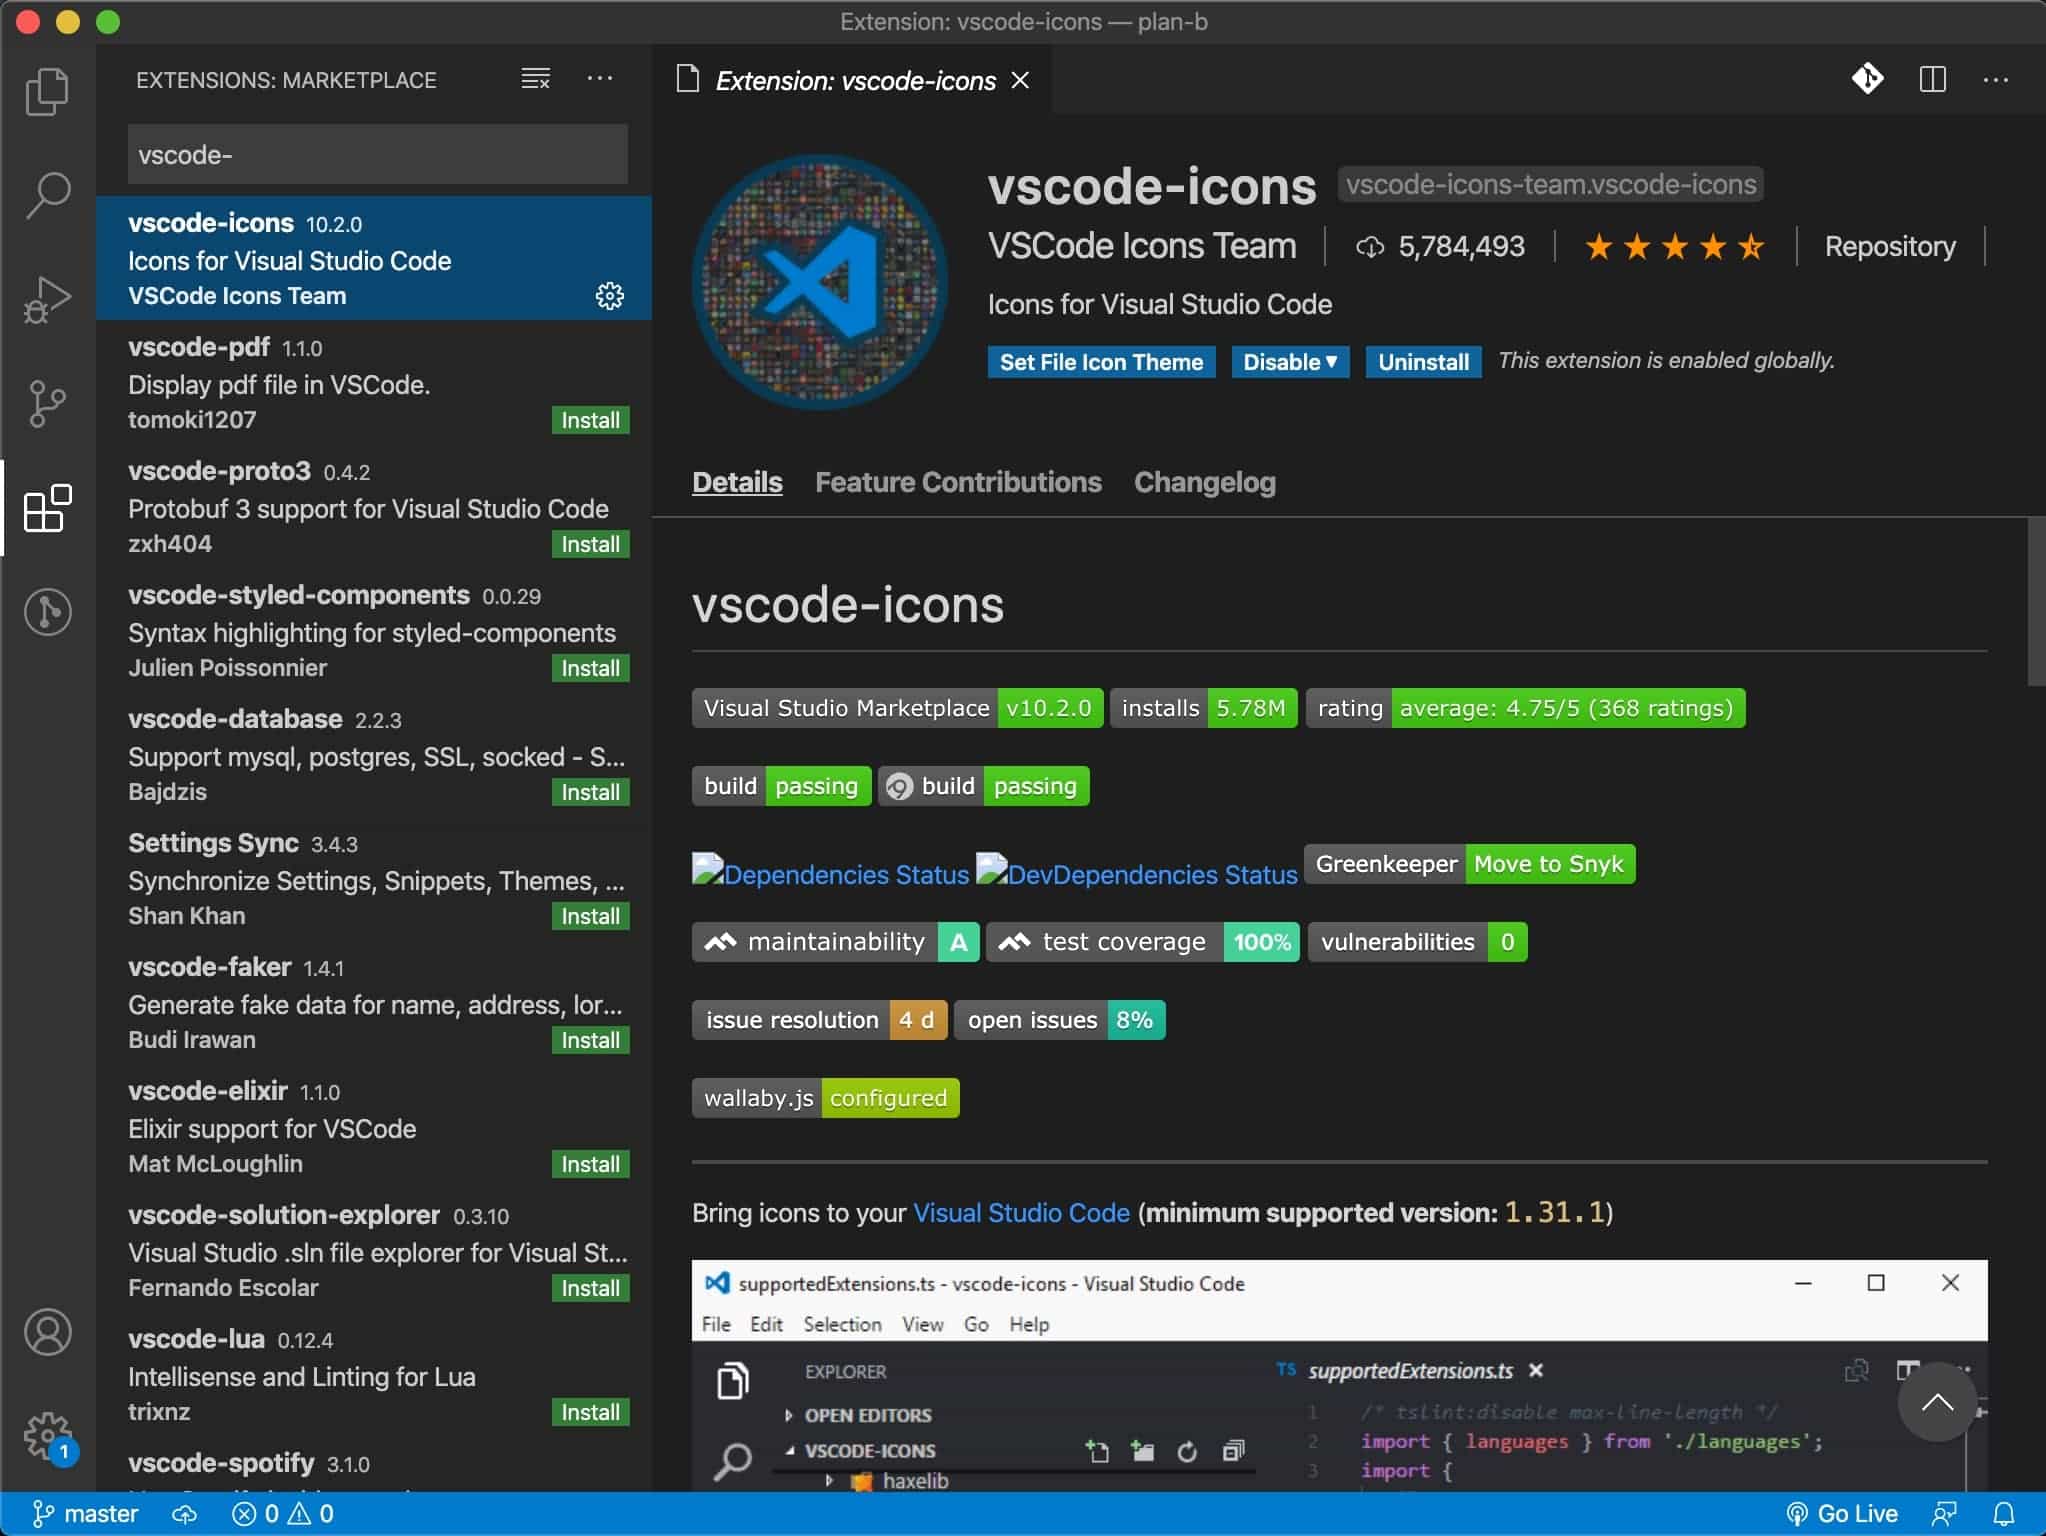
其他想聞想試的 去找找google大神吧~開開你的瀏覽器
好的 回來專案吧
廢話少說
展開那個「 src 」的資料夾
這個資料夾是我們現在最要關注的,因為我們的code攏底加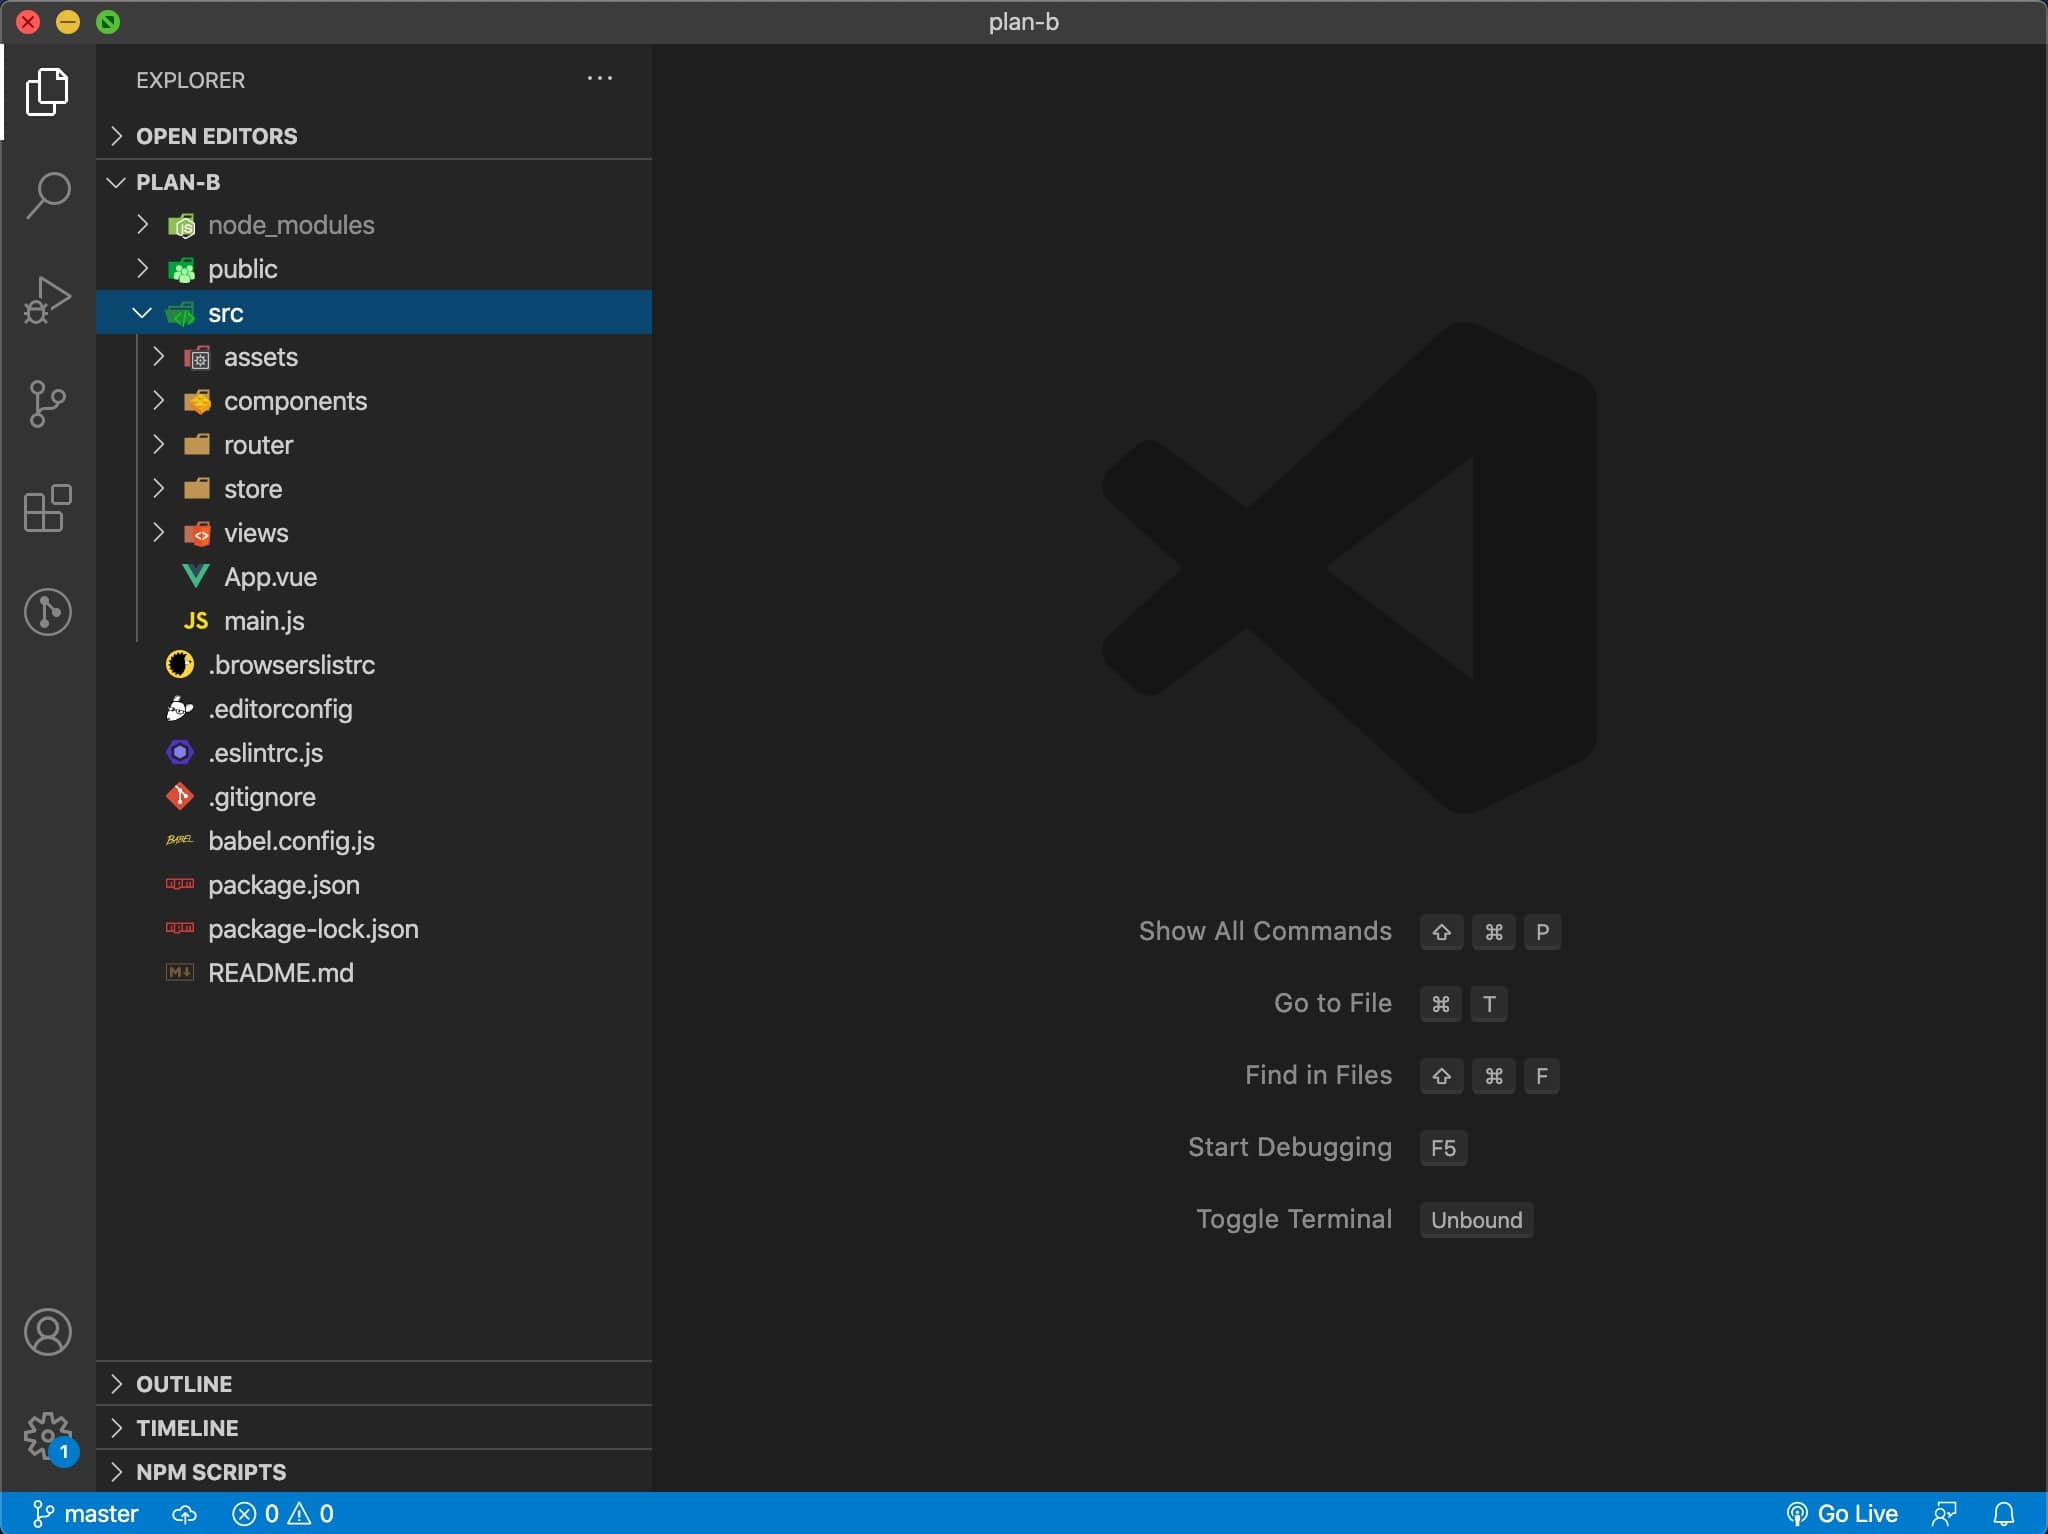
快速介紹~
assets:
資源檔,現階段就在底下建個「 img 」的資料夾吧
放你的圖片 ( 不是D槽 )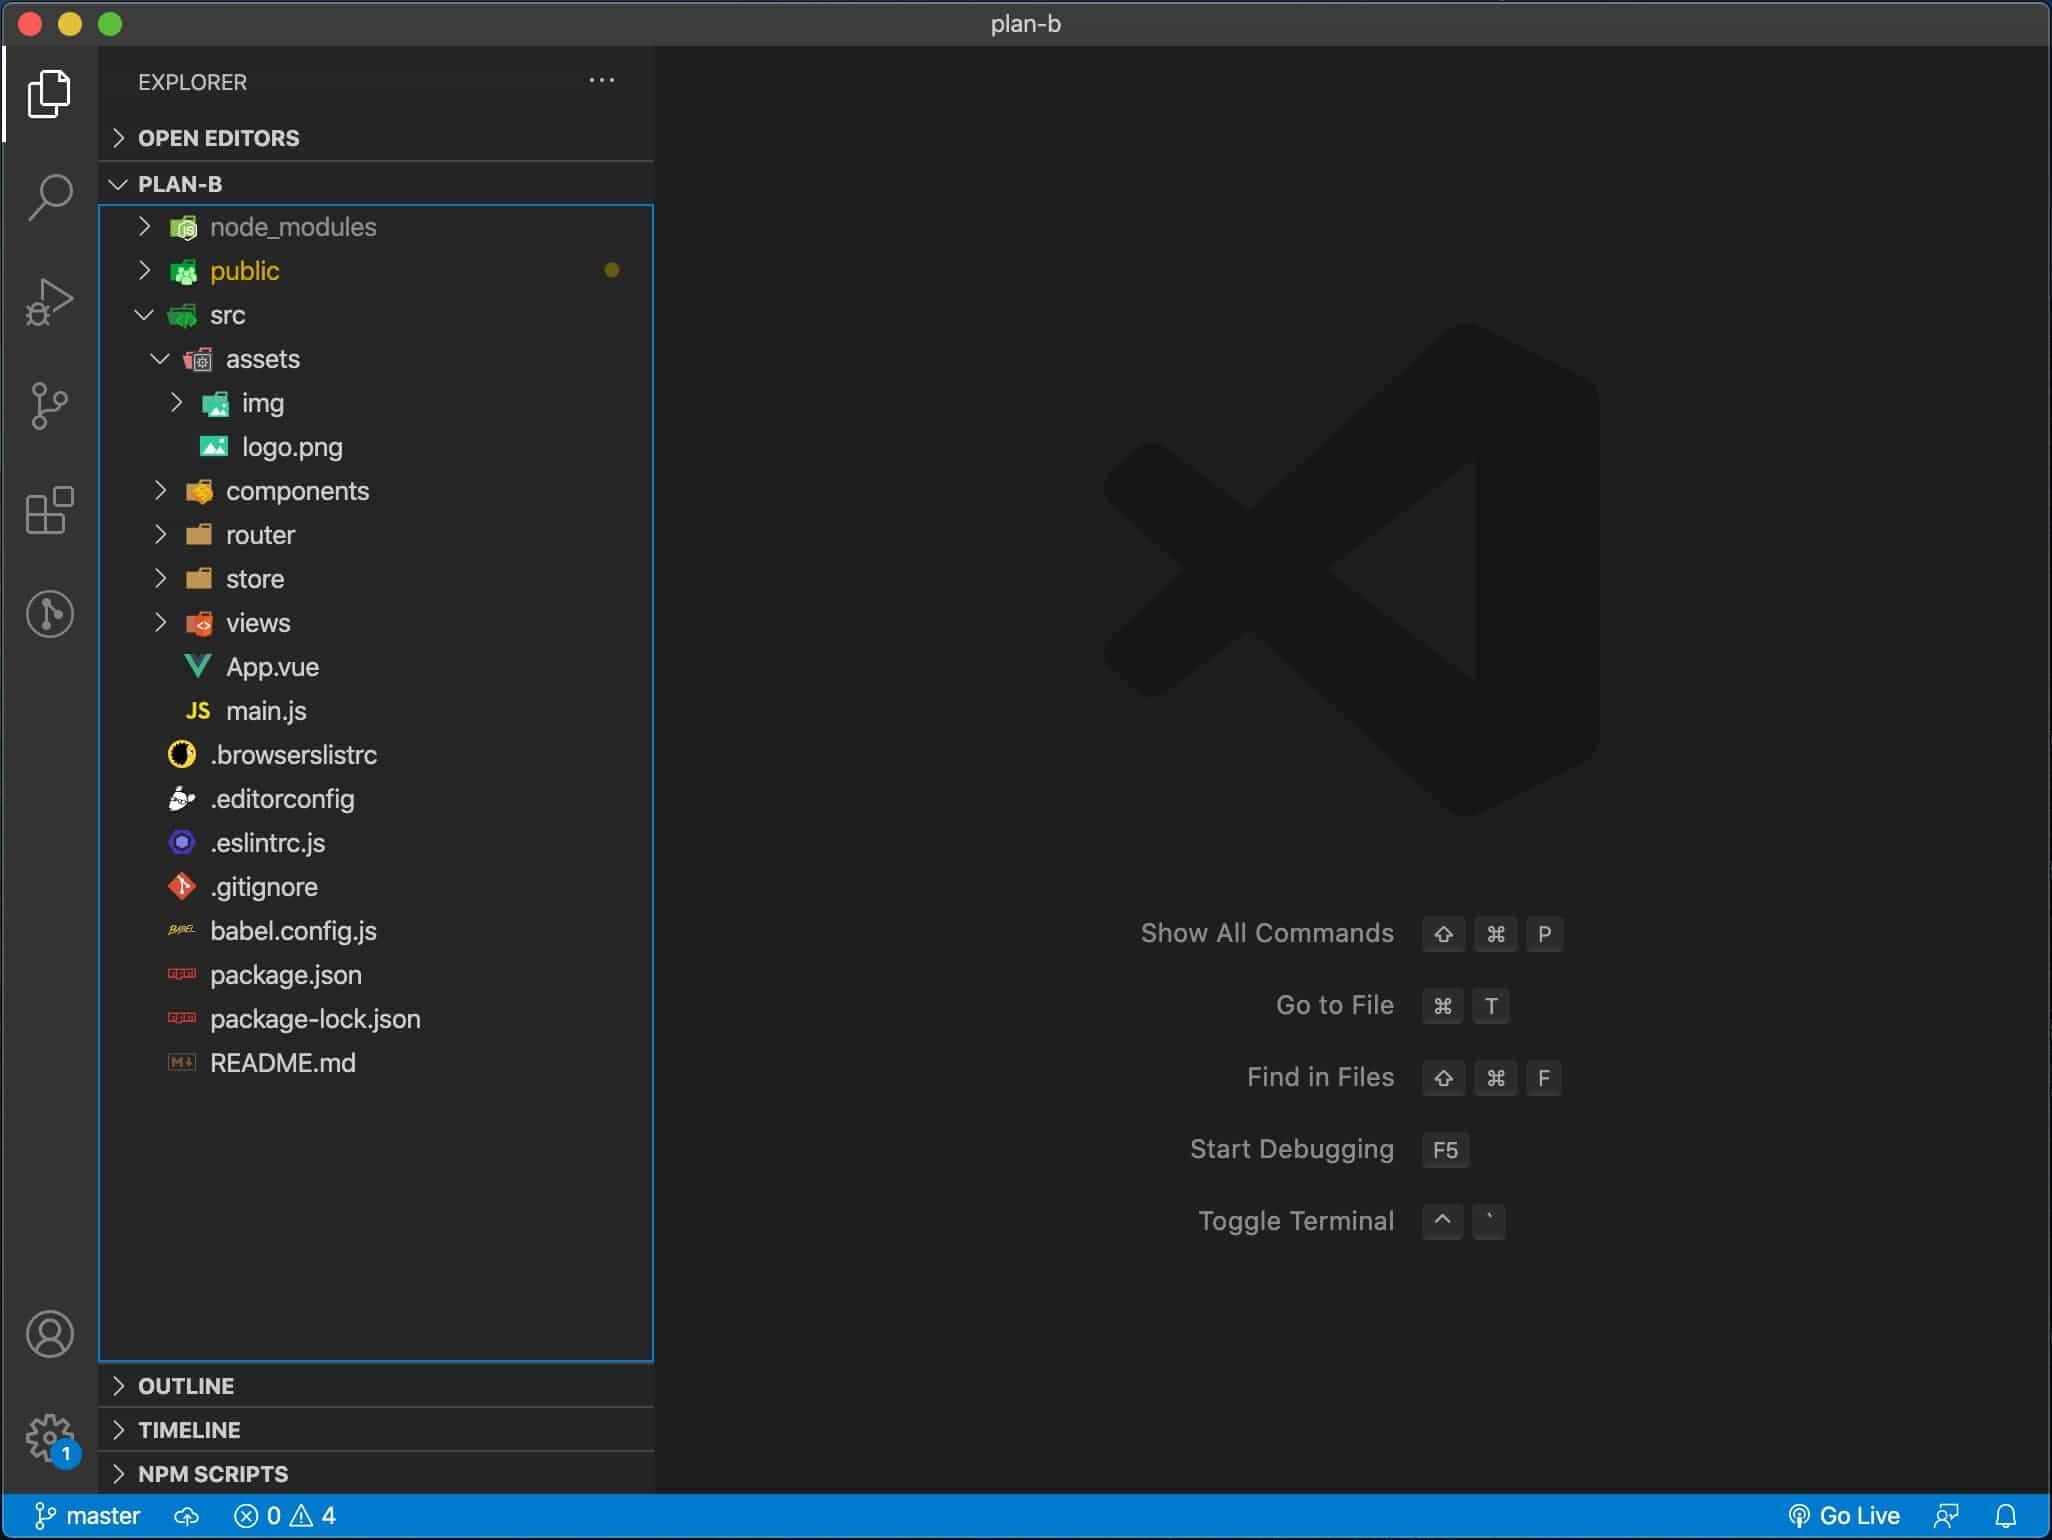
components:
Vue Component(元件),我們之後切的component都放在這
router:
我們前天不是建專案嗎,不是有個預裝工具選項
這就是當你選那個 Router 選項他就幫你建出這資料夾來
store:
一樣的~~
我們前天選的 Vuex ~
views:
頁面的主檔,我們的 router(路由) 會導向這資料夾裡的檔案
然後這裡面的檔案會再去 import(導入) 他想要的 component
App.vue:
這檔案...簡單來說
你的 main component(主元件)
main.js:
承上選項
這main.js是你的主進入點!!
根據官網敘述:
vue serve
vue serve uses the same default setup (webpack, babel, postcss & eslint) as projects created by vue create. It automatically infers the entry file in the current directory - the entry can be one of main.js, index.js, App.vue or app.vue. You can also explicitly specify the entry file.
我們的專案進入口預設是叫main.js
你也可以改成index.js
但我不要~
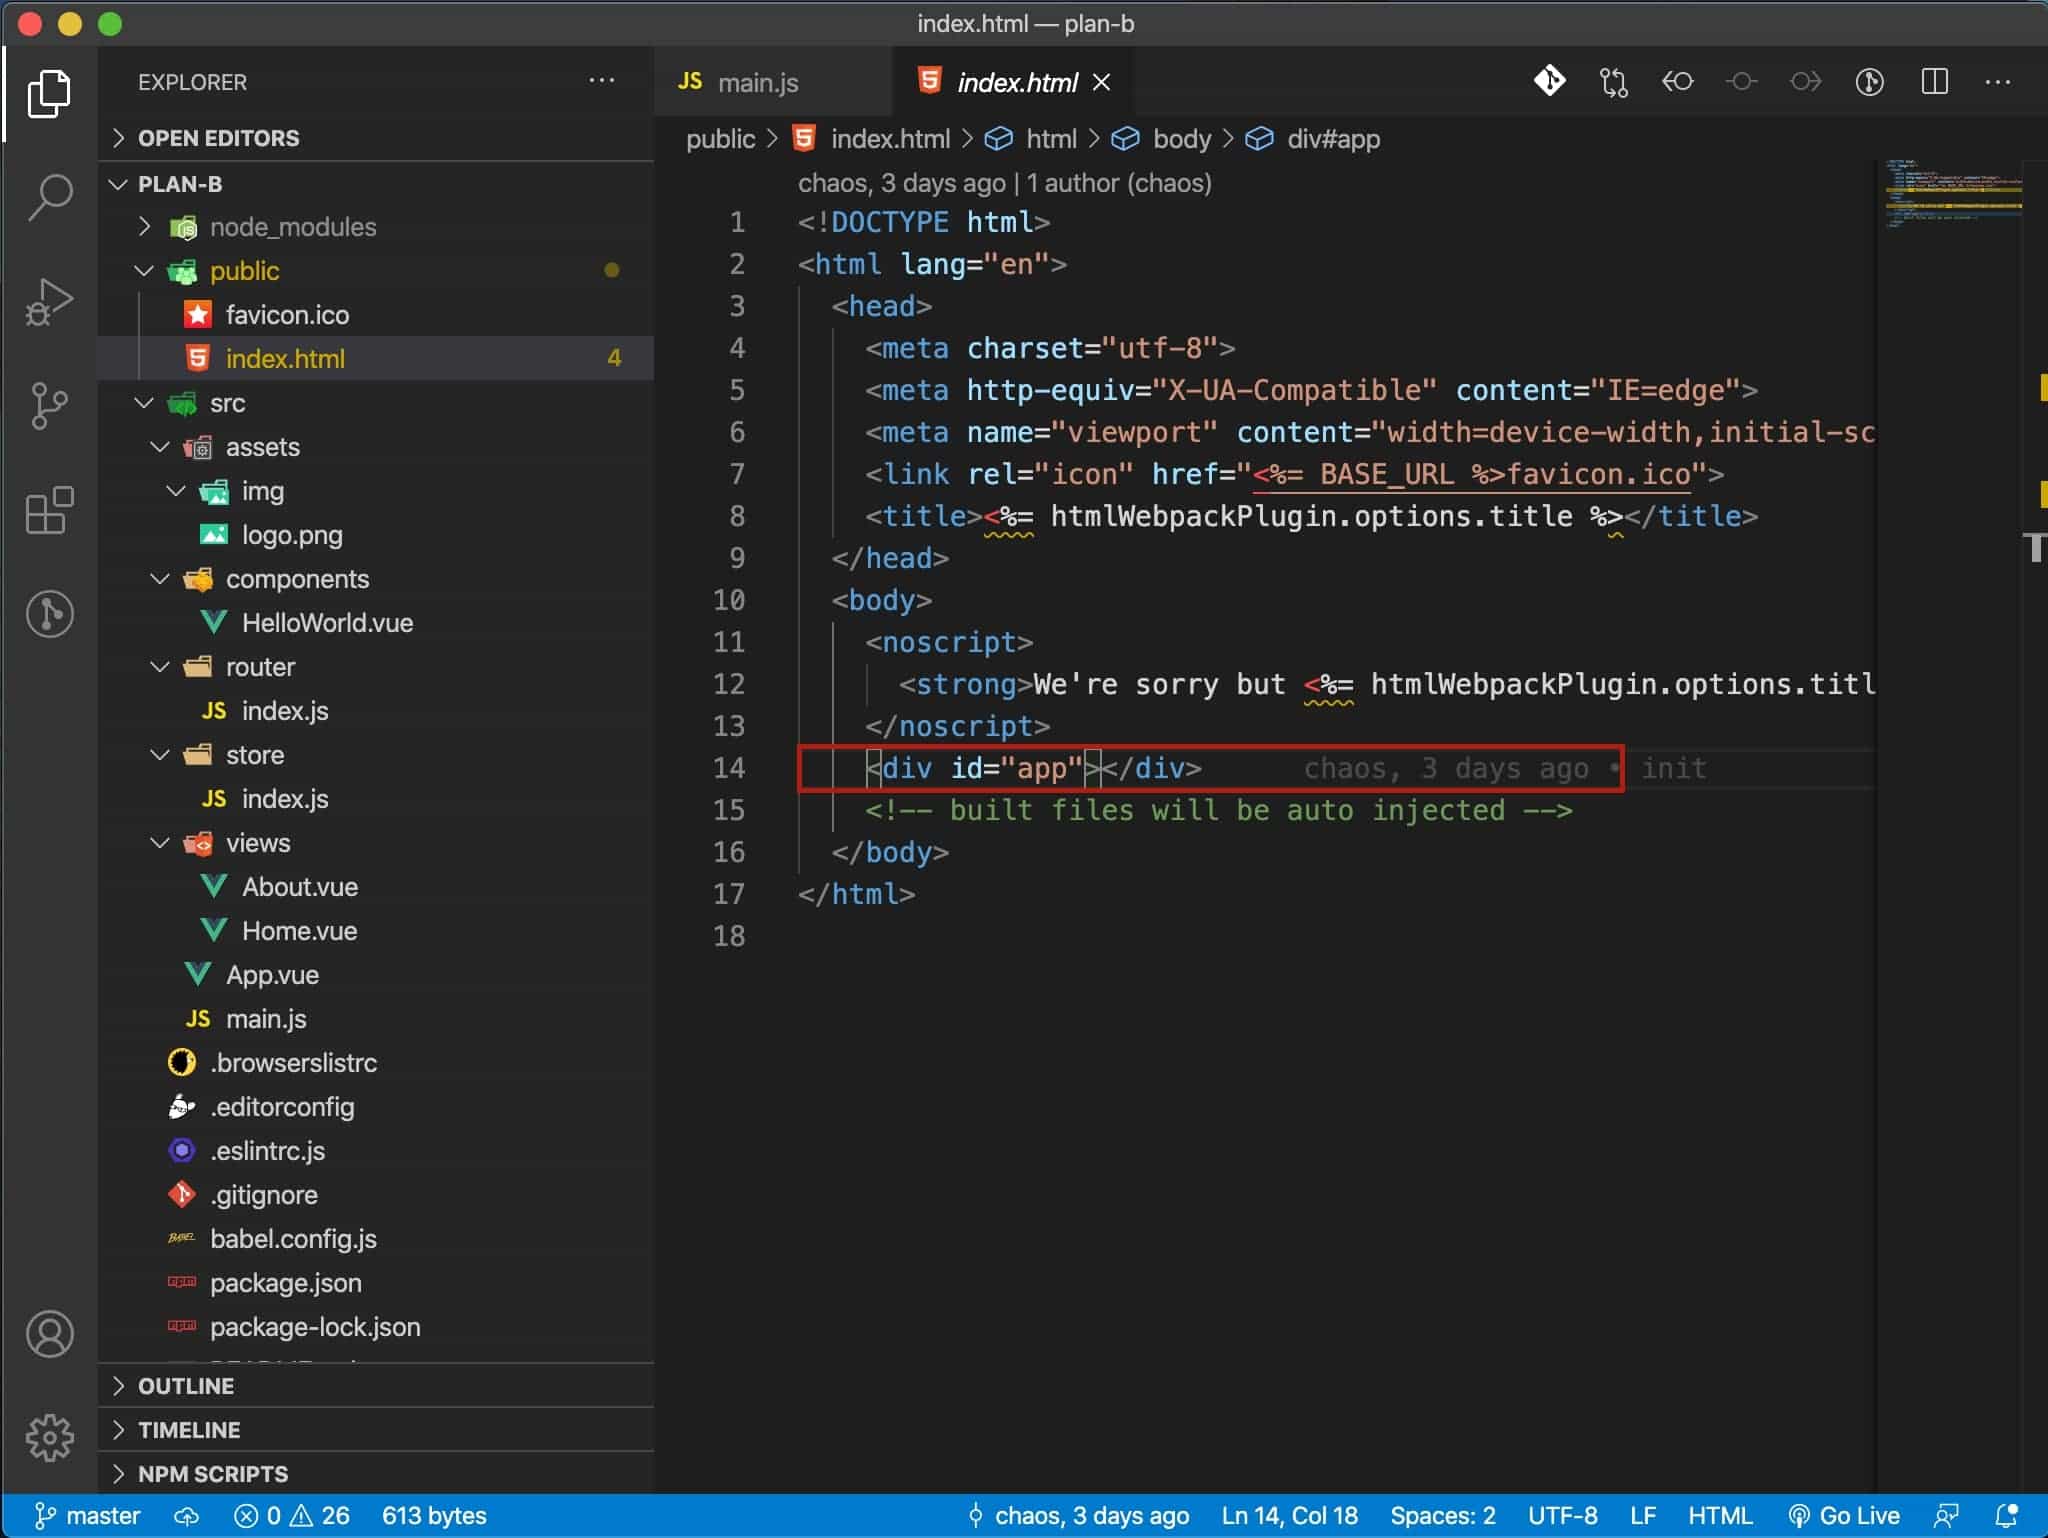
src同層的資料夾不是有個叫「public」的傢伙嗎
裡面的「index.html」打~開來
會看到有個「 id="app" 」的 "<div>"tag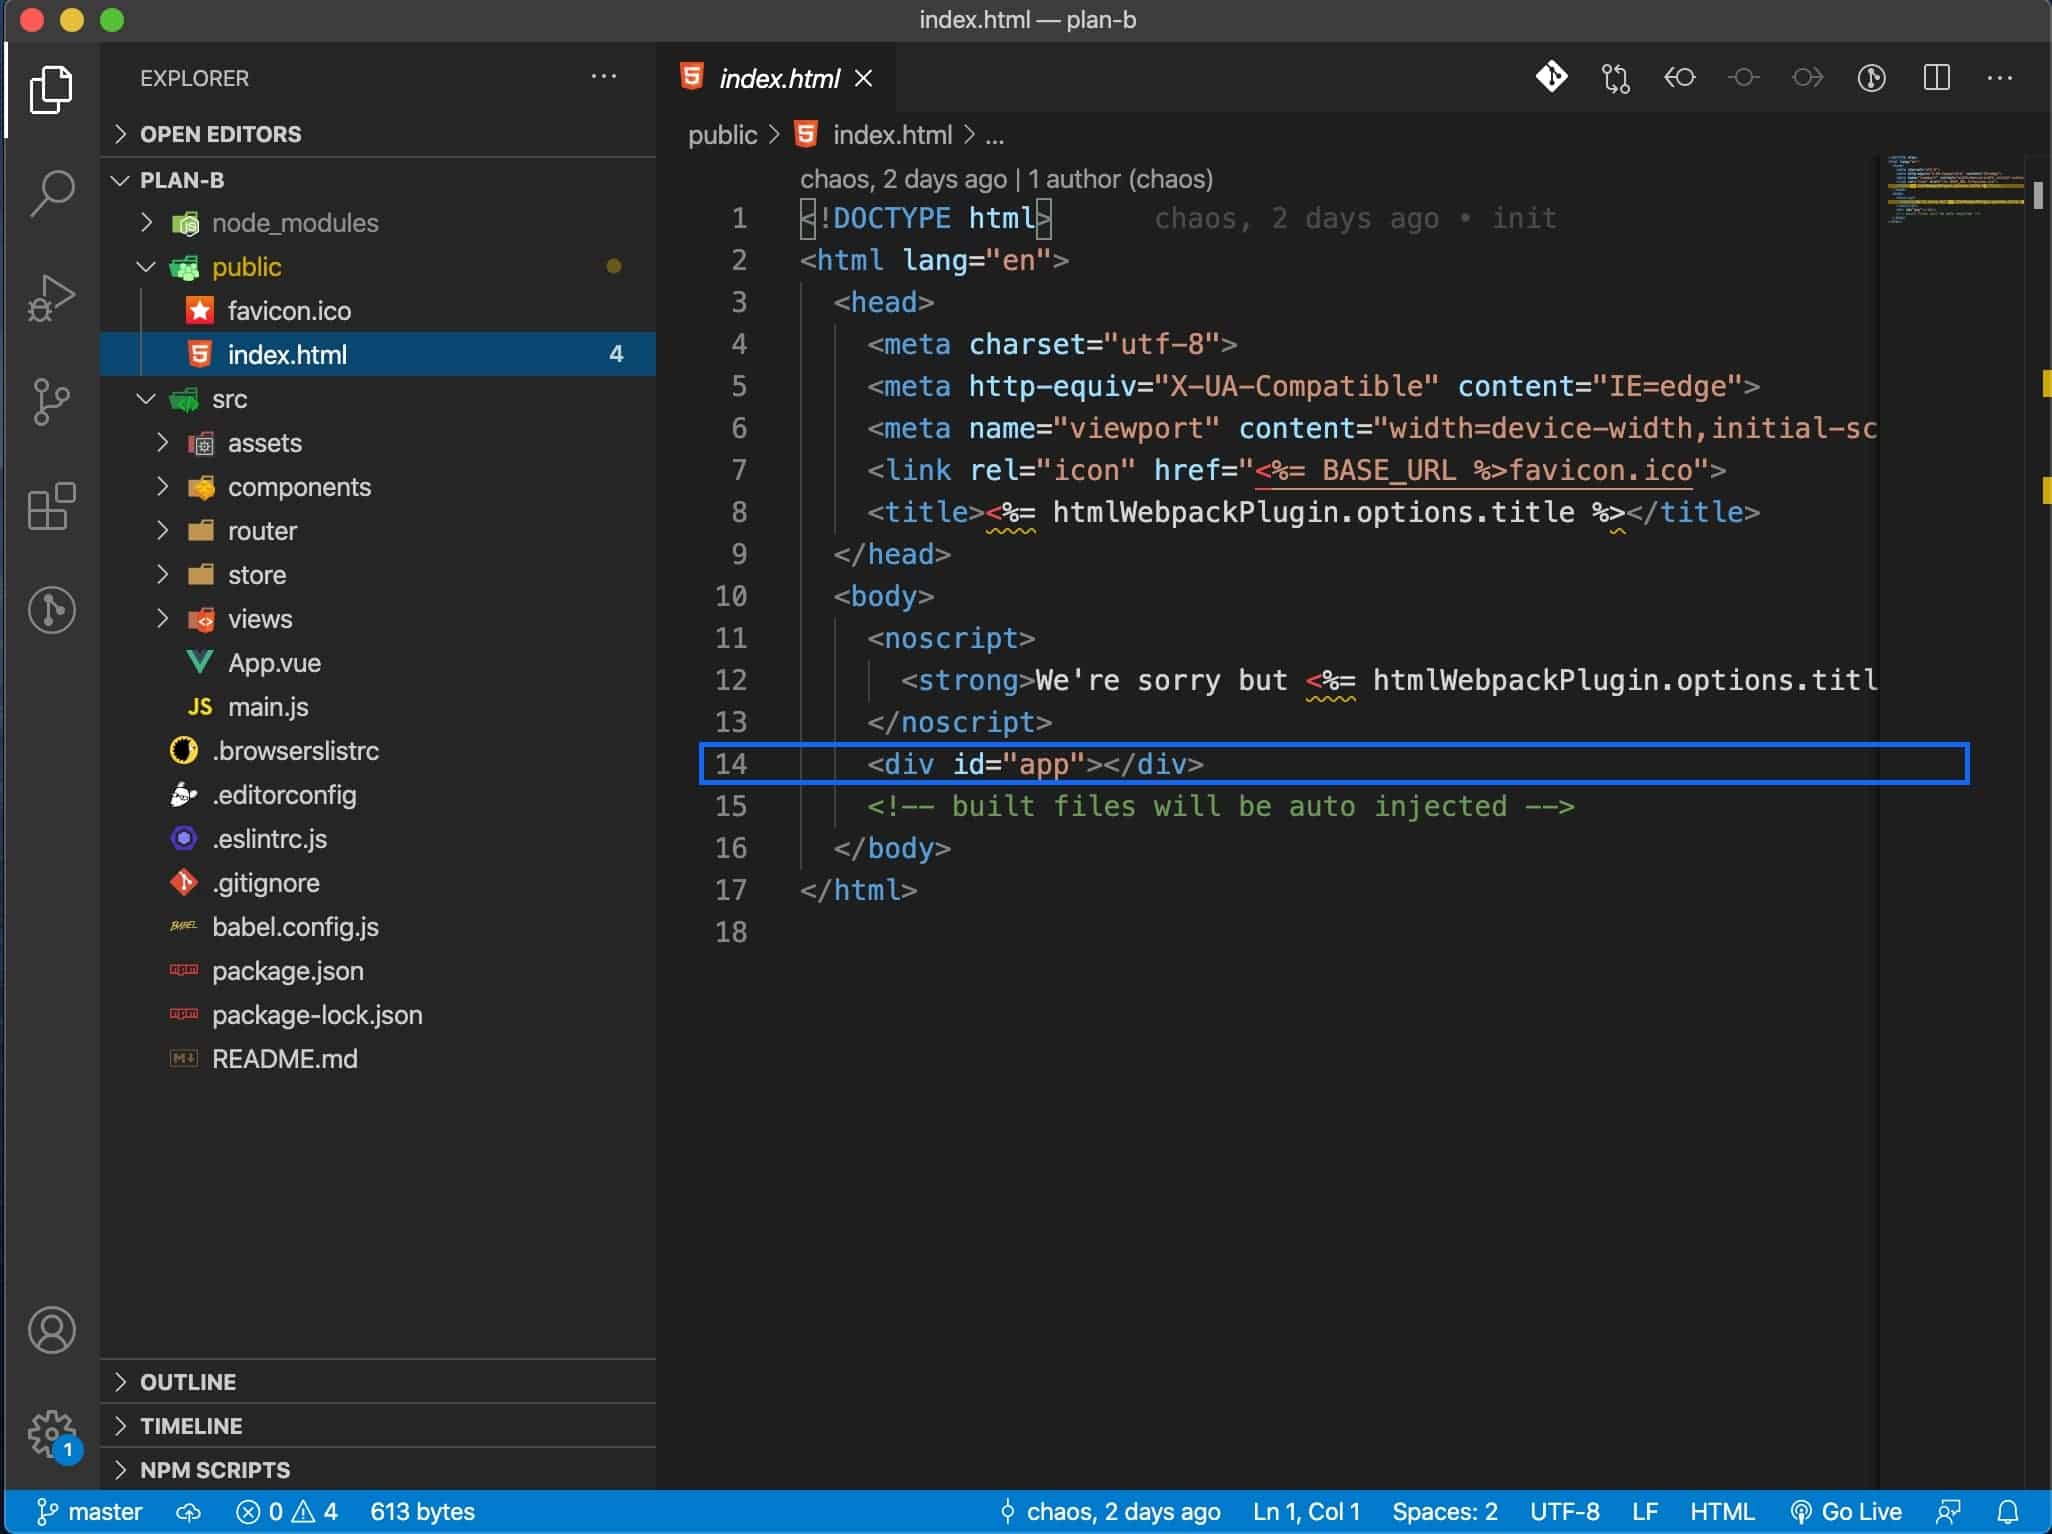
main.js會把你的 main component(主元件)
注入取代他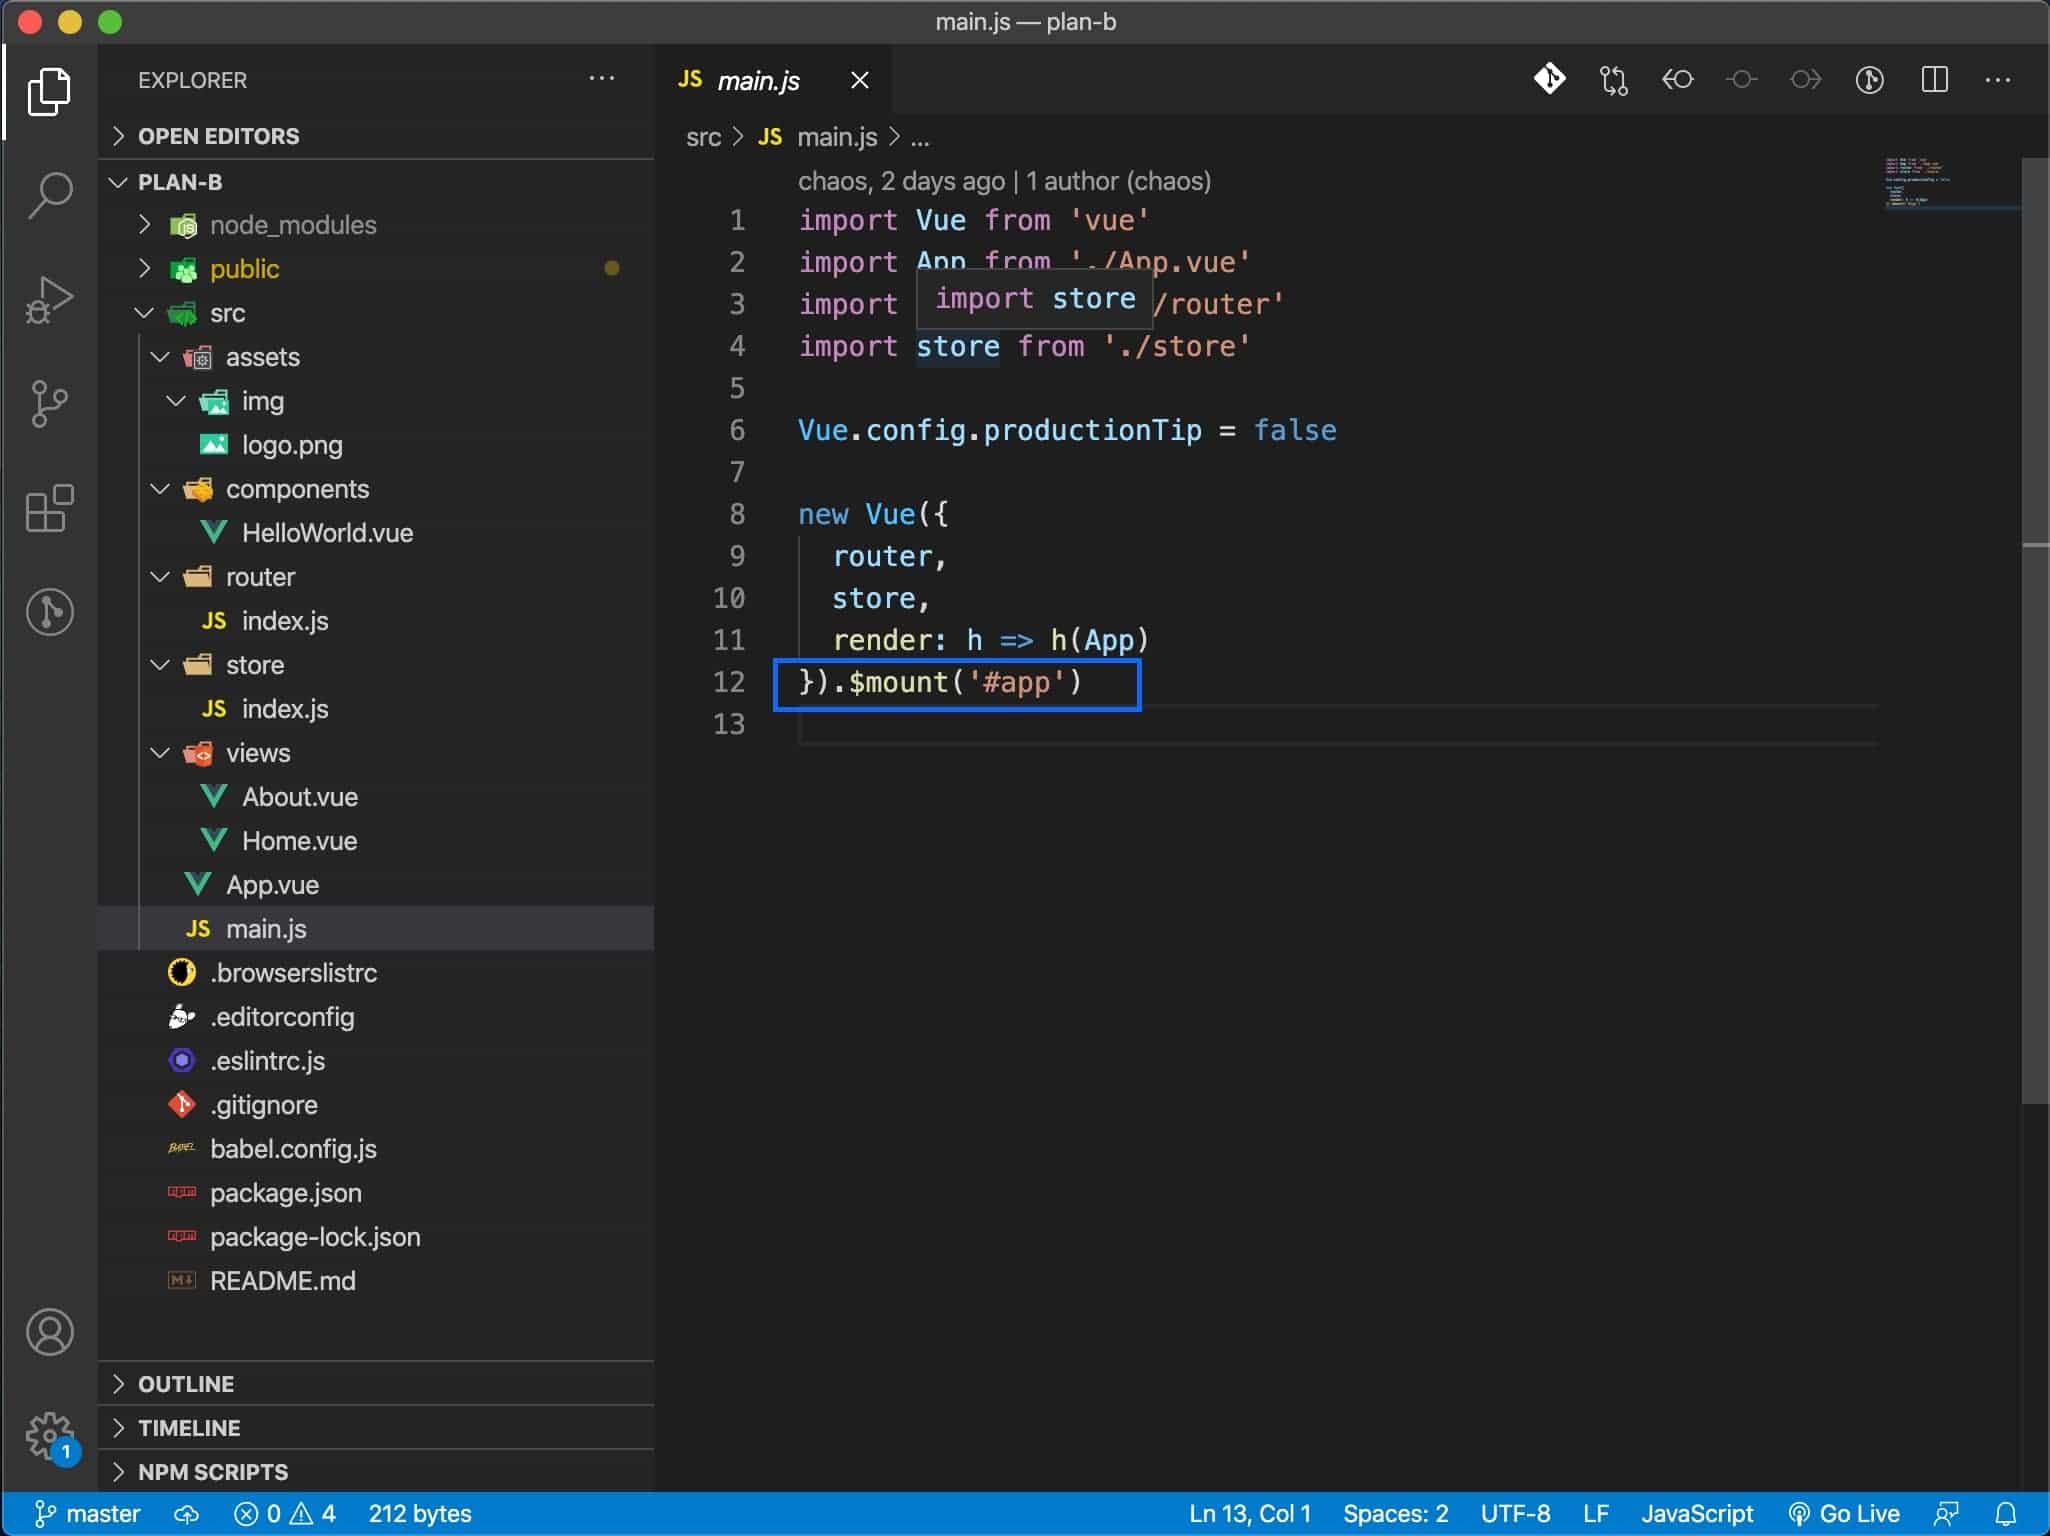
你的Vue~專案從此刻開啟啦~
顆顆,我們來看看main.js裡面做了什麼吧
main.js這邊我們看
他主要做了4件事情
這裡我們是去掛載位於專案的public資料夾裡的index.html名為秀一下官方示例:
 var MyComponent = Vue.extend({
     template: '<div>Hello!</div>'
 })

 // 创建并挂载到 #app (会替换 #app)
 new MyComponent().$mount('#app')

 // 同上
 new MyComponent({ el: '#app' })

 // 或者,在文档之外渲染并且随后挂载
 var component = new MyComponent().$mount()
 document.getElementById('app').appendChild(component.$el)
好的 看來今天可以先收工下了
如何來驗證$mount掛載在public資料夾裡的index.html的id="app"的元素勒
來幹嚇傻事
我們 npm run serve 起專案後
瀏覽器打開「開發者工具(option+command+i)」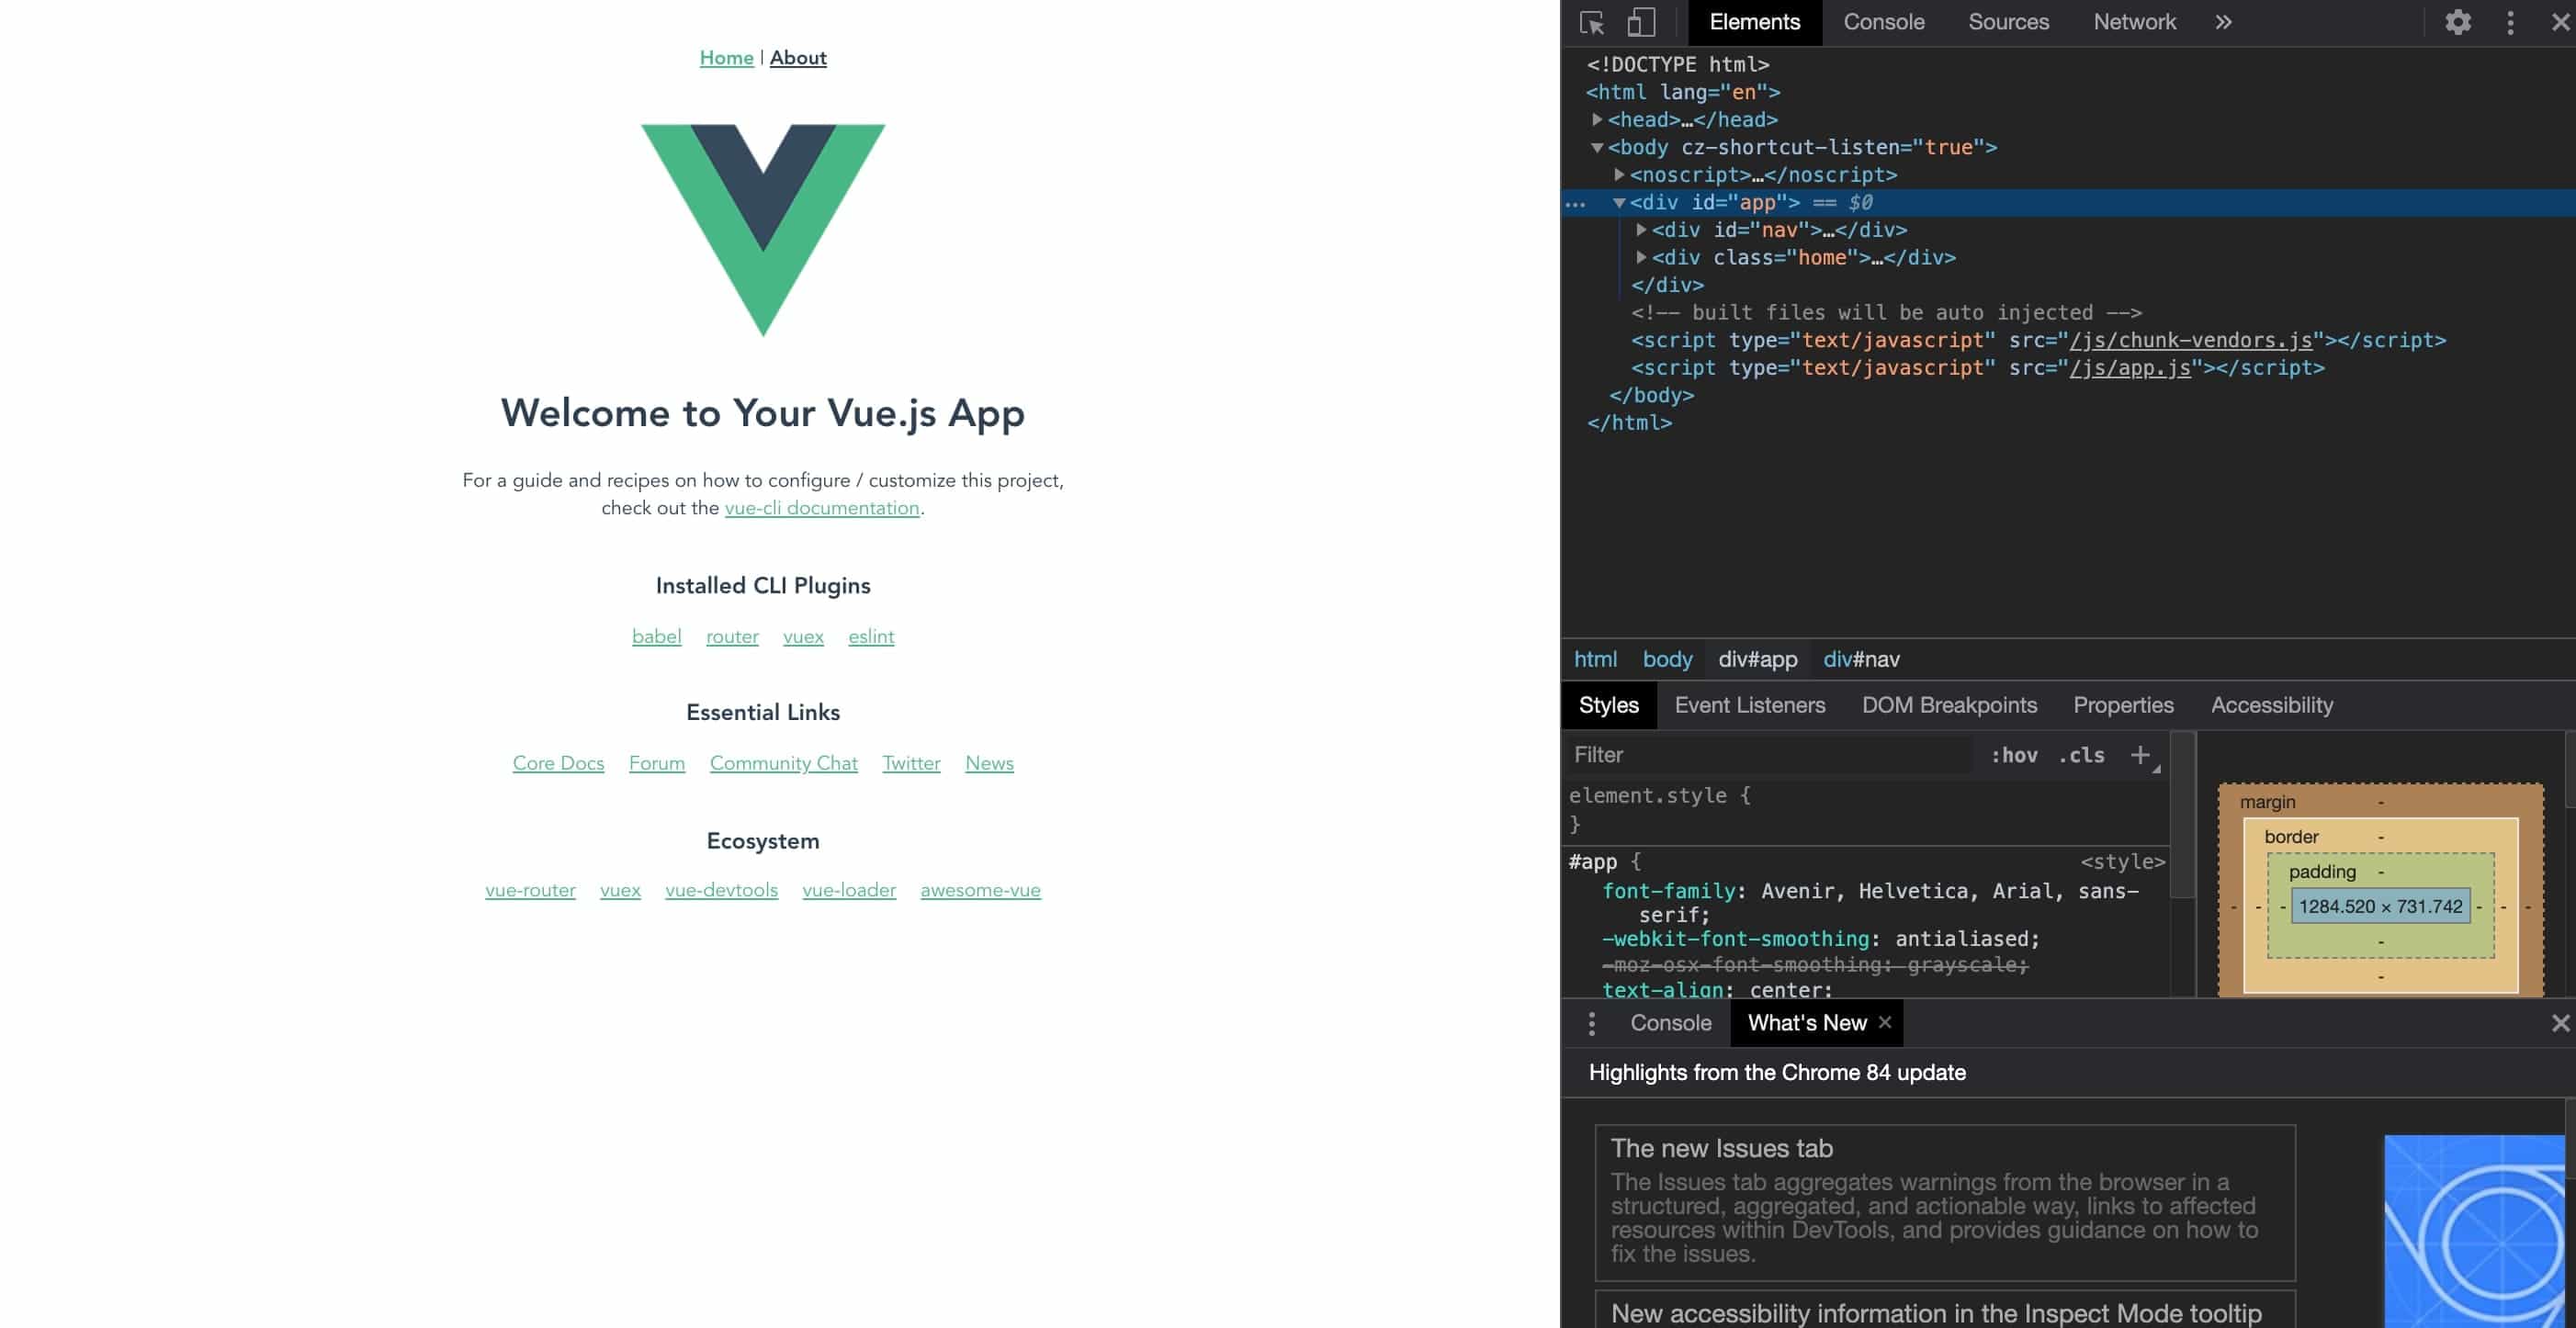
我們看看Element的地方有個「<div id="app">」的tag
將將~這就是對應我們public資料夾裡的index.html的id="app"的元素啦~
.
.
.
錯! 正確來說是 public資料夾裡的index.html的id="app"的元素 被 渲染成 App.vue這個component了
我們做個傻事
將App.vue的template「id="app"」改成「id="app1"」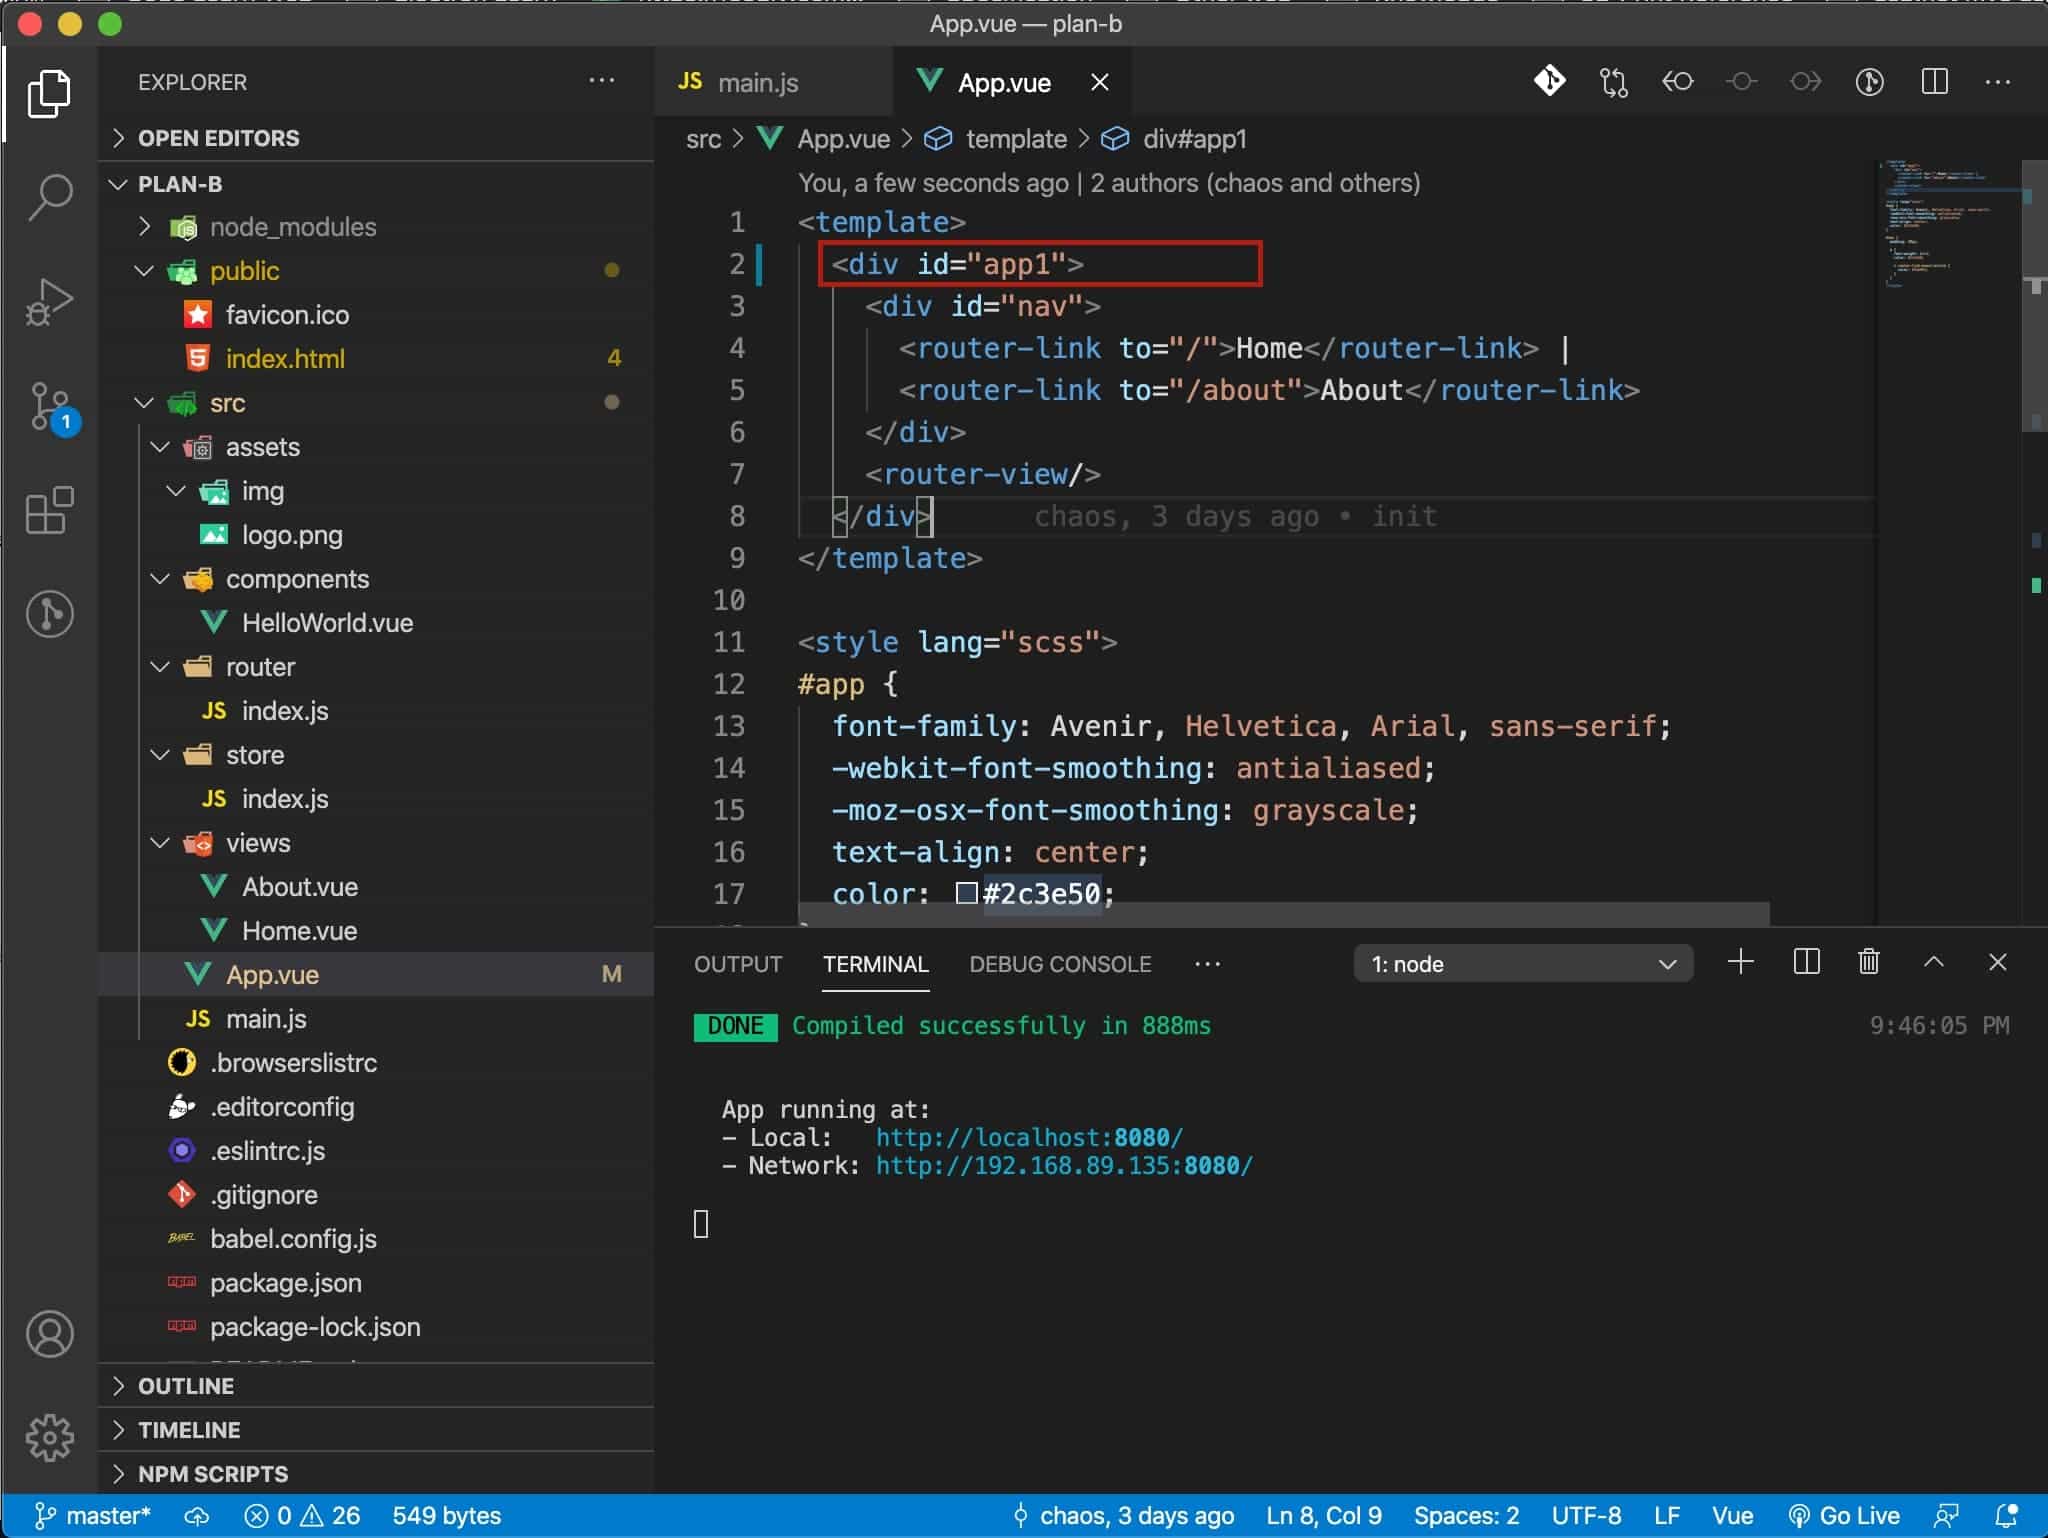
來來來 存檔!!!!
見見他的變化
看來今天可以收工啦
明天再再認真好了~
感謝分享
補充 new Vue() 是 Vue 2 語法,
Vue 3 用 Vue.createApp() 取代 new Vue()
https://book.vue.tw/appendix/migration.html#%E5%85%83%E4%BB%B6%E5%AF%A6%E9%AB%94%E5%BB%BA%E7%AB%8B
Vue 2 support will end on Dec 31, 2023. Learn more about Vue 2 Extended LTS.
The Benefits of the New Vue 3 App Initialization Code


 iThome鐵人賽