關鍵字:Webview
如果是在Web
我可能寫了
<a href="url">…</a>
就可以休息了
那...在RN中呢?![]()
這裡可以試著使用Linking
import { Text, Linking } from "react-native";
...
<Text onPress={() => Linking.openURL('url')}>
  link
</Text>
點下文字之後
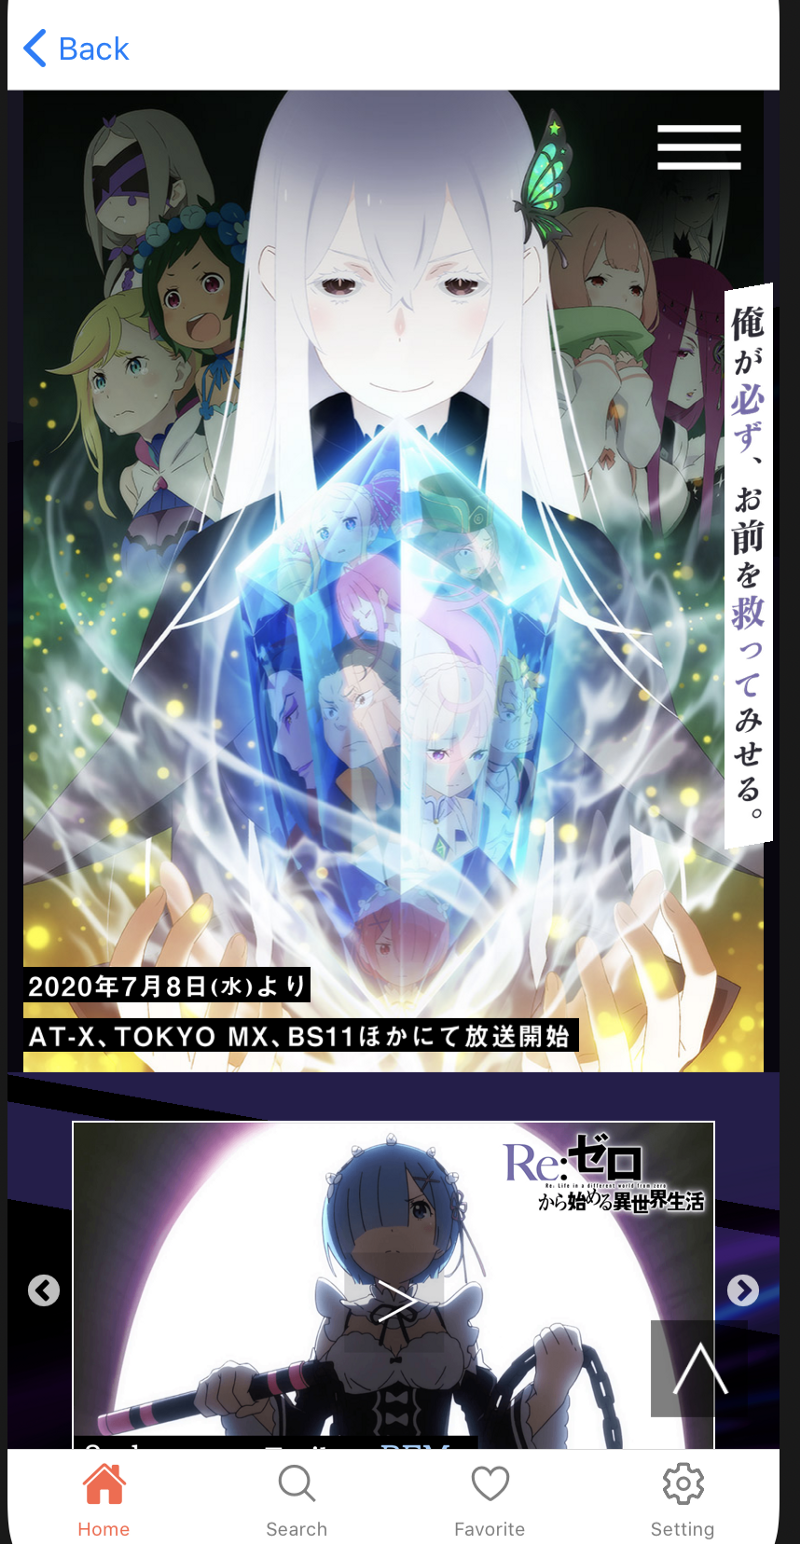
瀏覽器的App打開了,然後開啟了網頁
...
...
...
好像跟平常的使用經驗不太一樣?
平常應該是在本來的App內直接打開
而不是另外開啟瀏覽器
這種時候該使用的是
可以在指定的範圍內展示網頁
至於大小則看container的長寬
原本的Webview已經被移出react-native那一包了
想要使用必須另外安裝
yarn add react-native-webview

cd ios && pod install cd ..
首先先在Stack增加網頁展示的頁面
...
      <Stack.Screen
        name="AnimeDetail"
        ... />
        ...
      </Stack.Screen>
      <Stack.Screen
        name="WebPage"
        options={() => ({
          title: ''
        })}>
        {(props: passingProps) => <WebPage uri={props.route.params!.uri} />}
      </Stack.Screen>
在細節頁面後面多增加一個Webpage
這裡我不想要標題所以指定title為空字串WebPage也相當簡單
// Webpage.tsx
import { WebView } from 'react-native-webview'

interface WebPageProps {
  uri: string
}

const WebPage = ({ uri }: WebPageProps) => (
  <View style={{ flex: 1 }}>
    <WebView source={{ uri }} />
  </View>
)
這裡要記得WebView要設定高度
完成!
明天要來製作我的最愛頁面
參考:Webview
