一個app除了要有實用的功能,正所謂「人要衣裝,佛要金裝」app也需要有個精緻的介面來包裝,兼具美觀及實用性的介面才能緊緊抓住使用者的心。
以下為製作顏色app時我所使用到的一些介面元素製作方法,這些都是透過網路搜尋到的教學,感謝好心人無私的提供讓我的app開發過程能夠更順利更快速!

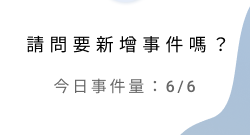
參考出處:https://stackoverflow.com/questions/27535901/change-character-spacing-on-uilabel-within-interface-builder
// UILabel
let picLabel = UILabel(frame: CGRect(x: 0, y: 0, width: alertView.frame.size.width, height: 21))
picLabel.text = "請選擇事件類型"
picLabel.addCharacterSpacing(kernValue: 5.2)

//label的文字間距
extension UILabel {
  func addCharacterSpacing(kernValue: Double = 1.15) {
    if let labelText = text, labelText.count > 0 {
      let attributedString = NSMutableAttributedString(string: labelText)
        attributedString.addAttribute(NSAttributedString.Key.kern, value: kernValue, range: NSRange(location: 0, length: attributedString.length - 1))
      attributedText = attributedString
    }
  }
}

參考出處:https://stackoverflow.com/questions/42879388/how-do-i-add-letter-spacing-to-a-uibarbuttonitem
//UIButton
let add_event_final = UIButton(frame: CGRect(x: 0, y: 0, width: 170, height: 37))
add_event_final.setTitle("新增", for: .normal)
add_event_final.addTextSpacing(spacing: 5.2)


// UIButton的文字間距
extension UIButton {
    func addTextSpacing(spacing: CGFloat) {
        guard let text = self.titleLabel?.text else { return }
        let attributedString = NSMutableAttributedString(string: text)
        attributedString.addAttribute(NSAttributedString.Key.kern,
                                      value: spacing,
                                      range: NSRange(location: 0, length: text.count))
        self.setAttributedTitle(attributedString, for: .normal)
    }
}

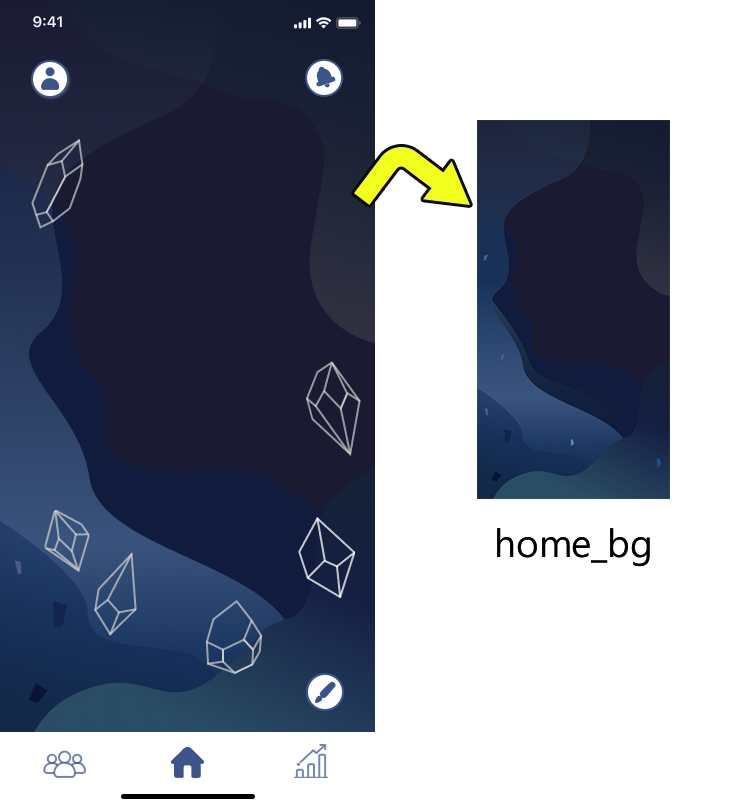
參考出處:https://stackoverflow.com/questions/27153181/how-do-you-make-a-background-image-scale-to-screen-size-in-swift
override func viewDidLoad() {
    super.viewDidLoad()
    //背景
	//圖片記得要先拉進Assets.xcassets喔~
    self.view.addBackground(bg: UIImage(named: "你要放的圖片名稱,此處範例為home_bg")!)

}
//背景圖片填滿
extension UIView {
    func addBackground(bg: UIImage) {
    // screen width and height:
    let width = UIScreen.main.bounds.size.width
    let height = UIScreen.main.bounds.size.height

    let imageViewBackground = UIImageView(frame: CGRect(x: 0, y: 0, width: width, height: height))
    imageViewBackground.image = bg
    imageViewBackground.contentMode = UIView.ContentMode.scaleAspectFill

    self.addSubview(imageViewBackground)
    self.sendSubviewToBack(imageViewBackground)
}}

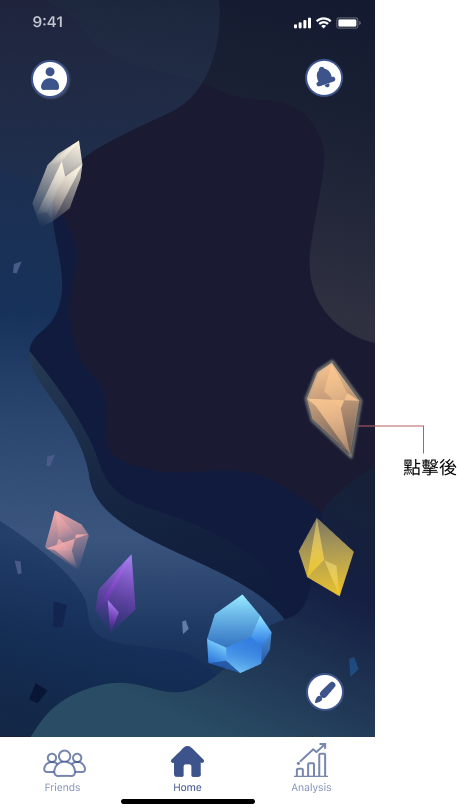
參考出處:https://stackoverflow.com/questions/25807455/draw-border-around-content-of-uiimageview
//連結storyboard的按鈕c1
@IBOutlet var c1:UIButton!
//移除Highlighted 時原有的效果
c1.adjustsImageWhenHighlighted = false
//狀態為.highlighted時為按鈕的圖片加上邊框
c1.setBackgroundImage(child.image(for: .normal)?.drawOutlie(color: UIColor(hexString: "#9D9C8C")), for: .highlighted)

//highlight
extension UIImage {
    func drawOutlie(imageKeof: CGFloat = 1.01, color: UIColor) -> UIImage? {

        let outlinedImageRect = CGRect(x: 0.0, y: 0.0,
                                   width: size.width * imageKeof,
                                   height: size.height * imageKeof)

        let imageRect = CGRect(x: size.width * (imageKeof - 1) * 0.5,
                           y: size.height * (imageKeof - 1) * 0.5,
                           width: size.width,
                           height: size.height)

        UIGraphicsBeginImageContextWithOptions(outlinedImageRect.size, false, imageKeof)

        draw(in: outlinedImageRect)

        guard let context = UIGraphicsGetCurrentContext() else {return nil}

        context.setBlendMode(.sourceIn)
        context.setFillColor(color.cgColor)
        context.fill(outlinedImageRect)
        draw(in: imageRect)

        let newImage = UIGraphicsGetImageFromCurrentImageContext()
        UIGraphicsEndImageContext()

        return newImage
    }
}

※要在返回按鈕後加上的文字要在前一頁就進行設定喔!!class ViewController: UIViewController {
override func viewDidLoad() {
super.viewDidLoad()
//設定navigation bar標題
self.title = "邀請好友"
//title可填入要在返回按鈕後加的文字 (這裡設定空白)
self.navigationItem.backBarButtonItem = UIBarButtonItem(title: "", style: .plain, target: nil, action: nil)
}
}

let add_event_final = UIButton(frame: CGRect(x: 0, y: 0, width: 170, height: 37))
add_event_final.setTitle("回覆", for: .normal)
//設定圓角邊框
add_event_final.layer.cornerRadius = 7
//設定文字顏色
add_event_final.setTitleColor(.white, for: .normal)
//設定背景色
add_event_final.backgroundColor = UIColor(red: 56/255, green: 83/255, blue: 143/255, alpha:1)
//按下後呼叫function showAlert_add()
add_event_final.addTarget(self, action: #selector(showAlert_add),for: .touchUpInside)
alertView.addSubview(add_event_final)
