
由於Azure尚未有如Firebase, Amplify這樣全靜態託管的Static Web App服務,目前只有預覽版本的Static Web Apps,我們這篇原本規劃設計的Web App Service未有全託管的方式,較不符合我們的本系列宗旨,這邊先修正以儲存空間配合CDN的方式做持續整合持續部署,而明天用預覽版的Static Web Apps來部署。
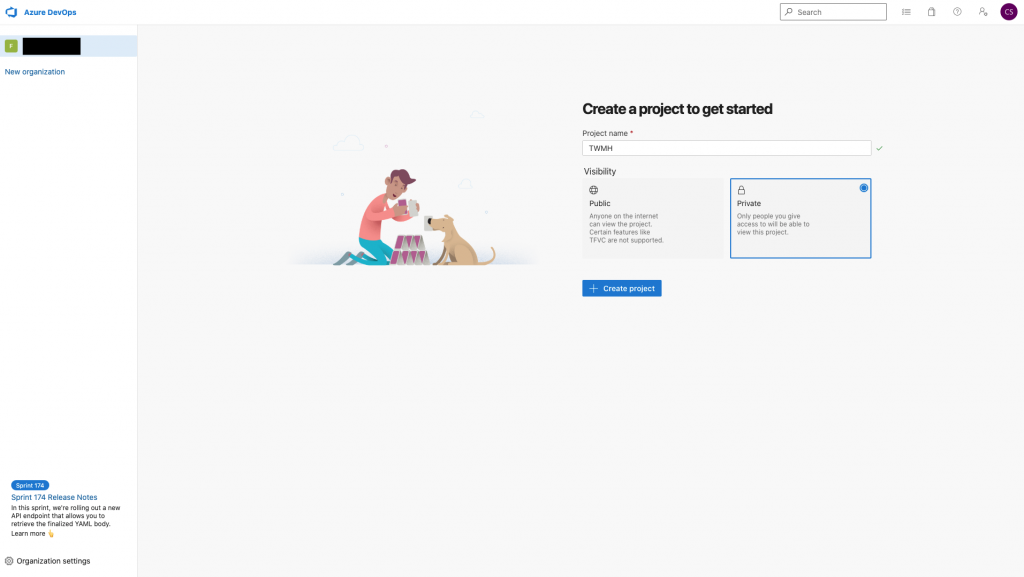
不講廢話,直接開工,我們本系列就是要利用Azure建立一個雲端專案,因此首先利用Azure的DevOps功能裡的Repos功能建立一個程式碼儲存庫。
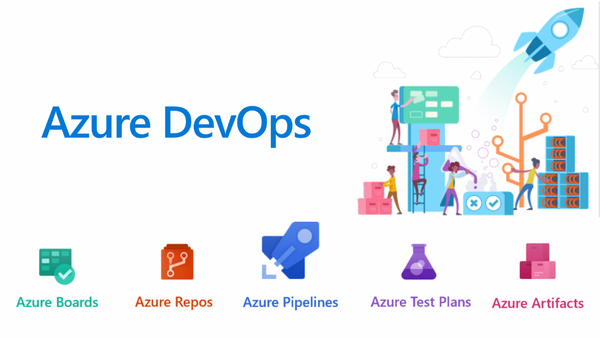
Azure本身有完整的DevOps架構可以讓開發專案有很好的管控。
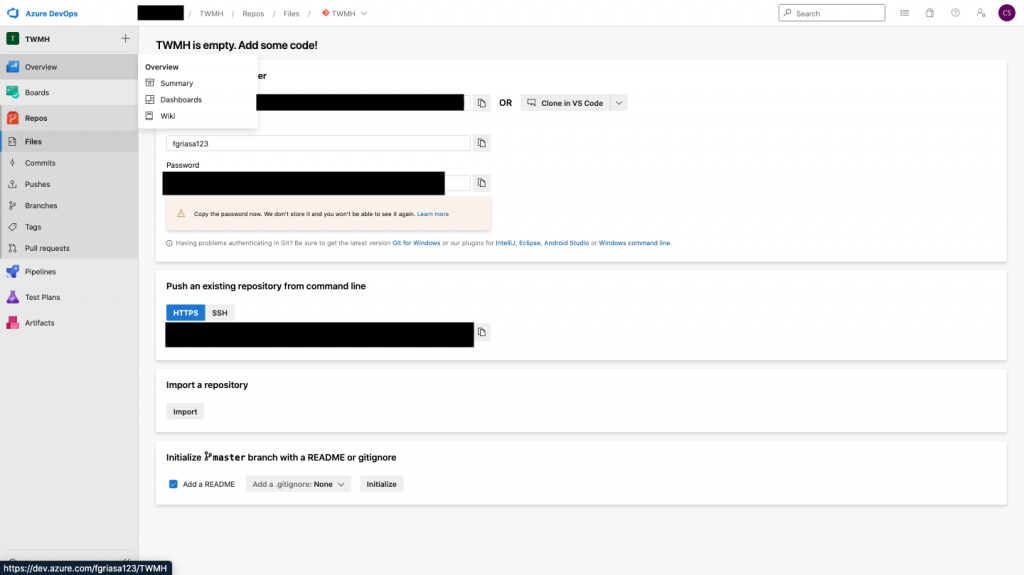
建立Repos並利用編輯器Clone到本地的資料夾的做法上,這個流程令筆者意外的覺得比AWS設定Codecommit的時候親切易用很多。
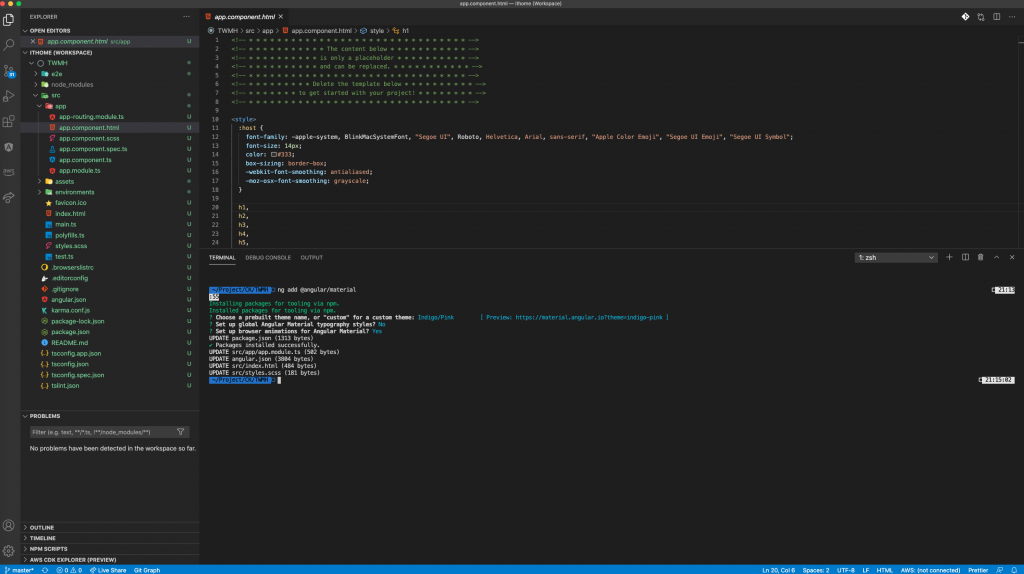
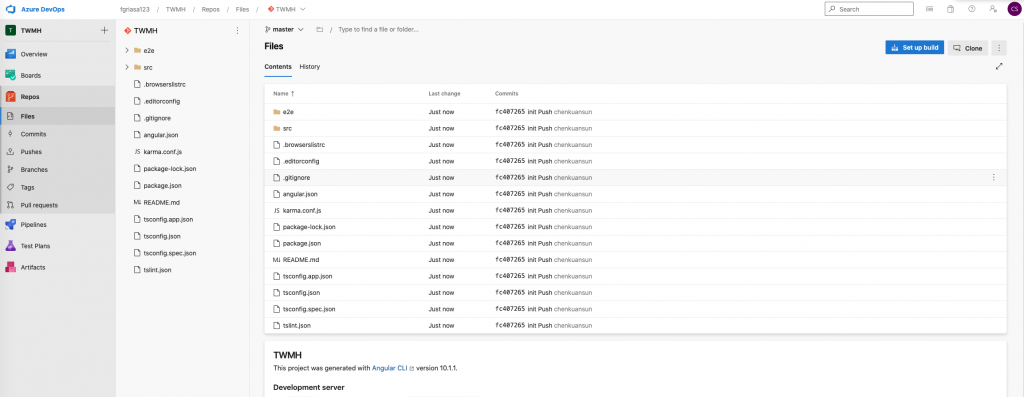
馬上建立一個新的Angular專案,並推送到Azure Repos
而推送之前我們首先必須要針對CI的環境寫npm的Script,我們需要在package.json檔案內增加幾個指令:
  "scripts": {
    ...
    "test-in-ci": "ng test --no-watch --browsers=ChromeHeadless --code-coverage",
    "build-prod": "ng build --prod",
    ...
  },
test-in-ci:我們用來跑測試,當然不重視測試的話可以不放(但強烈建議從現在開始養成測試好習慣)build-prod:建構上線版本的產品。
推送成功之後我們便要來建立Pipeline流程,達到專案更新之後便會持續部署、持續整合的流程。
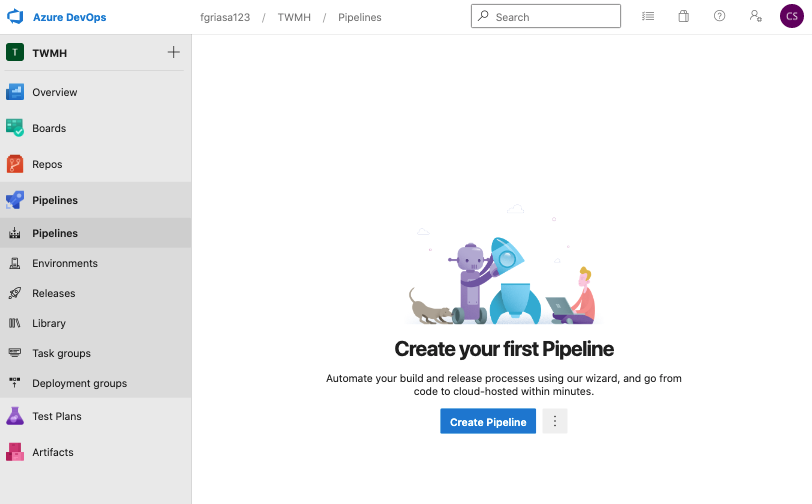
Azure DevOps的好處就是可以很好的把專案需要的相關功能整合到同一個地方,只要點選Create Pipeline之後便可以開始做建構專案的設定。

而Pipeline設定裡面我們可以知道,Azure本身支援各項版控的儲存庫。
選好我們原先支援的Azure Repos。
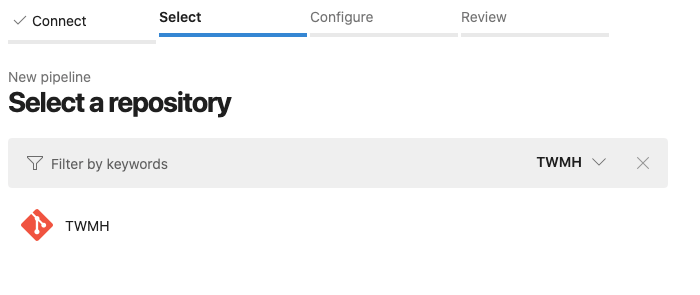
就可以看到方才建立的狼人殺前端儲存庫。
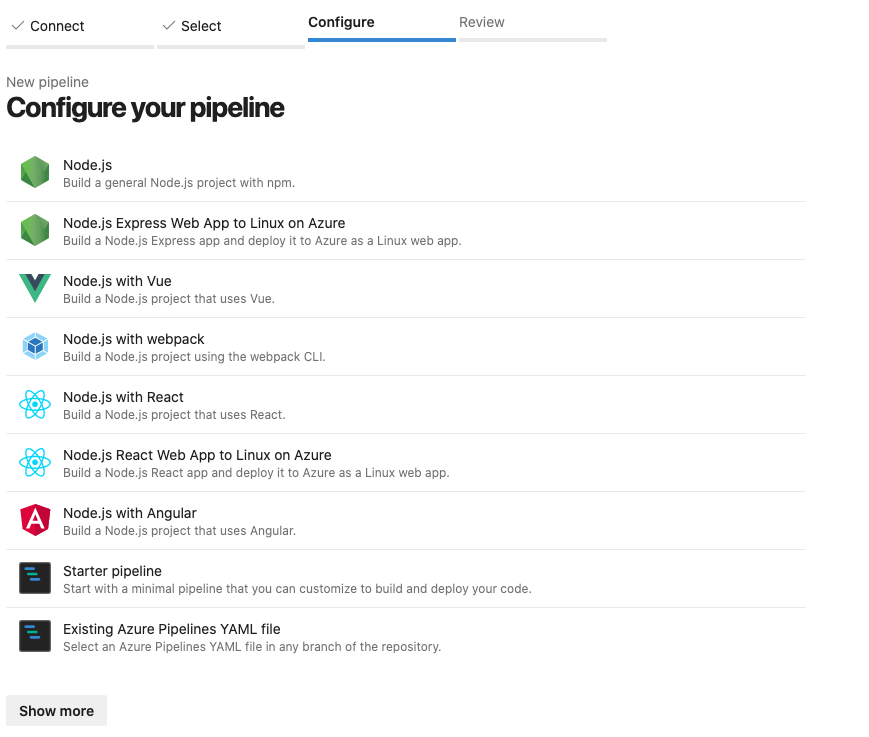
並可以看到預設建構的流程,Azure本身就有一些時下常見的App建構的腳本,也可選擇自訂並放在儲存庫內的腳本。
而我們選Angular。
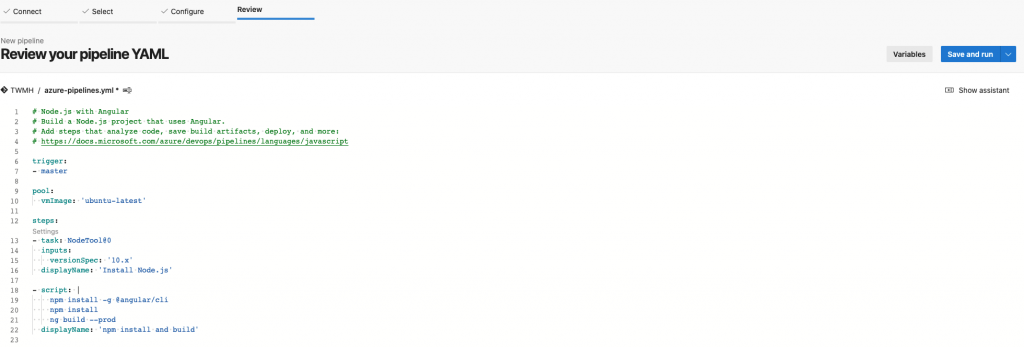
選好預構建的流程腳本後,我們需要增加一些CI/CD的設定。
首先可以從右邊的小助手幫你找到一些範本YAML,我們前面都適用命令列來做一些建構指令
- task: CmdLine@2
  inputs:
    script: 'npm ci'
  displayName: 'Install Dependencies'
我們放入npm ci來安裝建構產品所需要的套件的指令。
- task: CmdLine@2
  inputs:
    script: 'npm run test-in-ci'
  displayName: 'Run Tests'
跑測試,當然不重視測試的話可以不放(但強烈建議從現在開始養成測試好習慣)
- task: CmdLine@2
  inputs:
    script: 'npm run build-prod'
  displayName: 'Build the TWMH'
跑我們預先做好的build-prod的指令
- task: CmdLine@2
  inputs:
    script: 'npm run build-prod'
  displayName: 'Build the TWMH'
跑我們預先做好的build-prod的指令
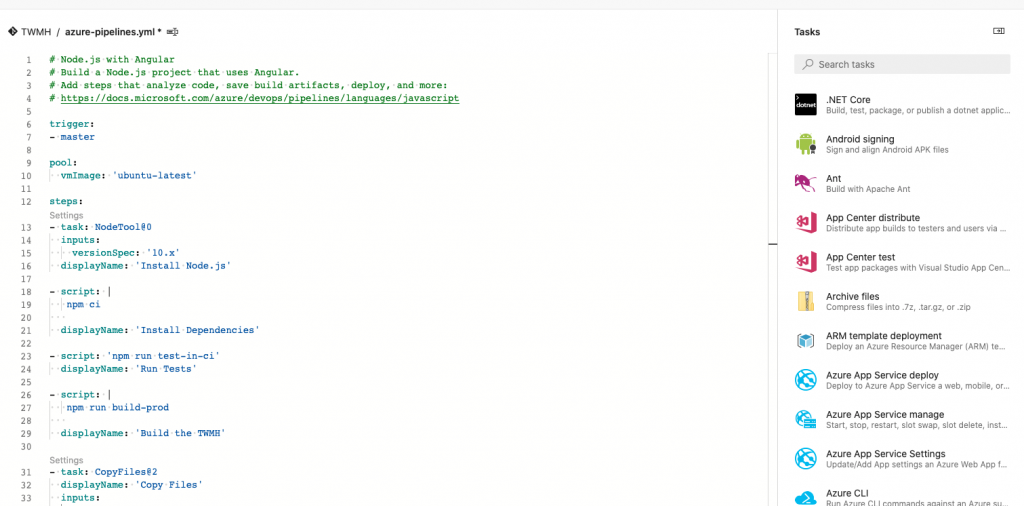
- task: CopyFiles@2
  displayName: 'Copy Files'
  inputs:
    SourceFolder: '$(Build.SourcesDirectory)/dist'
    TargetFolder: '$(Build.ArtifactStagingDirectory)'
    CleanTargetFolder: true
將建構好的資料夾放到部署前資料夾,並將部署前資料夾清空再放入。
- task: ArchiveFiles@2
  displayName: 'Archive Files'
  inputs:
    rootFolderOrFile: '$(Build.ArtifactStagingDirectory)'
    includeRootFolder: false
    archiveType: 'zip'
    archiveFile: '$(Build.ArtifactStagingDirectory)/$(Build.BuildId).zip'
    replaceExistingArchive: true
將剛剛的資料夾封裝,記得不要勾選includeRootFolder,筆者被這個雷兩天。
- task: PublishBuildArtifacts@1
  displayName: 'Publish Artifact: staticwebsite'
  inputs:
    PathtoPublish: '$(Build.ArtifactStagingDirectory)'
    ArtifactName: 'TWMH'
    publishLocation: 'Container'
釋出剛剛的封裝,準備給下一階段部署。
# Node.js with Angular
# Build a Node.js project that uses Angular.
# Add steps that analyze code, save build artifacts, deploy, and more:
# https://docs.microsoft.com/azure/devops/pipelines/languages/javascript

trigger:
- master

pool:
  vmImage: 'ubuntu-latest'

steps:
- task: NodeTool@0
  inputs:
    versionSpec: '10.x'
  displayName: 'Install Node.js'

- task: CmdLine@2
  inputs:
    script: 'npm ci'
  displayName: 'Install Dependencies'

- task: CmdLine@2
  inputs:
    script: 'npm run test-in-ci'
  displayName: 'Run Tests'

- task: CmdLine@2
  inputs:
    script: 'npm run build-prod'
  displayName: 'Build the TWMH'

- task: CopyFiles@2
  displayName: 'Copy Files'
  inputs:
    SourceFolder: '$(Build.SourcesDirectory)/dist'
    TargetFolder: '$(Build.ArtifactStagingDirectory)'
    CleanTargetFolder: true

- task: ArchiveFiles@2
  displayName: 'Archive Files'
  inputs:
    rootFolderOrFile: '$(Build.ArtifactStagingDirectory)'
    includeRootFolder: false
    archiveType: 'zip'
    archiveFile: '$(Build.ArtifactStagingDirectory)/$(Build.BuildId).zip'
    replaceExistingArchive: true

- task: PublishBuildArtifacts@1
  displayName: 'Publish Artifact: staticwebsite'
  inputs:
    PathtoPublish: '$(Build.ArtifactStagingDirectory)'
    ArtifactName: 'TWMH'
    publishLocation: 'Container'
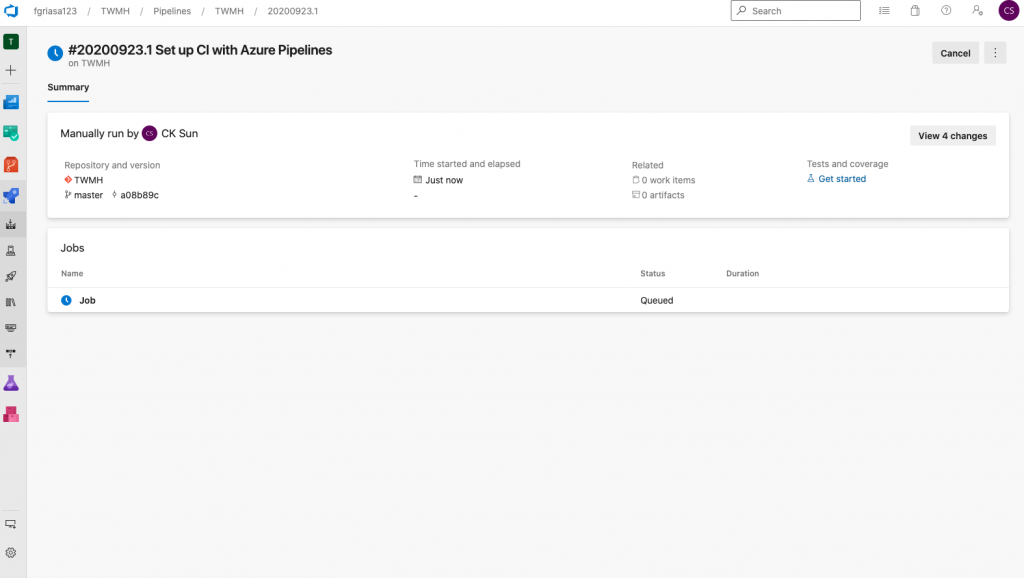
接下來我們測試跑流程,還可以看建構的狀態,掌握是否有問題馬上做修正。
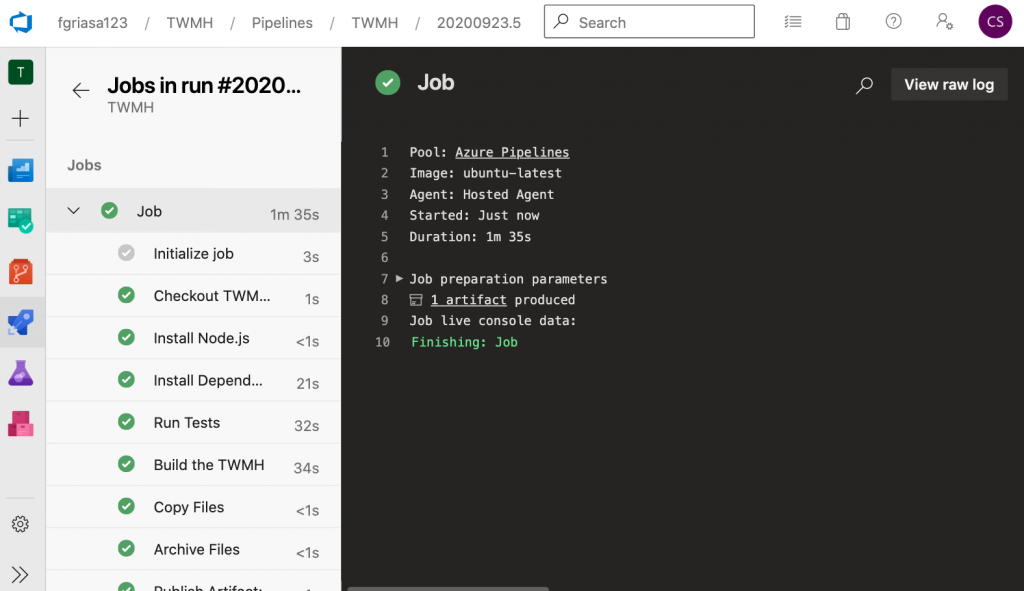
可以看到建構的時候會根據當初設定的Display name的Script去跑,可以很方便的去看每一個步驟的Log。
接下來建構沒問題的話,我們可以開始做持續整合部署的流程。
我們要已經做好CI的部分,現在要開始做CD的部分。
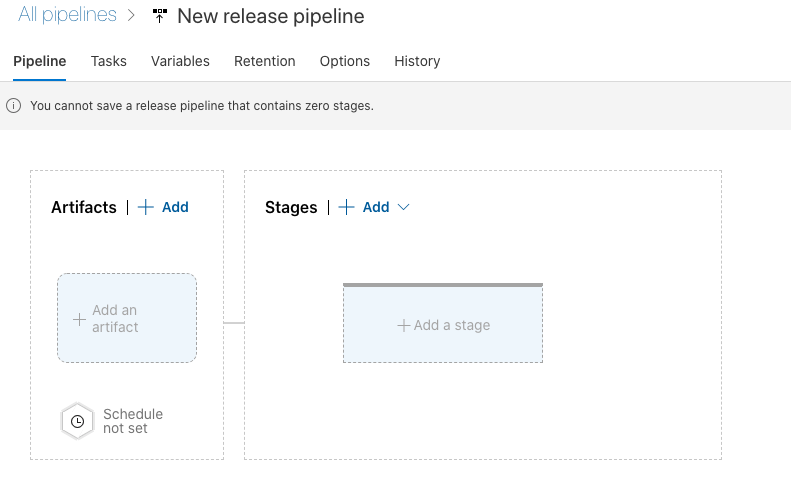
點選左邊的Artifact來定義觸發的事件。
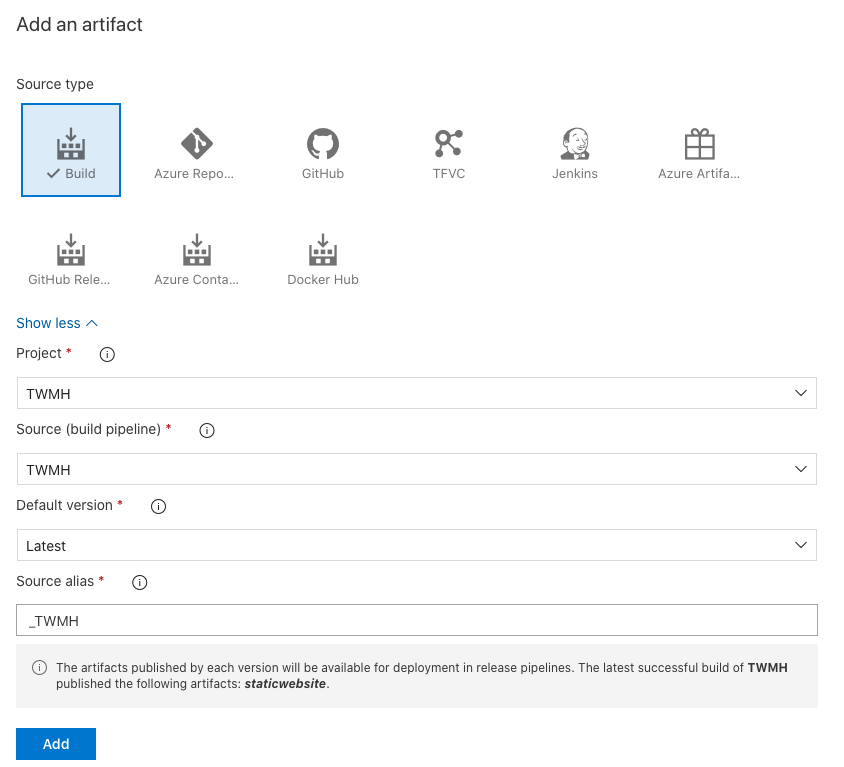
選擇剛剛的Pipeline當作來源
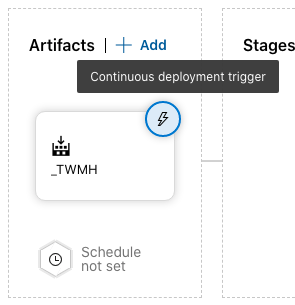
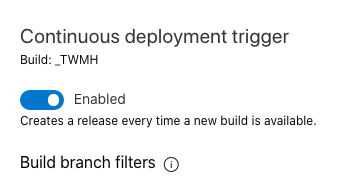
並點選Artifact右上角的閃電圖案來打開持續部署。
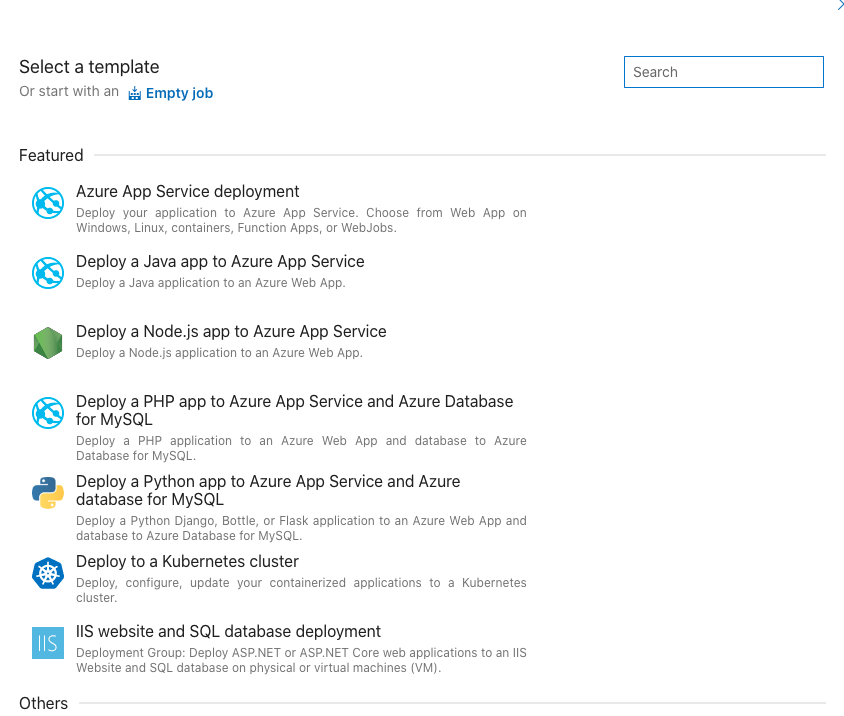
選擇新的Stage並命名成Deploy方便我們辨識,在詢問範本的部分我們從Empty job開始,因為目前還沒有供Azure Static Web Apps使用的範本,我們先部署到Storage來做使用。
點選Task的Tab,
我們需要完成兩件事情來部署靜態網頁文件:
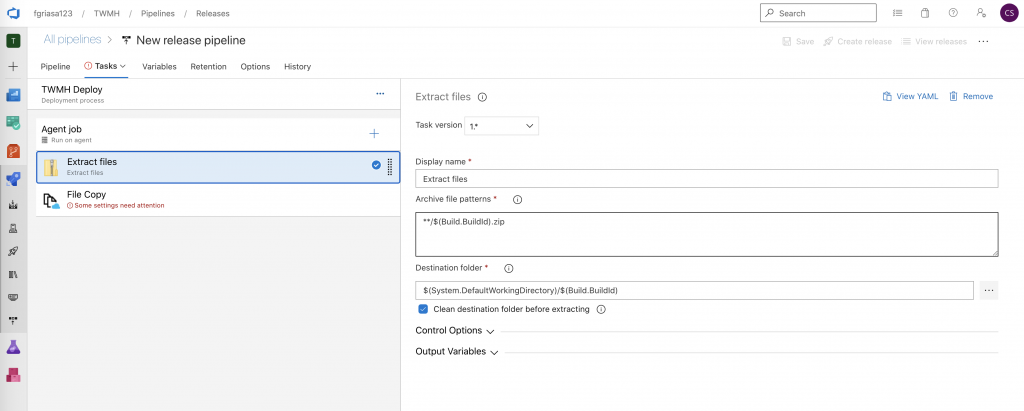
我們先將pipeline建構完的zip給解壓縮到資料夾內,準備複製到Azure Blob Storage
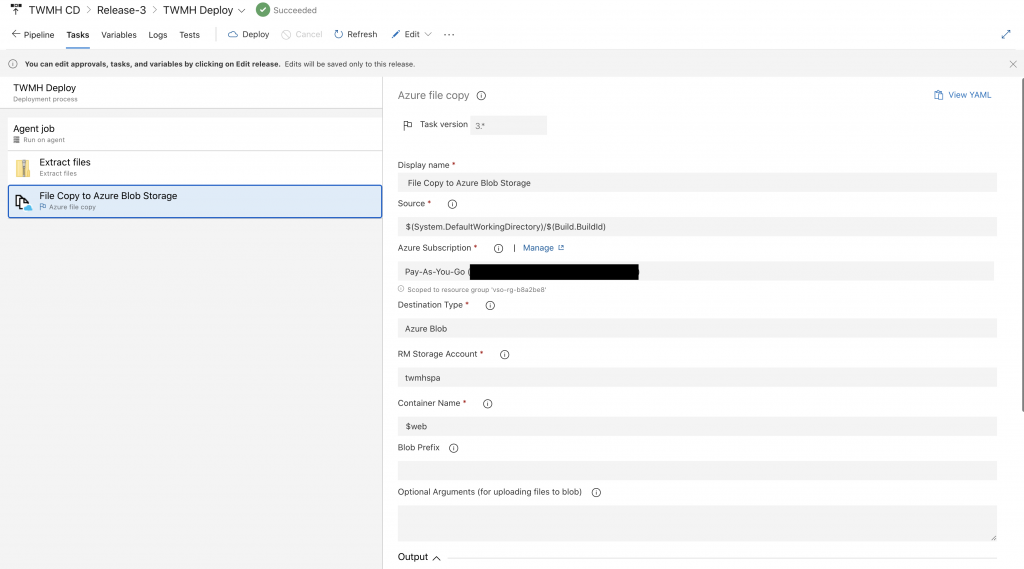
目前我們設定Azure File Copy,而筆者測試V4版本會有問題,因此我們採用V3版本。
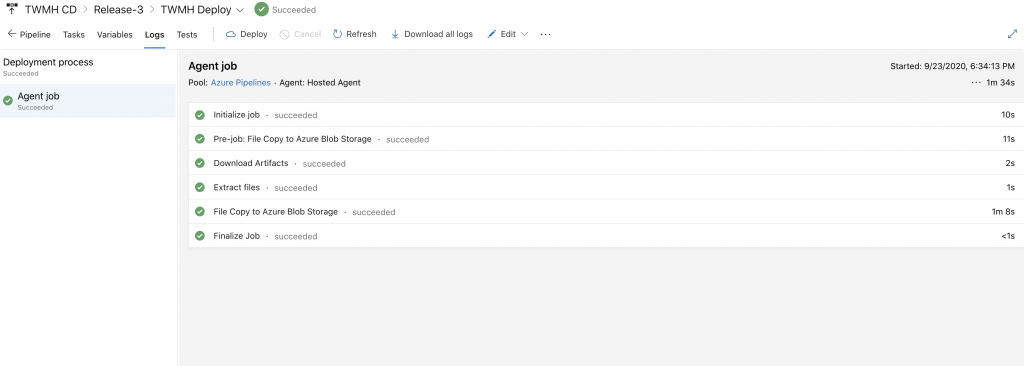
我們手動Run Deploy,成功之後可以來測試完整更新版本。

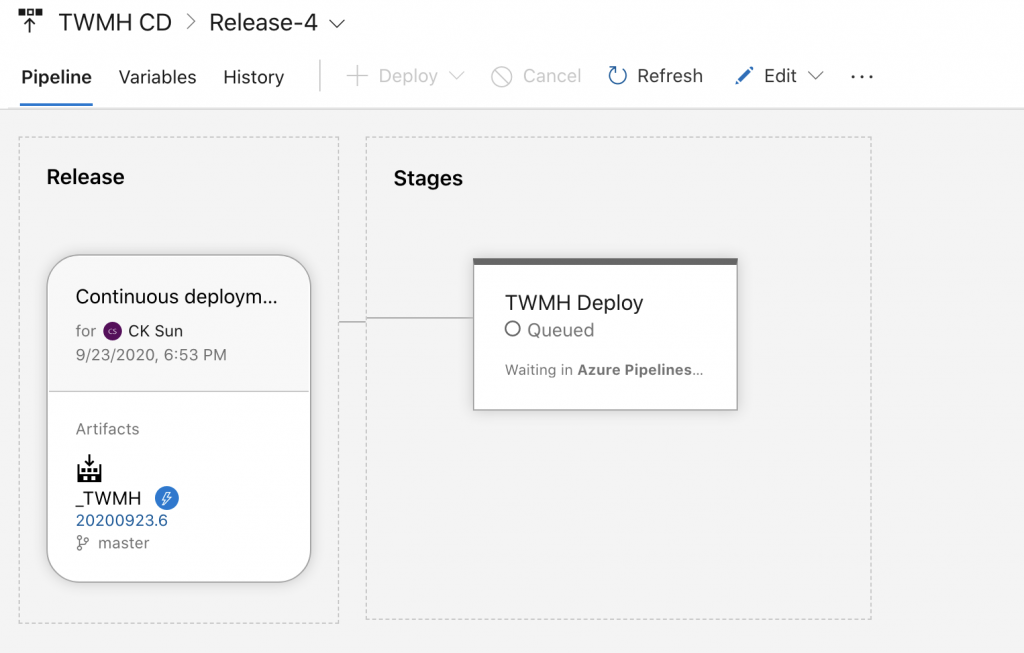
Master偵測到更新之後就會開始跑流程。
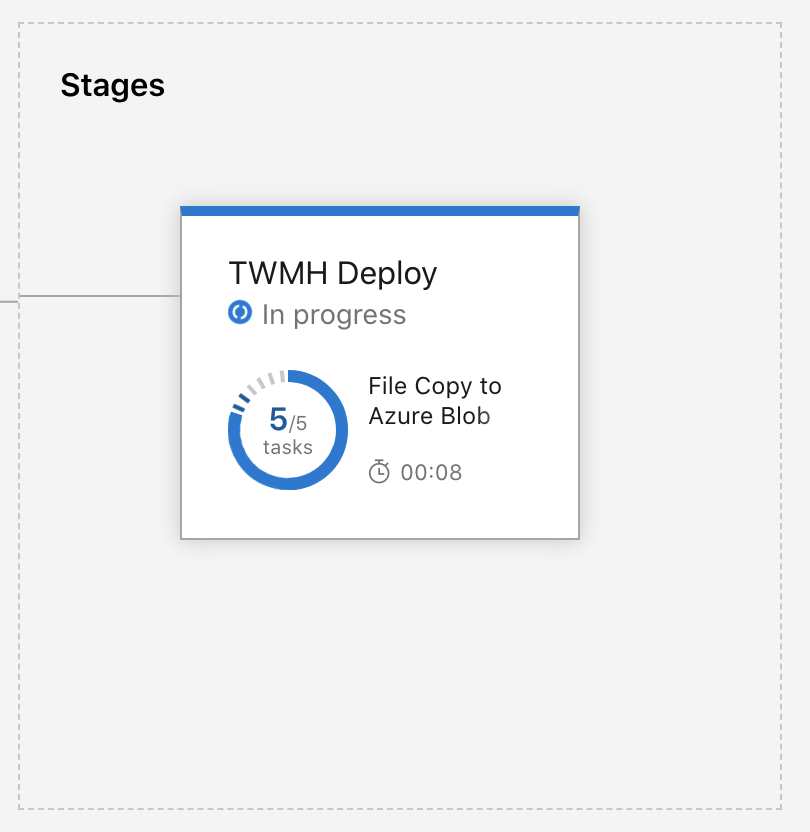
跑完CI就會進入CD流程。
接下來就大功告成!
這次利用了Azure DevOps的方式部署到Azure Storage Blob,而在設定前端頁面,實際上就已經算是帶領著大家進行如何讓專案更有規模化的部署。而Azure的相關整理上雖然整合了非常多易用的功能,目前Azure必須使用Storage Blob的傳統方式部署,明天會帶領大家用預覽版的Azure Static Web Apps來部署網站。
意外總是在你想不到的時候出現,不然怎麼叫意外。

 iThome鐵人賽