一、一、Webpack 在 Vue CLI 的專案扮演的角色
二、Webpack的四大核心:Entry、Output、Loader、Plugin (以Vue CLI 專案示範)
三、quasar build 指令執行後,是如何執行Webpack打包的過程:quasar底層的程式碼
四、如何在Quasar處理額外的Webpack設定:quasar.config.js
五、總結
六、延伸閱讀
瀏覽器本身是不支援.vue的檔案和template語法、es6的語法、sass/scss的語法
將分散在各個.vue、.js、.sass/scss的程式碼,合併在N個JS檔與CSS檔,集中引用在同一個index.html
程式碼的壓縮、拆檔與Cache的處理
根據Webpack官方文件提到
Webpack的主要核心包含 Entry、Output、Loader、Plugin
白話文:
告訴Webpack,從哪些檔案開始分析與編譯
Webpack的預設Entry路徑是index.js,相當於Vue CLI專案的 main.js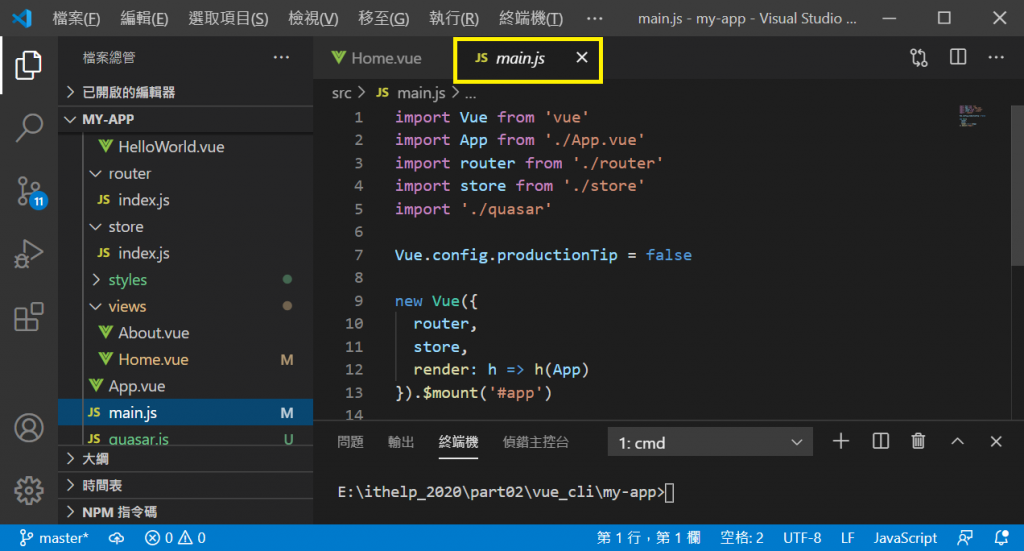
Quasar CLI專案的進入點,則是由程式自動產生,今天的第三部分會提到
An entry point indicates which module webpack should use to begin building out its internal dependency graph. webpack will figure out which other modules and libraries that entry point depends on (directly and indirectly).
By default its value is ./src/index.js, but you can specify a different (or multiple entry points) by setting an entry property in the webpack configuration. For example:
The output property tells webpack where to emit the bundles it creates and how to name these files.
白話文:
經過Webpack分析與編譯後,產生的檔案位置
在Vue CLI 執行 num run build
會在專案目錄底下產生一個「dist」資料夾
底下包含所有經過編譯的檔案: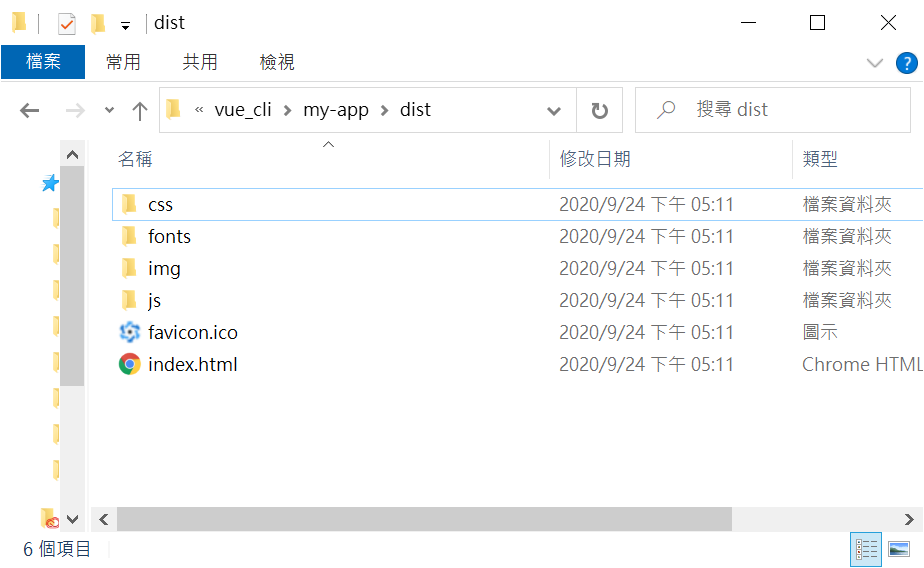
在Quasar CLI ,執行 quasar build [-m][mode name]
會根據要建置的專案類型,在專案目錄底下產生一個「dist/[mode_name]」資料夾
底下包含所有經過編譯的檔案: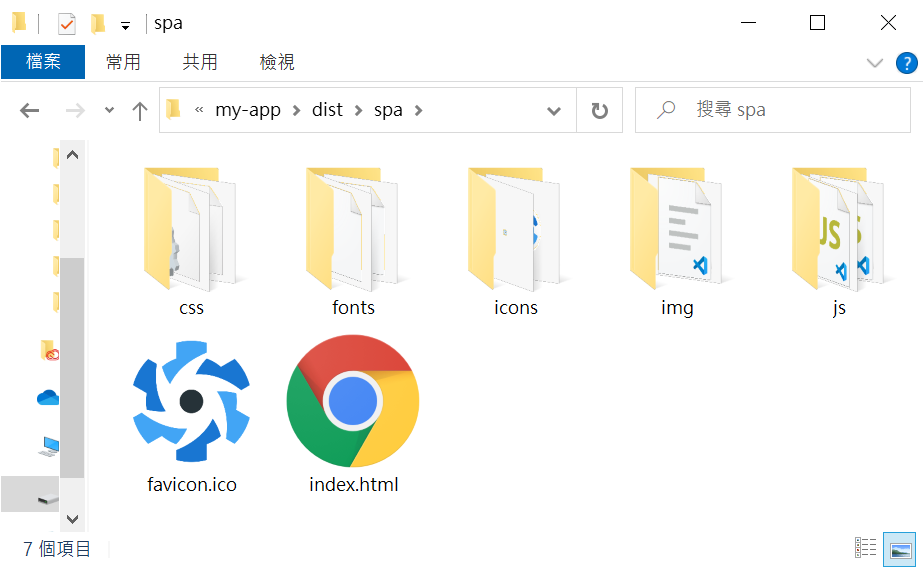
白話文:
讓Webpack能夠分析與編譯Javascript和JSON以外的檔案類型
例如:
1.轉換sass/scss的 sass-loader
2.載入 .vue 當中CSS樣式規則 的 css-loader
3.轉換es6的babel-loader
Out of the box, webpack only understands JavaScript and JSON files. Loaders allow webpack to process other types of files and convert them into valid modules that can be consumed by your application and added to the dependency graph.
白話文:
讓Webpack處理分析和編譯程式碼之外的事情
例如:
將轉換之後的css樣是規則,透過MiniCssExtractPlugin產生CSS檔案
編譯完Vue的專案程式碼之後,透過HtmlWebpackPlugin,自動產生一個HTML檔案
並且將Webpack編譯完產生的css檔與JS檔,以\<link hrf>、\<script src=""> 引入網頁當中
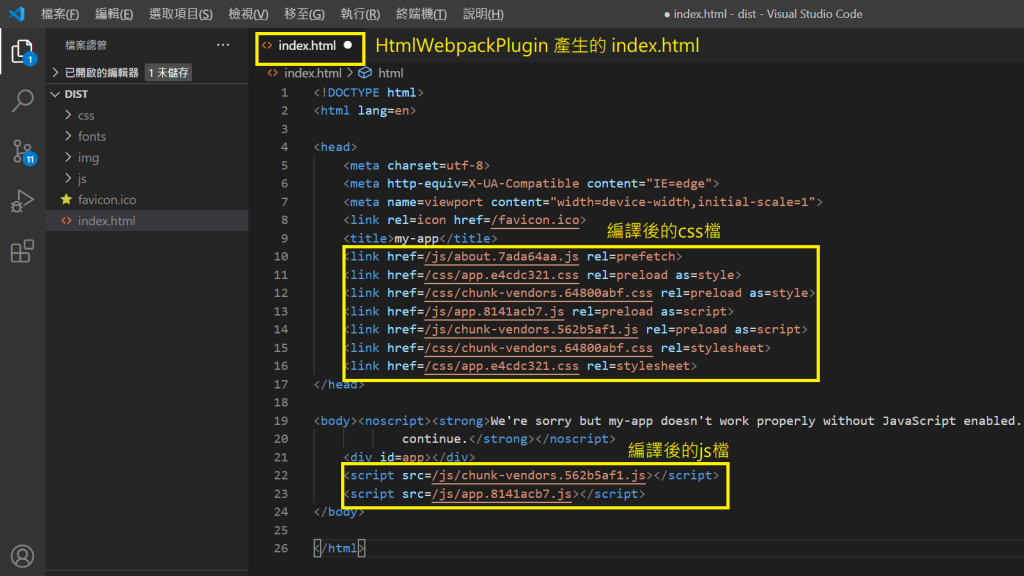
While loaders are used to transform certain types of modules, plugins can be leveraged to perform a wider range of tasks like bundle optimization, asset management and injection of environment variables.
在node_modules/quasar/app/bin底下
可以看到「quasar-build」檔案,定義了執行quasar build之後,處理Webpack編譯與打包的程式碼
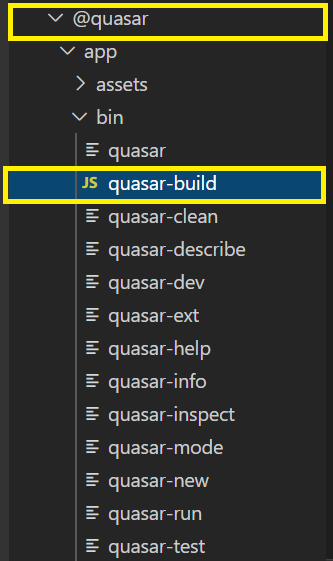
包括了「剖析設定檔」、「產生Entry檔案」、「編譯的前置處理」以及「執行編譯Webpack」等相關流程
  // 剖析quasar.config.js的內容
  await quasarConfFile.compile()

  // 用來產生webpack用的Entry的generator
  const generator = new Generator(quasarConfFile)

  // 存取Webpack與Quasar專案的設定資訊
  const quasarConf = quasarConfFile.quasarConf
  const webpackConf = quasarConfFile.webpackConf

  let outputFolder = quasarConf.build.packagedDistDir ||
  quasarConf.build.distDir

  artifacts.clean(outputFolder)

  // 產生Webpack用的Entry檔案 流程
  generator.build()

  // 開始 Webpack的編譯
  log(`Compiling with Webpack...`)

  let webpackData = parseWebpackConfig(webpackConf, argv.mode)

  webpack(webpackData.configs, async (err, stats) => {...}
而Webpack的所有設定產生過程,放在「node_modules/quasar/app/lib/webpack」底下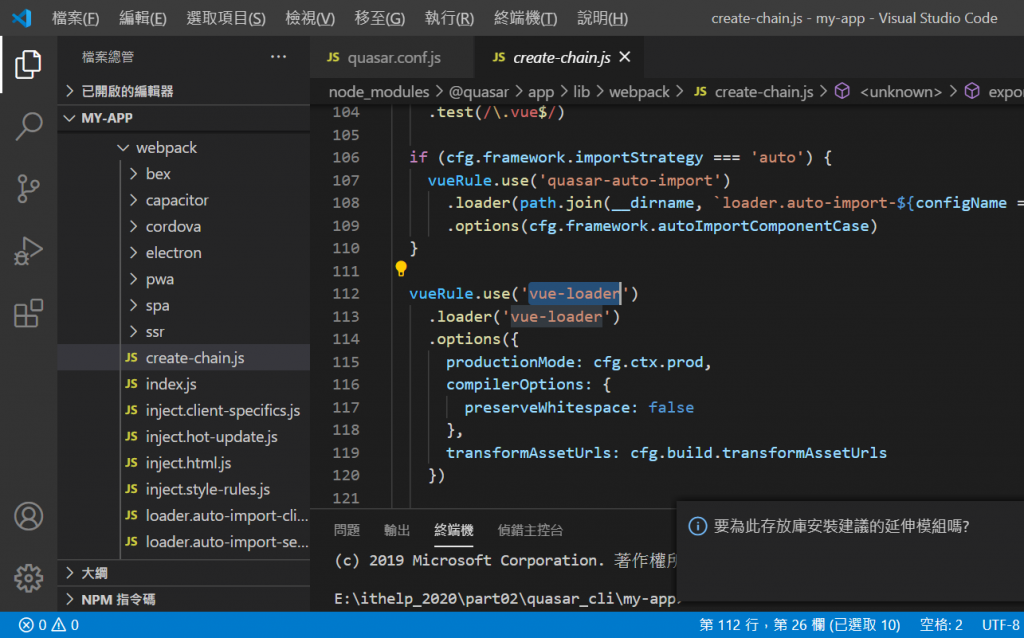
其中,Entry進入點的檔案會出現在專案資料夾底下,「.quasar」資料夾裡面的「app.js」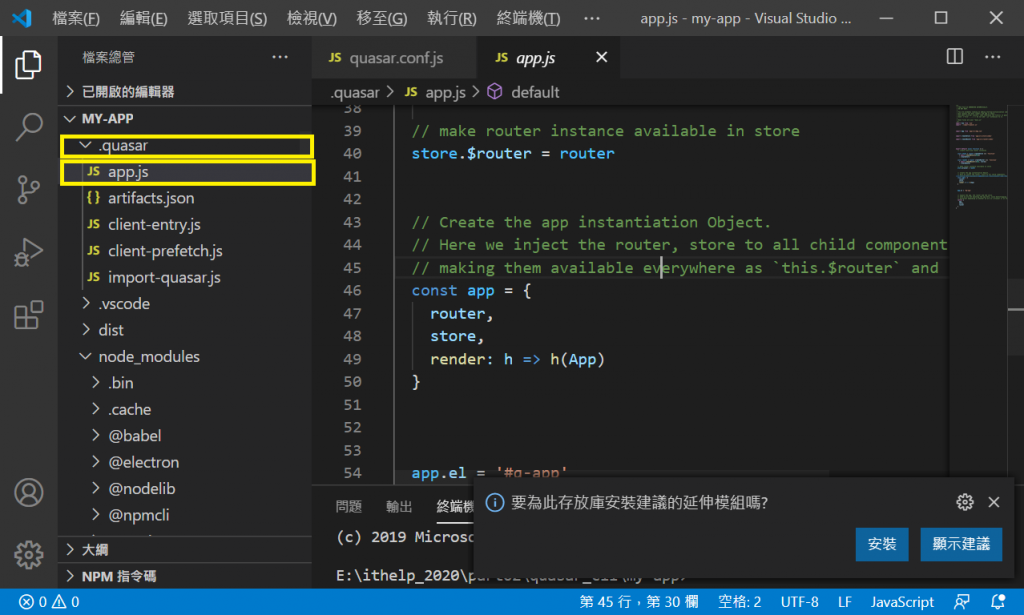
在quasar的官方文件有提到,你可以在quasar.config.js裡面的「build > extendWebpack (cfg)」或「build > chainWebpack (chain)」
// quasar.conf.js
build: {
  extendWebpack (cfg, { isServer, isClient }) {
    cfg.module.rules.push({
      enforce: 'pre',
      test: /\.(js|vue)$/,
      loader: 'eslint-loader',
      exclude: /(node_modules|quasar)/
    })
  }
}
// quasar.conf.js
build: {
  chainWebpack (chain, { isServer, isClient }) {
    chain.module.rule('eslint')
      .test(/\.(js|vue)$/)
      .enforce('pre')
      .exclude
        .add((/[\\/]node_modules[\\/]/))
        .end()
      .use('eslint-loader')
        .loader('eslint-loader')
  }
}
Quasar Framework 的 Webpack額外設定全部都是在quasar.config.js處理即可
大部分的編譯設定和流程Quasar在底層會自動產生。
