我們使用 Vue官方教學還實作一個前端網站。
Vue 可以使用CDN的方式在靜態網頁使用,可以使用 vue-cli 來開發,
我們先使用CDN的方式
# 正式環境
<script src="https://cdn.jsdelivr.net/npm/vue/dist/vue.js"></script>
# 開發環境
<script src="https://cdn.jsdelivr.net/npm/vue"></script>
<div id="app">
  {{ message }}
</div>
var app = new Vue({
  el: '#app',
  data: {
    message: 'Hello Vue!'
  }
})
原始碼網頁
<!DOCTYPE html>
<html lang="en">

<head>
    <meta charset="UTF-8">
    <meta name="viewport" content="width=device-width, initial-scale=1.0">
    <link rel="stylesheet" href="https://maxcdn.bootstrapcdn.com/bootstrap/4.5.2/css/bootstrap.min.css">
    <script src="https://ajax.googleapis.com/ajax/libs/jquery/3.5.1/jquery.min.js"></script>
    <script src="https://cdnjs.cloudflare.com/ajax/libs/popper.js/1.16.0/umd/popper.min.js"></script>
    <script src="https://maxcdn.bootstrapcdn.com/bootstrap/4.5.2/js/bootstrap.min.js"></script>
    <script src="https://cdn.jsdelivr.net/npm/vue"></script>
    <title>PellokITHome2020</title>
</head>

<body>
  <div id="app">
      <div class="jumbotron text-center">
          <h1>{{ title }}</h1>
          <h3><a href="{{subject_link}}">{{subject}}</a></h3>
      </div>
      <div class="container">
          <!-- <div class="row"> -->
            <ul class="list-group list-group-flush" v-for="article in articles">
              <li class="list-group-item">
                <h4><a href="{{article.link}}">{{article.name}}</a></h4>
              </li>
            </ul>
          <!-- </div> -->
      </div>
    </div>
</body>
<script>
var app = new Vue({
    el: '#app',
    data: {
        title: '第12屆鐵人賽',
        subject: 'Azure 的自我挑戰',
        subject_link: 'https://ithelp.ithome.com.tw/users/20072651/ironman/3347',
        articles: [
          {'name': 'Day01 Azure 的自我修煉', 'link': 'https://ithelp.ithome.com.tw/articles/10233277'},
          {'name': 'Day02 申請Azure帳號', 'link': 'https://ithelp.ithome.com.tw/articles/10233285'},
          {'name': 'Day03 Resource Group 資源群組', 'link': 'https://ithelp.ithome.com.tw/articles/10233371'},
          {'name': 'Day04 Dotnet Core 專案', 'link': 'https://ithelp.ithome.com.tw/articles/10233562'},
          {'name': 'Day05 MVC專案建置', 'link': 'https://ithelp.ithome.com.tw/articles/10233621'},
          {'name': 'Day06 專案 Git 版本控制', 'link': 'https://ithelp.ithome.com.tw/articles/10233743'},
          {'name': 'Day07 WebApp服務-原始碼部署', 'link': 'https://ithelp.ithome.com.tw/articles/10234003'},
          {'name': 'Day08 Azure SQL 服務', 'link': 'https://ithelp.ithome.com.tw/articles/10234196'},
          {'name': 'Day09 實作官網 ASP.NET Core 教學(一)', 'link': 'https://ithelp.ithome.com.tw/articles/10234296'},
          {'name': 'Day10 實作官網 ASP.NET Core 教學(二)', 'link': 'https://ithelp.ithome.com.tw/articles/10234907'},
          {'name': 'Day11 實作官網 ASP.NET Core 教學(三)', 'link': 'https://ithelp.ithome.com.tw/articles/10234646'},
          {'name': 'Day12 實作官網 ASP.NET Core 教學(四)', 'link': 'https://ithelp.ithome.com.tw/articles/10235173'},
          {'name': 'Day13 部署 Webapp 使用 SQL服務', 'link': 'https://ithelp.ithome.com.tw/articles/10235750'},
          {'name': 'Day14 實作 ASP.NET Core 建立 Web API', 'link': 'https://ithelp.ithome.com.tw/articles/10235984'},
          {'name': 'Day15 網頁基礎知識', 'link': 'https://ithelp.ithome.com.tw/articles/10237354'},
          {'name': 'Day16 實作官網教學 JavaScript 呼叫 ASP.NET Core web API', 'link': 'https://ithelp.ithome.com.tw/articles/10236833'},
          {'name': 'Day17 實作 Identity ASP.NET Core', 'link': 'https://ithelp.ithome.com.tw/articles/10238429'},
          {'name': 'Day18 Azure Pipelines服務', 'link': 'https://ithelp.ithome.com.tw/articles/10238538'},
          {'name': 'Day19 Azure Pipelines服務 YAML 說明與設定', 'link': 'https://ithelp.ithome.com.tw/articles/10239784'},
          {'name': 'Day20 實作 Dotnet Test 測試範例', 'link': 'https://ithelp.ithome.com.tw/articles/10239929'},
          {'name': 'Day21 實作 Razor ASP.NET Core 中的頁面單元測試', 'link': 'https://ithelp.ithome.com.tw/articles/10240870'},
          {'name': 'Day22 整合CI測試到 Azure Pipeline 服務', 'link': 'https://ithelp.ithome.com.tw/articles/10242197'},
          {'name': 'Day23 介紹 Azure Resource Manager (ARM) 範本', 'link': 'https://ithelp.ithome.com.tw/articles/10242739'},
          {'name': 'Day24 實作 Azure Resource Manager 範本與 Azure Pipelines 的持續整合', 'link': 'https://ithelp.ithome.com.tw/articles/10242860'},
          {'name': 'Day25 專案的 Azure Pipeline 部署到 Azure 平台', 'link': 'https://ithelp.ithome.com.tw/articles/10243798'},
        ],
    }
})
</script>

</html>
之前有寫一篇 Docker 基本教學 大家可以前往查看喔。
FROM nginx
RUN mkdir /app
COPY index.html /usr/share/nginx/html/index.html
docker build . -t pellok:v1
docker run -d -p 8080:80 --name pellok pellok:v1
查看 az acr 指令說明
az act -h
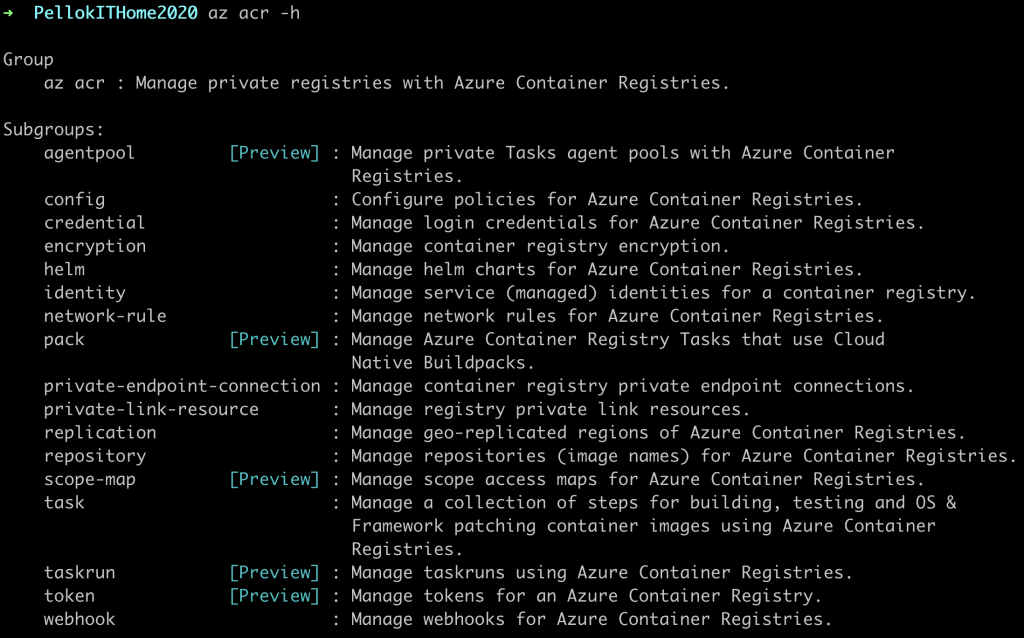
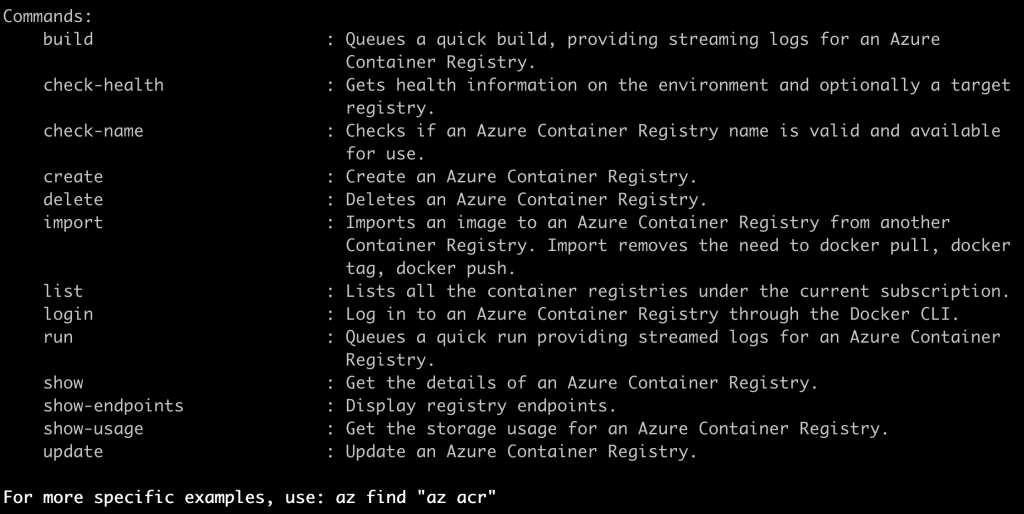
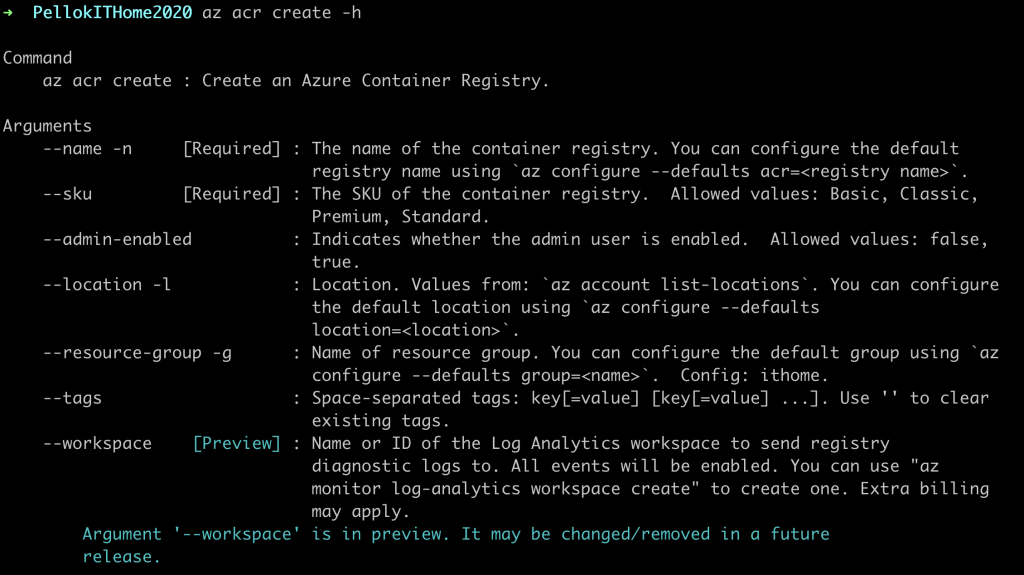
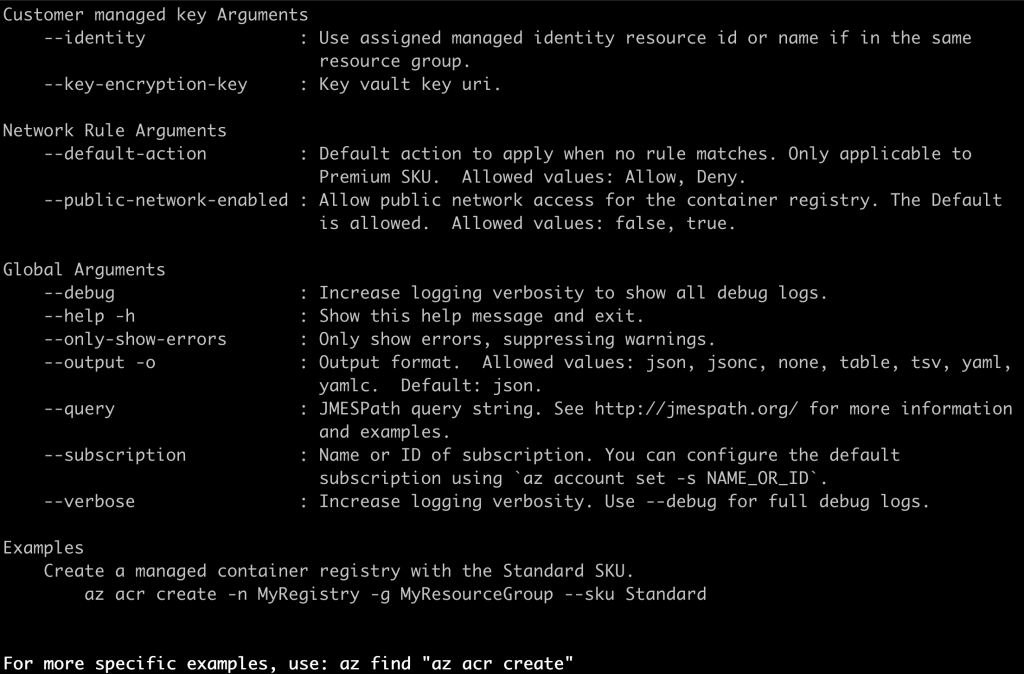
查看 az acr create 指令說明
az acr create -h
資源群組: PellokIThomePipelineRG
Registry名稱: PellokRegistry
使用資源: Basic
az acr create -n PellokRegistry -g PellokIThomePipelineRG --sku Basic
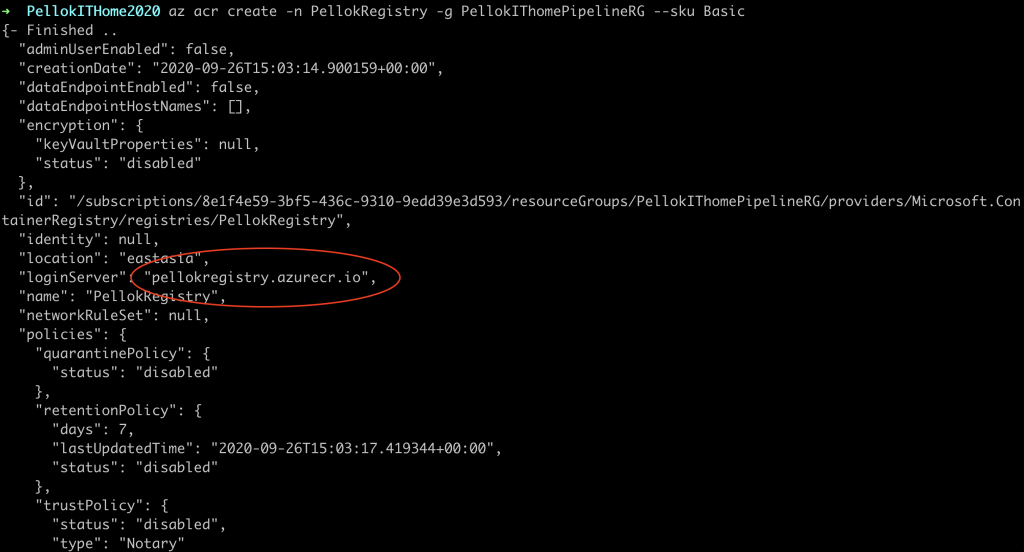
創建完成會有一個 "loginServer": "pellokregistry.azurecr.io",後續會使用到。
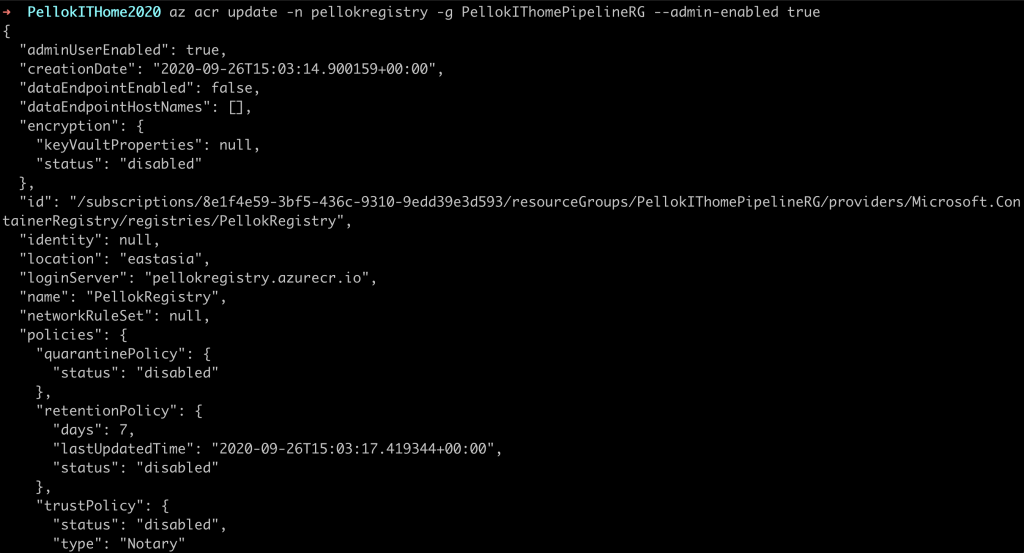
az acr update -n pellokregistry -g PellokIThomePipelineRG --admin-enabled true
az acr login --name pellokregistry

docker tag pellok:v1 pellokregistry.azurecr.io/pellok:v1
docker push pellokregistry.azurecr.io/pellok:v1

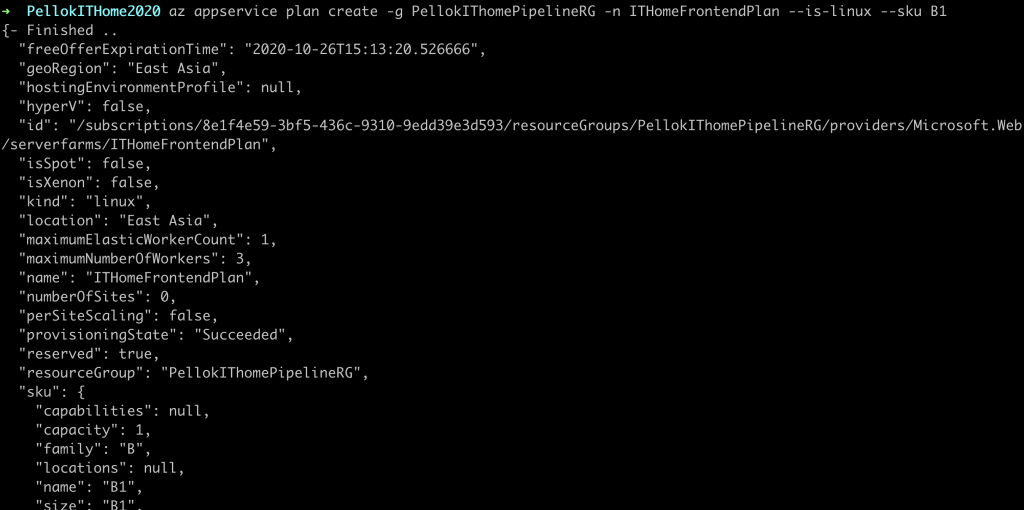
資源群組: PellokIThomePipelineRG
Plan名稱: ITHomeFrontendPlan
--is-linux: 使用Linux
--sku: B1
az appservice plan create -g PellokIThomePipelineRG -n ITHomeFrontendPlan --is-linux --sku B1
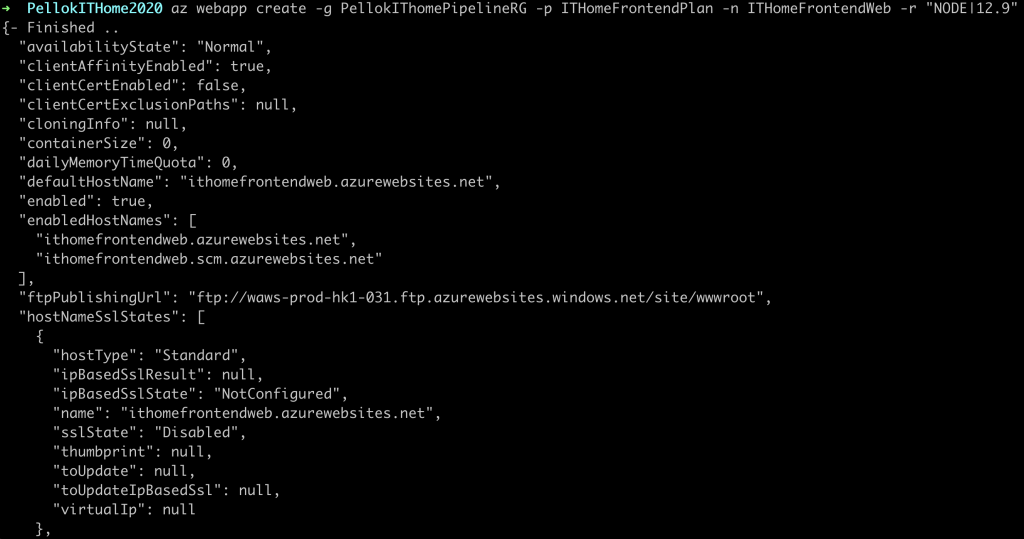
資源群組: PellokIThomePipelineRG
Plan名稱: ITHomeFrontendPlan
WebApp名稱: ITHomeFrontendWeb
部署服務: "NODE|12.9"
az webapp create -g PellokIThomePipelineRG -p ITHomeFrontendPlan -n ITHomeFrontendWeb -r "NODE|12.9"
az webapp config container set --name ITHomeFrontendWeb -g PellokIThomePipelineRG -i pellokregistry.azurecr.io/pellok:v1

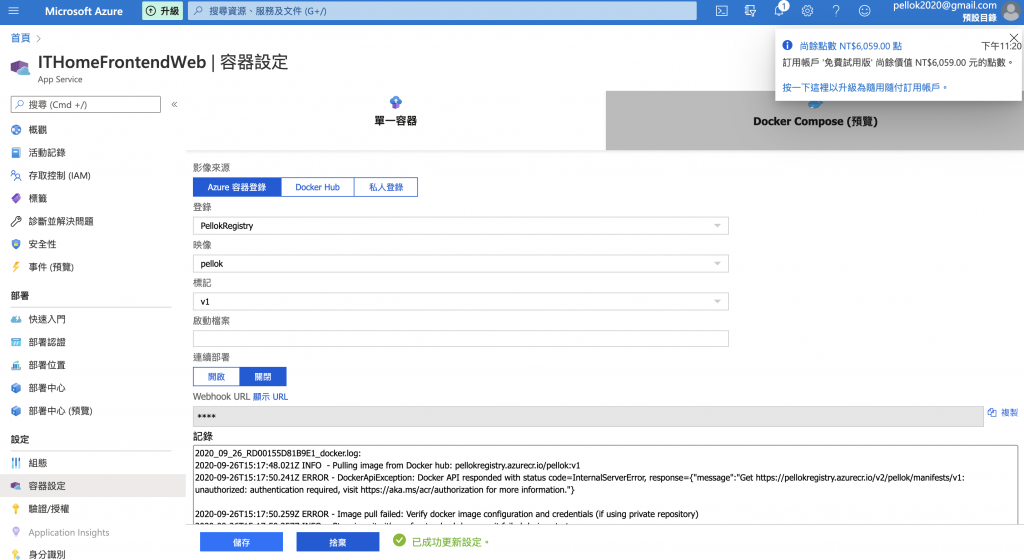
https://ithomefrontendweb.azurewebsites.net/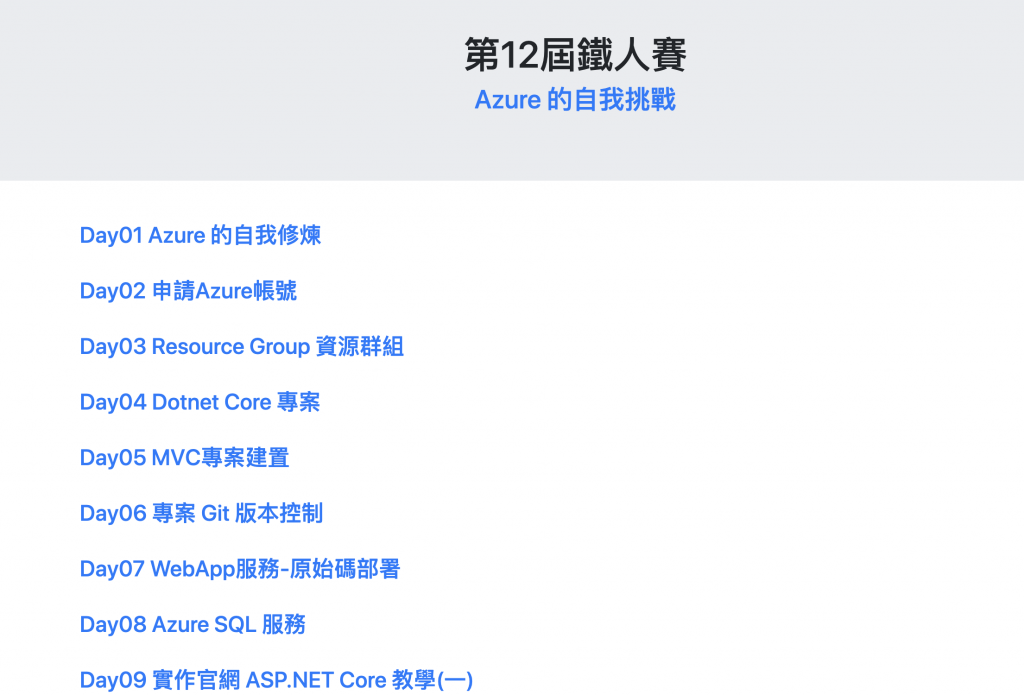
上一篇 Day25 專案的 Azure Pipeline 部署到 Azure 平台
下一篇 Day27 Azure Blob 儲存體文件
