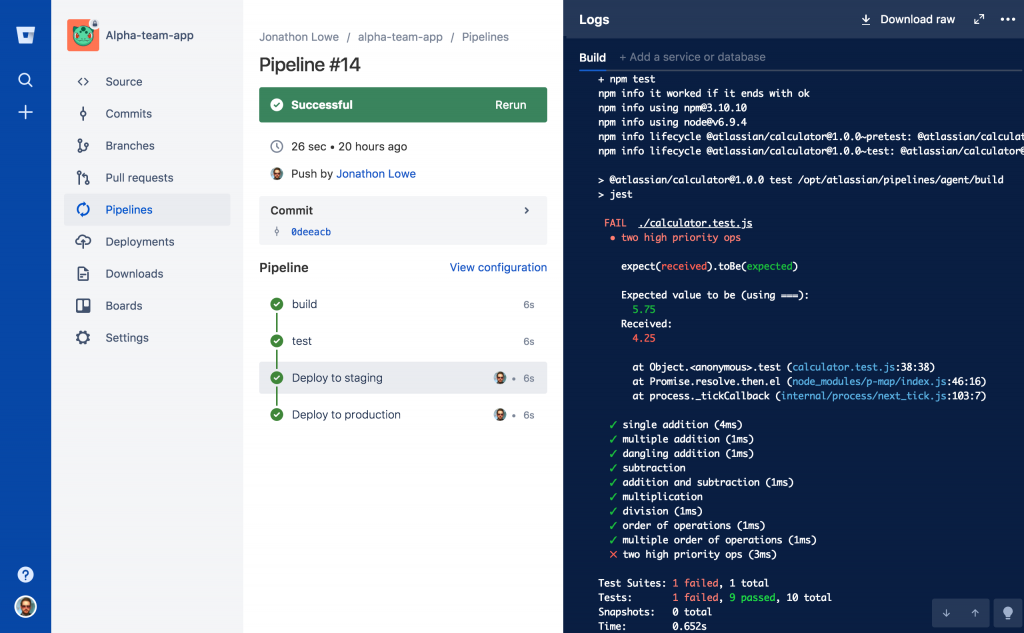
昨天為止我們介紹了 iOS 平台如何自動化,接下來讓我們來看看後端是怎麼自動化的!
我們借助了以下工具
今天讓我們先了解什麼是 Pipeline 以及 Bitbucket Pipeline 的用法!
Pipeline 是提供我們一個可以執行特定指令或特定動作的場所,我們可以透過他定義要做的事情與項目。
比如今天我想要進行測試,我就可以在 Pipeline 的定義檔中(通常是 yaml),設定類似 npm test 的指令,這時候 Pipeline 就會幫助我進行測試!
了解了 Pipeline 的定義之後,我們就來看我們選擇的工具,Bitbucket Pipeline

馬上來看看一個 Bitbucket Pipeline 的範例
# This is a sample build configuration for JavaScript.
# Check our guides at https://confluence.atlassian.com/x/14UWN for more examples.
# Only use spaces to indent your .yml configuration.
# -----
# You can specify a custom docker image from Docker Hub as your build environment.
image: node:lts

pipelines:
  default:
    - step:
        caches:
          - node
        script: # Modify the commands below to build your repository.
          - yarn install
          - yarn build
  branches:
    develop:
      - step:
          name: build and test
          caches:
          - node
          script: # Modify the commands below to build your repository.
          - yarn install
          - yarn build
          - yarn test:cov
      - step:
          name: deploy with tag
          script:
            # - apt-get update
            # - apt-get install -y unzip git
            - echo "Clone all the things!"
            - git tag -am "Tagging App for release ${BITBUCKET_BUILD_NUMBER}" v${BITBUCKET_BUILD_NUMBER}
            - git push origin v${BITBUCKET_BUILD_NUMBER}
    master:
      - step:
          name: build and test
          caches:
          - node
          script: # Modify the commands below to build your repository.
          - yarn install
          - yarn build
          - yarn test:cov
      - step:
          name: deploy with tag
          script:
            # - apt-get update
            # - apt-get install -y unzip git
            - echo "Clone all the things!"
            - git tag -am "Tagging App for release ${BITBUCKET_BUILD_NUMBER}" release${BITBUCKET_BUILD_NUMBER}
            - git push origin release${BITBUCKET_BUILD_NUMBER}
好的,今天就先這樣了!明天就讓我們來針對這個 yaml 進行解析與分析!
