一般來說 iOS 支持的通知有兩種,一種是本地推播一種是遠程推播,本地推播是由應用程式本身發起的,通常只會有一個裝置收到,所以設計上相對簡單,而遠程推播則是由提供者透過 APN 服務器發起的,通常一次會有多個設備收到通知,由於需要另外向 Apple 要求權限所以設計起來相對複雜,而今天我們要介紹的是相對簡單的 Local Push Notification
首先 import UserNotification
import UserNotification
到 AppDelegate.swift 寫下這個 Function ,用來向使用者要求通知的權限
    func registerForPushNotification() {
        UNUserNotificationCenter.current().requestAuthorization(options: [.alert, .badge]) { (Success, Error) in
            print(Success)
        }
        // 由於模擬器不會有聲音,所以這裡我只要了 .alert 及 .badge
    }
接著在 didFinishLaunchingWithOptions 這個 Function 內呼叫 registerForPushNotification() 並委任
    func application(_ application: UIApplication, didFinishLaunchingWithOptions launchOptions: [UIApplication.LaunchOptionsKey: Any]?) -> Bool {

        registerForPushNotification()
        UNUserNotificationCenter.current().delegate = self

        return true
    }
再來當我們第一次執行時, App 就會跟我們要通知的權限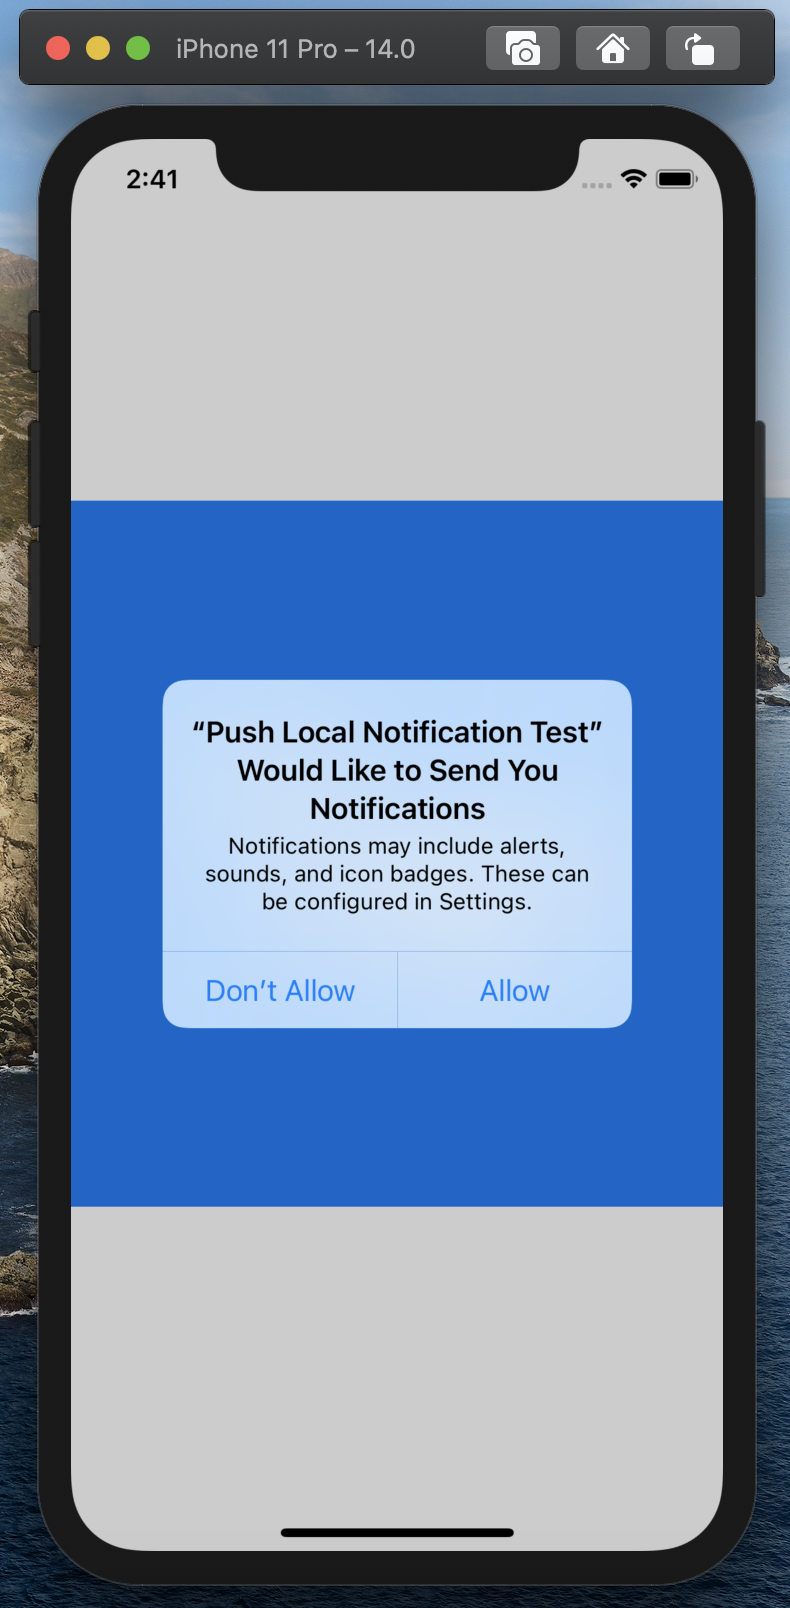
再來就是設定通知,建立一個 Button 用它來推送通知
回到 ViewController ,在 Button 的 @IBAction 內設置通知的申請
    @IBAction func setBtn(_ sender: Any) {

        // 設定通知的內容
        let content = UNMutableNotificationContent()
        content.title = "Hey I'm a notification"
        content.body = "Look at me! Losser!"

        // 設定通知的時間
        let date = Date().addingTimeInterval(1) // 加一秒,怕時間被覆蓋掉
        let dateComponents = Calendar.current.dateComponents([.hour, .minute, .second], from: date)

        // 設定通知的引信
        let  trigger = UNCalendarNotificationTrigger.init(dateMatching: dateComponents, repeats: false)

        let uuidString = UUID().uuidString

        // 設定通知的要求
        let request = UNNotificationRequest(identifier: uuidString, content: content, trigger: trigger)

        // 向裝置發送要求
        UNUserNotificationCenter.current().add(request) { (error) in
            if error != nil {
                print("Error")
            } else {
                print("Success")
            }
        }
    }
再來當我們按下 Button 時,會發現按了也沒東西跳出來,那是因為我們的應用程式還在檯面上執行,所以他認為不用通知,如要避免這個情況,我們需要回到 AppDelegate.swift 內加入下面這個 extension 及 Function
extension AppDelegate: UNUserNotificationCenterDelegate {
    func userNotificationCenter(_ center: UNUserNotificationCenter, willPresent notification: UNNotification, withCompletionHandler completionHandler: @escaping (UNNotificationPresentationOptions) -> Void) {
        completionHandler([.alert])
    }
}
接著執行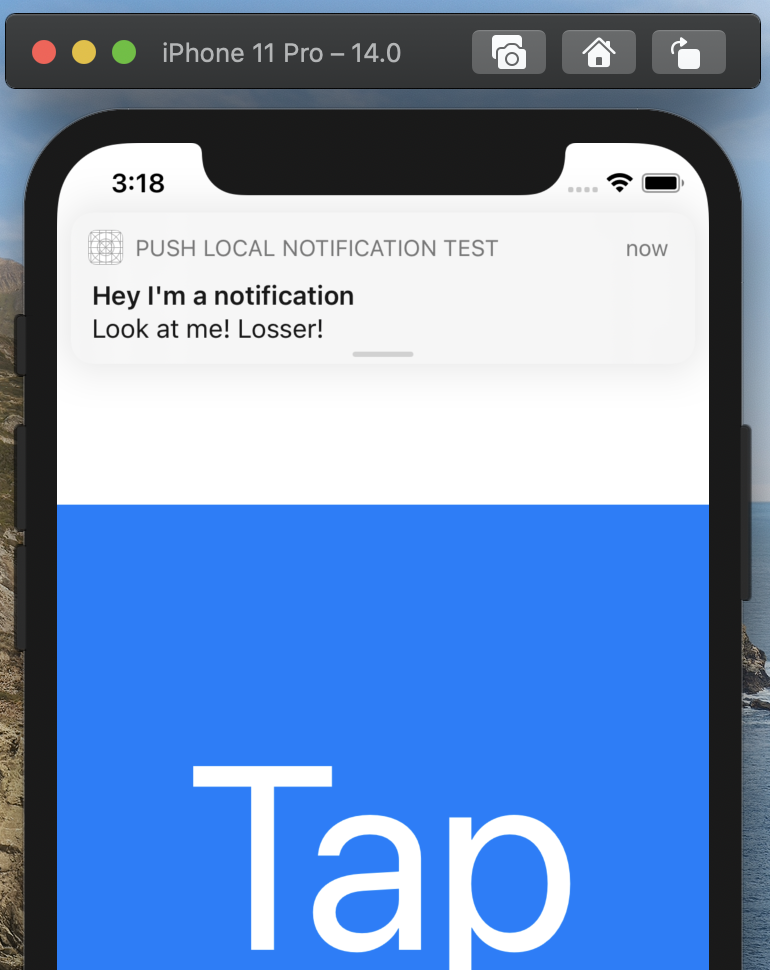


 iThome鐵人賽