iT邦幫忙

第 12 屆 iThome 鐵人賽

DAY 28
0
Mobile Development

IOS Beginner's 30days 系列 第 28

Day28 CocoaPods

CocoaPods

CocoaPods 是一款第三方套件的相依管理器,我們可以透過它來安裝許多第三方的套件

安裝 CocoaPods

首先我們先依如往常的新建一個新的專案,然後就先放著不要理他
https://ithelp.ithome.com.tw/upload/images/20201005/20129677jt9u9d3LIK.png

接著按下 Command + Space 打開 Spotlight ,搜尋 Terminal.app 並打開
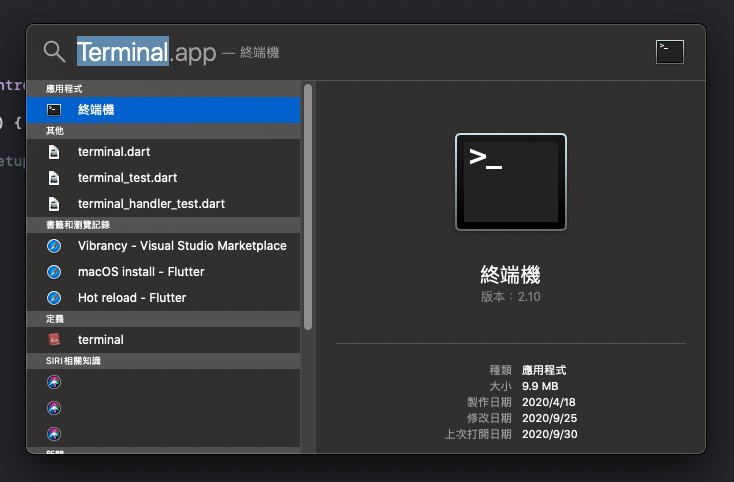
https://ithelp.ithome.com.tw/upload/images/20201005/20129677fohQ7EPjJx.png

將 Terminal 路徑 cd 至專案的資料夾
cd Desktop/RealmTestProject
https://ithelp.ithome.com.tw/upload/images/20201005/20129677ZWjISwgggH.png

輸入 pod init 來生成 Podfile , Podfile 是之後用來管理套件用的
https://ithelp.ithome.com.tw/upload/images/20201005/20129677RHb4Nxlqmw.png

安裝套件

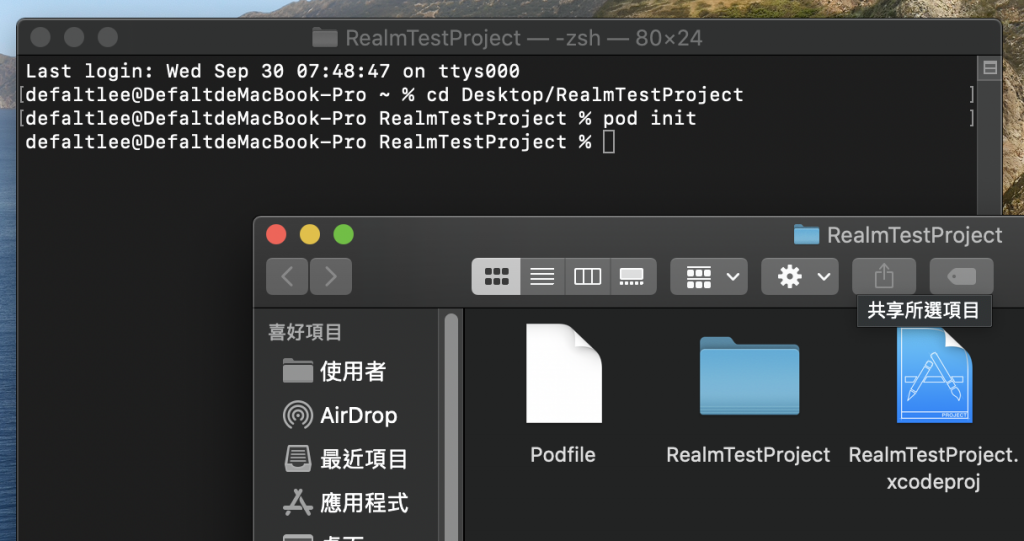
今天會以最常見的 RealmSwift 為例

打開 Podfile ,裡面一開使可能會有很多東西,但我們只需要這些
https://ithelp.ithome.com.tw/upload/images/20201005/20129677v0RO2iPYwZ.png

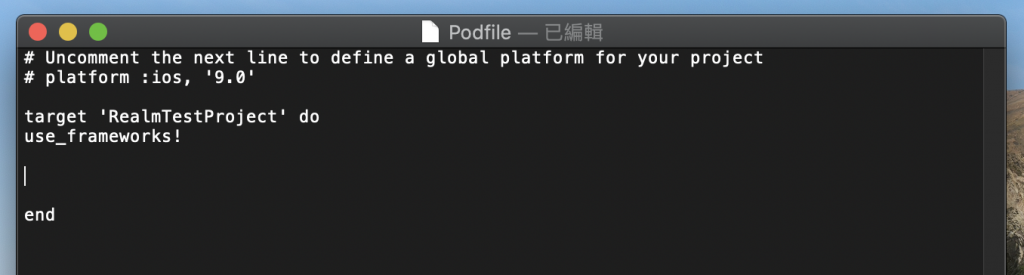
接著在中間輸入 pod 'RealmSwift'
https://ithelp.ithome.com.tw/upload/images/20201005/20129677gs19x2pvw3.png

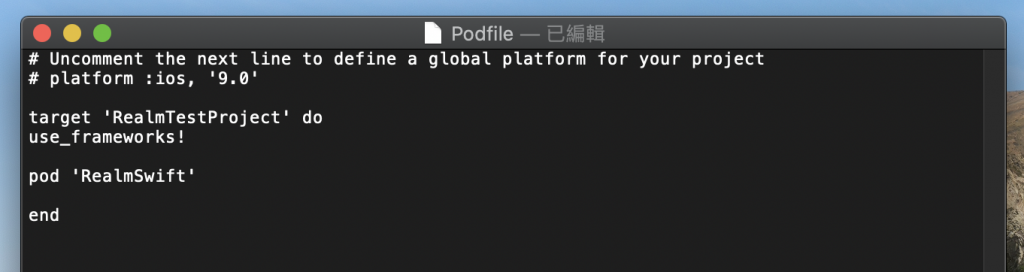
儲存後回到終端機,輸入 pod install
https://ithelp.ithome.com.tw/upload/images/20201005/201296778PfUQC2tzR.png
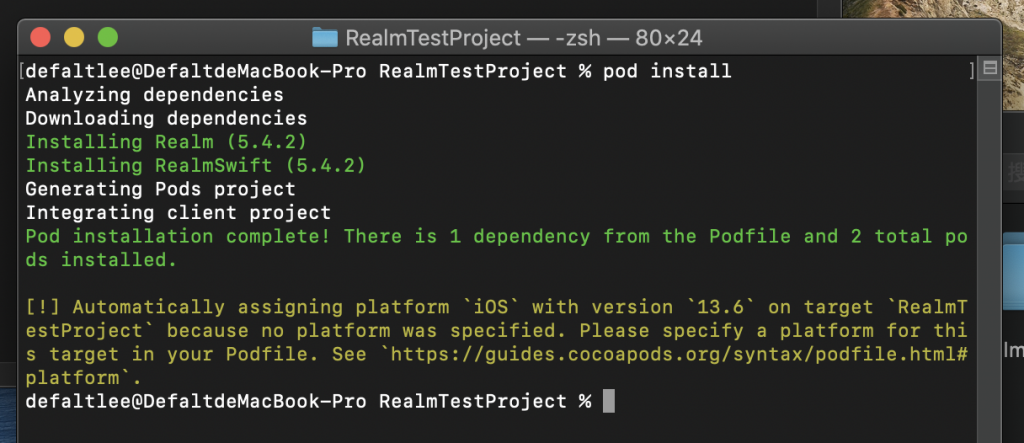
第一次安裝可能會花一點時間,但如果你有看到 Pod installation complete! 那就 OK 了

接著將原本的 Xcode 關閉,並打開專案資料夾,會發現裡面多了一些東西
https://ithelp.ithome.com.tw/upload/images/20201005/20129677IFKSkfONG2.png
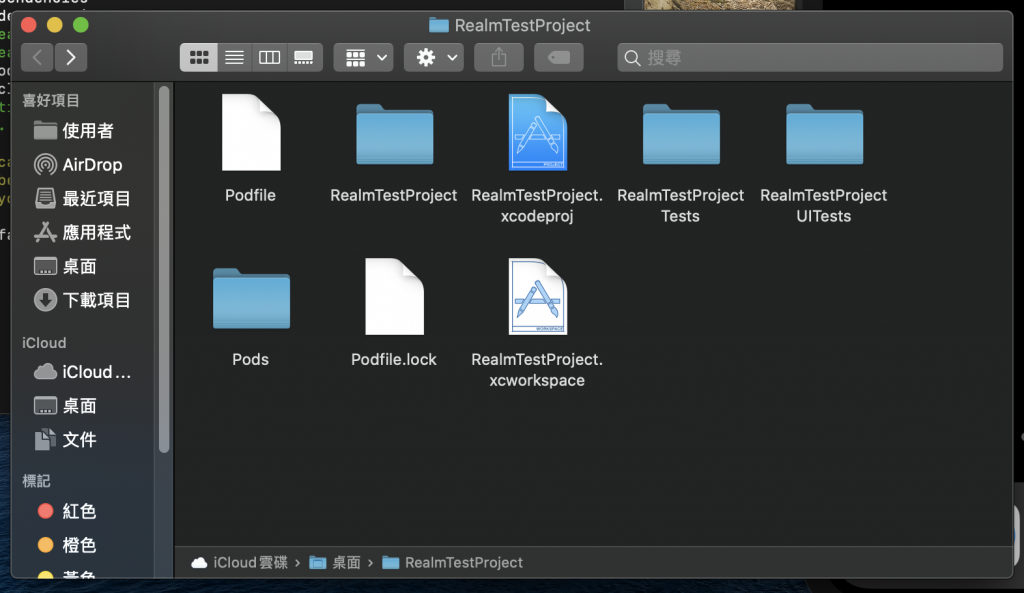
其中的 .xcworkspace 就是新的專案檔(比較白那個),之後要開都開這個檔案

今天先這樣,明天再來接著介紹 RealmSwift


上一篇
Day27 UserDefaults
下一篇
Day29 RealmSwift
系列文
IOS Beginner's 30days 30
圖片
  直播研討會
圖片
{{ item.channelVendor }} {{ item.webinarstarted }} |
{{ formatDate(item.duration) }}
直播中

尚未有邦友留言

立即登入留言