在開發的過程中偶爾我們會遇到一些經常重複出現的元件,但是每次都一個個調設定不僅容易有失誤,更顯得麻煩,所以運用 XIB 就能夠避免掉這些,這邊會用 TableViewCell 作為範例
首先先建立 TableViewCell 的 XIB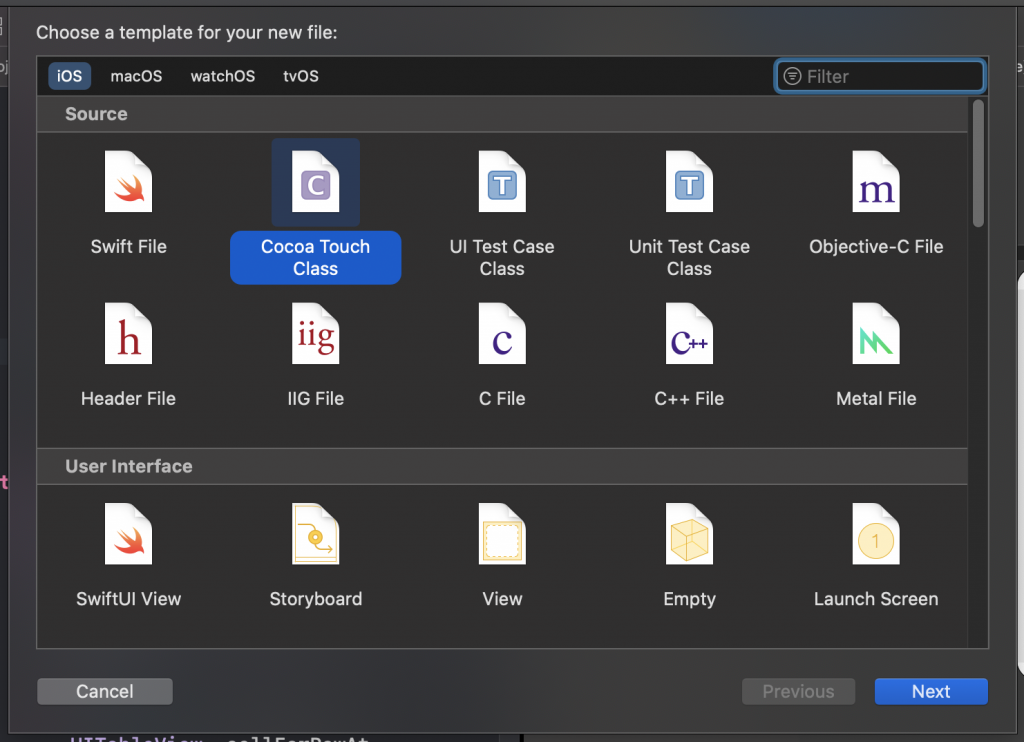
勾選 Also create XIB file
接著就會多一個 .swift 及 .xib 的檔案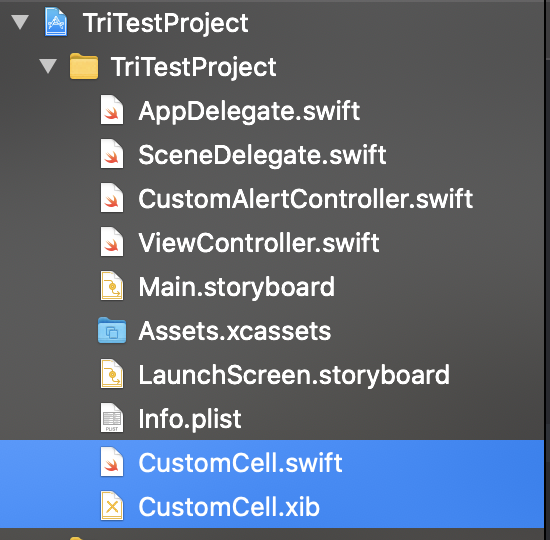
打開 xib 檔就能和設計 Storyboard 一樣設計我們的 cell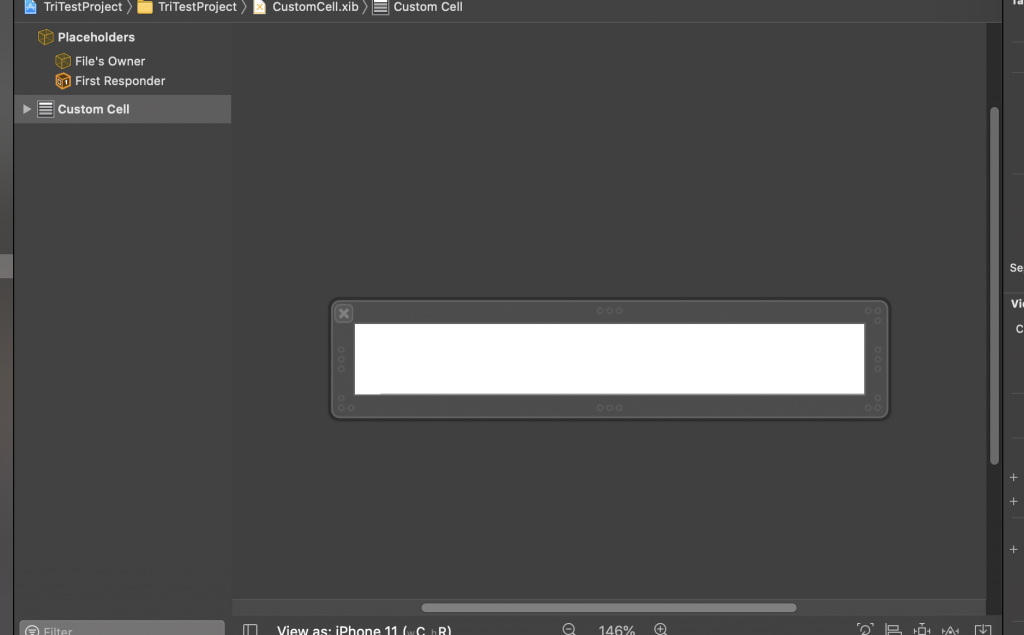
這裡我放了一個 Label 和 Button
再來跟 Storyboard 一樣,將 @IBOutlet 建立在 .swift 檔內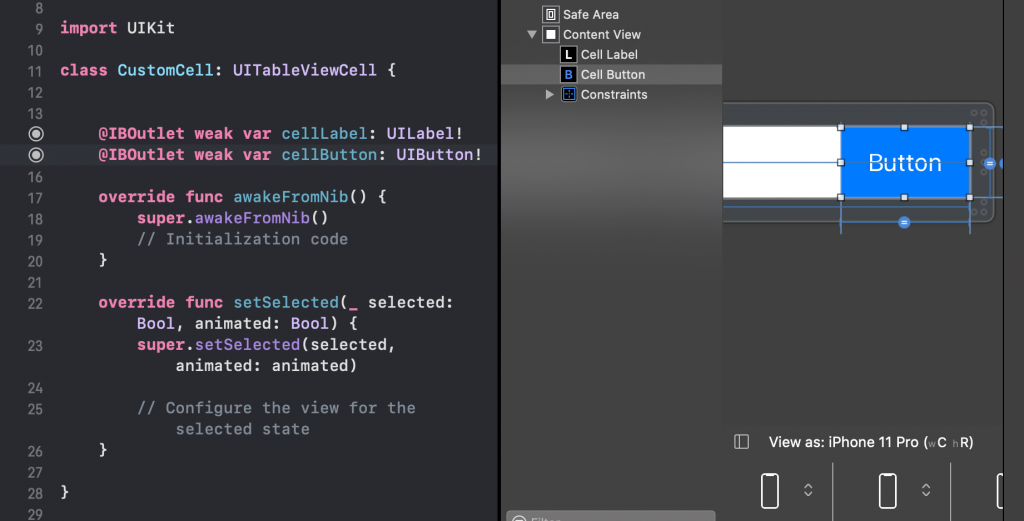
回到 ViewController ,跟以前教的一樣建立 TableView ,指涉這次在設置 cell 時我們要用我們自己的檔案
在 cellForRowAt 的 Function 內輸入以下程式碼,用來開啟我們自訂的 cell
let cell = Bundle.main.loadNibNamed("CustomCell", owner: self, options: nil)?.first as! CustomCell
設置 cell 的元素並 return cell
cell.cellLabel.text = "\(indexPath)"

return cell
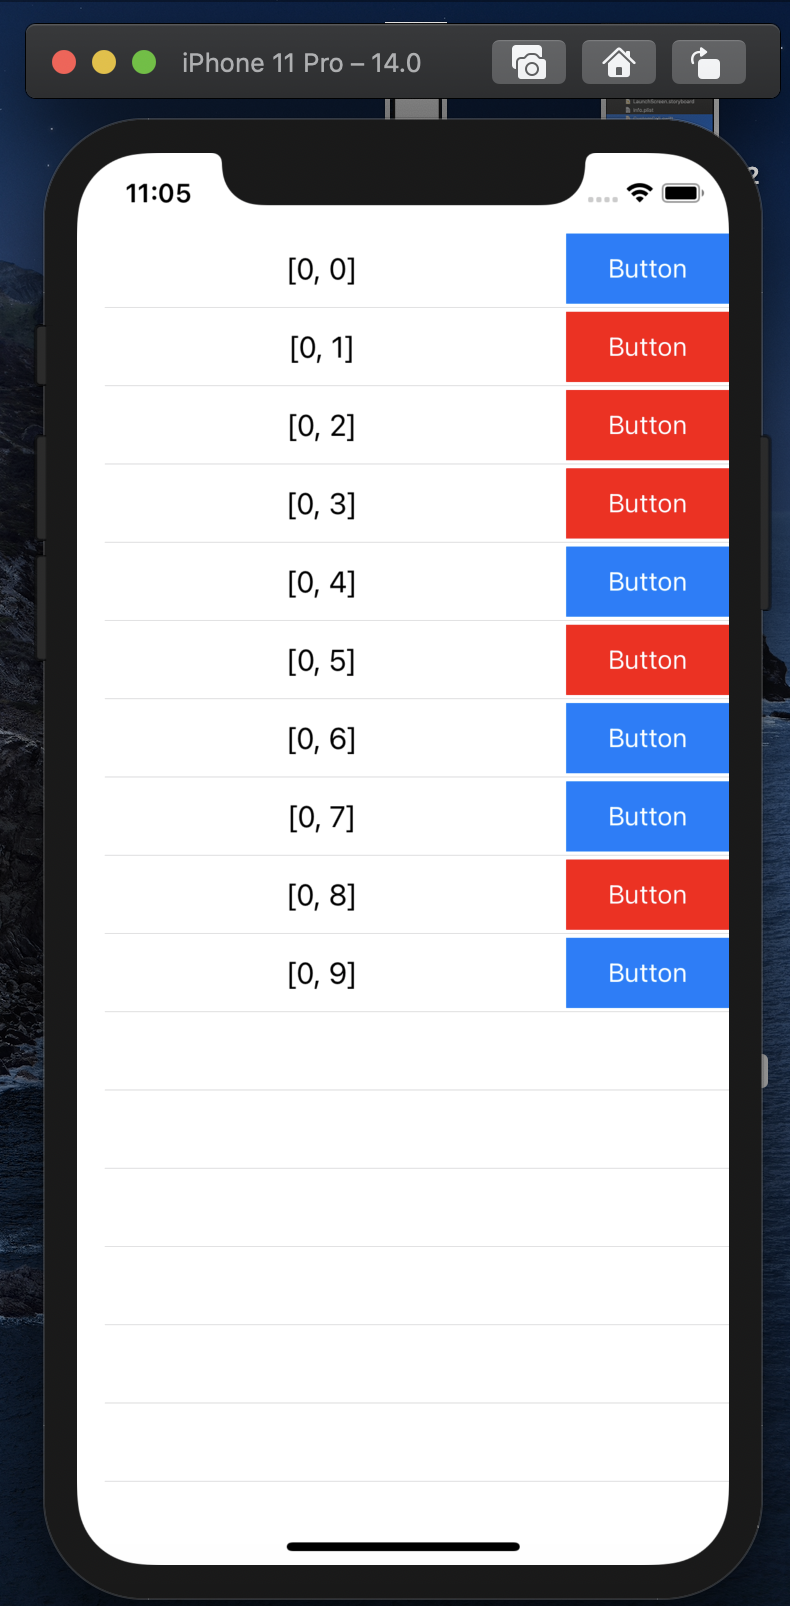
先來看看目前的成果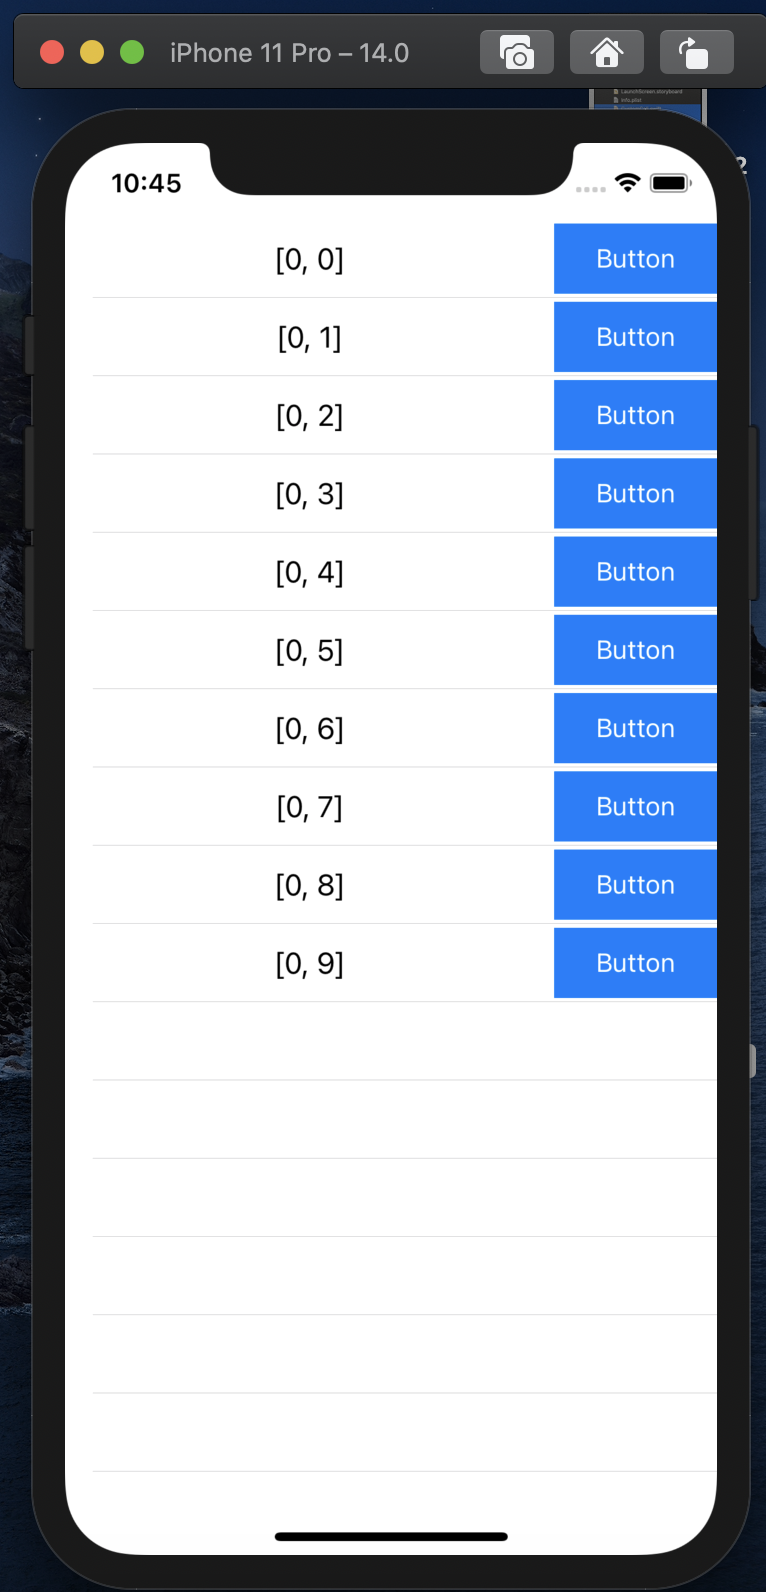
再來我們要幫 Button 加上事件,如果 Button 的事件不會用到 ViewController 內的參數,就能直接將 @IBAction 加在 .swift 檔案內,但如果會使用到 ViewController 內的參數就要另尋方法
首先建立一個 @objc 的 Function ,用來表示 Button 被案下的事件
@objc func cellBtnClick(_ sender: UIButton) {
    sender.backgroundColor = .red
}
再來在設置 cell 時幫 Button 加上 Target
cell.cellButton.addTarget(self, action: #selector(self.cellBtnClick), for: .touchUpInside)
這樣就完成了來看一下成果