import React, { useRef, Suspense, useState, useEffect, useCallback, useMemo } from "react";
import {
  SafeAreaView,
  StyleSheet,
  ScrollView,
  View,
  Text,
  StatusBar,
  Dimensions,
  TouchableHighlight
} from 'react-native';
import {
  AmbientLight,
  BoxBufferGeometry,
  Fog,
  GridHelper,
  Mesh,
  MeshStandardMaterial,
  PerspectiveCamera,
  PointLight,
  Scene,
  SpotLight,
} from 'three';

import { Canvas, useFrame, useThree } from "react-three-fiber";
import { loadDaeAsync,Renderer, TextureLoaderRenderer, THREE, utils } from 'expo-three';
import { ExpoWebGLRenderingContext, GLView } from 'expo-gl';
import { useSprings, useSpring, a } from 'react-spring/three'
安裝之類的可以參考昨天~
global.THREE = global.THREE || THREE;
let randomHex = () => {
let letters = "0123456789ABCDEF";
let color = "#";
for (let i = 0; i < 6; i++) {
 color += letters[Math.floor(Math.random() * 16)];
}
return color;
};
function App() {
const [Color, setColor] = useState(randomHex());

const [{ top, mouse }, set] = useSpring(() => ({ top: 0, mouse: [0, 0] }))
const onClick = () => {
 console.log("clicked ");
 setColor(randomHex());
}
return (
 <View style={styles.container}>
   <View style={[
     styles.container,
     { backgroundColor: Color },
   ]}>
     {/* <Canvas shadowMap camera={{ position: [0, 0, 100], fov: 100 }}>
       <Box position={[-1.2, 0, 0]} />
       <Lights />
       <Content />
     </Canvas> */}
   </View>
   <View style={styles.overlay}>
     <OpenGL />
     <Text style={styles.welcome}>
       Welcome to the React Native Playground!
     </Text>
     <TouchableHighlight
       onPress={onClick}
     ><View><Text>Tap to change the background</Text></View>
     </TouchableHighlight>
   </View>
 </View>
);
}
export default function OpenGL() {
let timeout;
React.useEffect(() => {
 return () => clearTimeout(timeout);
});

return (

<GLView
   style={{ flex: 1 }}
   onContextCreate={async (gl) => {
     const { drawingBufferWidth: width, drawingBufferHeight: height } = gl;
     const sceneColor = 0x6ad6f0;

     // Create a WebGLRenderer without a DOM element
     const renderer = new Renderer({ gl });
     renderer.setSize(width, height);
     renderer.setClearColor(sceneColor);

     const camera = new PerspectiveCamera(70, width / height, 0.01, 1000);
     camera.position.set(2, 5, 5);

     const scene = new Scene();
     scene.fog = new Fog(sceneColor, 1, 10000);
     scene.add(new GridHelper(10, 10));

     const ambientLight = new AmbientLight(0x101010);
     scene.add(ambientLight);

     const pointLight = new PointLight(0xffffff, 2, 1000, 1);
     pointLight.position.set(0, 200, 200);
     scene.add(pointLight);

     const spotLight = new SpotLight(0xffffff, 0.5);
     spotLight.position.set(0, 500, 100);
     spotLight.lookAt(scene.position);
     scene.add(spotLight);

     const cube = new IconMesh();
     scene.add(cube);

     camera.lookAt(cube.position);

     function update() {
       cube.rotation.y += 0.05;
       cube.rotation.x += 0.025;
     }

     // Setup an animation loop
     const render = () => {
       timeout = requestAnimationFrame(render);
       update();
       renderer.render(scene, camera);
       gl.endFrameEXP();
     };
     render();
   }}
 />
);
}
class IconMesh extends Mesh {
constructor() {
 super(
   new BoxBufferGeometry(1.0, 1.0, 1.0),
   new MeshStandardMaterial({
     // map: new TextureLoader().load(require('./assets/icon.png')),
     color: 0xff0000
   }),
 );
}
}

    const add = new AddMesh();

    scene.add(add);
class AddMesh extends Mesh {
  constructor() {
    super(


      new BoxBufferGeometry(1.0, 2.0, 5.0),
      new MeshStandardMaterial({
        // map: new TextureLoader().load(require('./assets/icon.png')),
        color: 0x0F0ff0
      }),
    );
  }
}

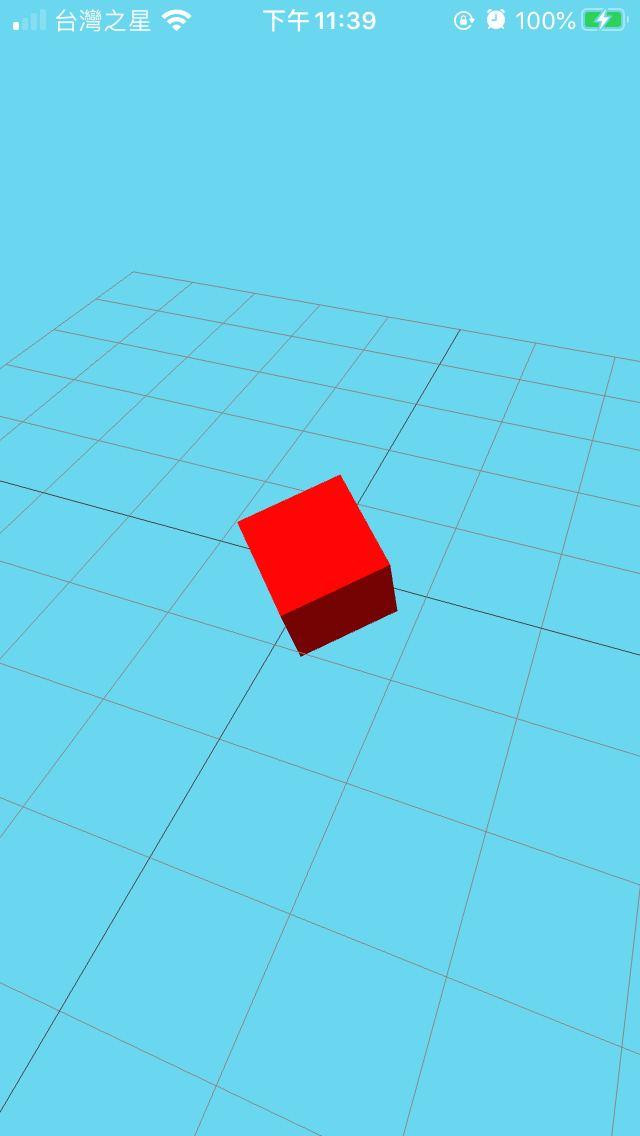
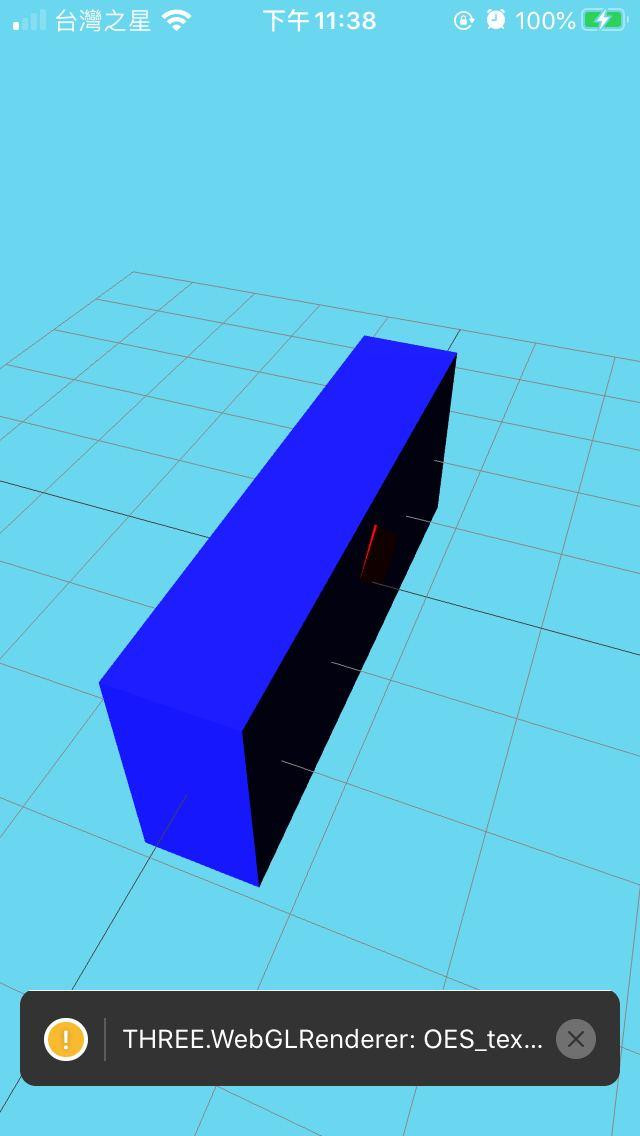
這樣就建立好了新的方塊了~是不是很簡單呢?
