接下來我們準備開始安裝Elasticsearch、Logstash、Kibana的環境。
➜  ~ java -version
openjdk version "1.8.0_242"
OpenJDK Runtime Environment (AdoptOpenJDK)(build 1.8.0_242-b08)
OpenJDK 64-Bit Server VM (AdoptOpenJDK)(build 25.242-b08, mixed mode)
brew install elasticsearch //安裝
brew services start elasticsearch //啟動
安裝完成後訪問localhost:9200,可得下列結果:
curl localhost:9200
{
  "name" : "CYHB-01",
  "cluster_name" : "elasticsearch_brew",
  "cluster_uuid" : "e1hqINUrRi2cwvFsuGsg1A",
  "version" : {
    "number" : "7.9.2-SNAPSHOT",
    "build_flavor" : "oss",
    "build_type" : "tar",
    "build_hash" : "unknown",
    "build_date" : "2020-10-03T08:22:40.976826Z",
    "build_snapshot" : true,
    "lucene_version" : "8.6.2",
    "minimum_wire_compatibility_version" : "6.8.0",
    "minimum_index_compatibility_version" : "6.0.0-beta1"
  },
  "tagline" : "You Know, for Search"
}
brew install kibana //安裝
brew services start kibana //啟動
安裝完成後訪問localhost:5601,可得下列結果: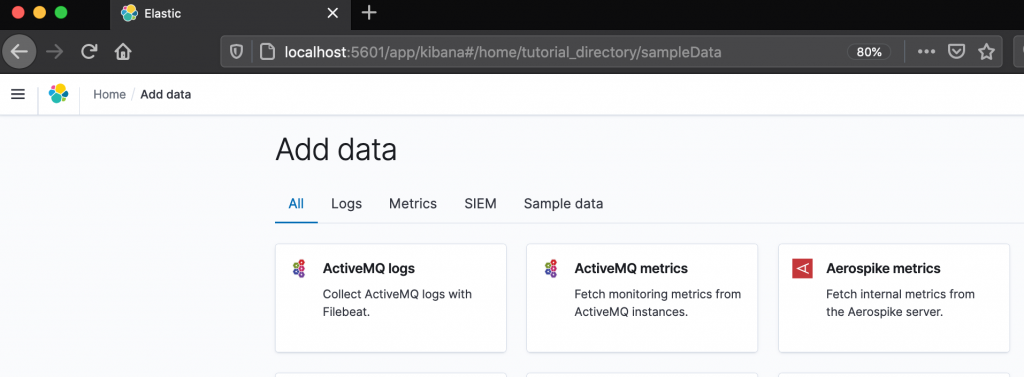
4. 安裝Logstash
brew install logstash //安裝
brew services start logstash //啟動
brew install filebeat //安裝
./filebeat -c filebeat.yml test output //檢查.yml是否正確
本次只是單純介紹用mac如何安裝elk,如果需其它版本或更詳細的安裝步驟,請參考官網
當elk安裝完成後,我們下一章將開始用go來撰寫程式讀取elasticsearch的資料,將訊息傳送到telegram上。


 iThome鐵人賽