iT邦幫忙

第 12 屆 iThome 鐵人賽

DAY 26
0
自我挑戰組

從零開始的後端異世界生活系列 第 26

Day 26 - 部署 NestJS 到 AWS Elastic Beanstalk (1)

  • 分享至 

  • xImage
  •  

AWS 免費方案

在我們開始部署前,首先要做的是註冊 AWS 的帳號,在 AWS 免費方案 可以看到有許多種服務,以及各自有不一樣的免費條件,而我自己是要使用 12 個月免費(綁信用卡),所以如果玩完了要記得把服務關掉嘿。

新建 Elastic Beanstalk 環境

我們這次要用 Elastic Beanstalk 來部署我們的 NestJS,本篇文會參考 Udemy 章節 Deploying NestJS To Elastic Beanstalk ,有興趣可以參考看看。

那我們先來到主控台,點下 Elastic Beanstalk 服務:
https://ithelp.ithome.com.tw/upload/images/20201011/2011961998yuWznLT6.png

在名稱這邊我們輸入 nestjs-task-management:
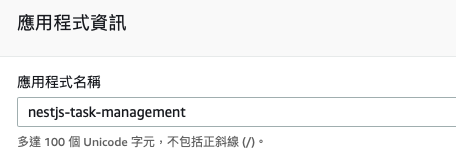
https://ithelp.ithome.com.tw/upload/images/20201011/20119619pg3Qft63KV.png

平台這邊我們選 Node.js:
https://ithelp.ithome.com.tw/upload/images/20201011/20119619Xur9CVqdMV.png

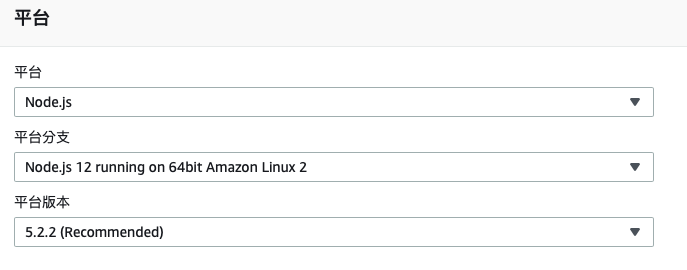
程式碼這邊我們可以先用範例的,等等再來上傳:
https://ithelp.ithome.com.tw/upload/images/20201011/20119619j34c7mNwTo.png

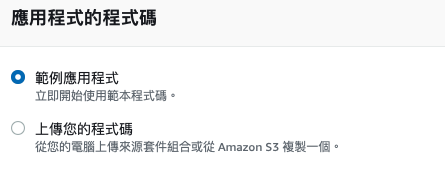
點開設定多個選項可以看到更多其他設定,比方說單一執行個體:
https://ithelp.ithome.com.tw/upload/images/20201011/20119619ClEGaUmFQk.png

https://ithelp.ithome.com.tw/upload/images/20201011/20119619h539UtwZH5.png

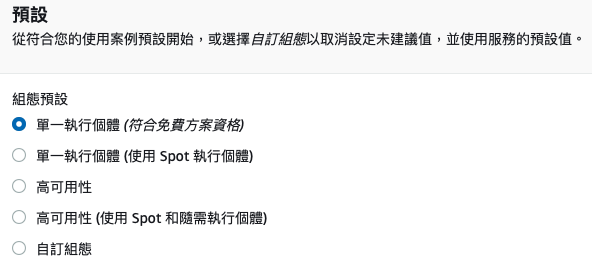
這邊暫時沒有要調整的,就按下建立應用程式,需要一點點時間:
https://ithelp.ithome.com.tw/upload/images/20201011/2011961943kjNqjjTK.png

上傳專案程式碼

應用程式建立完畢後,在主控台可以看到目前的狀況:
https://ithelp.ithome.com.tw/upload/images/20201011/20119619TMsWLYdbN7.png

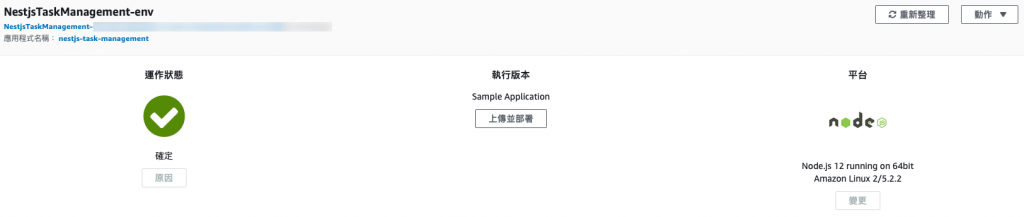
旁邊的各個標籤可以點進去自己想要查看的東西:
https://ithelp.ithome.com.tw/upload/images/20201011/20119619qXBkjVUFmb.png

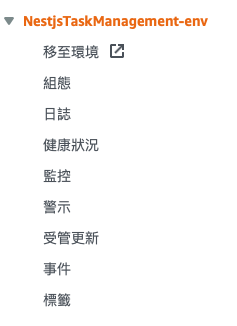
那我們先來將我們的 NestJS 專案給壓縮,來到專案資料夾內,我們把除了 distnode_modules 以外的都加入壓縮檔:
https://ithelp.ithome.com.tw/upload/images/20201011/20119619tVHftqtJ5d.png

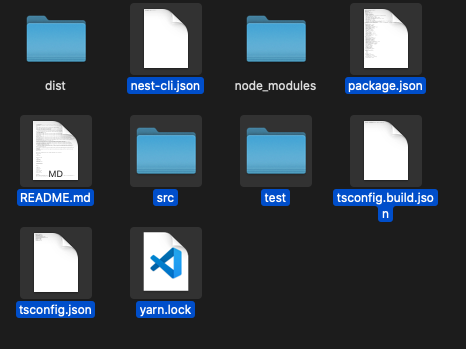
壓縮完成之後,回到上傳並部署這邊,選擇那個壓縮檔,順便給它個版本號碼:
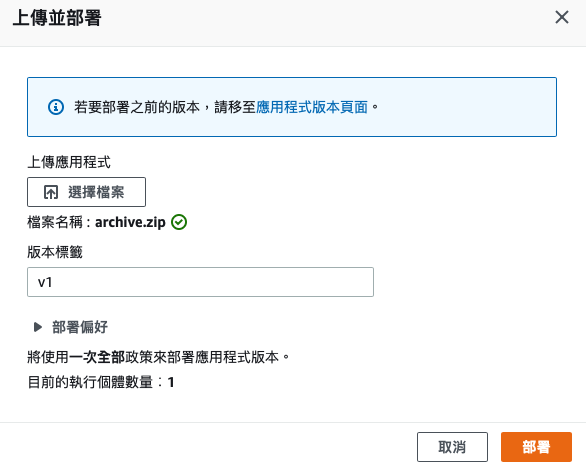
https://ithelp.ithome.com.tw/upload/images/20201011/201196199A1tvXM6vM.png

之後就等它轉圈圈~:
https://ithelp.ithome.com.tw/upload/images/20201011/20119619vpNbLt0yAB.png

然後我們就部署失敗了,我們明天來看看究竟哪裡做錯了:
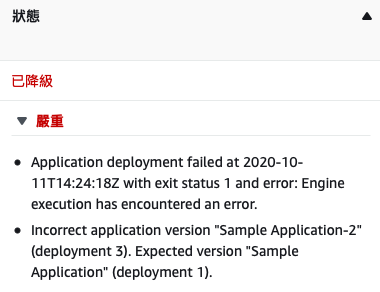
https://ithelp.ithome.com.tw/upload/images/20201011/20119619MeCaz2WGOC.png

/*
本系列文係個人新手開發心得,可能會有許多錯誤,煩請多多包容不吝指教。
*/


上一篇
Day 25 - 在 NestJS 中實作 JWT 與 AuthModule (4)
下一篇
Day 27 - 臨時插播的中間件 - Middleware
系列文
從零開始的後端異世界生活30
圖片
  直播研討會
圖片
{{ item.channelVendor }} {{ item.webinarstarted }} |
{{ formatDate(item.duration) }}
直播中

尚未有邦友留言

立即登入留言