
Hi, 我是魚板伯爵今天要教大家 Firebase Authentication 和開通 Google 登入,教學內容只會擷取片段程式碼,建議大家搭配完整程式碼來練習。
取個專案名字下一步到底就可以了,若沒有google analytics就點開選單建造一個,然後一樣下一步到底。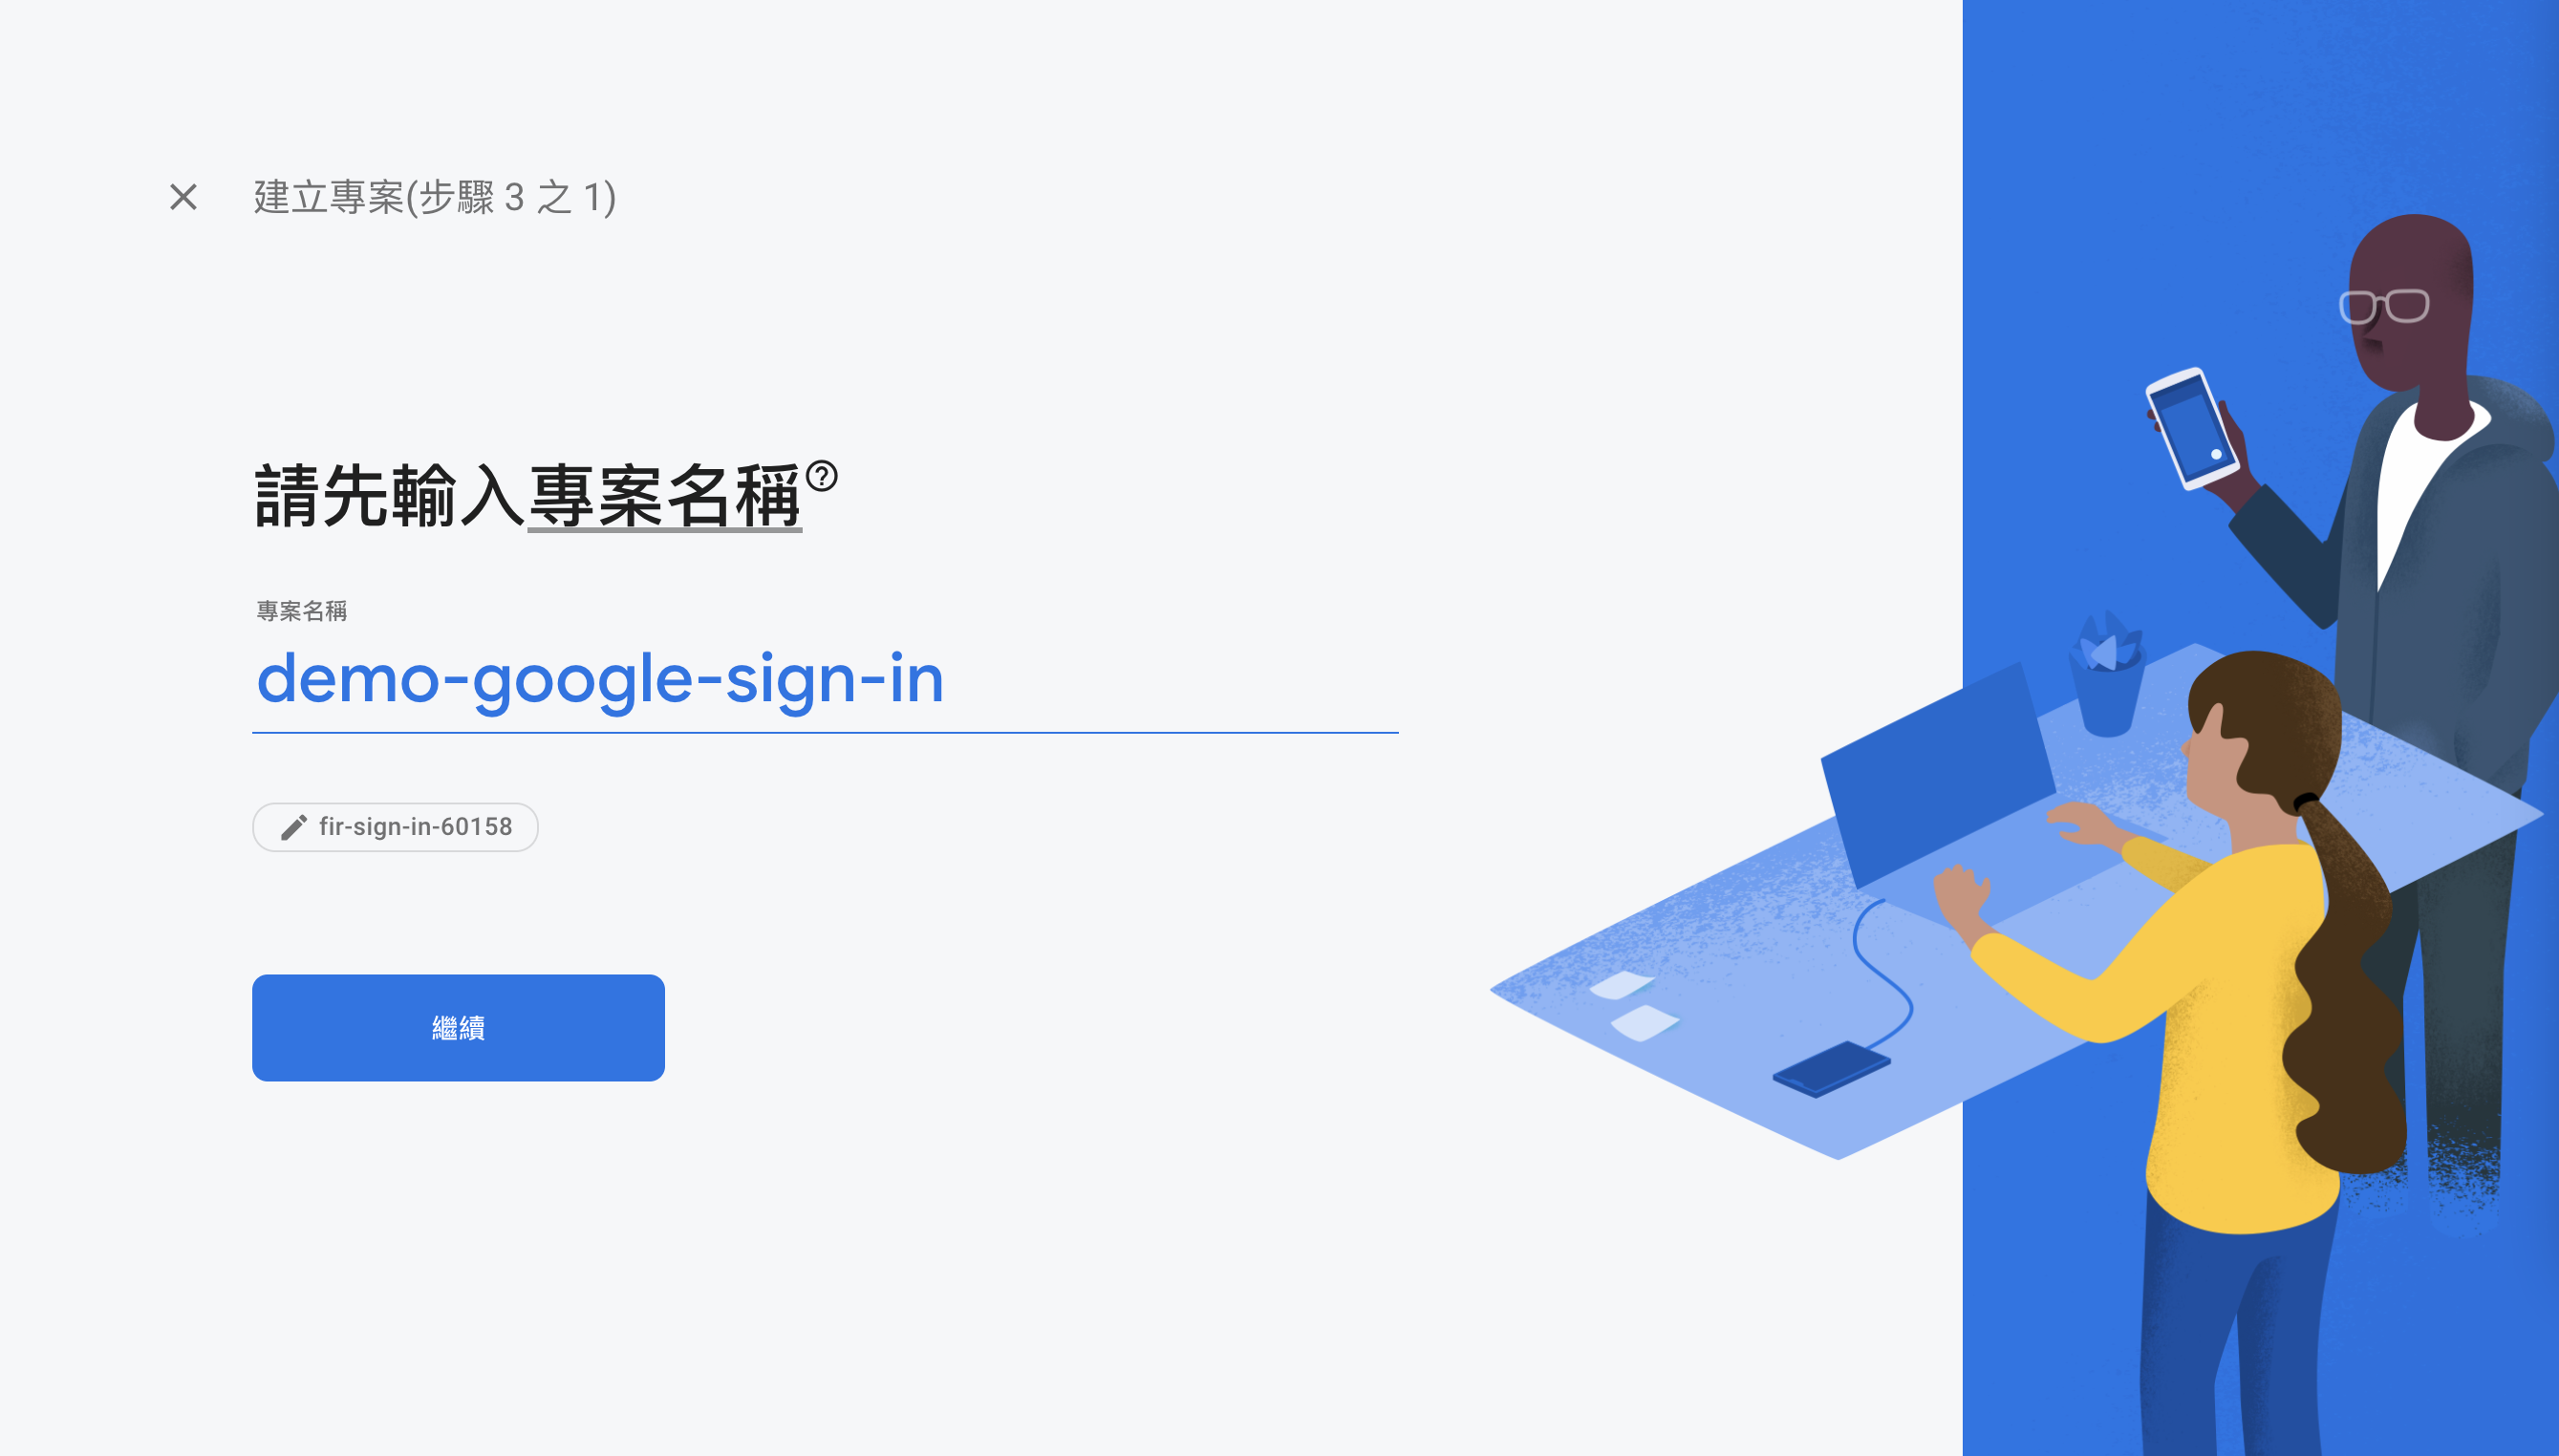
完成專案創就後點擊左邊Authentication,然後把google的登入給啟用。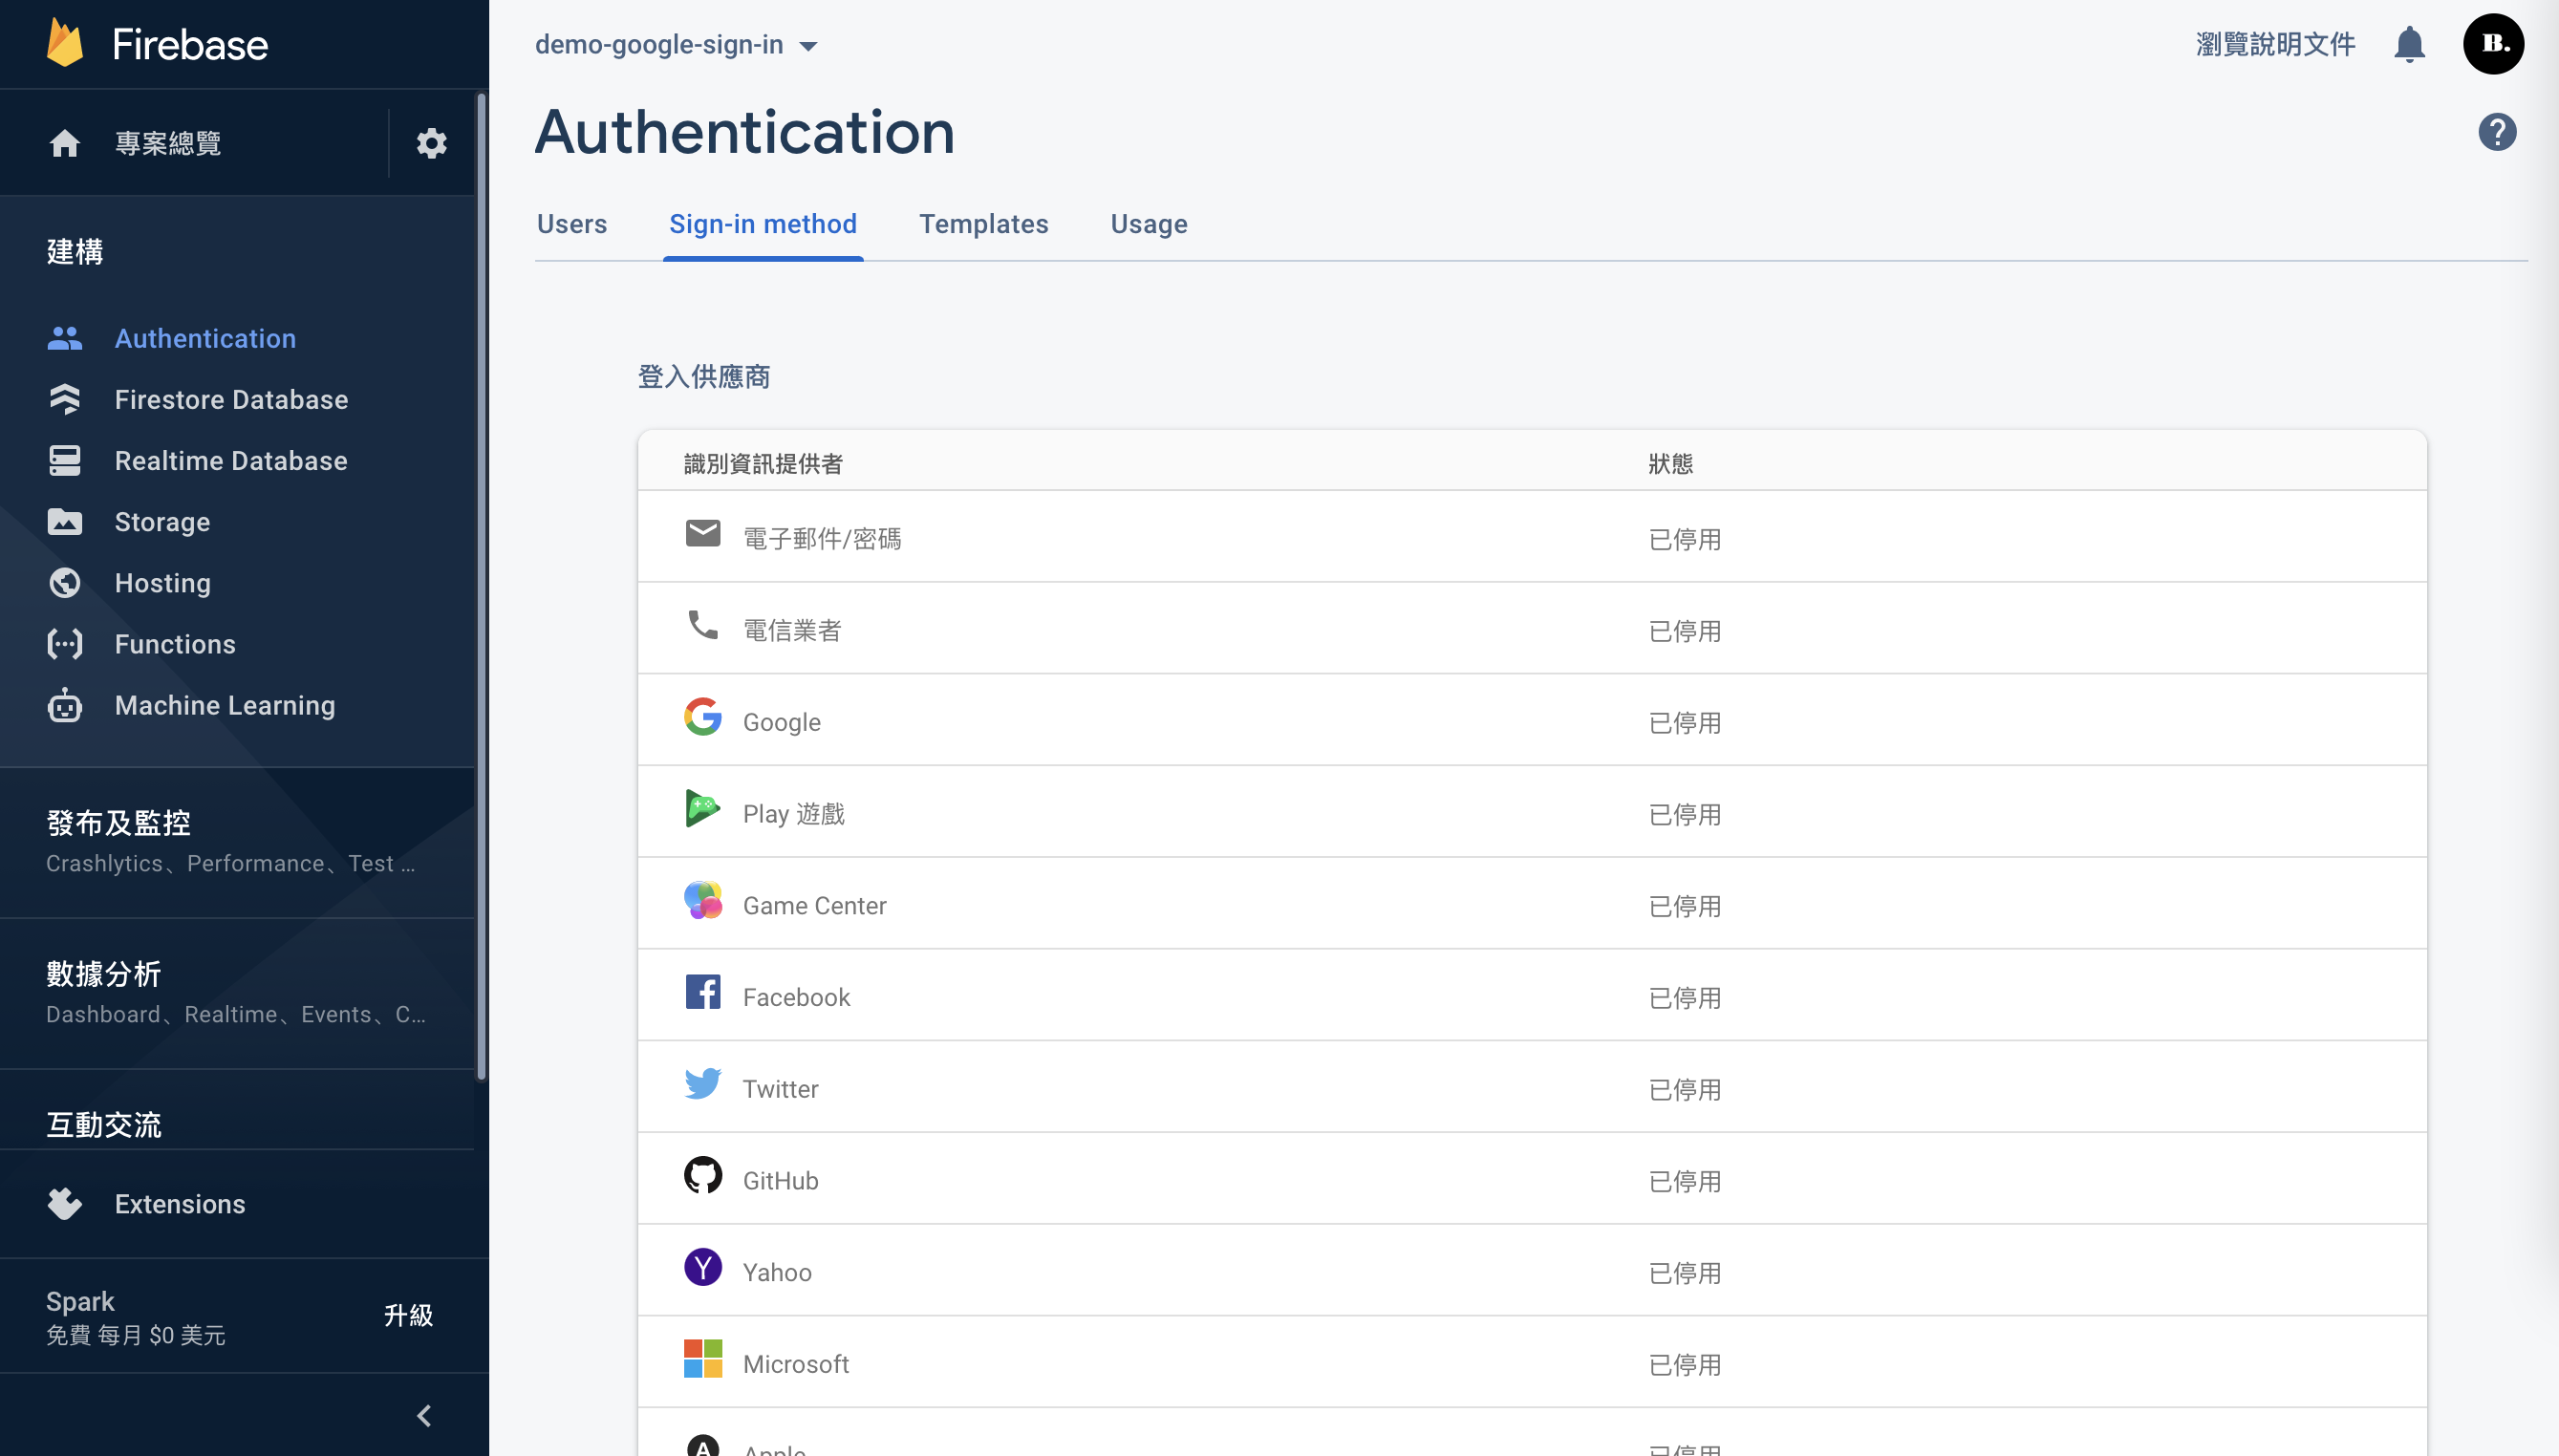
儲存後你可以看到google的狀態變成已啟用(綠燈)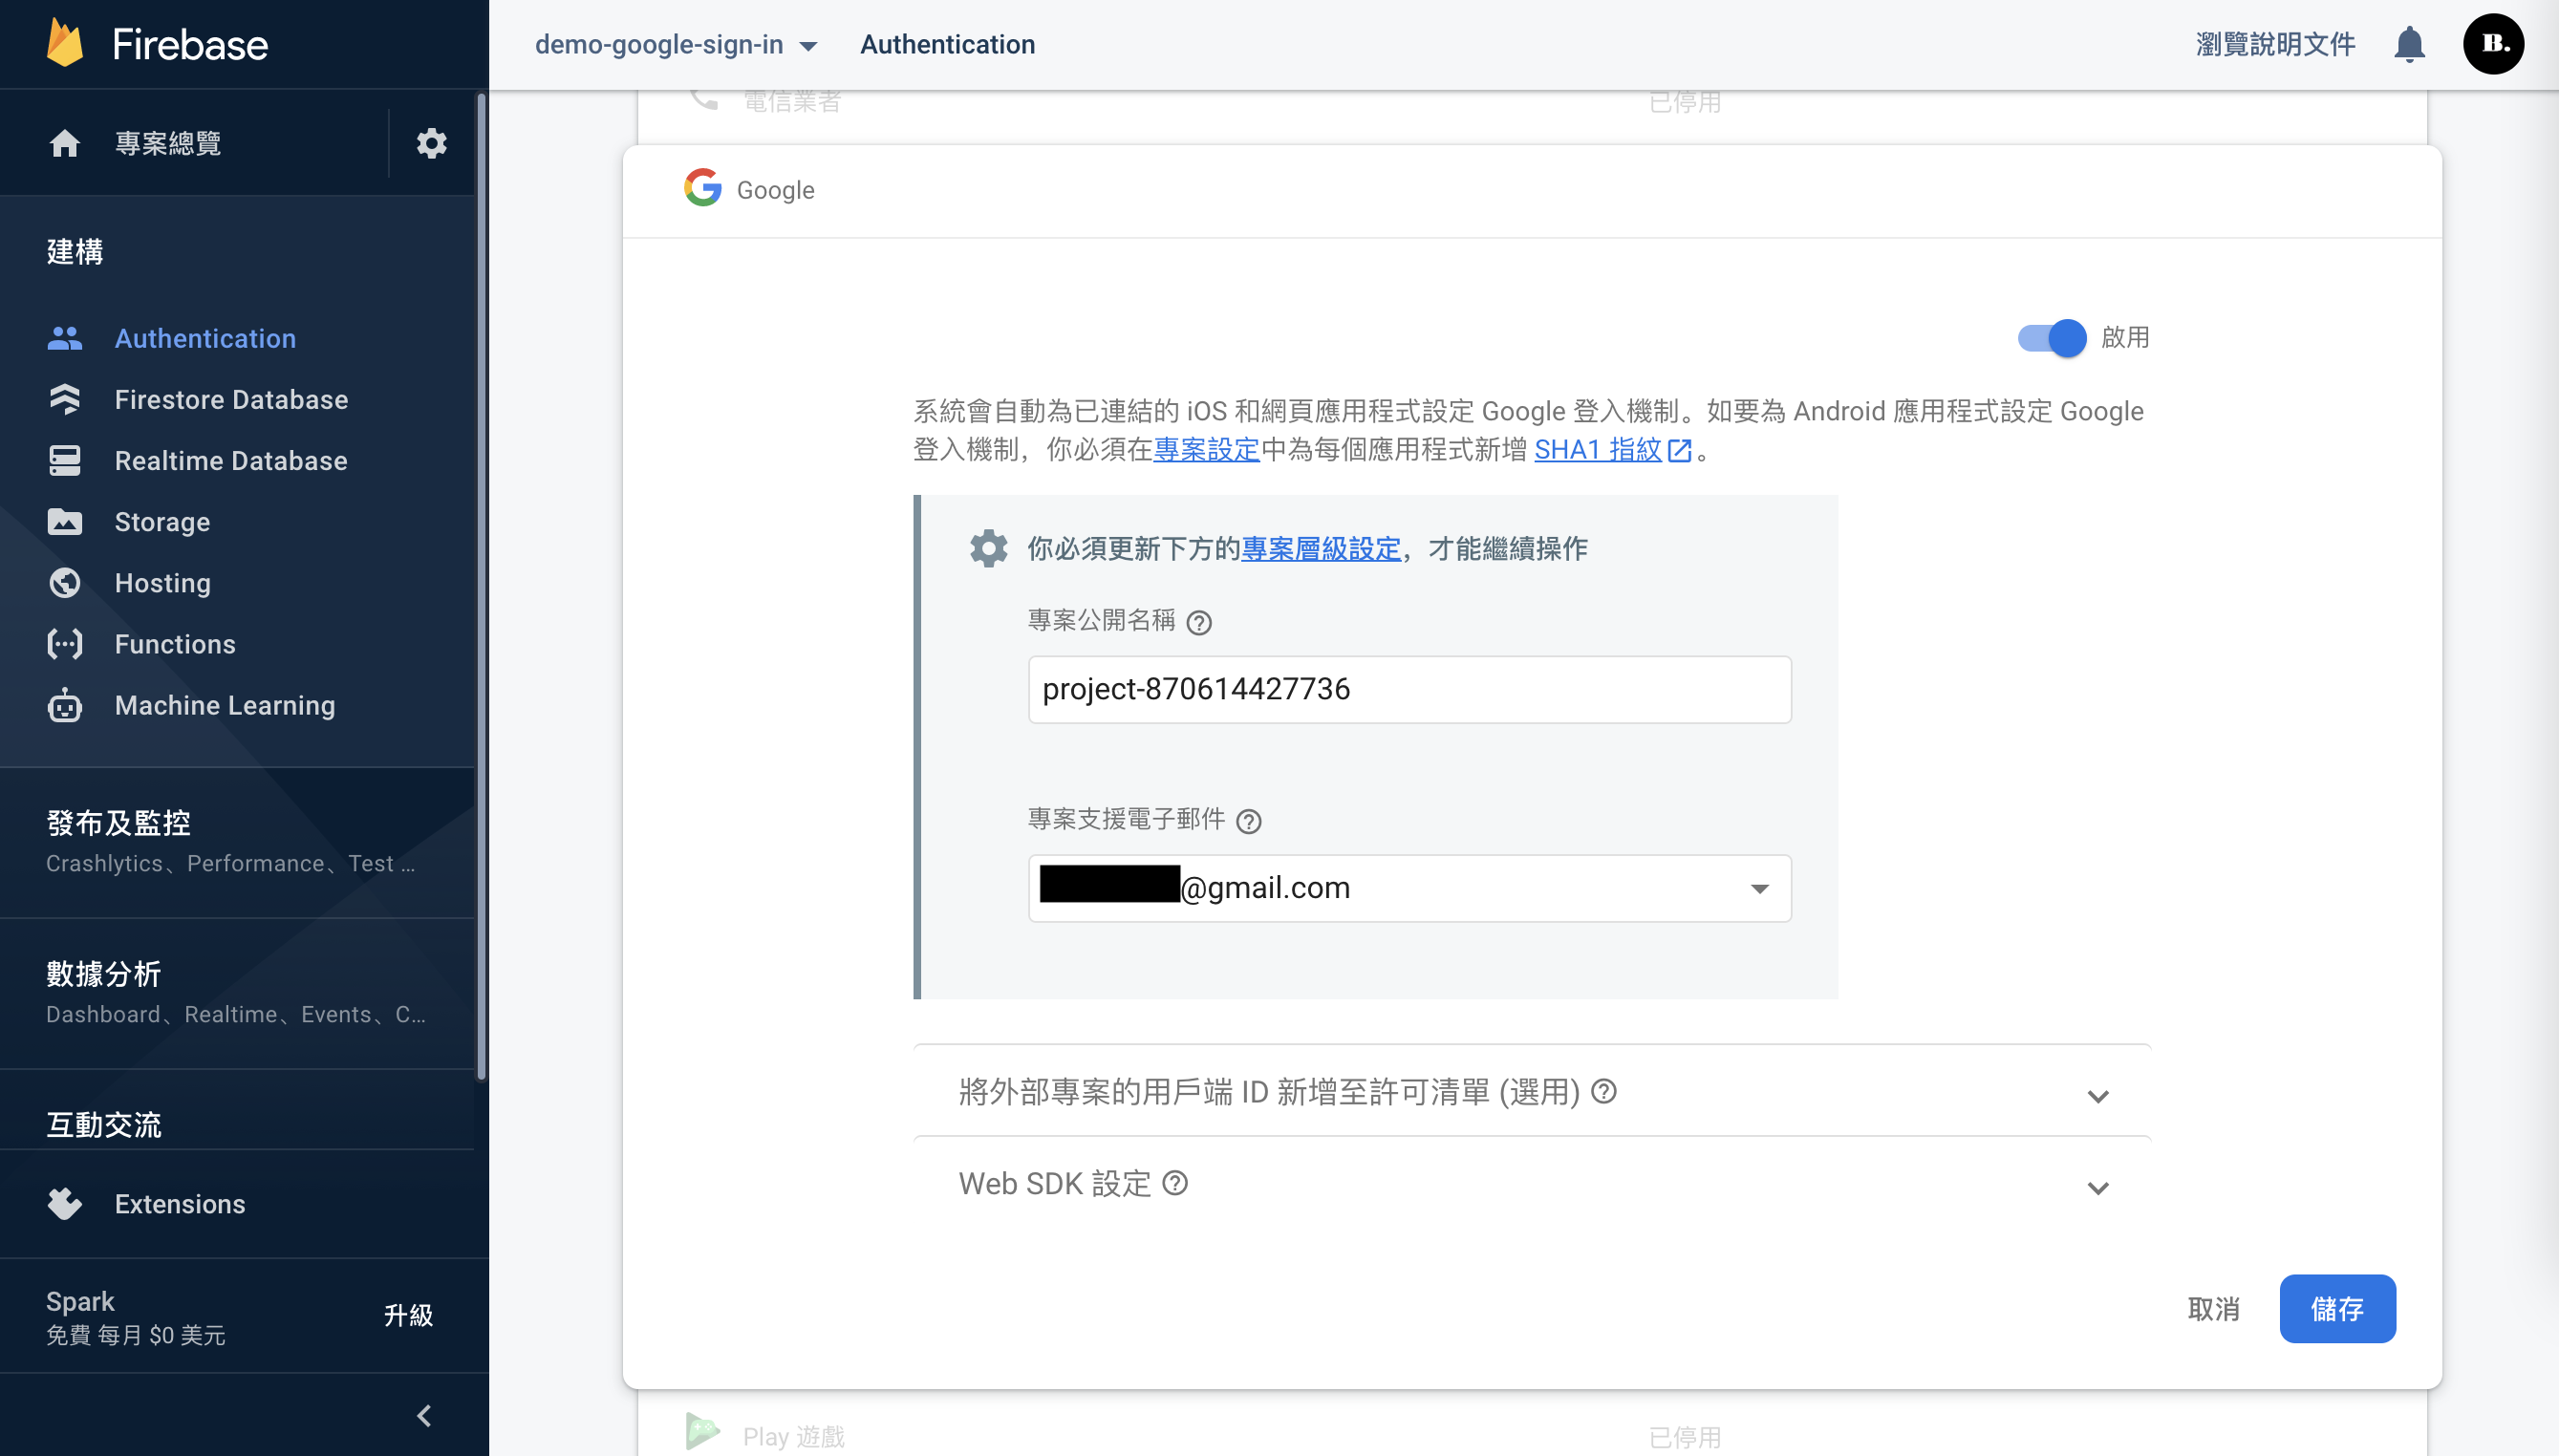
回到專案總覽,以下會介紹IOS和Andriod的創建方式。
下載google-services.json放入android/app。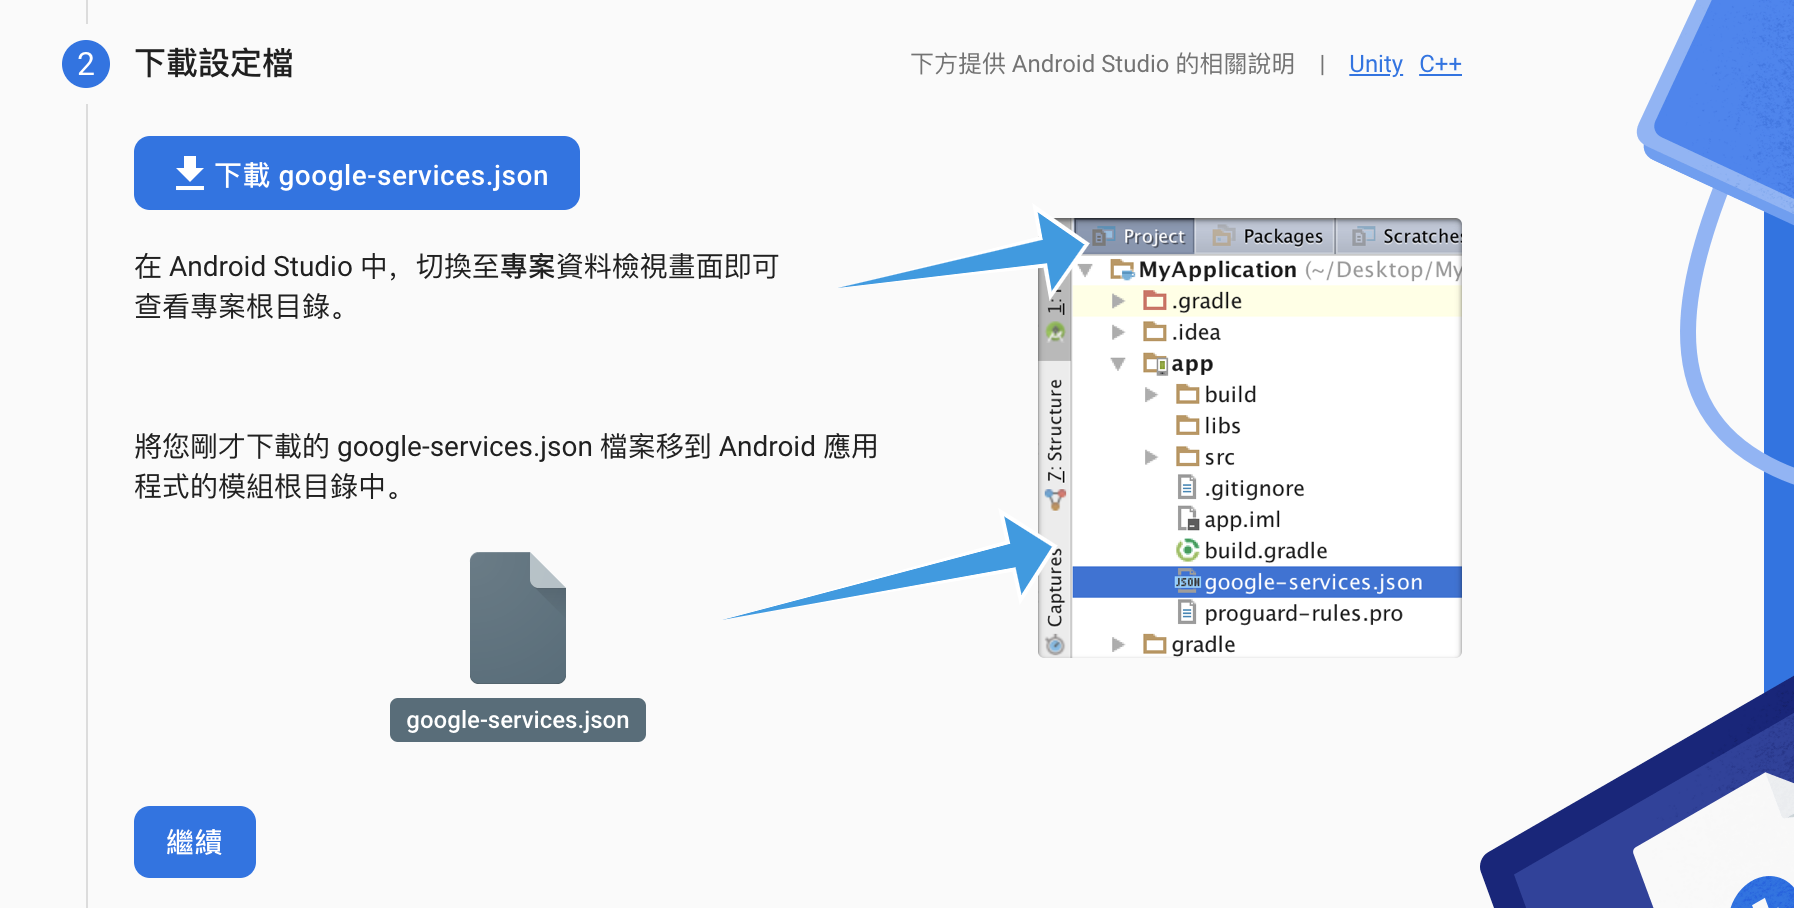
在android/day16_android.iml的dependencies層中加入classpath 'com.google.gms:google-services:4.3.10'
dependencies {
    classpath 'com.android.tools.build:gradle:4.1.0'
    classpath "org.jetbrains.kotlin:kotlin-gradle-plugin:$kotlin_version"
    classpath 'com.google.gms:google-services:4.3.10'
}
在android/app/build.gradle加入apply plugin: 'com.google.gms.google-services'隨便加在最外層就可以了。
apply plugin: 'com.android.application'
apply plugin: 'kotlin-android'
apply from: "$flutterRoot/packages/flutter_tools/gradle/flutter.gradle"
apply plugin: 'com.google.gms.google-services'
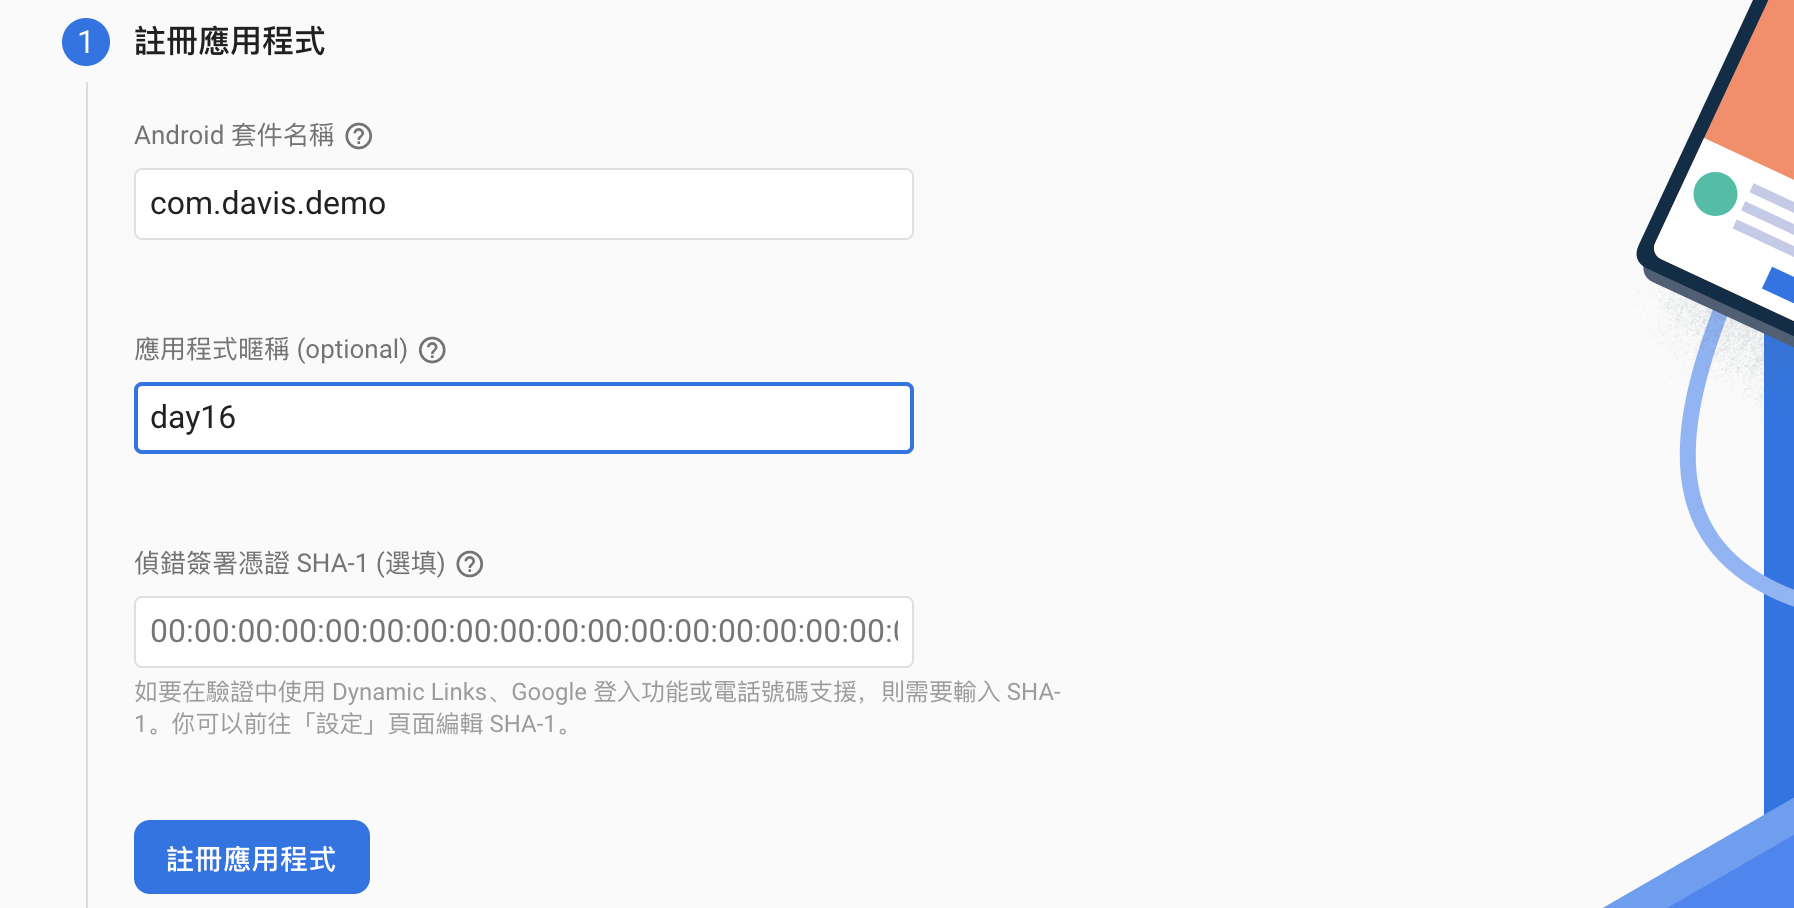
修改applicationId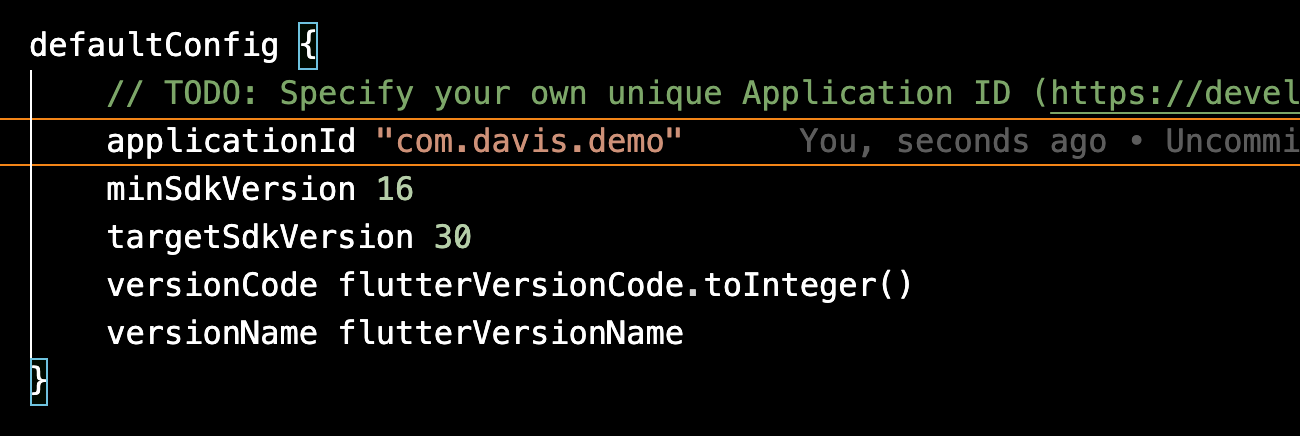
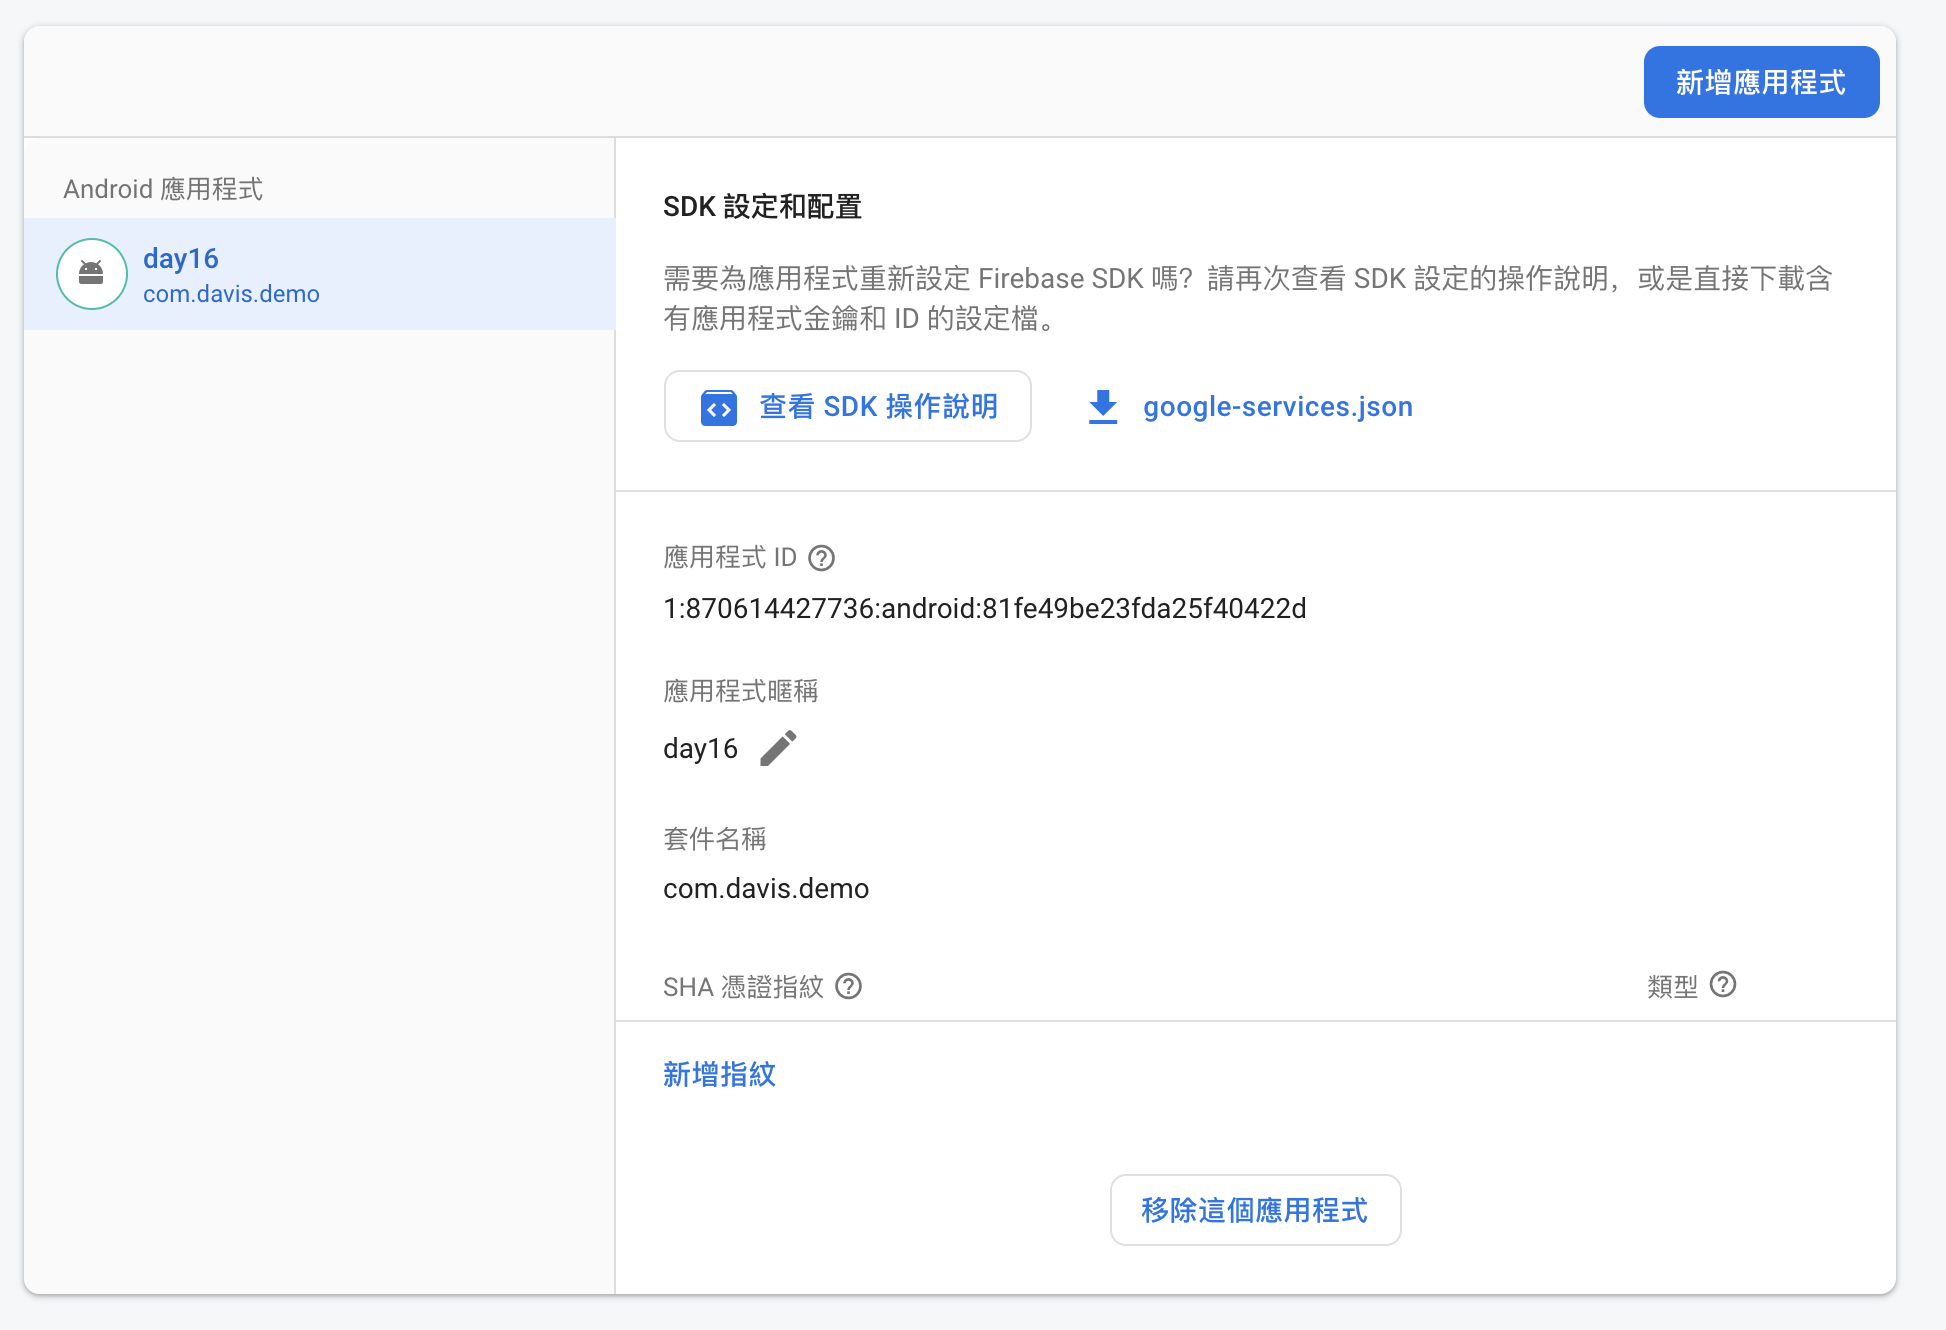
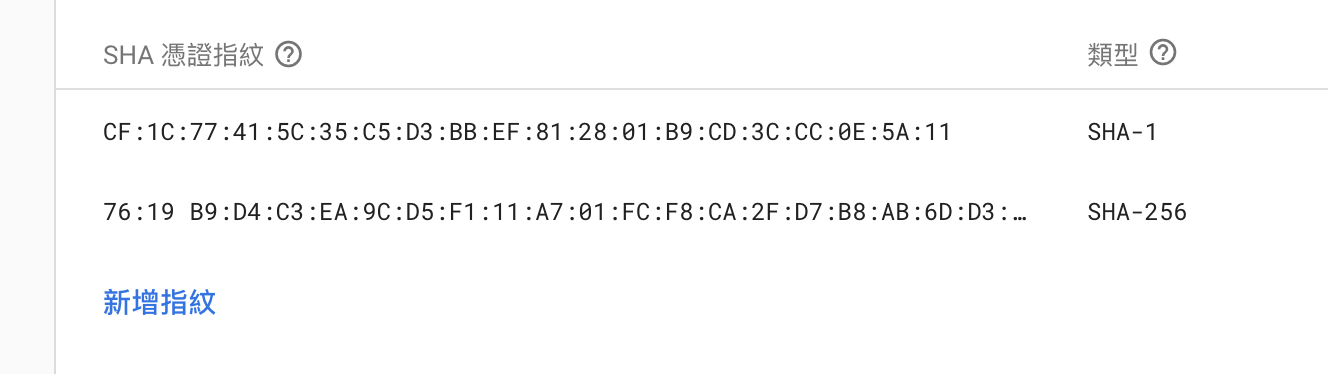
打開終端機輸入keytool -list -v -alias androiddebugkey -keystore ~/.android/debug.keystore,密碼就打個android然後你會得到SHA1和SHA256。
回到firebase點開控制台溜到最下新增指紋,兩個都給他新增上去。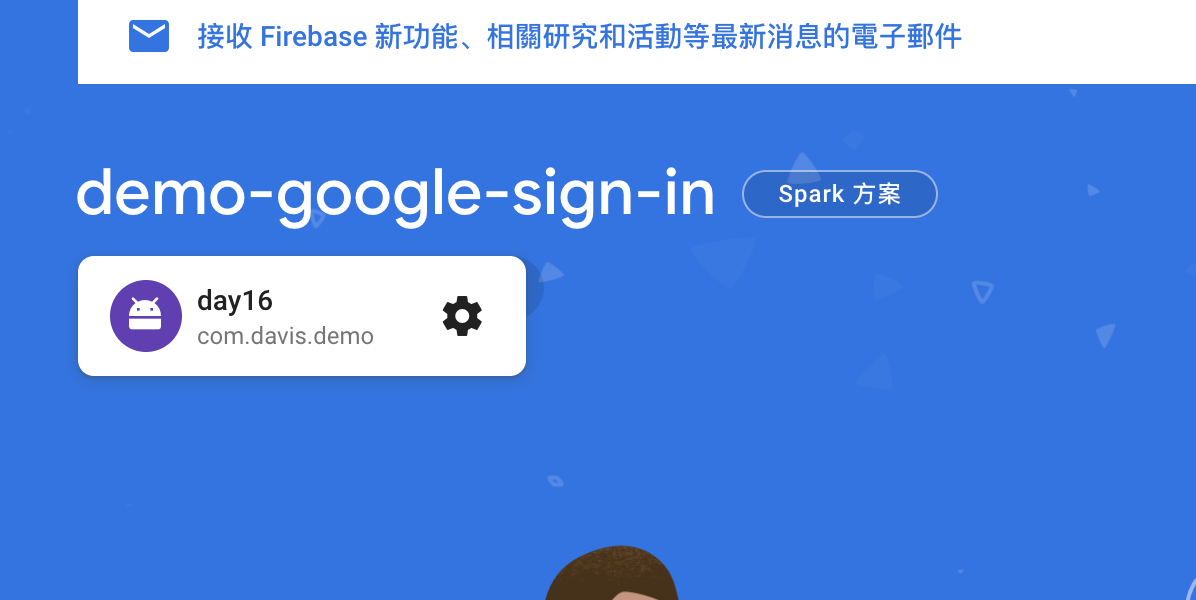
輸入IOS ID 和 App 名字就可以。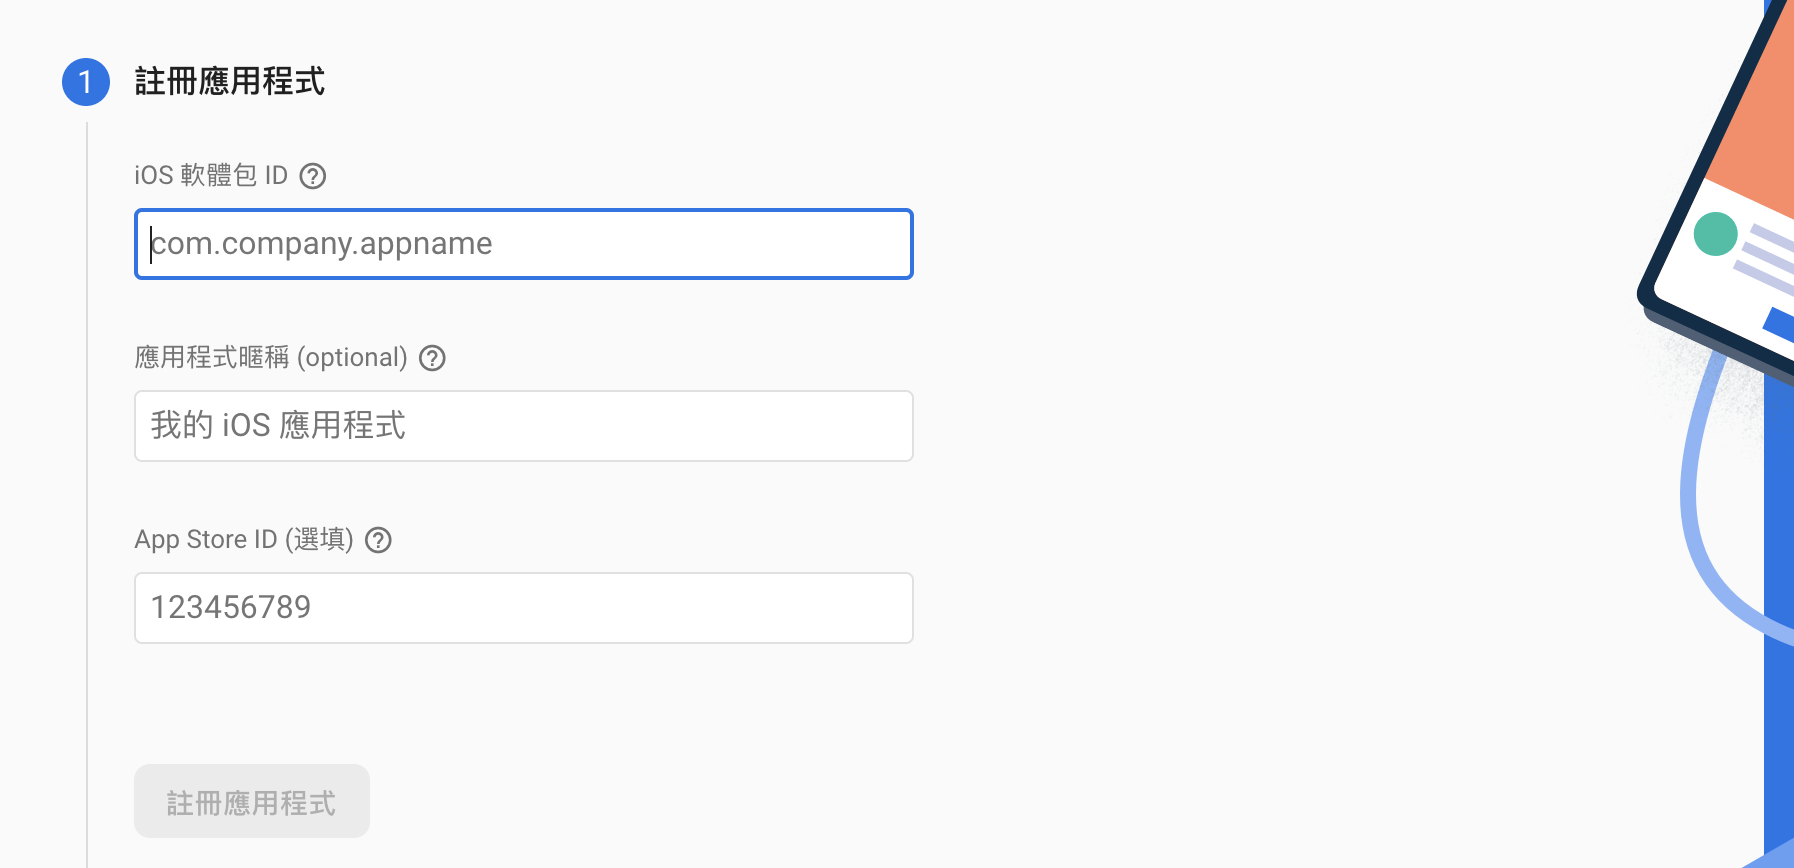
開啟專案把GoogleService-Info.plist放入ios/Runner,然後345步驟都不重要下一步到底。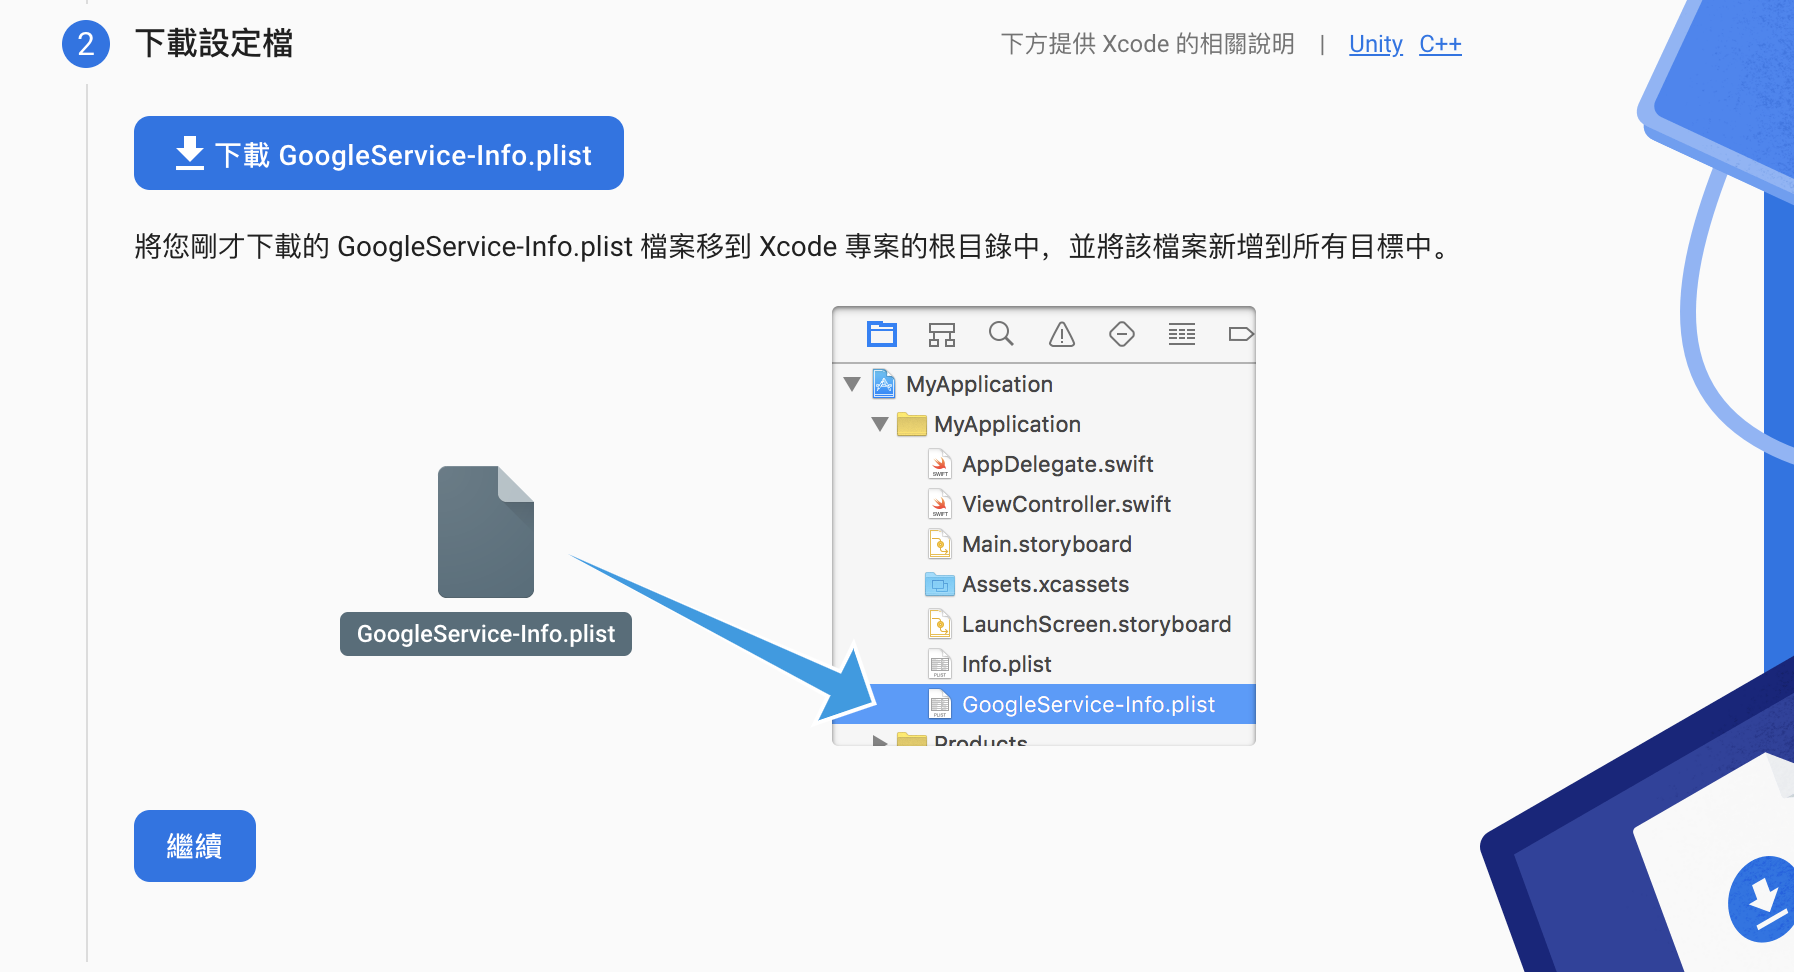
然後打開XCode右鍵資料夾加入檔案,選擇GoogleService-Info.plist。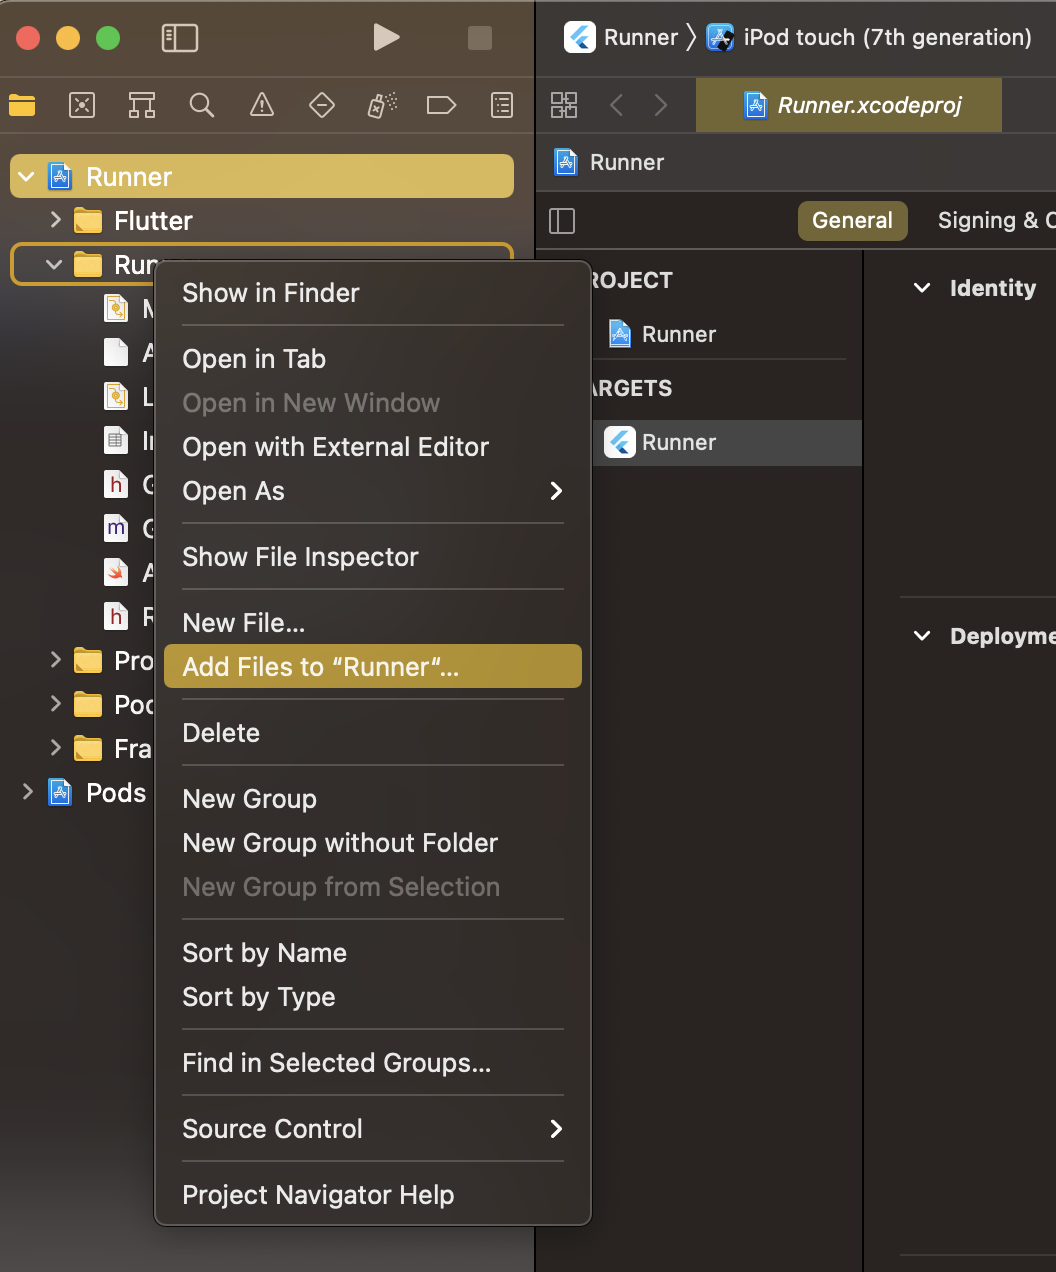
打開ios/Runner/Info.plist把GoogleService-Info.plist裡面的REVERSED_CLIENT_ID複製到<string>REVERSED_CLIENT_ID</string>裡面。
<!-- Google Sign-In section -->
<key>CFBundleURLTypes</key>
<array>
    <dict>
        <key>CFBundleTypeRole</key>
        <string>Editor</string>
        <key>CFBundleURLSchemes</key>
        <array>
            <!-- TODO Replace this value: -->
            <!-- Copied from GoogleService-Info.plist key REVERSED_CLIENT_ID -->
            <string>REVERSED_CLIENT_ID</string>
        </array>
    </dict>
</array>
<key>NSAppTransportSecurity</key>
<dict>
    <key>NSAllowsLocalNetworking</key>
    <true/>
</dict>
<!-- End of the Google Sign-In section -->
如果ios有遇到pod的問題請到ios/Podfile把請版本打開,並更新一下pod repo update。
dependencies:
  flutter:
    sdk: flutter
  google_sign_in: ^5.0.5
  firebase_auth: ^3.0.1
  firebase_core: ^1.4.0
在main裡面做初始化。
void main() async {
  WidgetsFlutterBinding.ensureInitialized();
  await Firebase.initializeApp();
  runApp(MyApp());
}
寫一個簡單的登入和登出的Class,來測試有沒有設定成功。
import 'package:google_sign_in/google_sign_in.dart';
import 'package:firebase_auth/firebase_auth.dart';

abstract class AuthRepositoryImpl {
  Future<bool> signInWithGoogle();
  Future<void> signOut();
}

class AuthRepository implements AuthRepositoryImpl {
  final FirebaseAuth _firebaseAuth;
  final GoogleSignIn _googleSignIn;

  AuthRepository()
      : _firebaseAuth = FirebaseAuth.instance,
        _googleSignIn = GoogleSignIn();

  @override
  Future<bool> signInWithGoogle() async {
    final GoogleSignInAccount? googleUser = await _googleSignIn.signIn();
    if (googleUser == null) {
      return false;
    }
    final GoogleSignInAuthentication googleAuth =
        await googleUser.authentication;
    final AuthCredential credential = GoogleAuthProvider.credential(
      accessToken: googleAuth.accessToken,
      idToken: googleAuth.idToken,
    );
    await _firebaseAuth.signInWithCredential(credential);

    return true;
  }

  @override
  Future<void> signOut() async {
    Future.wait([
      _firebaseAuth.signOut(),
      _googleSignIn.signOut(),
    ]);
  }
}
然後在頁面上的按鈕使用登入的函式
class LoginPage extends StatelessWidget {
  final AuthRepository _authRepository = AuthRepository();

  LoginPage({Key? key}) : super(key: key);

  @override
  Widget build(BuildContext context) {
    return Scaffold(
      appBar: AppBar(
        title: Text("LOGIN"),
      ),
      body: Container(
        child: Center(
          child: TextButton(
            onPressed: () async {
              final ok = await _authRepository.signInWithGoogle();
              if (ok) {
                Navigator.pushReplacement(
                  context,
                  MaterialPageRoute(
                    builder: (context) => HomePage(),
                  ),
                );
              }
            },
            child: Text("SIGN IN"),
          ),
        ),
      ),
    );
  }
}

 iThome鐵人賽