今天主要要來提提Retrofit,Retrofit主要透過interface連線串接以取得資料,像是取json、xml等的資料,待會會使用https://jsonplaceholder.typicode.com/posts 這邊的json資料來實作,那麼就開始今天的主題。
首先先加入依賴至gradle(app)/dependcies中。
    //retrofit資源
    implementation 'com.squareup.retrofit2:retrofit:2.7.2'
    //gson轉換器
    implementation 'com.squareup.retrofit2:converter-gson:2.7.2'
接著需要在manifest.xml中加入網路的權限。
<uses-permission android:name="android.permission.INTERNET" />
依賴、權限沒加入的話寫到後面會跑錯誤,(permission之類的錯誤,或者是沒辦法import retrofit2的資源)。
添加完依賴、權限後,接下來的設計主要分為三大類:Model資料、Interface連線接口、Manager連線基底,那麼就先由Model資料的部分開始提。
Model的職責主要在定義有什麼資料、並透過從Manager->interface取得資料,那麼首先就new一個java檔(我這邊取作Posts),接著看到https://jsonplaceholder.typicode.com/posts/1 這個網址中,主要有四筆資料(userId、Id、title、body),接著按照他的型態就可以設計出:
public class posts {
//定義有什麼資料(型態要注意)
    private int userId;
    private int Id;
    private String title;
    private String body;
    //從manager->interface使用call後,使this(這邊)定義的資料=取到的資料
    public posts(int userId,int Id,String title,String body){
        this.userId=userId;
        this.Id=Id;
        this.title=title;
        this.body=body;
    }
    //這邊是我們熟稱的getter、setter,可用於其他class的資料取得或處理
    public int getUserId(){
        return userId;
    }
    public void setUserId(int userId) {
        this.userId = userId;
    }

    public int getId(){
        return Id;
    }
    public void setId(int Id) {
        this.Id = Id;
    }

    public String getTitle(){
        return title;
    }
    public void setTitle(String title) {
        this.title = title;
    }

    public String getBody(){
        return body;
    }
    public void setBody(String body) {
        this.body = body;
    }
}
model大約上是這樣子,而我推薦一個很方便的plugin(套件),它可以快速幫你把gson的資料轉成model。
首先先點file/setting然後找到plugins。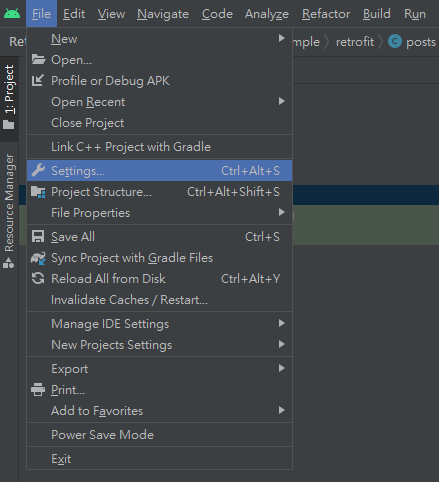
找到plugins後,上方搜尋欄輸入GsonFormatPlus,可以找到套件,如果沒安裝過會顯示是Install的綠色按鈕,那麼就進行Install的動作,完了之後它會變成灰色的Installed。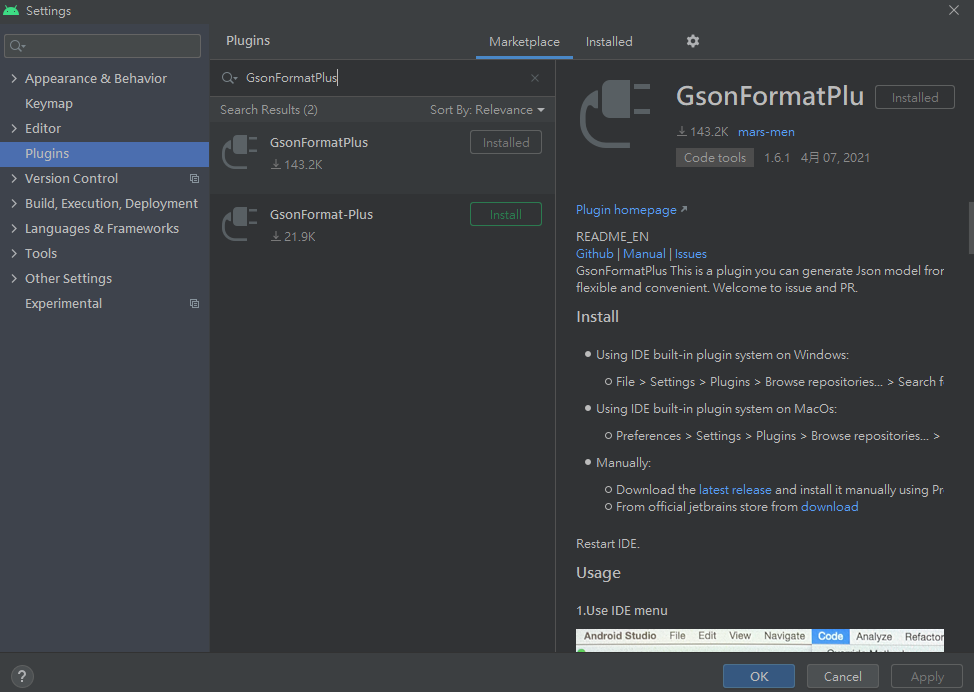
那怎麼做使用呢?首先先回到你原先新創建好的model檔中,我的大約是長這樣:
//什麼都沒有,空空如也
public class posts {

}
接著在posts內按右鍵後->選擇Generate->選擇剛剛載的plugin(GsonFormatPlus)。
如圖: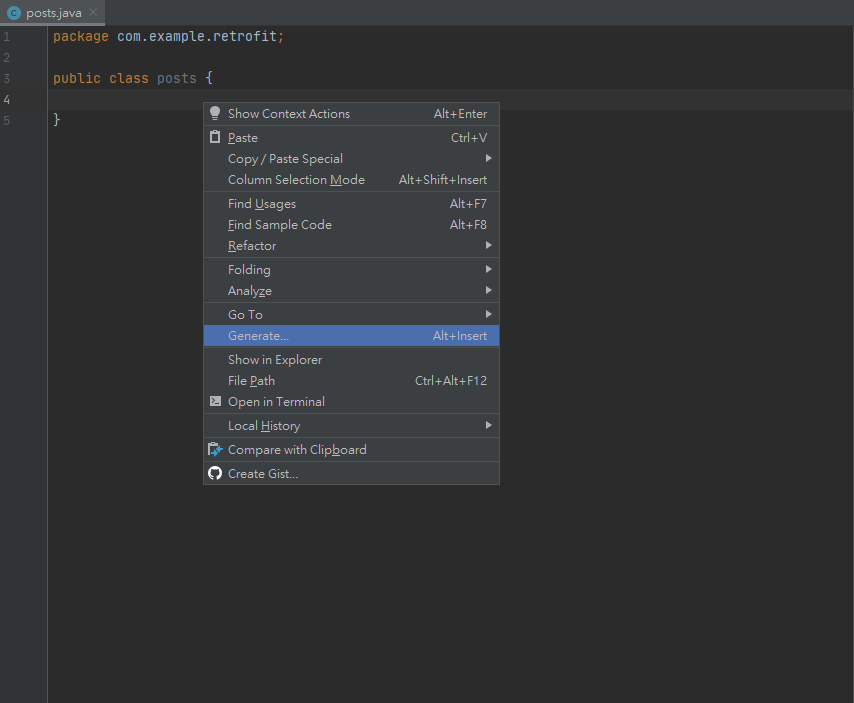
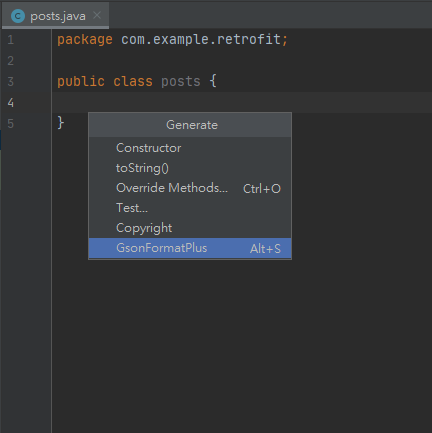
接著應該會看到下面的畫面。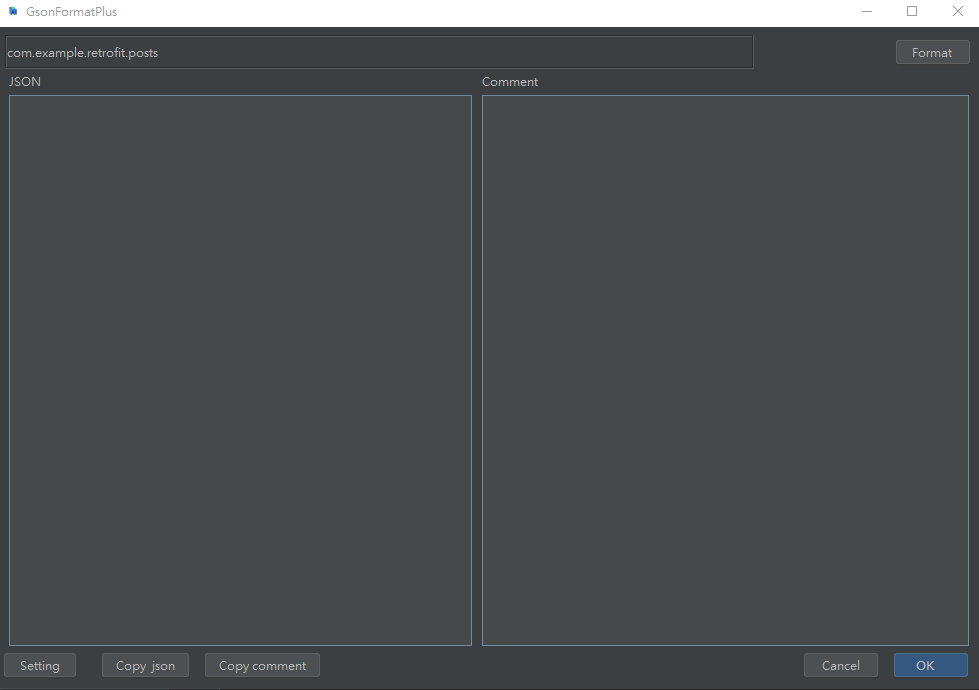
點擊Setting,改成如下的選項(最後的也可以改成other)後點OK。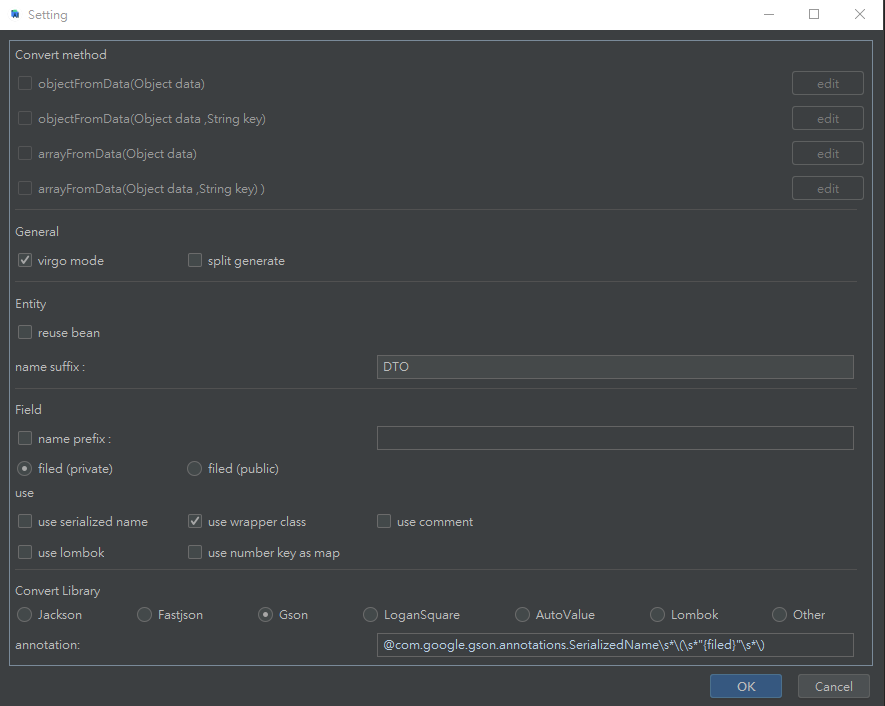
接著就貼上https://jsonplaceholder.typicode.com/posts/1 這個網址的資料點OK。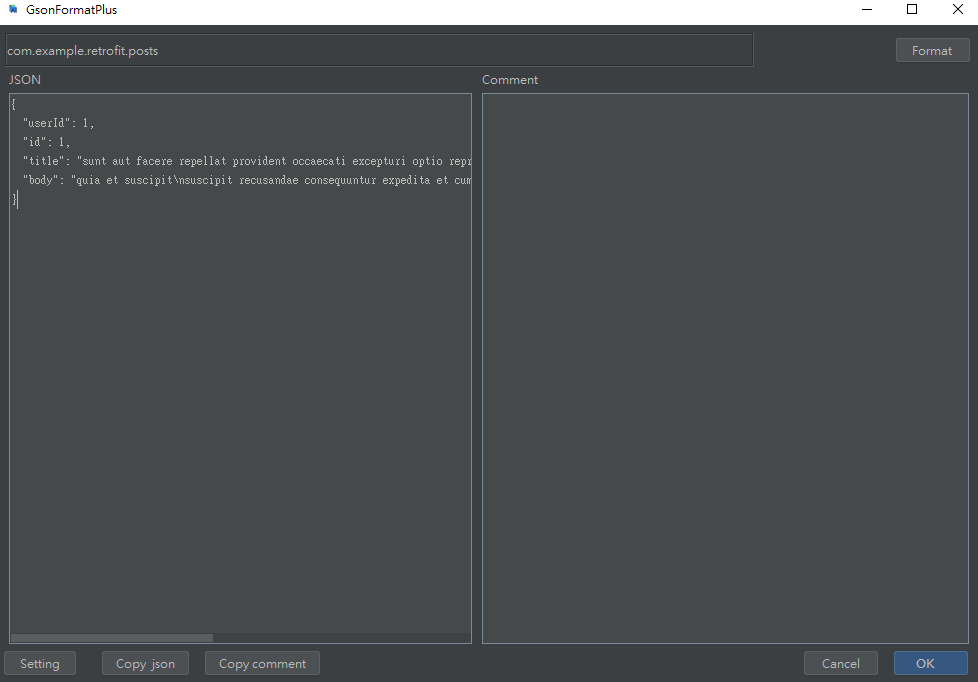
轉換成功後點OK就完成了model的資料定義及getter、setter的部分。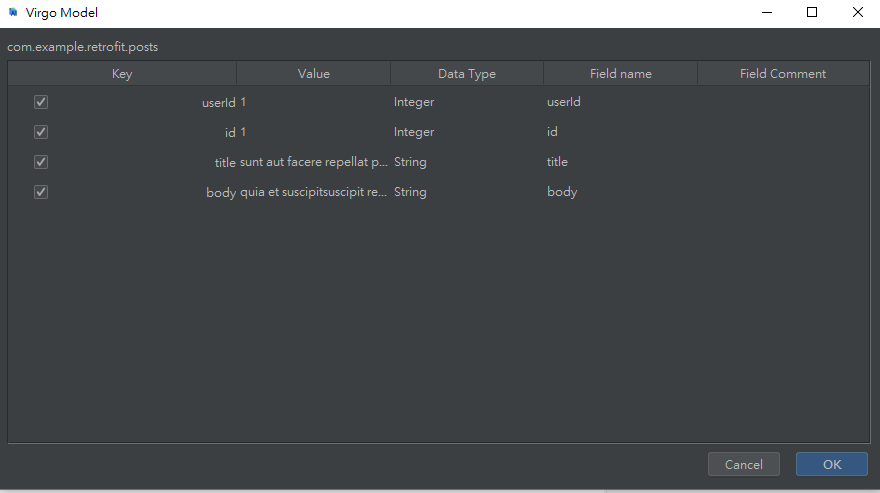
接著就加上到時要放的東西到這個model。
//從manager->interface使用call後,使this(這邊)定義的資料=取到的資料
public posts(int userId,int Id,String title,String body){
        this.userId=userId;
        this.Id=Id;
        this.title=title;
        this.body=body;
    }
首先在資料夾右鍵new一個Java Class,然後選Interface(它預設都是java,要自己改型態成interface)。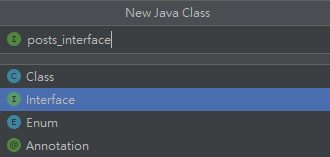
在這裡可以定義GET、POST方法。
//需要import的東西,如果是紅字則需要檢查gradle有沒有加入依賴
import retrofit2.Call;
import retrofit2.http.GET;

public interface posts_interface {
    @GET("posts/1")// posts/1:posts的第一筆資料路徑
    Call<posts> getpost();//取得連線後的回傳資料給posts物件,後者getpost()為此連線的方法名稱
    @GET("posts")//posts多筆資料的路徑 用List包
    Call<List<posts>> getposts();//取得連線後的多筆回傳資料給posts物件並包裝成List,getPosts()為此連線的方法名稱
}
當然還有使用Select from或是什麼@Query的部分,但我目前還沒有使用到,這邊大約都是GET網址的後綴部分,前面都是一個固定的url,接著提manager(連線基底)的部分。
//連線基底
public class posts_manager {
    //mInstance為連線轉換(Builder)的物件
    private static posts_manager mInstance = new posts_manager();

    private posts_interface Posts_interface;

    private posts_manager() {
        //使用Builder,Url為要連到的網址,之後addConverterFactory的部分就是加入Gson的轉換器,然後建立在這個retrofit的物件
        Retrofit retrofit = new Retrofit.Builder()
                .baseUrl("https://jsonplaceholder.typicode.com/")
                .addConverterFactory(GsonConverterFactory.create())
                .build();
        Posts_interface = retrofit.create(posts_interface.class);
    }
    //回傳Builder方法
    public static posts_manager getInstance() {
        return mInstance;
    }

    //回傳interface的內容(可以使用裡面定義的連線名稱進行連線)
    public posts_interface getAPI() {
        return Posts_interface;
    }
}
最後在主程式設計:
public class MainActivity extends AppCompatActivity {
    posts_interface posts;
    @Override
    protected void onCreate(Bundle savedInstanceState) {
        super.onCreate(savedInstanceState);
        setContentView(R.layout.activity_main);
        //getInstance()取得Builder的轉換方法.getAPI()取得interface的物件內容
        posts=posts_manager.getInstance().getAPI();
        //建立call連線,為posts內的getposts(連線名稱)
        Call<List<Posts>> call = posts.getposts();
        //進行連線
        call.enqueue(new Callback<List<Posts>>() {
            @Override
            // Response為回傳的資料
            public void onResponse(Call<List<Posts>> call, Response<List<Posts>> response) {
                //連線成功做的事,資料在response.body()內,透過getter可將資料取得
                //此處定義物件item,for從第一筆run到最後一筆的資料進行Log
                for(Posts item : response.body()) {
                    Log.d("Data","Response call: "+response.code());
                    Log.d("Data","id :"+item.getId());
                    Log.d("Data","Userid :"+item.getUserId());
                    Log.d("Data","title :"+item.getTitle());
                    Log.d("Data","body :"+item.getBody());
                }
            }

            @Override
            public void onFailure(Call<List<Posts>> call, Throwable t) {
                //連線失敗做的事
                Log.d("Data","Failed!");
            }
        });
    }
}
因為資料有點多,我就只放幾筆Log出來的部分: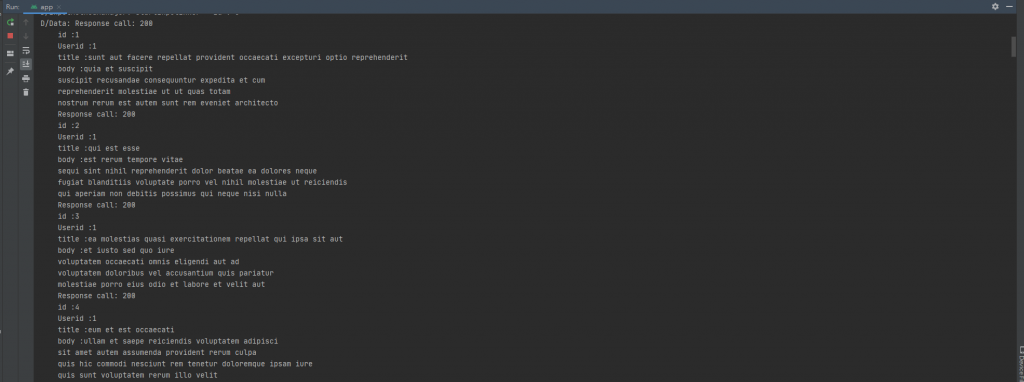
大約是這樣子,然後她的狀態碼都是200,那麼明天來提提Post的部分。
