昨天已經知道主畫面是誰了,那今天就要來介紹管理ViewController的元件:
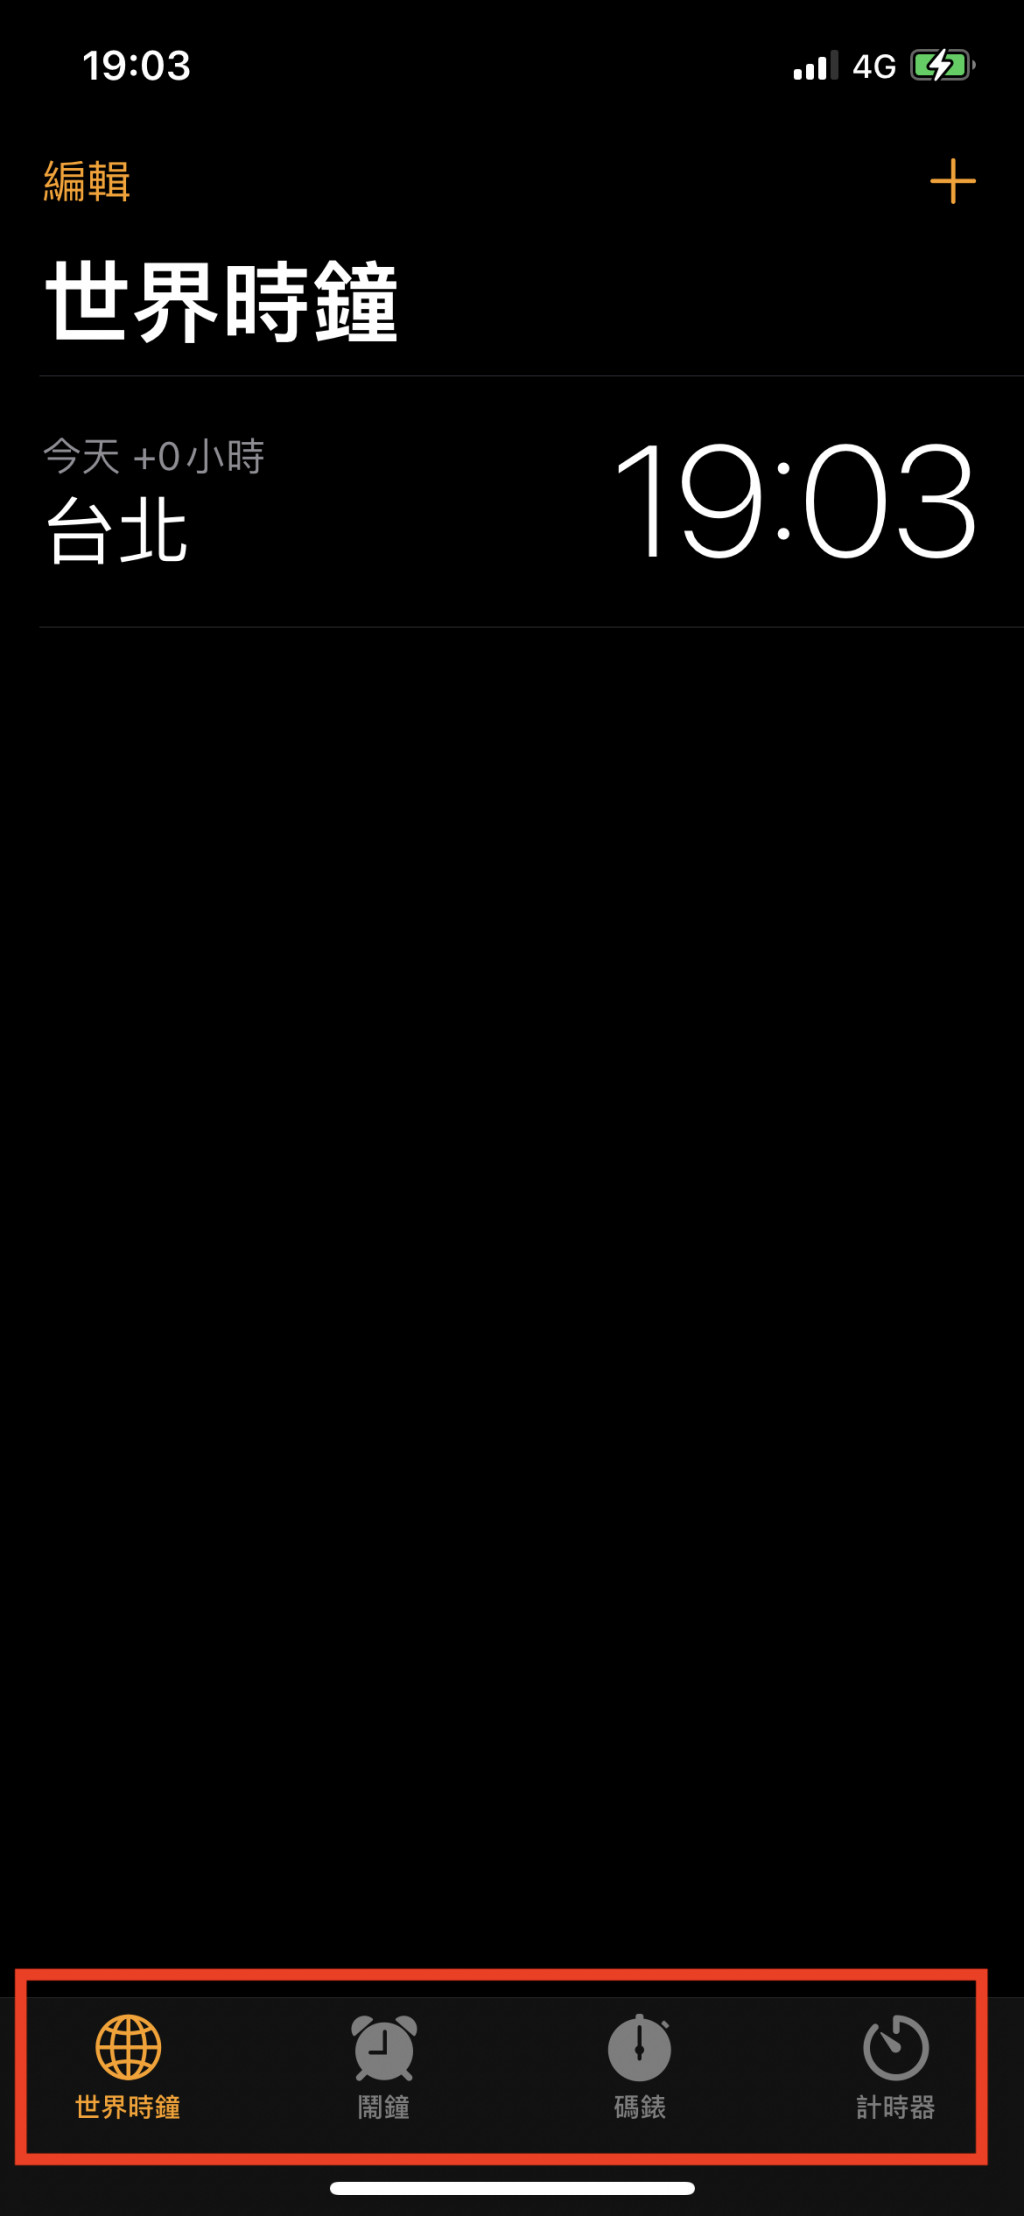
可以看到IOS內建的鬧鐘切換頁面,就是由下面紅色圈起來的TabbarController在控制
那我們就趕緊來實作吧!
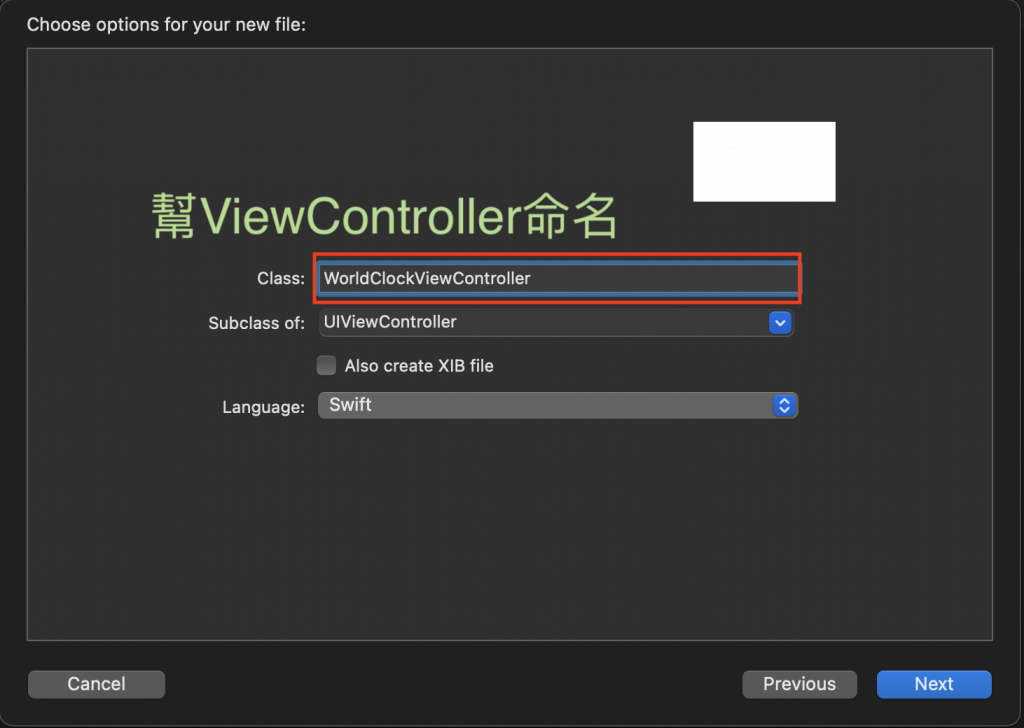
首先先建五個ViewController,分別代表:
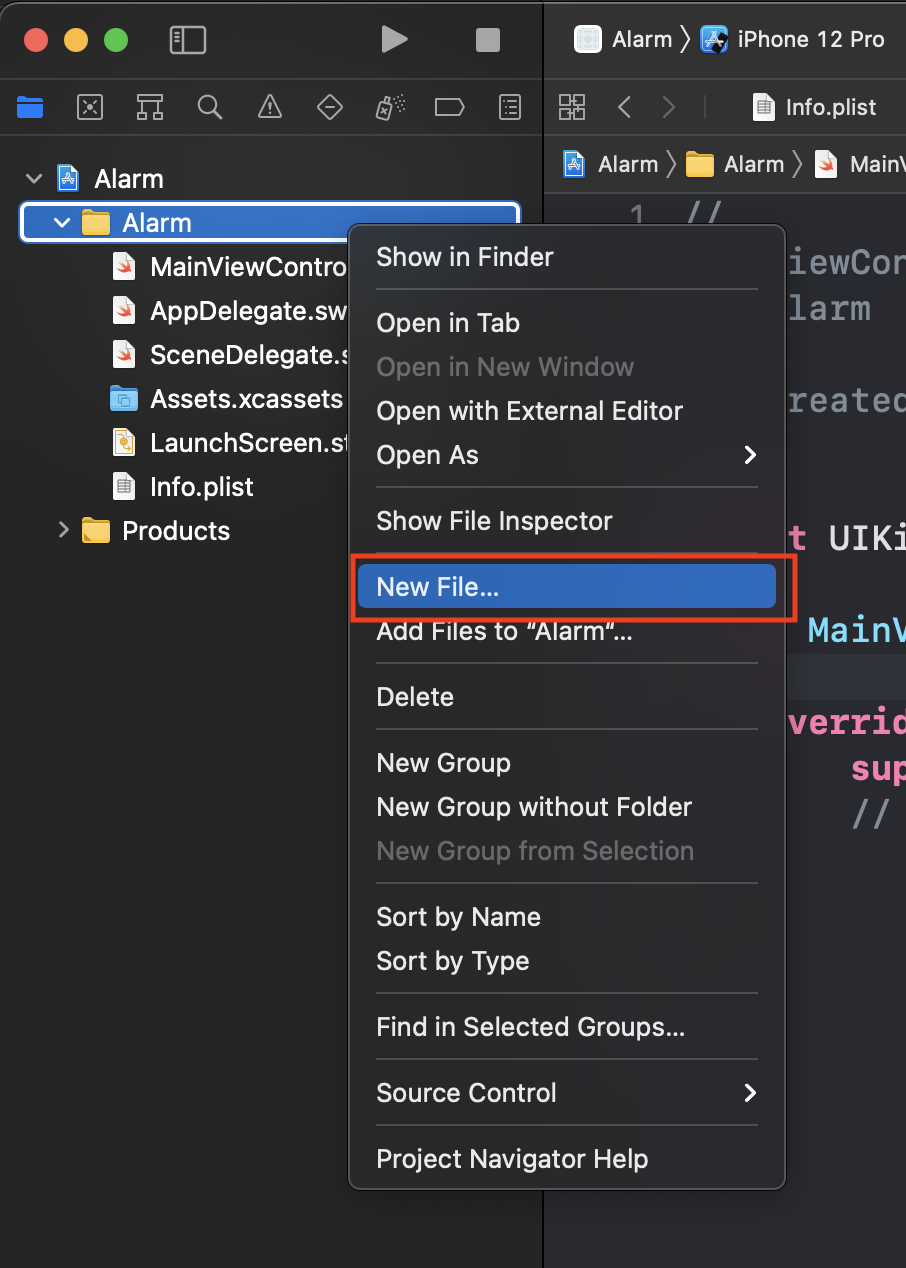
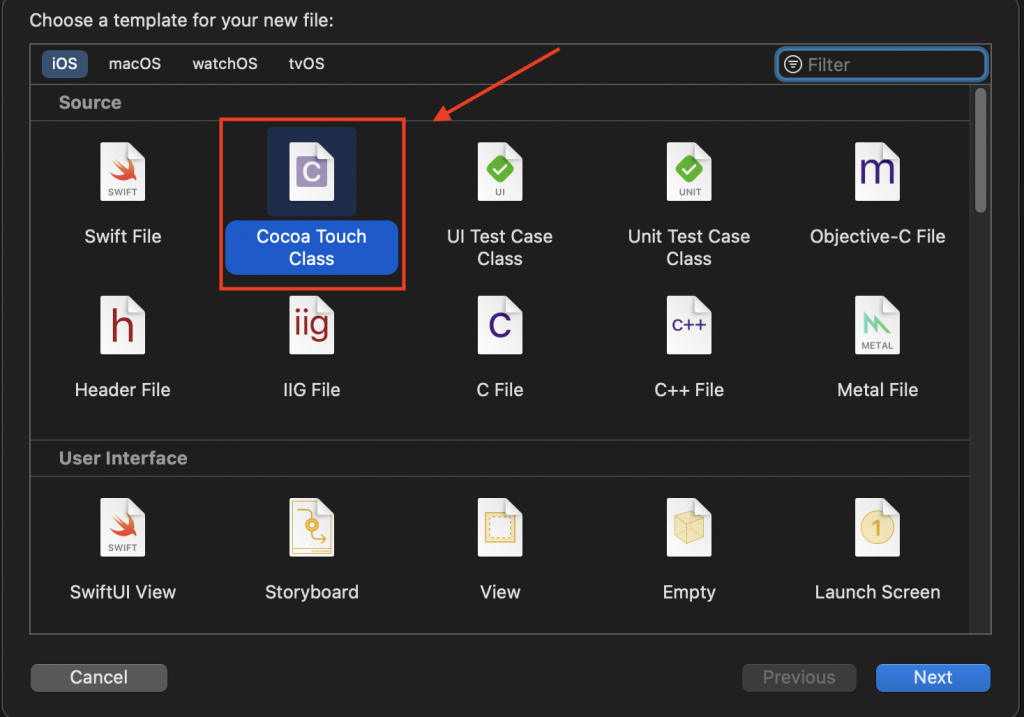
新增ViewController的方式可參考以下
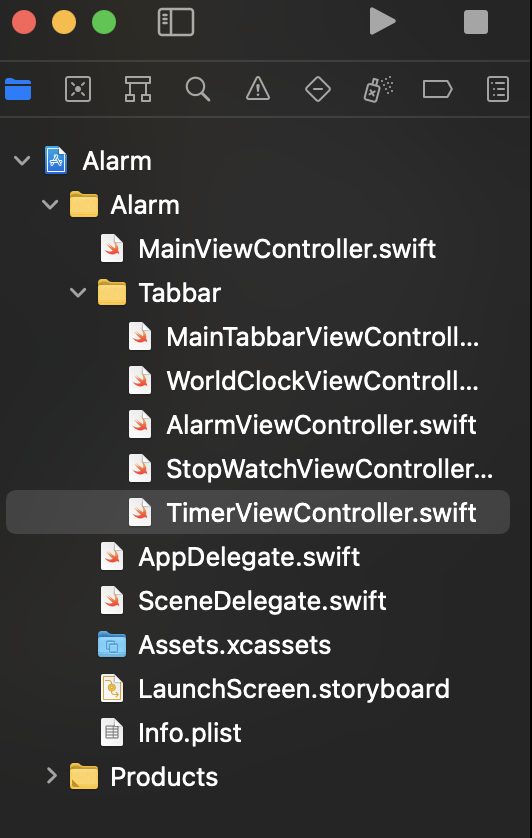
新增完後可以創一個資料夾將他們分類,方便日後好管理
該有的東西都有之後,就開始建立TabbarController的內容吧!
class MainTabbarViewController: UITabBarController {

    override func viewDidLoad() {
        super.viewDidLoad()

        // 建立四個變數存放ViewController,提供以下做設定
        let worldClockVC = WorldClockViewController()
        let alarmVC = AlarmViewController()
        let stopWatchVC = StopWatchViewController()
        let timerVC = TimerViewController()

        // 設定這四個ViewController在Tabbar上面顯示的圖片
        worldClockVC.tabBarItem.image = UIImage(systemName: "network")
        alarmVC.tabBarItem.image = UIImage(systemName: "alarm.fill")
        stopWatchVC.tabBarItem.image = UIImage(systemName: "stopwatch.fill")
        timerVC.tabBarItem.image = UIImage(systemName: "timer")

        // 設定這四個ViewController在Tabber上的文字
        worldClockVC.title = "世界時鐘"
        alarmVC.title = "鬧鐘"
        stopWatchVC.title = "碼表"
        timerVC.title = "計時器"

        //由於鬧鐘頁面最上頭有NavigationBar,因此將鬧鐘設定為NavigationController
        let navAlarm = UINavigationController(rootViewController: alarmVC)

        // 讓NavigationBar不透明
        navAlarm.navigationBar.isTranslucent = false
        // 設定NavigationBar的背景顏色
        navAlarm.navigationBar.barTintColor = .black
        // 設定NavigationBar的文字顏色
        navAlarm.navigationBar.titleTextAttributes =  [.foregroundColor: UIColor.white]

        // 設定Tabbar背景色
        self.tabBar.barTintColor = .clear
        // 設定Tabbar的文字顏色
        self.tabBar.tintColor = .orange

        // 將四個ViewController依序加進TabbarController內
        setViewControllers([worldClockVC, navAlarm, stopWatchVC, timerVC], animated: false)
    }
}
設定完後就執行專案看看結果吧!
疑? 你說TabbarController沒有出現? 等等!先別急著關文章啊!
還記得Day2有提到設定主畫面的事情嗎?
現在我們去將該Project的畫面設為Tabbarcontroller後,再執行看看吧
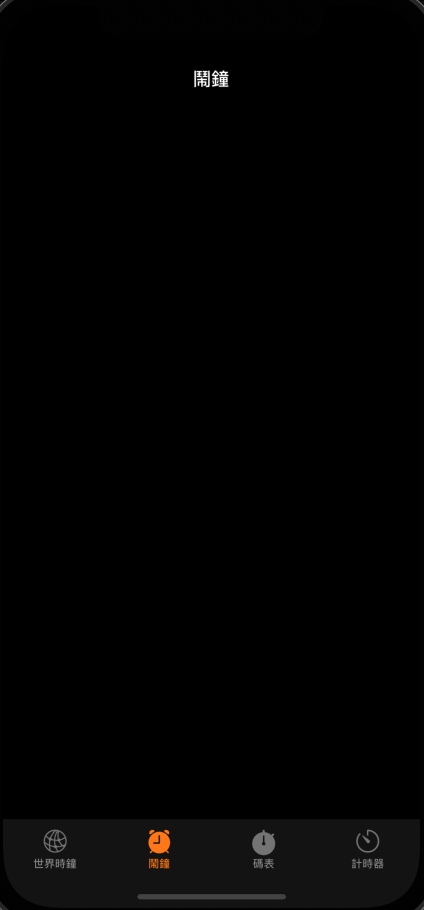
現在你的程式應該會出現這個很像IOS內建鬧鐘的畫面了