如何讓你的APP更獨特
五顏六色的界面是一個很棒的範例
隨便打開一個APP,他的字不可能都是黑色的,會讓人不知道哪裡是重點
而黑、灰、紅、綠、藍是比較常看到得字體顏色,不論是在網頁還是APP上。
今天就來拉4個TextView,分別把字體顏色改成
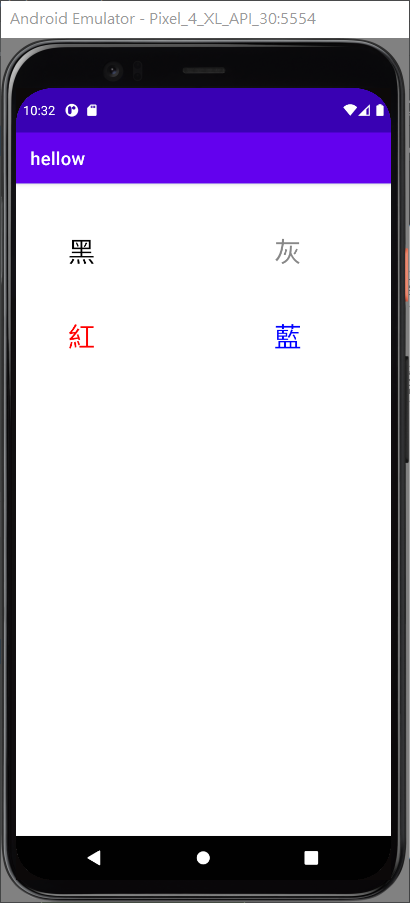
1.黑"#000000"
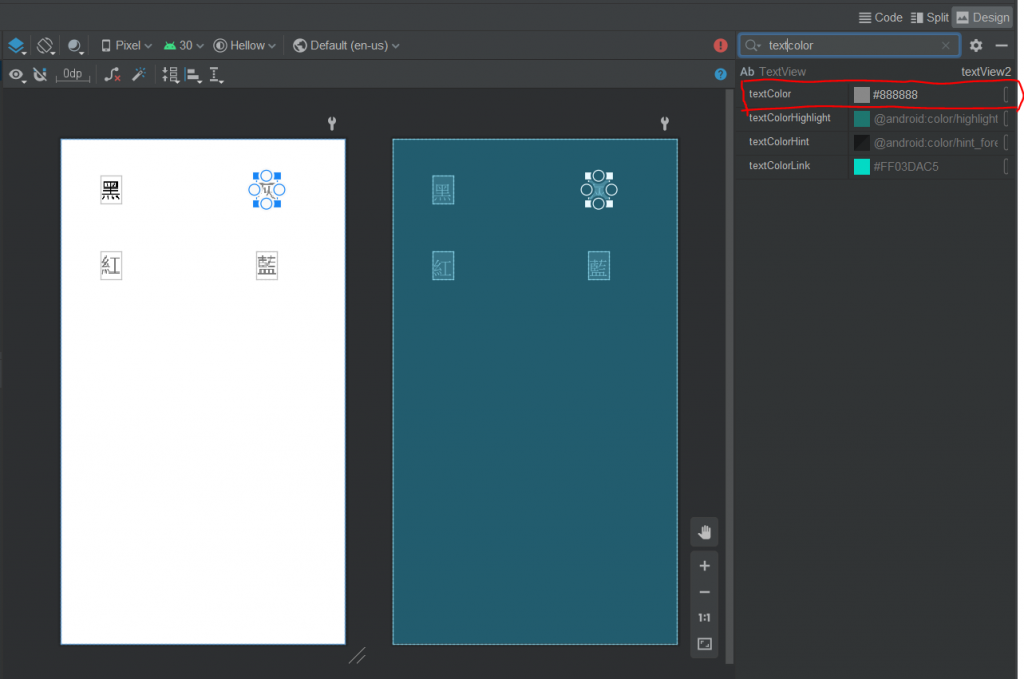
2.灰"#888888"
3.紅"#FF0000"
4.藍"#0000FF"
為什麼要打後面的色碼?
是因為等等的顏色都是以色碼表示
這邊先打方便等一下修改
先拉出4個TextView,分別把文字修改成黑、灰、紅、藍,順便調整一下字體大小(我調30dp)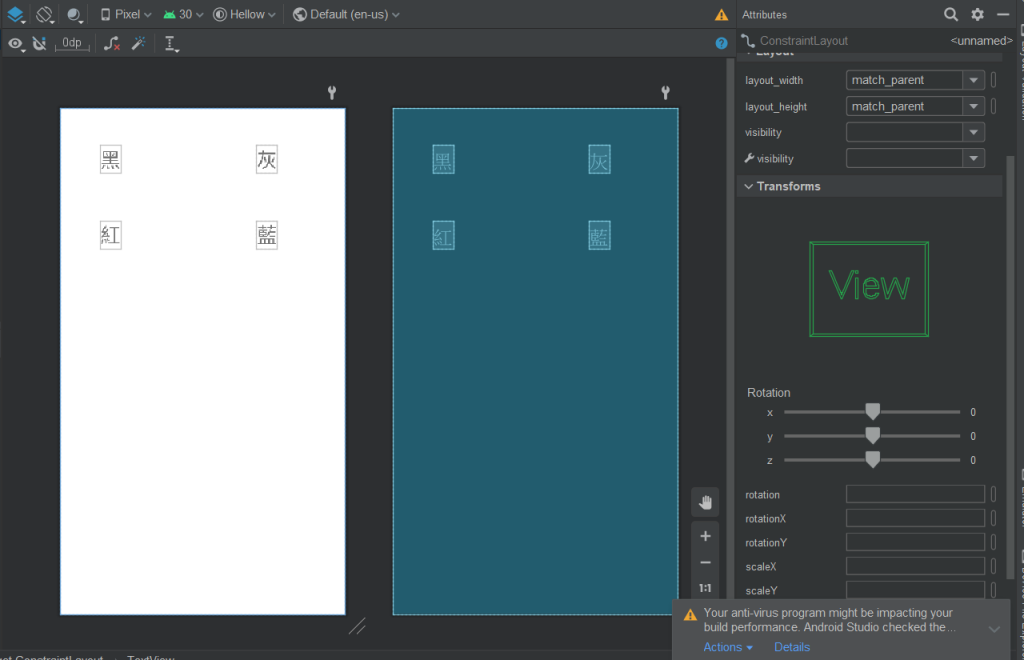
<?xml version="1.0" encoding="utf-8"?>
<androidx.constraintlayout.widget.ConstraintLayout xmlns:android="http://schemas.android.com/apk/res/android"
xmlns:app="http://schemas.android.com/apk/res-auto"
xmlns:tools="http://schemas.android.com/tools"
android:layout_width="match_parent"
android:layout_height="match_parent"
tools:context=".MainActivity">
<TextView
android:id="@+id/tv_1"
android:layout_width="wrap_content"
android:layout_height="wrap_content"
android:layout_marginStart="57dp"
android:layout_marginTop="54dp"
android:text="黑"
android:textSize="30dp"
app:layout_constraintStart_toStartOf="parent"
app:layout_constraintTop_toTopOf="parent" />
<TextView
android:id="@+id/tv_2"
android:layout_width="wrap_content"
android:layout_height="wrap_content"
android:layout_marginTop="54dp"
android:layout_marginEnd="98dp"
android:text="灰"
android:textSize="30dp"
app:layout_constraintEnd_toEndOf="parent"
app:layout_constraintTop_toTopOf="parent" />
<TextView
android:id="@+id/tv_3"
android:layout_width="wrap_content"
android:layout_height="wrap_content"
android:layout_marginStart="57dp"
android:layout_marginBottom="528dp"
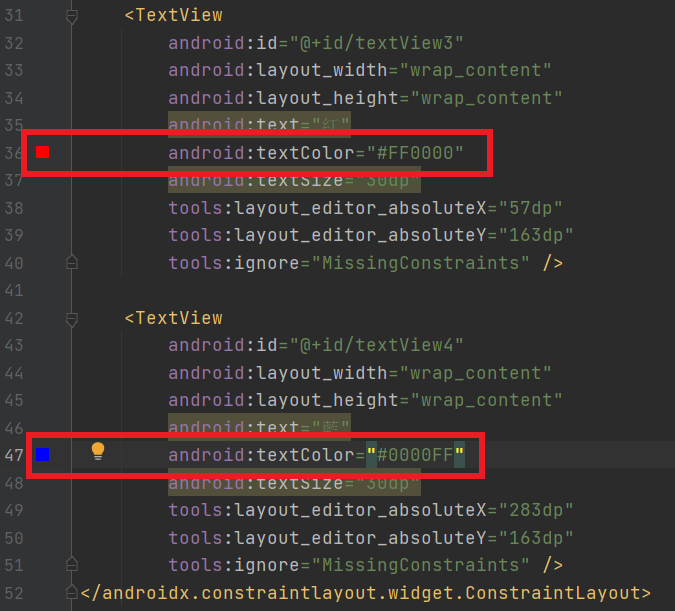
android:text="紅"
android:textSize="30dp"
app:layout_constraintBottom_toBottomOf="parent"
app:layout_constraintStart_toStartOf="parent" />
<TextView
android:id="@+id/tv_4"
android:layout_width="wrap_content"
android:layout_height="wrap_content"
android:layout_marginEnd="98dp"
android:layout_marginBottom="528dp"
android:text="藍"
android:textSize="30dp"
app:layout_constraintBottom_toBottomOf="parent"
app:layout_constraintEnd_toEndOf="parent" />
</androidx.constraintlayout.widget.ConstraintLayout>
Android Studio五告貼心,在android:textColor="#FF0000"左邊會顯示色碼的預覽顏色
<?xml version="1.0" encoding="utf-8"?>
<androidx.constraintlayout.widget.ConstraintLayout xmlns:android="http://schemas.android.com/apk/res/android"
    xmlns:app="http://schemas.android.com/apk/res-auto"
    xmlns:tools="http://schemas.android.com/tools"
    android:layout_width="match_parent"
    android:layout_height="match_parent"
    tools:context=".MainActivity">

    <TextView
        android:id="@+id/tv_1"
        android:layout_width="wrap_content"
        android:layout_height="wrap_content"
        android:text="黑"
        android:textSize="30dp"
        tools:layout_editor_absoluteX="57dp"
        tools:layout_editor_absoluteY="54dp"
        tools:ignore="MissingConstraints" />

    <TextView
        android:id="@+id/tv_2"
        android:layout_width="wrap_content"
        android:layout_height="wrap_content"
        android:text="灰"
        android:textSize="30dp"
        tools:layout_editor_absoluteX="283dp"
        tools:layout_editor_absoluteY="54dp"
        tools:ignore="MissingConstraints" />

    <TextView
        android:id="@+id/tv_3"
        android:layout_width="wrap_content"
        android:layout_height="wrap_content"
        android:text="紅"
        android:textSize="30dp"
        tools:layout_editor_absoluteX="57dp"
        tools:layout_editor_absoluteY="163dp"
        tools:ignore="MissingConstraints" />

    <TextView
        android:id="@+id/tv_4"
        android:layout_width="wrap_content"
        android:layout_height="wrap_content"
        android:text="藍"
        android:textSize="30dp"
        tools:layout_editor_absoluteX="283dp"
        tools:layout_editor_absoluteY="163dp"
        tools:ignore="MissingConstraints" />
</androidx.constraintlayout.widget.ConstraintLayout>
到MainActivity.java
先去抓TextView元件
之後透過setTextColor來改顏色
(宣告的TextView).setTextColor(Color.parseColor("色碼"));
package com.example.hellow;
import androidx.appcompat.app.AppCompatActivity;
import android.graphics.Color;
import android.os.Bundle;
import android.widget.TextView;
public class MainActivity extends AppCompatActivity {

    @Override
    protected void onCreate(Bundle savedInstanceState) {
        super.onCreate(savedInstanceState);
        setContentView(R.layout.activity_main);
        TextView tv_1 = findViewById(R.id.tv_1);
        TextView tv_2 = findViewById(R.id.tv_2);
        TextView tv_3 = findViewById(R.id.tv_3);
        TextView tv_4 = findViewById(R.id.tv_4);
        tv_1.setTextColor(Color.parseColor("#000000"));
        tv_2.setTextColor(Color.parseColor("#888888"));
        tv_3.setTextColor(Color.parseColor("#FF0000"));
        tv_4.setTextColor(Color.parseColor("#0000FF"));
    }
}
執行結果: