昨天我們已經將DatePickerView新增在畫面上了,今天就讓我們再讓新增鬧鐘的頁面完成度更高吧!
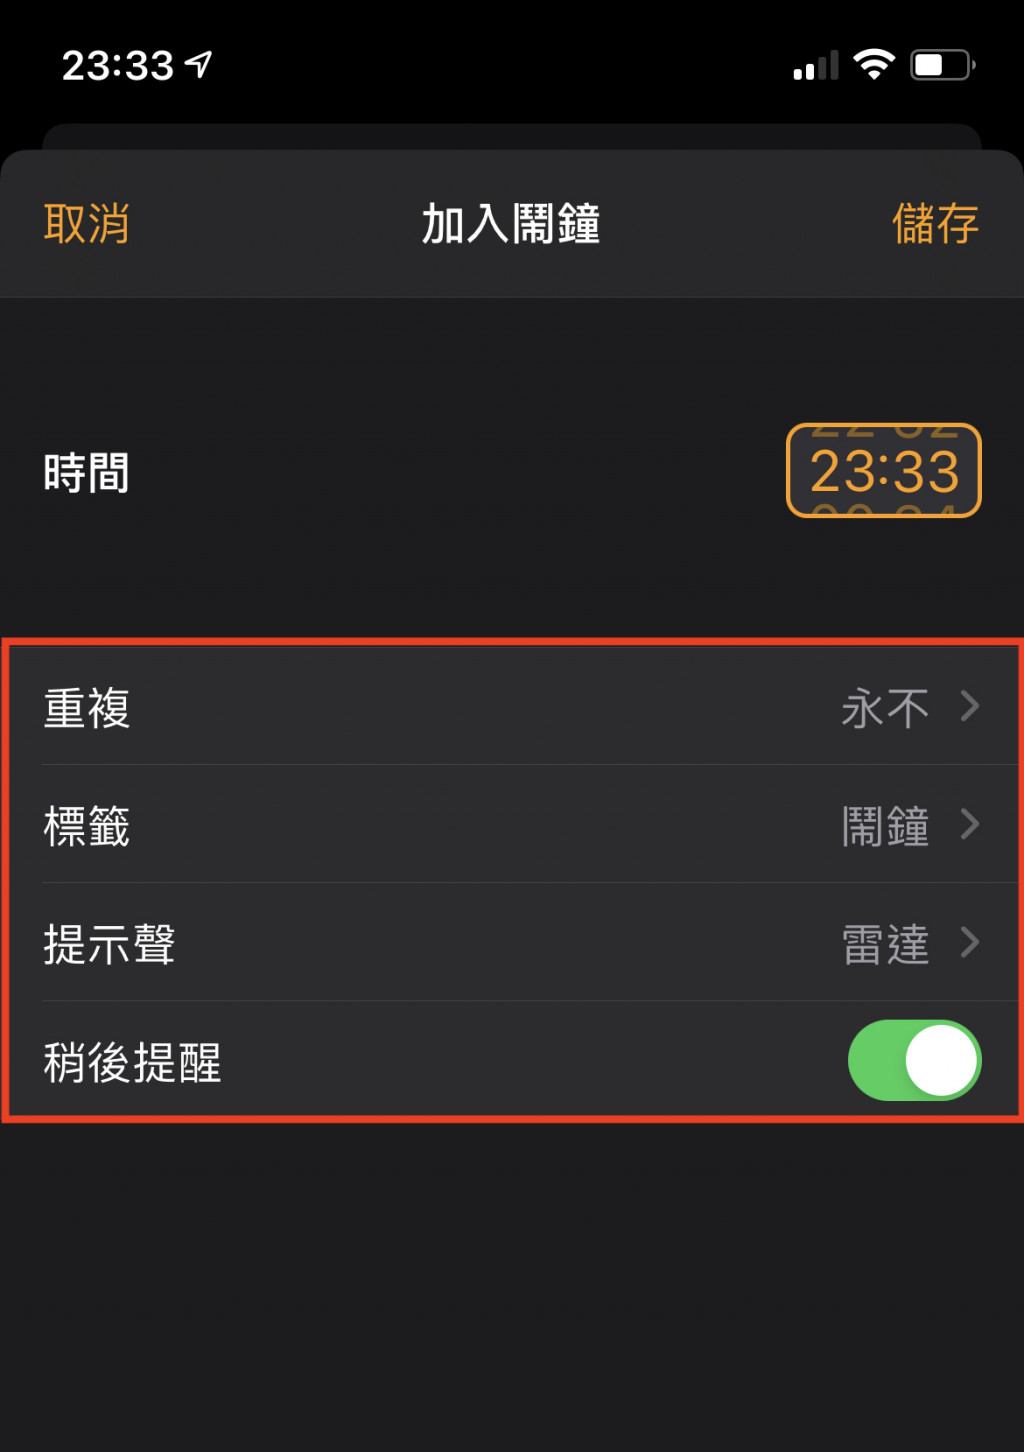
先看一下Iphone內建的鬧鐘介面吧,目前我們還缺紅色圈起來這一部分,今天就是要來完成它!
不知道各位有沒有發現,他們四個的大小一致,內容物也只有一個不同,
因此這邊可以使用TableView來實現這個介面,順便分享一個TableView要如何有不同的Cell
TableView中一欄一欄的就稱為TableViewCell
首先一樣先建立TableView
let addAlarmTableView: UITableView  = {
        let tableView = UITableView()
        return tableView
    }()
加入畫面
func setViews() {
        self.view.addSubview(datePicker)
        self.view.addSubview(timeLabel)
        // 加入 addAlarmTableView
        self.view.addSubview(addAlarmTableView)
    }
再來設定Layout
addAlarmTableView.snp.makeConstraints { make in
            // TableView 的左邊與右邊與畫面的左邊與右邊對齊
            make.leading.trailing.equalTo(self.view)
            // TableView 的頂部距離 timeLabel 的底部間隔 50
            make.top.equalTo(timeLabel.snp.bottom).offset(50)
        }
現在執行看看 addAlarmTableView有沒有出現吧!
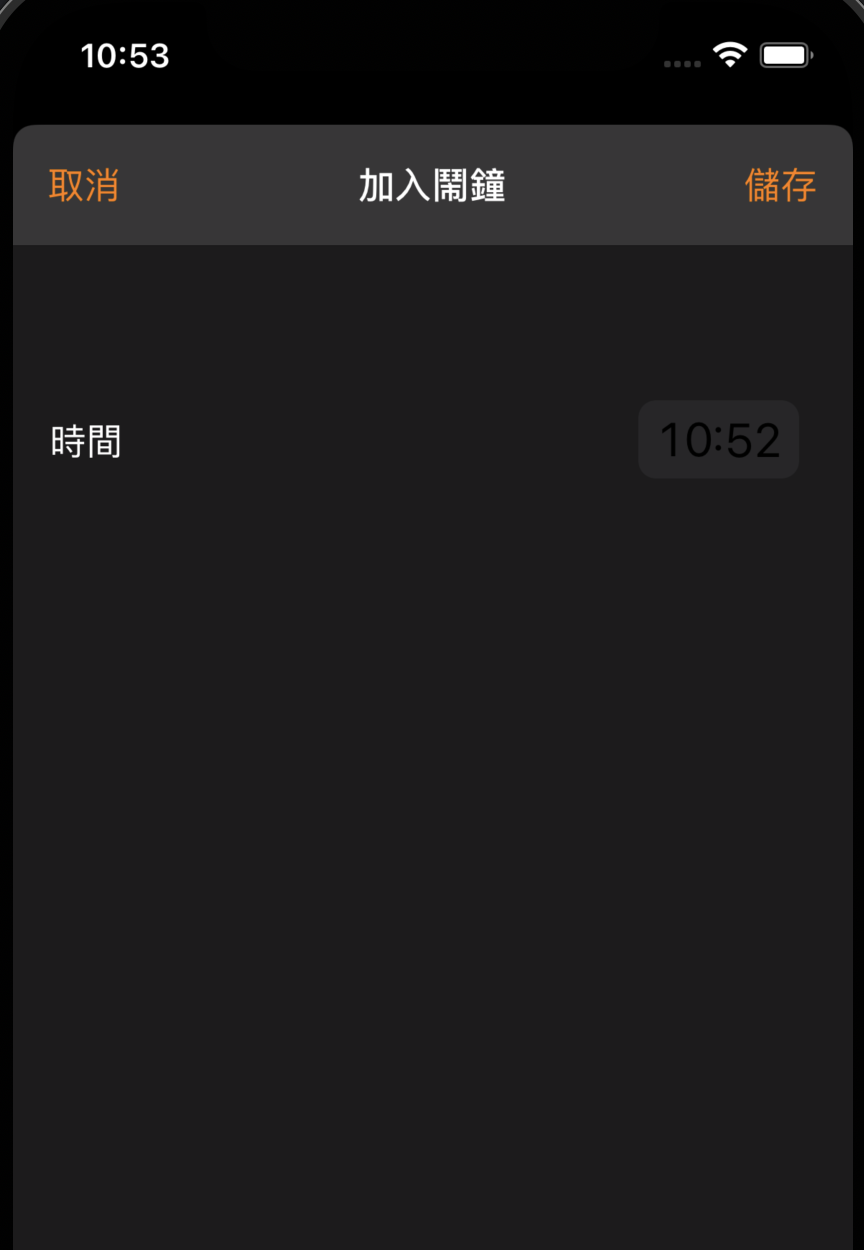
 怎麼好像沒看到?應該是你眼花了吧?趕緊揉揉眼睛先!
什麼?你說還是沒看到?
沒錯!因為我們還沒給alarmAddTableView高度,因此他現在當然不會出現在畫面上,趕緊補點高度給他再執行看看吧!
addAlarmTableView.snp.makeConstraints { make in
            // TableView 的左邊與右邊與畫面的左邊與右邊對齊
            make.leading.trailing.equalTo(self.view)
            // TableView 的頂部距離 timeLabel 的底部間隔 50
            make.top.equalTo(timeLabel.snp.bottom).offset(50)
            // TableView 的高度設為200
            make.height.equalTo(200)
        }
 出現啦!
出現啦!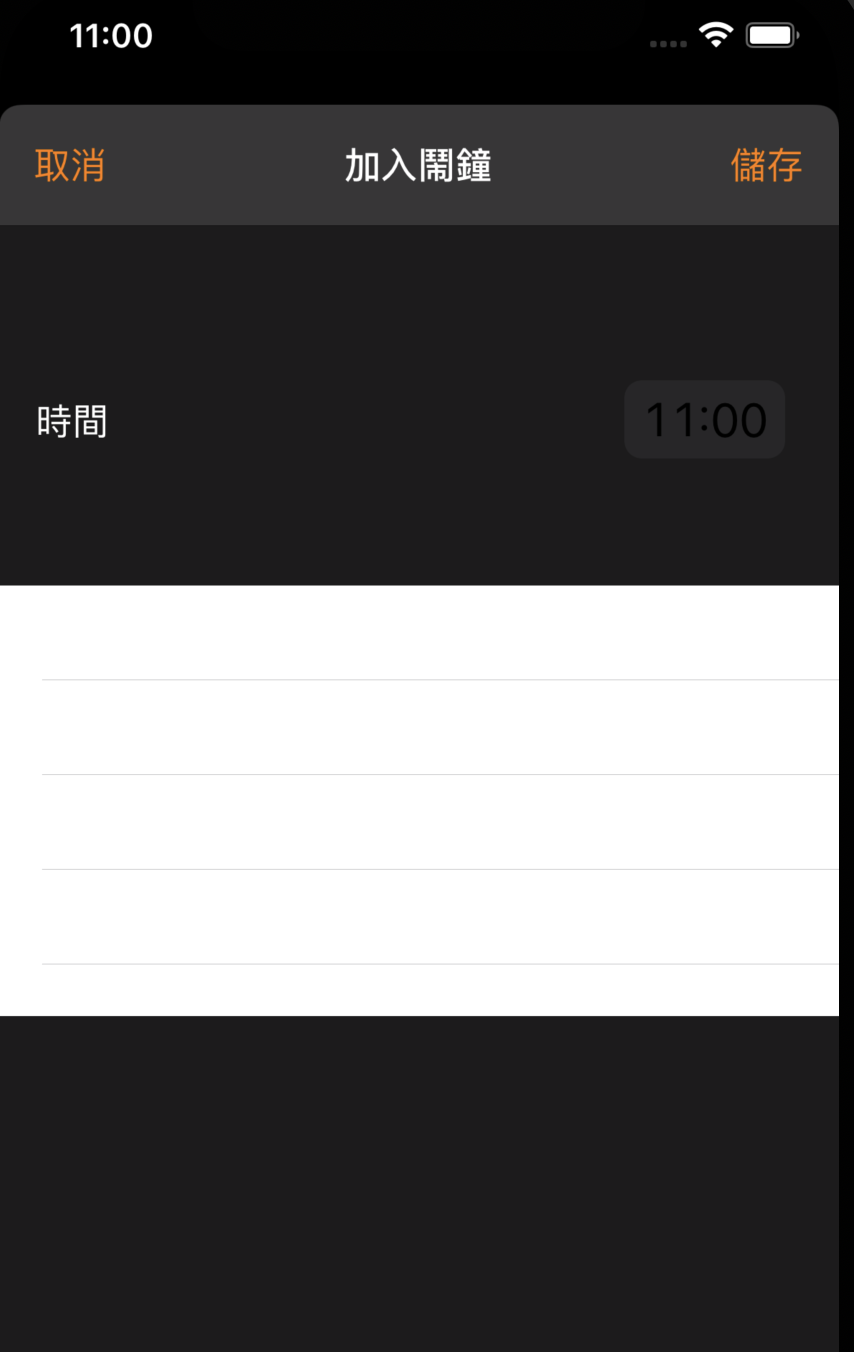
經過今天的複習,相信大家應該都對TableView更熟悉了吧,明天就要來講如何實作TableView的內容囉!