前幾天有在虛擬機械中產生金鑰
今天也要再來產生一組
不過這次產生的是要在 Jenkins 和 Gitlab 上串接使用的
ssh-keygen -t ed25519 -C "integrating jenkins and gitlab"
這次就產生一組叫做 cicd 的金鑰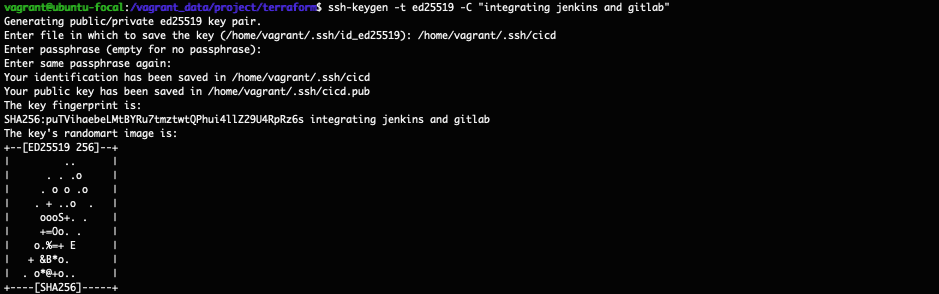
sudo cat /home/vagrant/.ssh/cicd.pub
查看產生的 public key 並複製起來
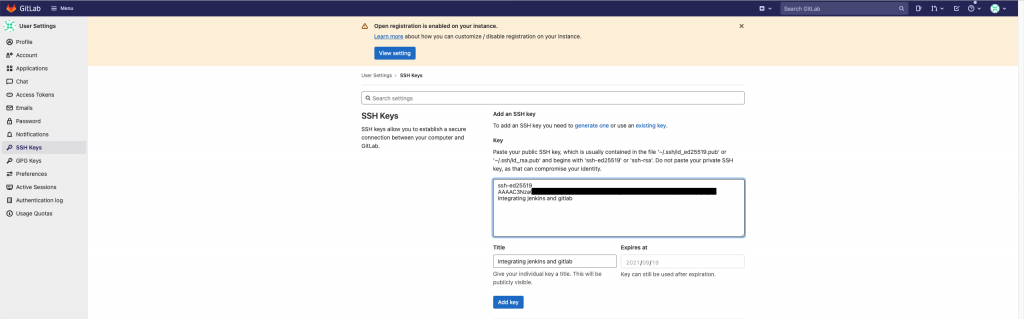
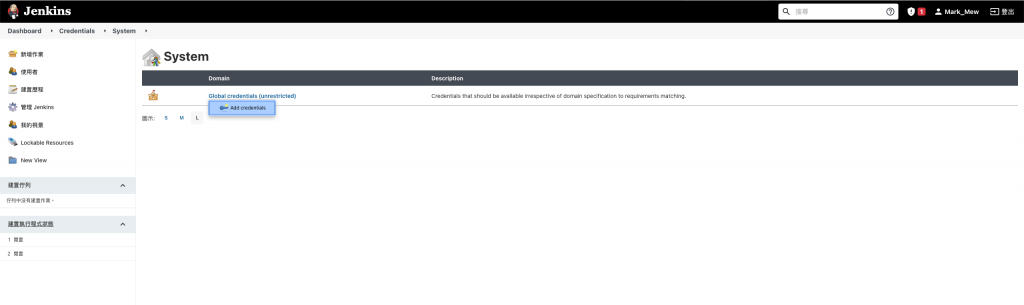
使用瀏覽器登入 Gitlab
點按圖示,選擇 Preferrences,再點按 SSH Key 後
將剛剛查到的 public key 貼上

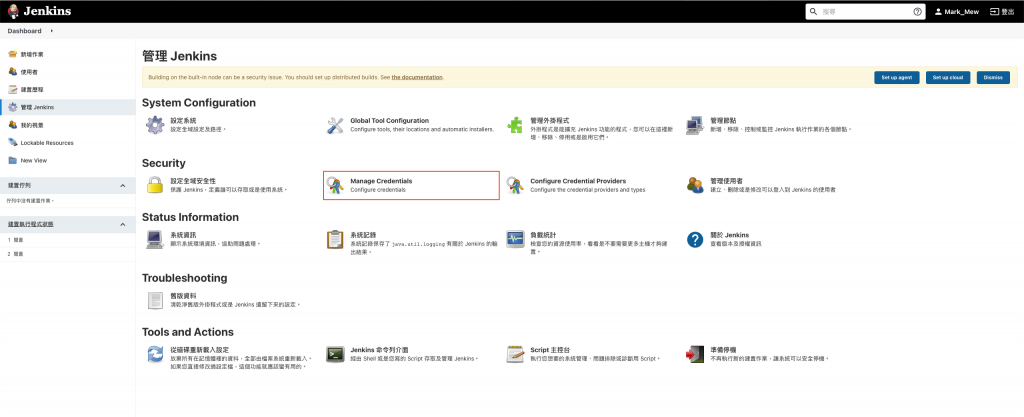
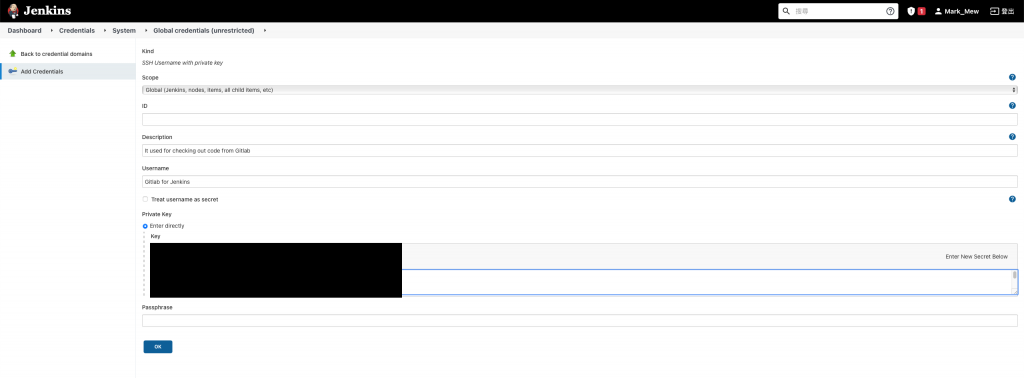
接著要將產生的 private key 貼在 Jenkins 上
步驟至此
可能有人會有疑問
如果我們要透過 webhook 串接
那為什麼還需要設置這個
其實原因是
webhook 是 Gitlab 主動觸發 Jenkins 沒錯
但是我們也有可能從 Jenkins 手動去觸發 CI
因此在 Jenkins 端還是要設置才能夠去 Gitlab checkout 程式碼
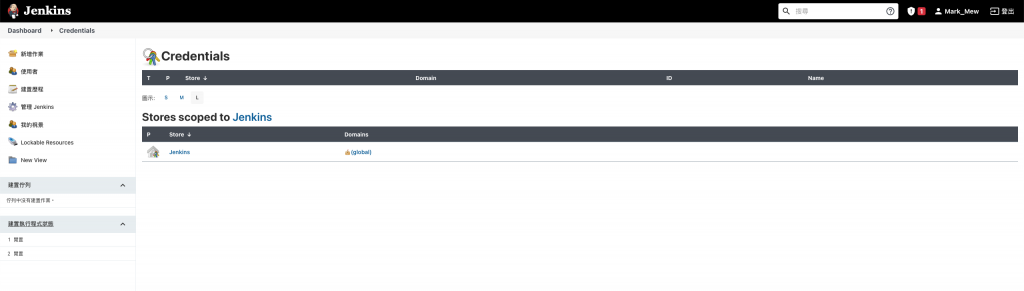
儲存後會有一組 ID
將其複製下來
等下在新增作業時會用到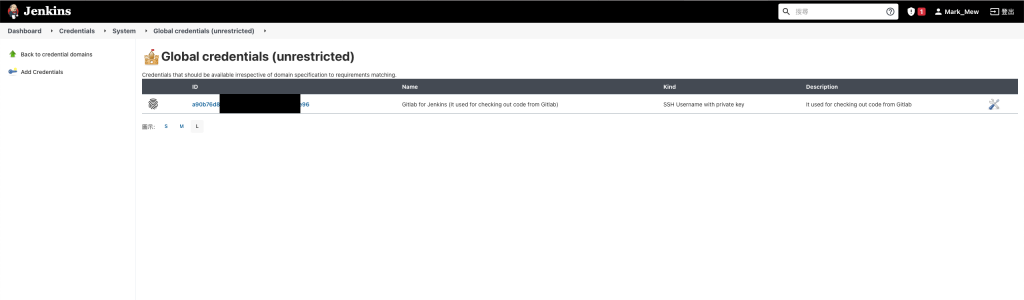
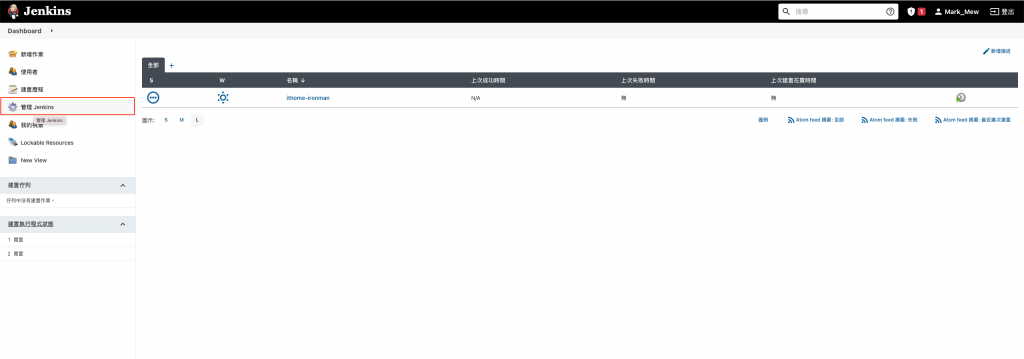
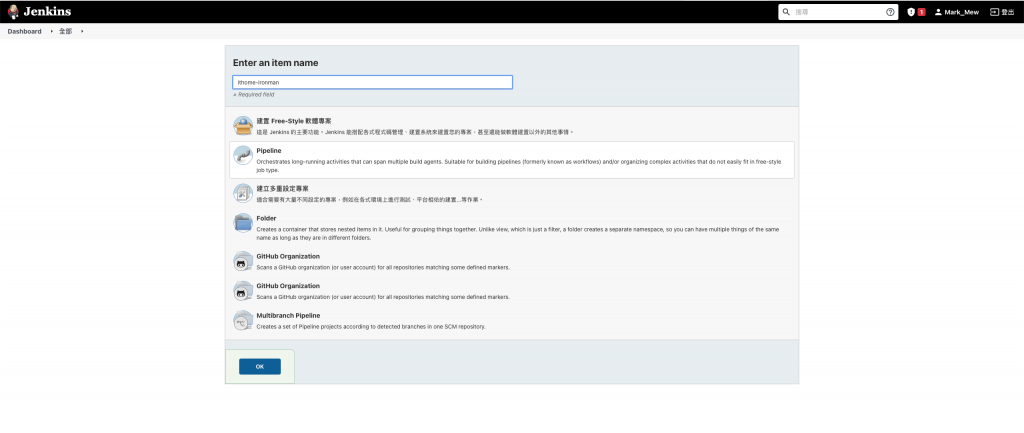
終於我們要在 Jenkins 上新增一個作業
但是目前我們 Hello 專案連個影子都沒看到
所以今天只會將 Jenkins 和 Gitlab 的路打通
還不會創建一個簡單的專案和進行部署
作業名稱不要使用空白
不然可能在串接時會遇到一些問題
Pipeline 是 Jenkins 的一個 Plugin
提供所為的流水線建置功能
來讓工作變得容易 Scale up
主要由 Apache Groovy 開發
因為 Groovy 的特性
使得 Pipeline 可以撰寫使用自己的 DSL 語法
Jenkins 的作業上
可以在 Jenkins 作業設定上直接寫 Pipeline script
也可以在專案中的根目錄中新增 Jenkinsfile 的檔案
Jenkins 在執行 CI 時
預設會抓取專案根目錄中的 Jenkinsfile 來執行
大方向來說
可以將全部的 pipeline 理解成 pipeline、stages、stage、steps 幾個步驟
agent 是設定整個 pipeline 的執行環境
可以針對整個 pipeline 做設定
也可以個別做設定
再來則是需要寫流水線的每個大步驟
這個大步驟就是大家在執行 Jenkins 中看到的每一個區塊
語法的撰寫上很有趣
都是用大括號還框定作用區域
並在大括號中撰寫要執行的步驟
我們還沒有建立專案
因此 repository url 只能先留白
之後再回來填寫
pipeline {
  agent any

  stages {
    stage('Git Checkout') {
      steps {
        sh 'pwd'
        sh 'ls -a'
        retry(3) {
          dir('ithome-ironman') {
            git branch: 'master',
            credentialsId: '',
            url: ''
          }
        }
      }
    }
    stage('Build') {
        steps {
            echo 'Build ...'
        }
    }
    stage('Upload to S3') {
        steps {
            echo 'Upload ...'
        }
    }
    stage('Deploy') {
        steps {
            echo 'Deploy ...'
        }
    }
  }
}
勾選 Build when a change is pushed to GitLab. GitLab webhook URL: http:// 你的IP或host /project/ithome-ironman
按下進階
並在下方按下 Generate 產生 Token
將 上方的網址和Token 複製起來等等在 Gitlab 設定時需要用到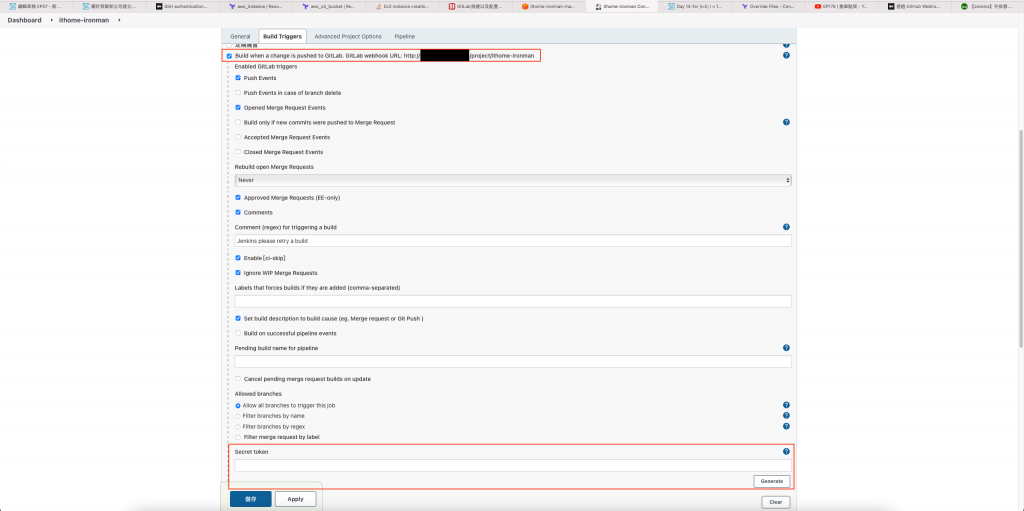
最後記得儲存
在專案的建置上
除非是靜態網站
不然鮮少會只用一個 git repository
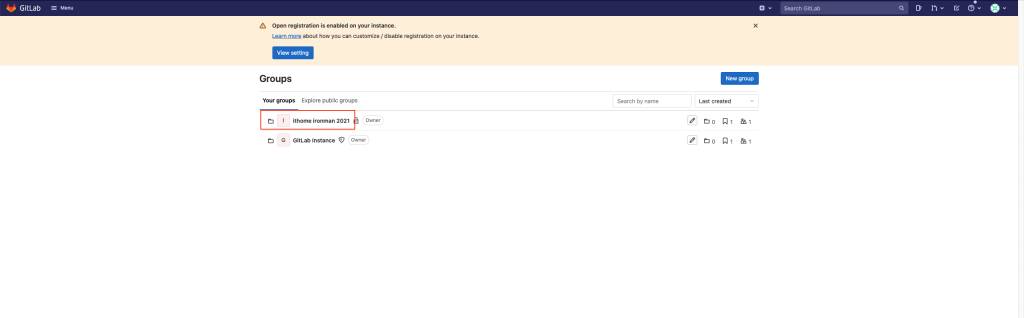
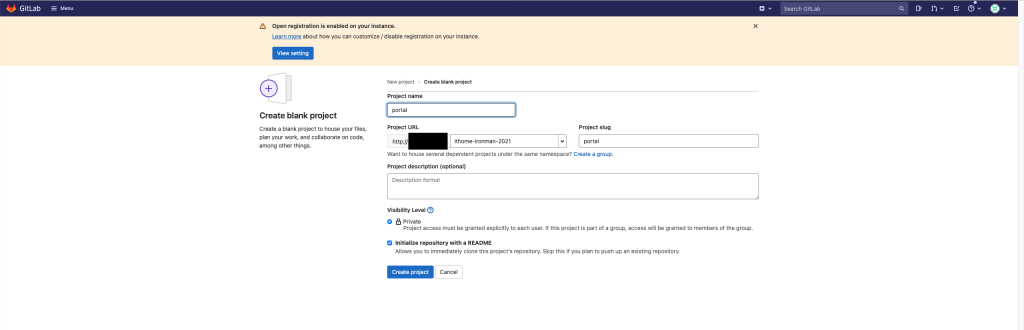
未來分類或管理方便
建議可以使用部門或專案來設置第一個 Group
專案的 Group 中
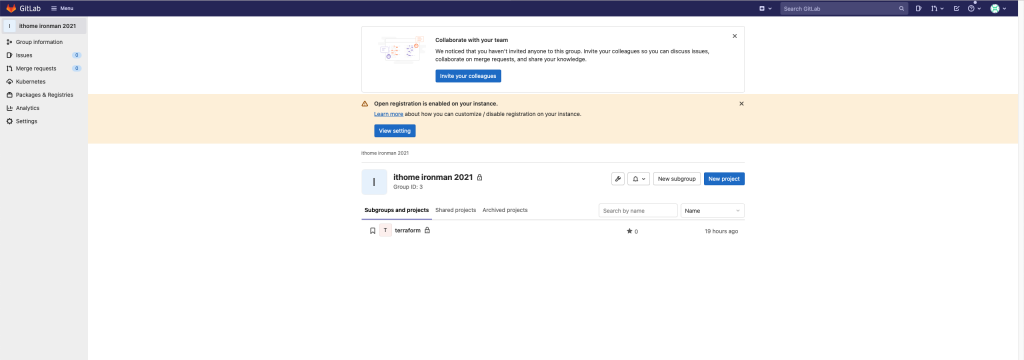
再新增 Portal、SQL...等 repository
Menu -> Groups -> your Groups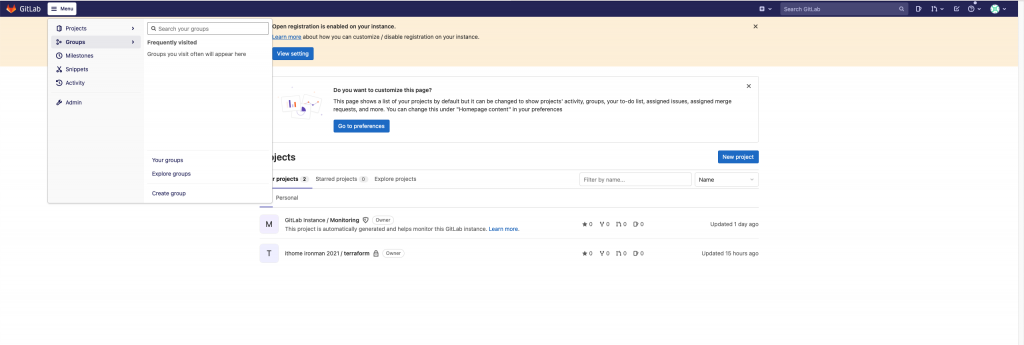
填入在前一個步驟拿到的網址及產生的 Token
貼上後儲存
但...還沒完成,別急著按下測試鈕
回到 Jenkins 中
進入剛剛建立的 ithome-ironman 作業
並調整組態
剛剛我們寫的 pipeline
填入剛剛複製的 repository url
一開始的時候
我們只設定只有自己的 IP 可以存取到 Jenkins 和 Gitlab
因此接下來我們需要調整 Jenkins 和 Gitlab 之間的 Security Group Rule
resource "aws_security_group_rule" "gitlab_jenkins_igress_22" {
    type              = "ingress"
    from_port         = 22
    to_port           = 22
    cidr_blocks       = [format("%s/32", aws_instance.jenkins.public_ip),]
    protocol          = "tcp"
    security_group_id = aws_security_group.gitlab.id
}

resource "aws_security_group_rule" "gitlab_jenkins_egress_22" {
    type              = "egress"
    from_port         = 22
    to_port           = 22
    cidr_blocks       = [format("%s/32", aws_instance.jenkins.public_ip),]
    protocol          = "tcp"
    security_group_id = aws_security_group.gitlab.id
}

resource "aws_security_group_rule" "gitlab_jenkins_egress_8080" {
    type              = "egress"
    from_port         = 8080
    to_port           = 8080
    cidr_blocks       = [format("%s/32", aws_instance.jenkins.public_ip),]
    protocol          = "tcp"
    security_group_id = aws_security_group.gitlab.id
}

resource "aws_security_group_rule" "jenkins_gitlab_egress_22" {
    type              = "egress"
    from_port         = 22
    to_port           = 22
    cidr_blocks       = [format("%s/32", aws_instance.gitlab.public_ip),]
    protocol          = "tcp"
    security_group_id = aws_security_group.jenkins.id
}

resource "aws_security_group_rule" "jenkins_gitlab_igress_8080" {
    type              = "ingress"
    from_port         = 8080
    to_port           = 8080
    cidr_blocks       = [format("%s/32", aws_instance.gitlab.public_ip),]
    protocol          = "tcp"
    security_group_id = aws_security_group.jenkins.id
}

resource "aws_security_group_rule" "jenkins_gitlab_egress_8080" {
    type              = "egress"
    from_port         = 8080
    to_port           = 8080
    cidr_blocks       = [format("%s/32", aws_instance.gitlab.public_ip),]
    protocol          = "tcp"
    security_group_id = aws_security_group.jenkins.id
}
按下 Test -> Push Event
畫面上有看到 Hook executed successfully: HTTP 200
表示 Gitlab 到 Jenkins 這邊有成功串接起來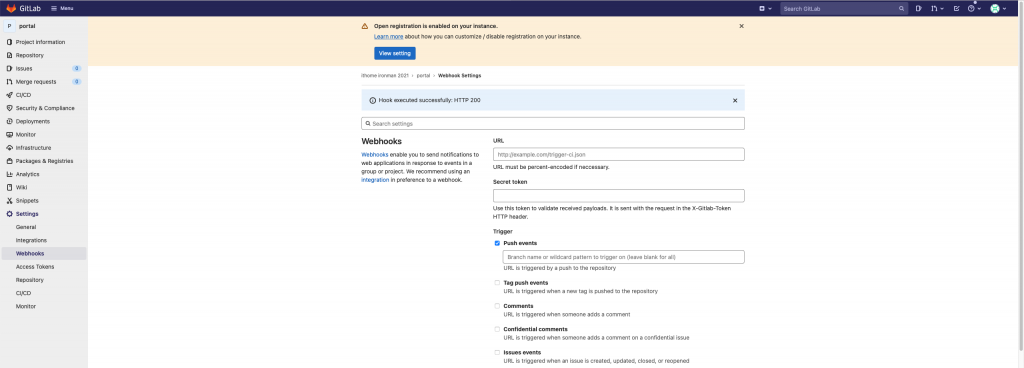
按下左邊的馬上建置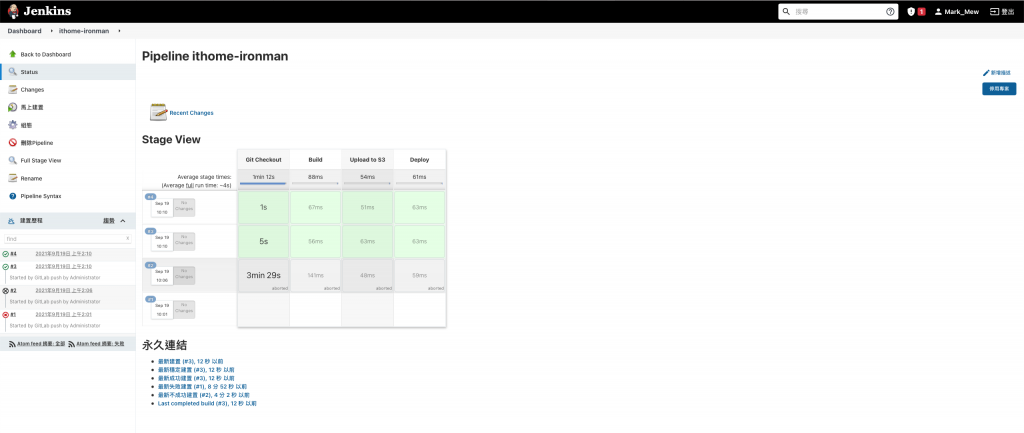
一般來說通常不是語法錯誤就是網路不通
建議可以先檢查 pipeline 的語法是否有寫好
stage 中需要包含 steps,即使只是 echo 或是沒做事情
再來則是檢察網路規則
webhook 的部份我們沒有特別調整 Jenkins 的 port
因此是打 8080 port
所以 Gitlab outbound 到 Jenkins 要打開
而 Jenkins 到 Gitlab 的 8080 inbound 和 outbound 都要開
Jenkins 需要到 Gitlab 去 Checkout code
因此 Jenkins 到 Gitlab 的 outbound 22 port 要開
而 Gitlab 到 Jenkins 的 22 port inbound 和 outbound 都要開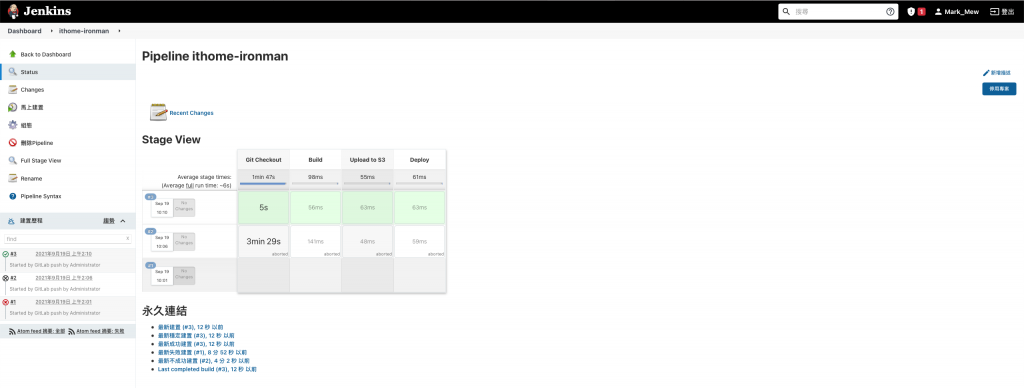
我們用了一點時間
終於將 Gitlab 和 Jenkins 串起來
但是目前這系統看來還有很大的問題
除了沒有 SSL 憑證以外
一直對外存取總不是辦法
而且整個 CI/CD 也只是把整個環境建好
還沒真的開始做到 CI/CD 的部分
這點會在未來慢慢帶大家做好
參考資料: