
今天一開始 先來新增spring boot的連線設定
Spring Boot的設定檔
application.properties
在專案目錄的src/main/resources底下,
預設是空白的
到這邊新增以下設定
#因為我們在之前有設定Mongo DB認證機制,所以要在連線的host前面加上[帳號:密碼@]否則接下來會無法存取DB
spring.data.mongodb.uri=mongodb://iron30:123456@localhost:27017/testDB
#自動建立INDEX
spring.data.mongodb.auto-index-creation=true
接下來就可以開始建Entity了
Entity與DB中document的值的對應,
先定義我們要儲存進資料庫的資料有哪些,
我初步想到幾個要用做記錄使用者帳號密碼相關資訊所會用到的資料
import com.mongodb.lang.NonNull;
import org.springframework.data.annotation.Id;
import org.springframework.data.mongodb.core.index.Indexed;
import org.springframework.data.mongodb.core.mapping.Document;
import lombok.Data;
@Data //lomobok 省去get/set
@Document  //標記這個class對映一個collection,在(user)這個collection裡面操作document
public class User {
    @Id
    private String id;  //這個id物件是對映每個document在被新增時都會有的_id
    @Indexed(unique = true)
    @NonNull
    private String email;
    @Indexed(unique = true)
    @NonNull
    private String userAccount;
    @NonNull
    private String userPassword;
    @NonNull
    private Integer depositAccount;
    @NonNull
    private Integer status;
}
接著右鍵選擇Source Action…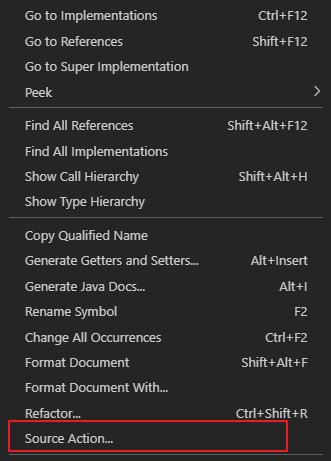
選擇Generate Constructors…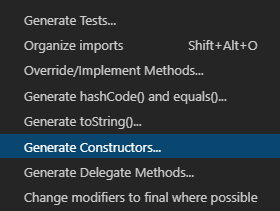
選擇想要產生建構子的物件 按ok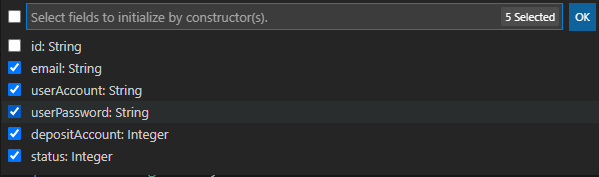
就能簡單產生建構子囉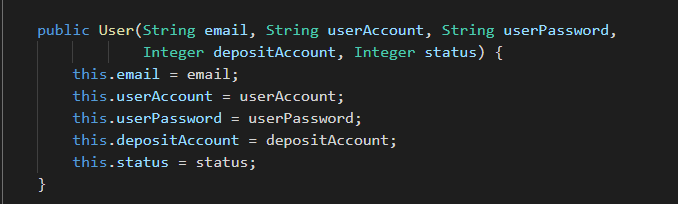
為什麼不選擇id是因為在新增document時mongo db會自動產生_id,並不需要我們再去操作,因此省略
在Spring Data Mongo中,只要符合其中一個條件:
它就會認定這個object對映到Mongo DB裡的_id
如果兩者都沒有,也會自行產生_id,只是就沒有對映的java物件了
詳細可以看官方的說明文件
看起來似乎在entity直接省略掉id這個object也不是不行
如果站在未來方便遷移DB的角度來看,不要放id這個物件應該會比較好
不過目前我還是先留著
接著來實作Repository介面
我選擇使用比較簡單的MongoRepository
另一個選擇是使用MongoTemplate,
MongoRepository跟MongoTemplate兩者的區別在於
MongoTemplate可以更靈活的使用MongoDB的原生SQL寫法,如upsert、updatefirst...等
MongoRepository則是提供固定的方法讓我們對DB做基本的CRUD,
如果沒有要做到什麼複雜的操作,用MongoRepository就好了
新增一個UserRepo.java
import java.util.Optional;
import com.rei1997.vault.model.entity.User;
import org.springframework.data.mongodb.repository.MongoRepository;

public interface UserRepo extends MongoRepository<User,String>{
    Optional<User>findUserByEmail(String email);
}
補充:
型別不是直接用User而是用Optional
是為了避免掉忘記在程式處理null的情形發生
這邊我定義了一個findUserByEmail的方法,藉由輸入email查詢db是否有這筆資料,
等等來測測看有沒有用
其原理是spring data jpa會根據方法名稱的關鍵字去判讀這個方法該怎麼運作,
findUserByEmail符合了關鍵字find...by...因此判讀是要以Email來查詢
順便列出spring data jpa 常用的方法名關鍵字
| Keyword | Sample | JPQL snippet |
|---|---|---|
| And | findByLastnameAndFirstname | … where x.lastname = ?1 and x.firstname = ?2 |
| Or | findByLastnameOrFirstname | … where x.lastname = ?1 or x.firstname = ?2 |
| Is, Equals | findByFirstname,findByFirstnameIs,findByFirstnameEquals | … where x.firstname = ?1 |
| Between | findByStartDateBetween | … where x.startDate between ?1 and ?2 |
| LessThan | findByAgeLessThan | … where x.age < ?1 |
| LessThanEqual | findByAgeLessThanEqual | … where x.age <= ?1 |
| GreaterThan | findByAgeGreaterThan | … where x.age > ?1 |
| GreaterThanEqual | findByAgeGreaterThanEqual | … where x.age >= ?1 |
詳細可參見文件
我們的Spring boot專案都會預設有個xxxApplication.java,這隻程式是整個專案的進入點,
在裡面增加一個CommandLineRunner方法的Bean
讓spring boot 初始化時建立相關實體,並執行一次以下動作
@SpringBootApplication
public class VaultApplication {
    public static void main(String[] args) {
            SpringApplication.run(VaultApplication.class, args);
    }
    @Bean
    CommandLineRunner runner(UserRepo userDao){
        return args -> {
            String email ="test456@456.ccc";
            //建立一個user
            User user = new User(email,"test1","test1",0123456,1);
            //查這個email在db有沒有重複
            userDao.findUserByEmail(email)
                .ifPresentOrElse(users ->{
                    //有的話就印出來
                    System.out.println("already exists");
                    System.out.println(users);

                }, ()->{
                    //沒有的話就新增
                    userDao.insert(user);
                    System.out.println("add user");
                });
        };
    }

}
接著再執行spring boot,就可以確認我們的spring boot能否與資料庫成功接上了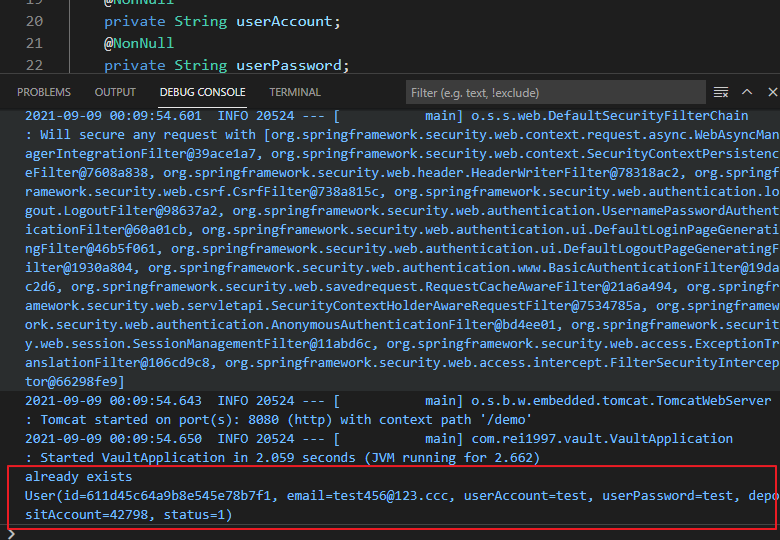
看來有成功接上資料庫,今天就到此結束 謝謝~

 iThome鐵人賽