上一篇把Django的開發環境準備好了, 這一篇我們來寫程式將模型部署在Django專案並且可以提供endpoint可讓使用者(client)傳送一張手寫圖檔到endpoint後取得推論後的結果, 也就是會回傳這張圖片是數字0-9的哪一個數字.
開啟上一篇準備好的Django環境
$cd ironman-workspace
$source VENV/bin/activate
建立專案
專案名稱為mnistinfernce
$django-admin startproject mnistinfernce

建立第一個app, 名稱為core
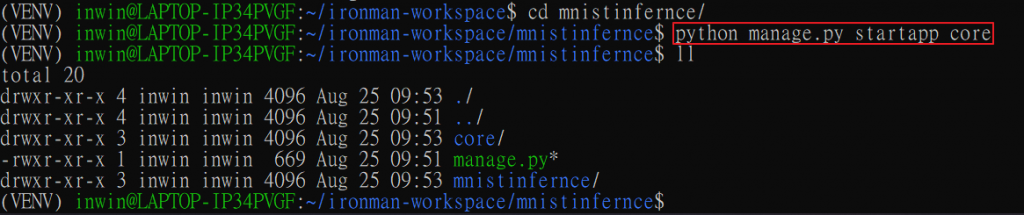
$cd mnistinfernce
$python manage.py startapp core
接下來開啟vs code, 我們開始來寫程式
打開vs code之後會看到我們下列裡面, 一個具有基本程式框架的開發環境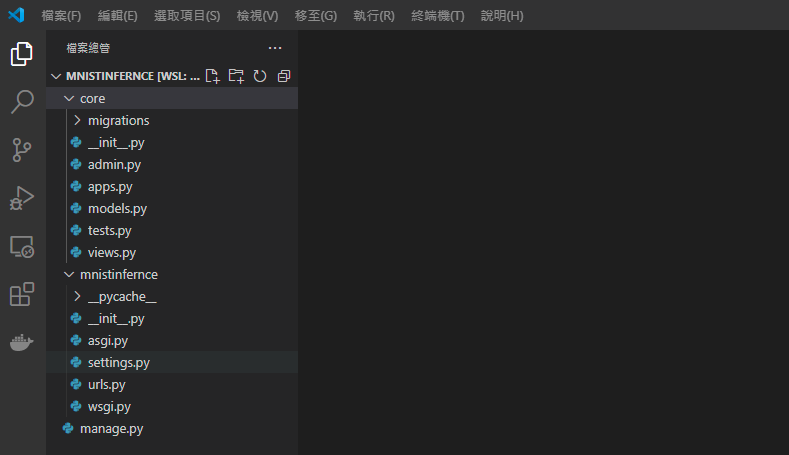
from django.shortcuts import render
from rest_framework.decorators import api_view
from django.http.response import JsonResponse
from rest_framework import status

from PIL import Image
from fastai.vision.all import *

@api_view(['GET', 'POST', 'DELETE'])
def predict(request):
    if request.method == 'POST':
        # Read the image uploaded by the curl command
        requested_img = request.FILES['file']

        img = PILImage.create(requested_img)

        learn_inf = load_learner("pretrained_model/export.pkl")
        pred = learn_inf.predict(img)

        # Get the digit
        result = int(pred[0])

    # Return the JSON response
    return JsonResponse({"digit": result}, status=status.HTTP_201_CREATED)
放置訓練好的model
我們在Day6 已使用fastai訓練好手寫辯識的model, model的名稱為 export.pkl , 我們現在把這個model檔放到django專案的 pretrained_model 這個目錄, 如下圖: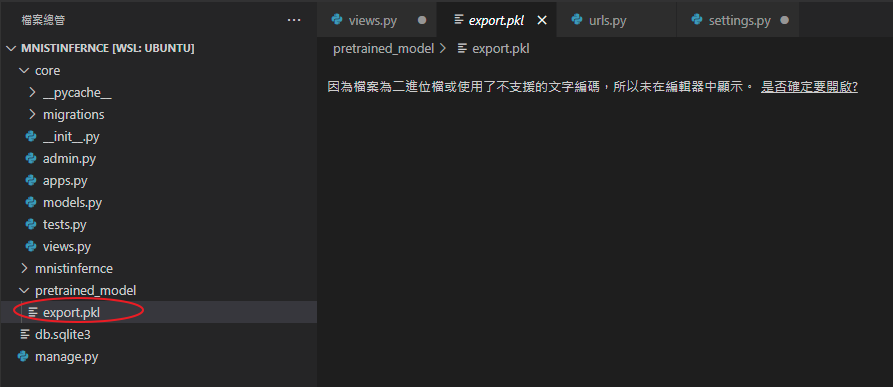
修改urls.py
增加一個path指向views.py的 predict function
from django.contrib import admin
from django.urls import path
from core.views import predict

urlpatterns = [
  path('admin/', admin.site.urls),
  path('predict/', predict),
]
修改 settings.py
將這一行ALLOWED_HOSTS = []
改為ALLOWED_HOSTS = ['*',]
另外, 在INSTALLED_APPS 加入我們的app, 名稱為 core
INSTALLED_APPS = [
  'django.contrib.admin',
  'django.contrib.auth',
  'django.contrib.contenttypes',
  'django.contrib.sessions',
  'django.contrib.messages',
  'django.contrib.staticfiles',
  'rest_framework',
  'core'
]
再來設定時區
TIME_ZONE = 'Asia/Taipei'
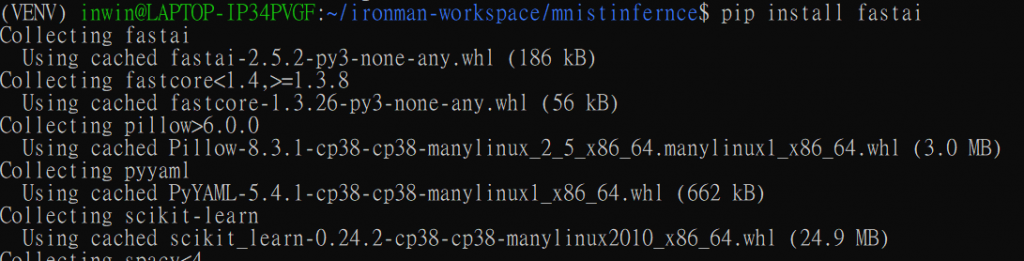
安裝fastai package
到這裡我們可以試試看能不能將專案順利跑起來, 但在跑之前, 我們忘了一件事: 我們還沒有安裝fastai與rest_framework這兩個package. 我們現在就來安裝. 回到建立django的console裡面, 執行如下列指令:
$cd ~/ironman-workspace/mnistinfernce
$pip install fastai
$pip install djangorestframework

安裝好之後, 下pip freeze 記錄一下:
pip freeze > requirements.txt
啟動web server
在console中執行下列指令
$cd ~/ironman-workspace/mnistinfernce
$python manage.py migrate
$python manage.py runserver 0.0.0.0:8000
web server啟動後的console畫面
到這裡我們已經將模型部署好, 而且也成功建立endpoint可以讓外部使用者存取這個endpoint後取得推論後的結果.
接下來我們來準備客戶端的環境
$git clone https://github.com/masonwu1762/mnist_inference_png.git
$cd mnist_inference_png
$curl -F 'file=@png/7.png' 127.0.0.1:8000/predict/
7:
到這裡我們就完成第一個範例的所有說明, 內容包含使用CNN訓練出一個手寫辨識的Model, 並且使用MLFlow將每次訓練的parameter與參數記錄起來, 再挑出比較準確的model執行部署, 使用Django部署模型並提供endpoint, 最後也使用client程式確認推論結果是正確的.